I may actually have some of that left. If not, I'll get some more.
Got deeply into the "Q" parts today and am only a day away from finishing all the assembly. First thing I did was bite the bullet and remove another link from each track. So for all those who are going to build this kit with Friulmodel tracks, it only takes 78 links, not 80. I got it down to a science on how to take the track apart, get the link out and rejoin without making a mess. You have to sacrific the removed link so you can expose the pin and start it out of the hole so you can grab it with pliers to pull it all the way out. If you cut away the sacrificial link carefully, you don't damage the good link. With the tracks tensioned correctly it rides on the road wheels better.


If I was going to adjust the track, it had to happen now because the skirting completely hides almost all of the track area. I started adding the Q Parts with the rear end. The light housings for the ac units hanging on the rear are Q parts. I put them onto the AC and then hung the AC on the vehicle. I also added a filler piece that closes off the mount top area.

I still have to install the light fixtures in the rear. I could have done this before gluing the housings in, and I did so for the front lights.
As I was preparing to throw out any finished sprues, I checked to see if any parts remained on any of them. And there were! There were a couple of odd-shaped add-on armor panels that went around the driver's hatch, and there this:
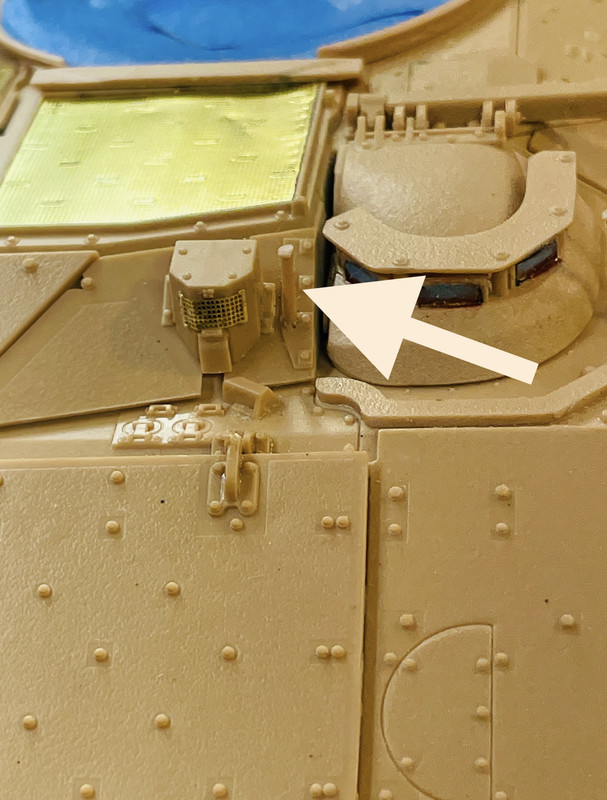
And this:
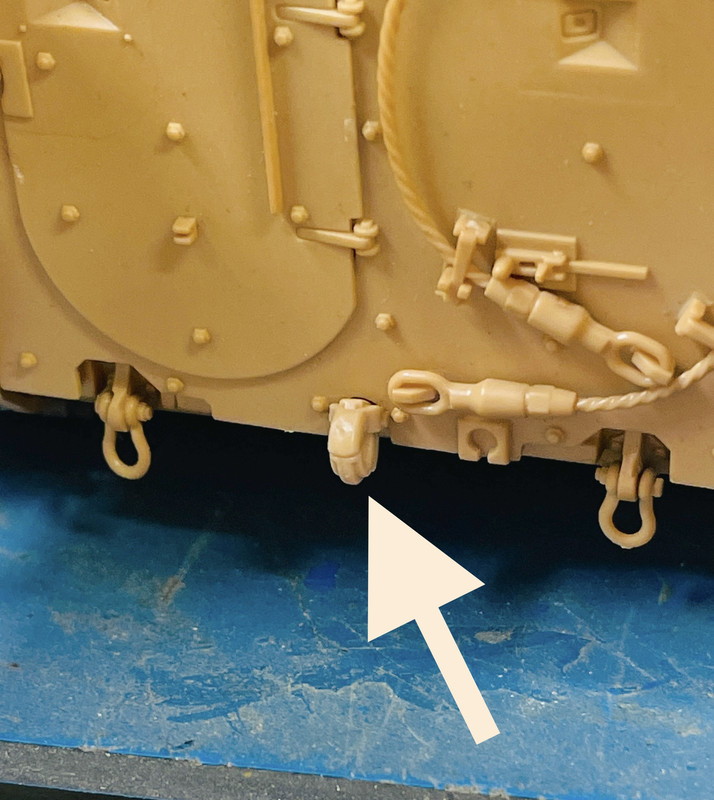
With the tracks now correct I was able to install the mud flaps front and rear. I painted the undersides of these while on the sprue. After gluing the flaps in place I painted the topsides, both sides being Tamiya Rubber Black.
Front:
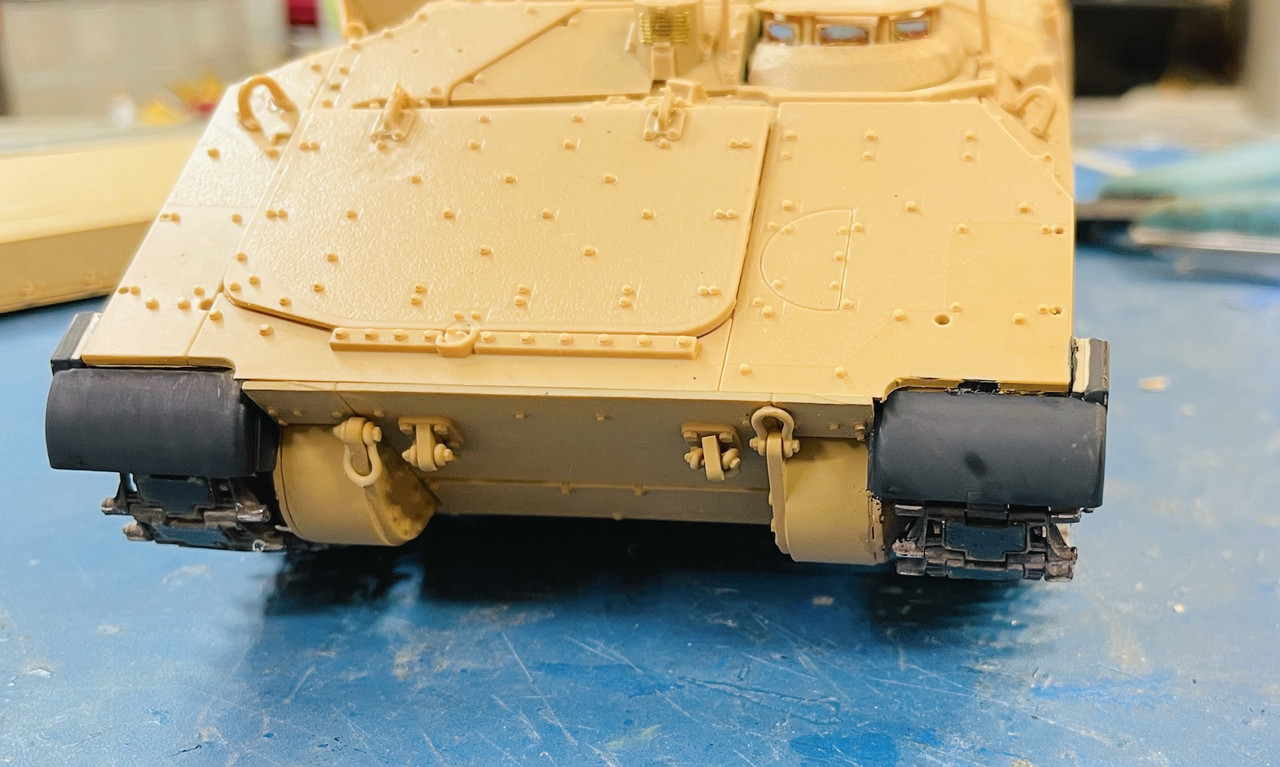
Rear:

I'm going to add some liquid mask to the mud flap faces working from the front edge upward, that will be peeled off after the body color is applied revealing the exposed "rubber" below. I still love those Friulmodel metal tracks.
It was now, finally, the time to build and apply the ERA that had lots of parts on Q. The side skirts with the ERA are massive that totally change the Bradley's appearance. There are quite a few parts in each side skirt assembly.
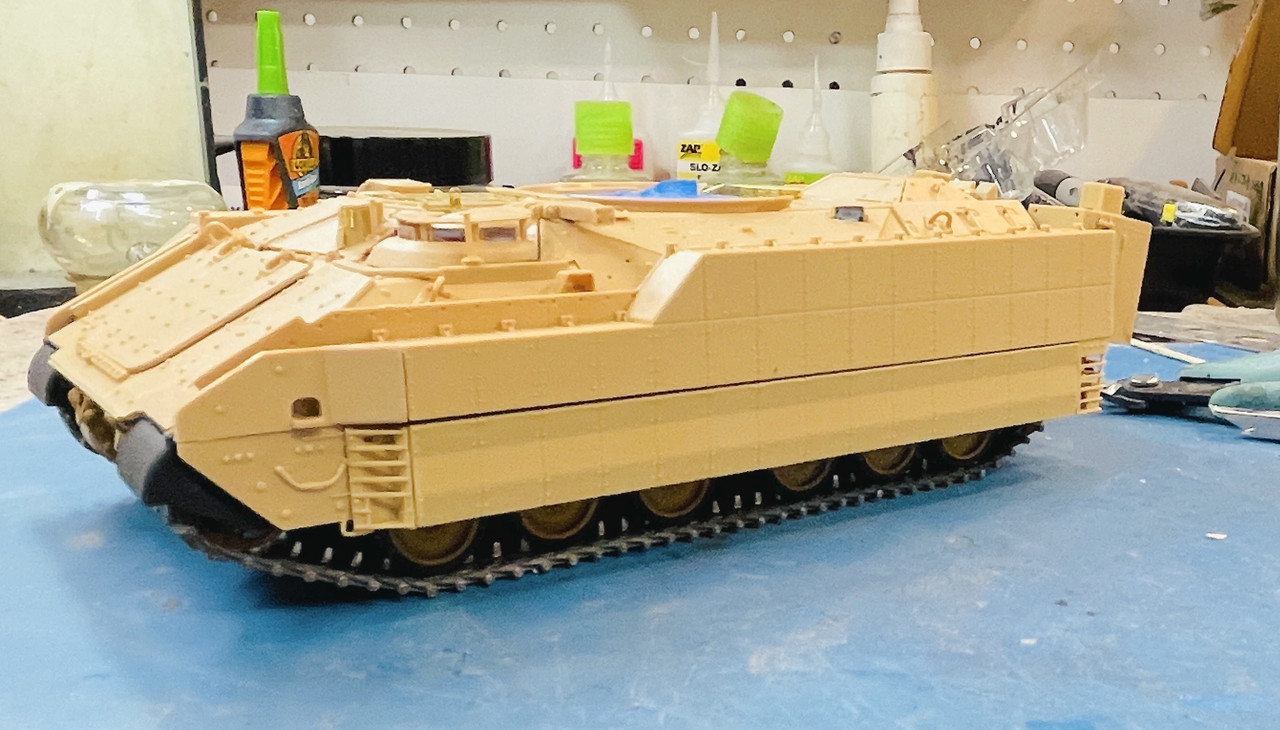
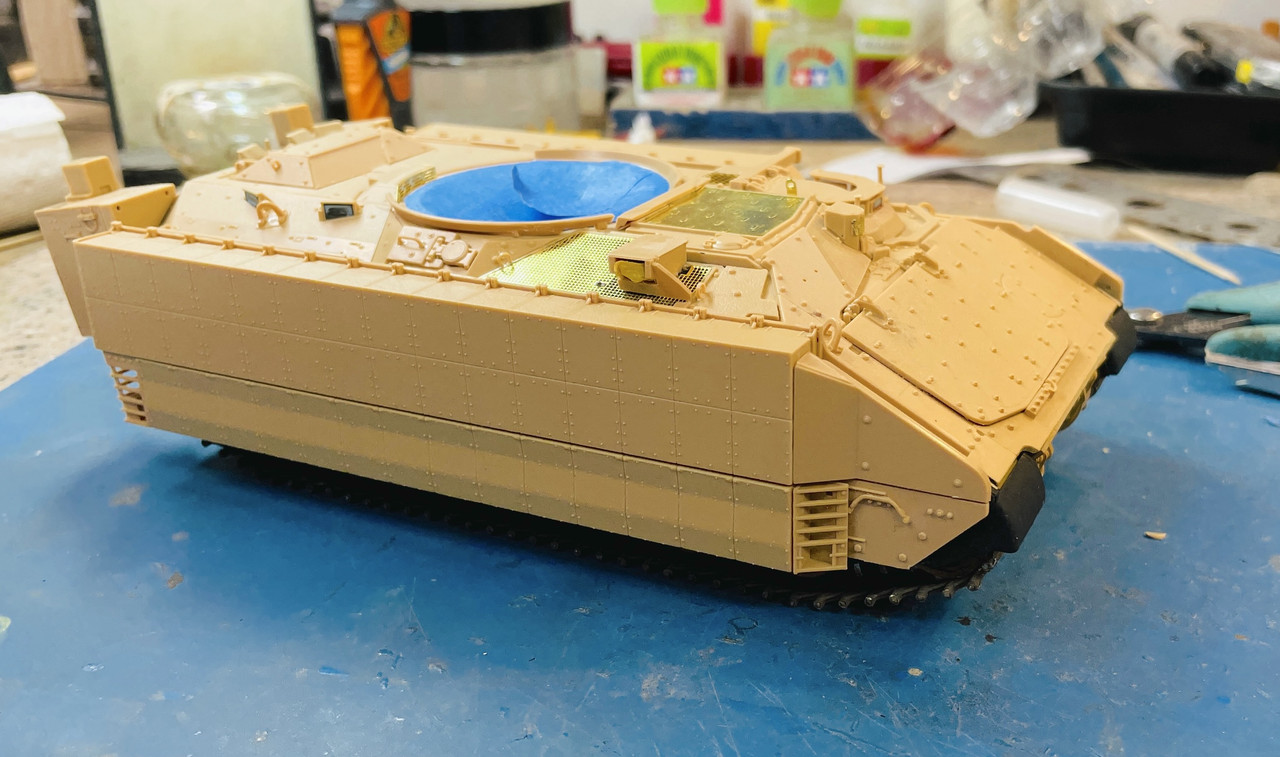
And now you know why, all of the suspension work and painting of the sponson areas were for my benefit only since they're totally hiddened by the skirting.
The last things I did was start on the front ERA. There is a suspension rack that glues to their undersides and that, in turn, glues to the vehicle. I had trouble figuring out how the headlight box glued to the small ERA on the left. It just couldn't find the right purchase to settle down. And the glue got a little messy. The center large ERA that sits on the engine cover was a challenge also. Again, it was fussy getting it to settle in the correct spot and it probably took me five minutes just to keep fiddling with it until I was satisfied it was correct. Gluing the assembly to the tank was the easy part.
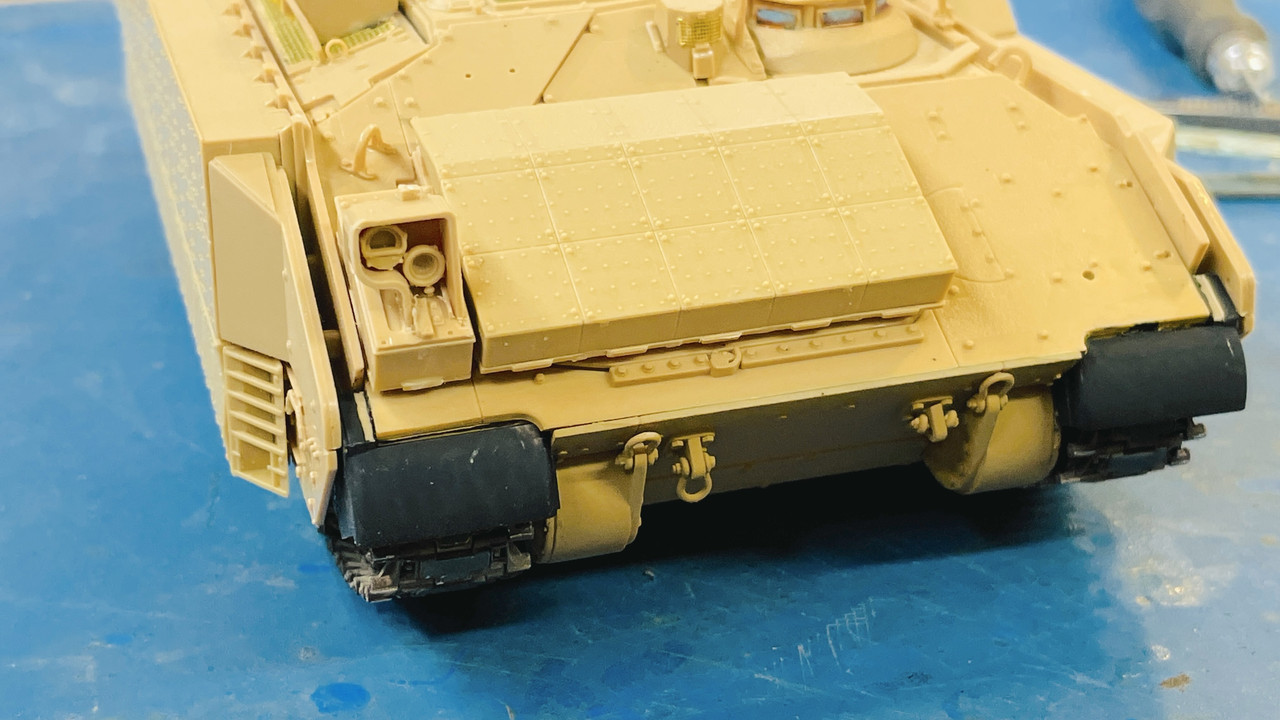
After all the painting is done, I will paint the lamp sockets with the Molotow Chrome pen and then color the back sides of the lenses that are red/orange with Tamiya Clear colors. I will then use Testor's Canopy cement to glue in the lenses. Another possiblity is to glaze them with Bondic, but that's if the kit's lenses don't go well.
Compared to the flimsy armor on the old M113 APC's, this thing looks like a fortress. I think future modifications are going to strengthen the flat bottom against IEDs.