SEARCH FINESCALE.COM

Enter keywords or a search phrase below:

AMT Eagle --- FINISHED PICS!

10055 views
68 replies
1 rating 2 rating 3 rating 4 rating 5 rating
  • Member since
    February 2014
  • From: Michigan
Posted by silentbob33 on Saturday, May 14, 2016 7:47 AM
That's some really nice scratch building Karl, very impressive

On my bench: Academy 1/35 UH-60L Black Hawk

  • Member since
    January 2007
Posted by the doog on Friday, May 13, 2016 10:37 PM

Here's the next update: making good progress here!

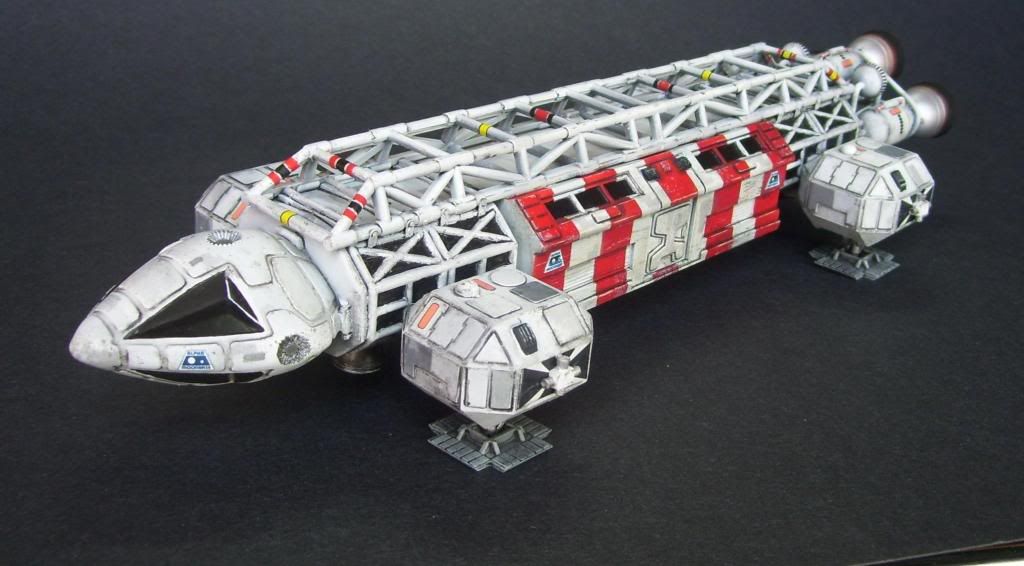
I got an idea from another builder on Facebook who is in a group of Space 1999 fans, and so I followed his lead and decided to accurize the command module's mode of attachment. One of the worst things about this kit is the way that the CM attaches to a blank wall, basically. Here's my first Eagle build; look at the way the command module sits against that wall?

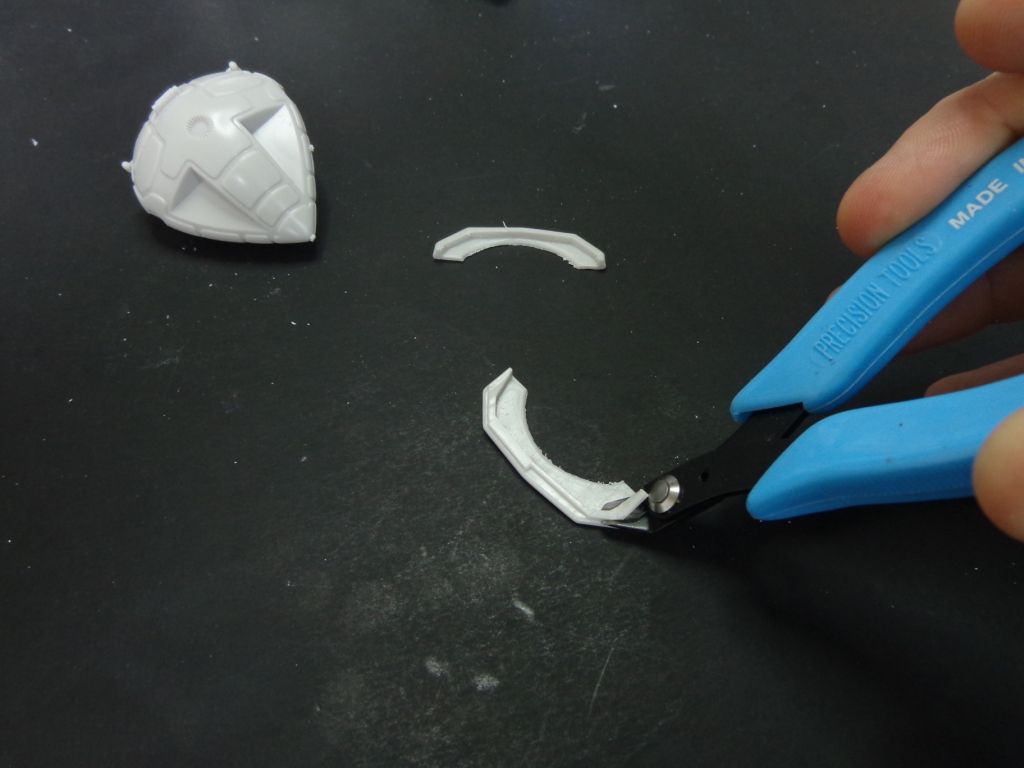
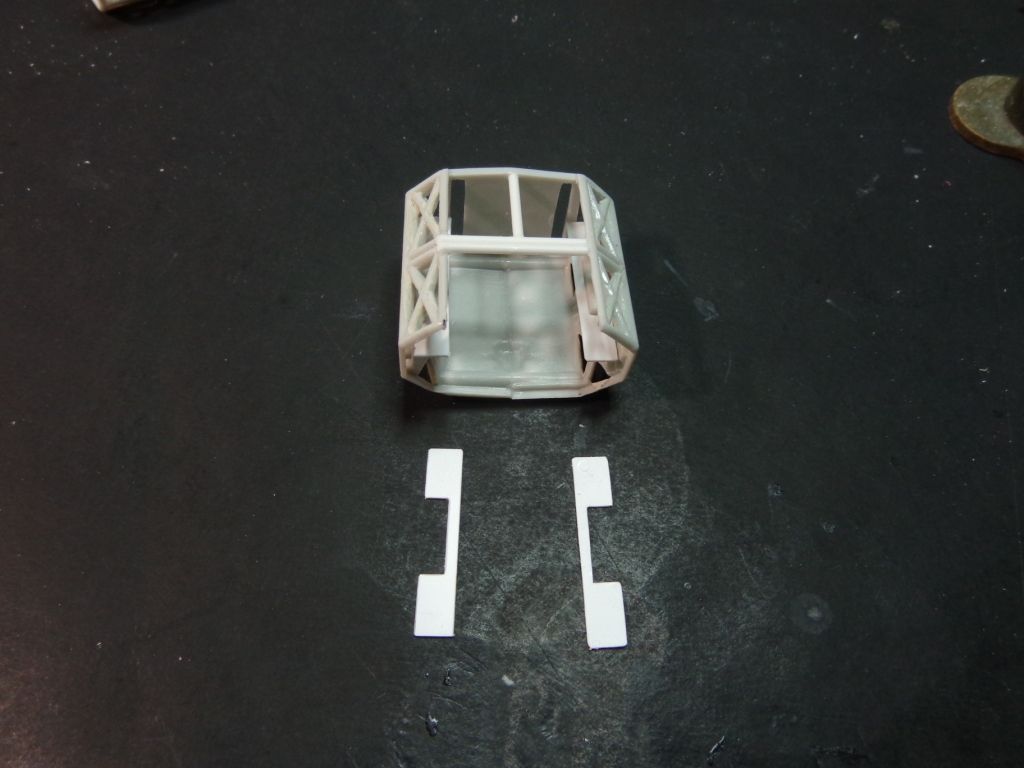
First, cut off the command module.

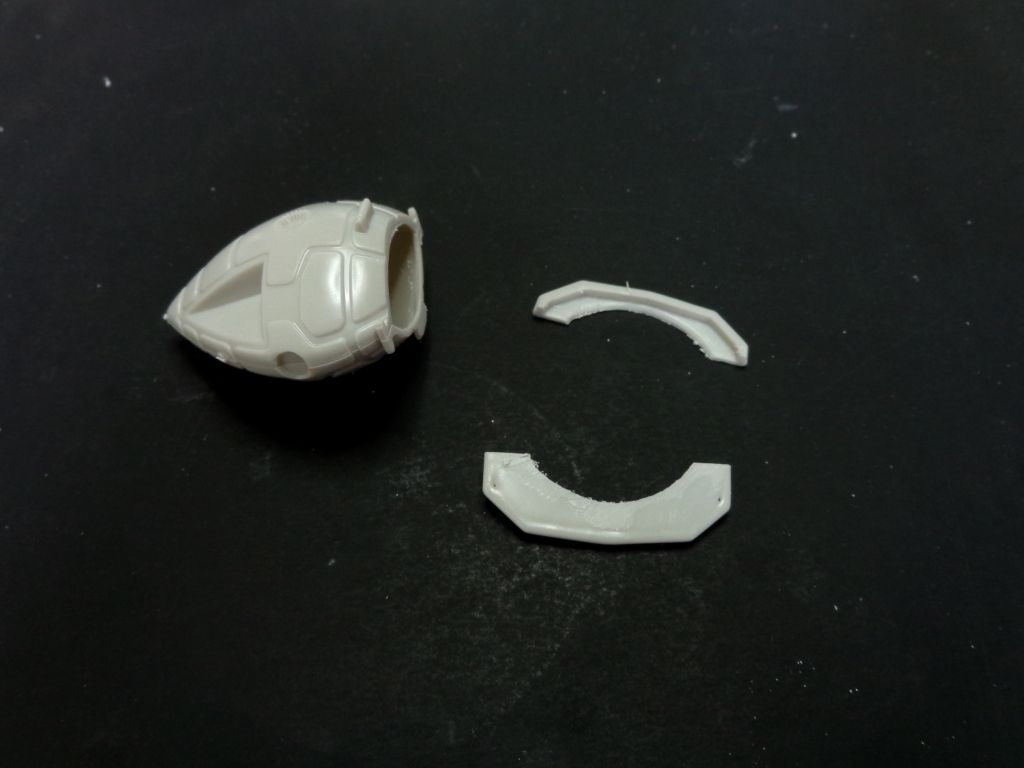
Next, trim off the plastic rim so you can use the glued frame for a template.

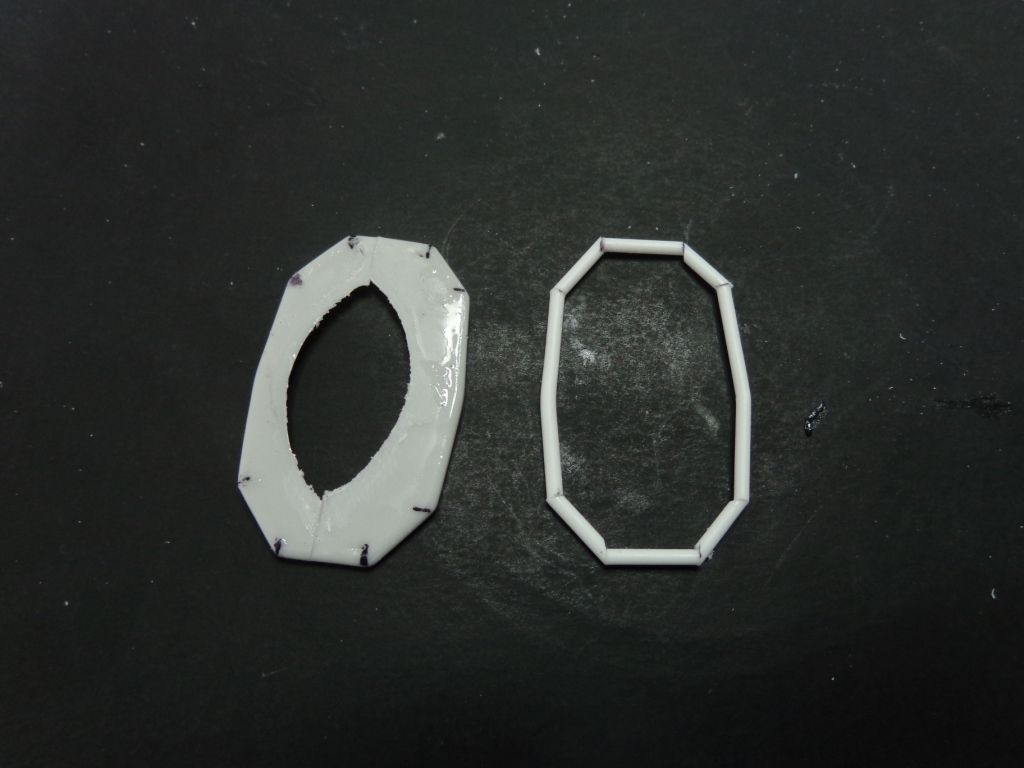
I divided the frame into lengths, which were then cut from .80 styrene rod and glued them together into a frame. This was a tedious, time-consuming chore.

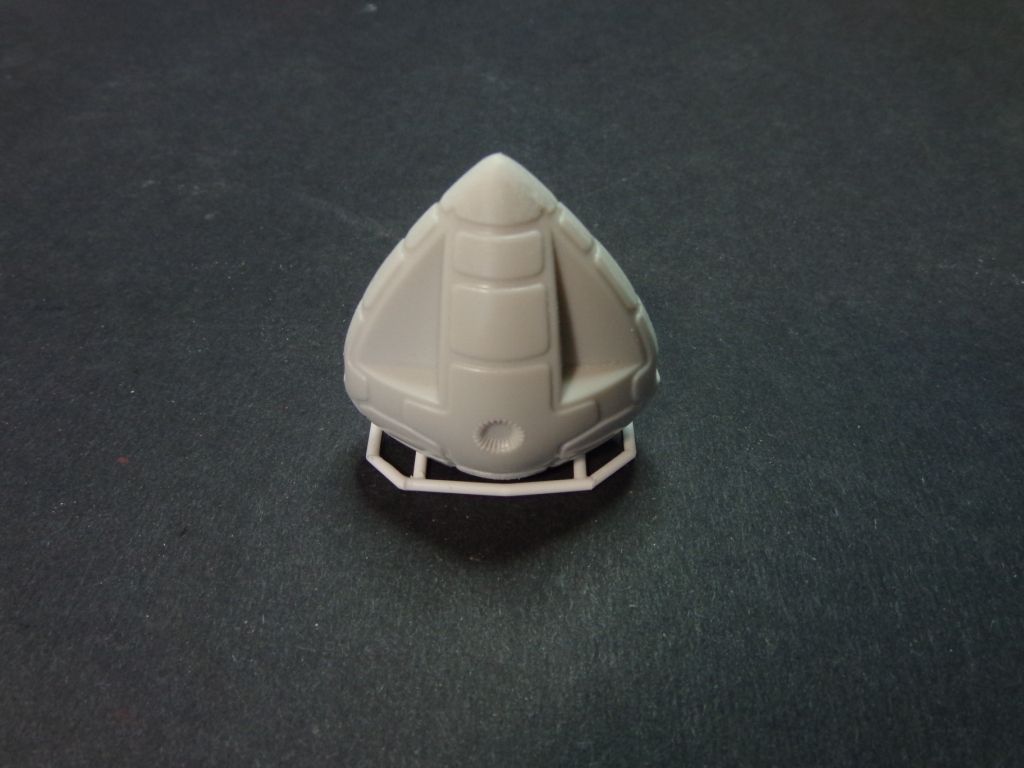
This is how the pod will eventually look mounted--much more accurate!

That done, I turned my attention yet again to the cages. I have been hesitating cutting out the tops, as to do so would necessitate the "walkways" inside the cages. I decided that I just couldn't live with the terribly-inaccurate rendering of the top of the cage, so I went about removing the top one only. (I'n keeping the bottom "floor" for strength and rigidity; you won't really even notice it when I'm done.) So, I cut the top sides (left) and then used the Dremel cutter head to score across the side (middle), and then proceeded to add the framing tubes from .80 rod.

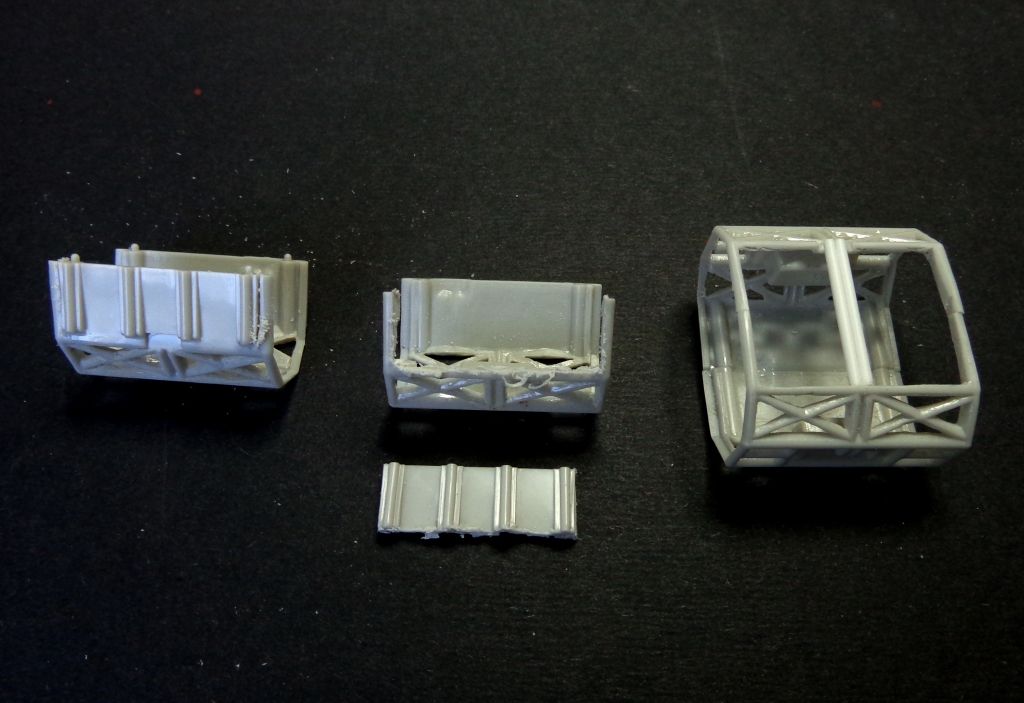
The frames basically finished exteriors---before I realized that I had to fit the ends, and the end-tubes needed to be added later...

So, on to adding the walkways and inner cage detail:

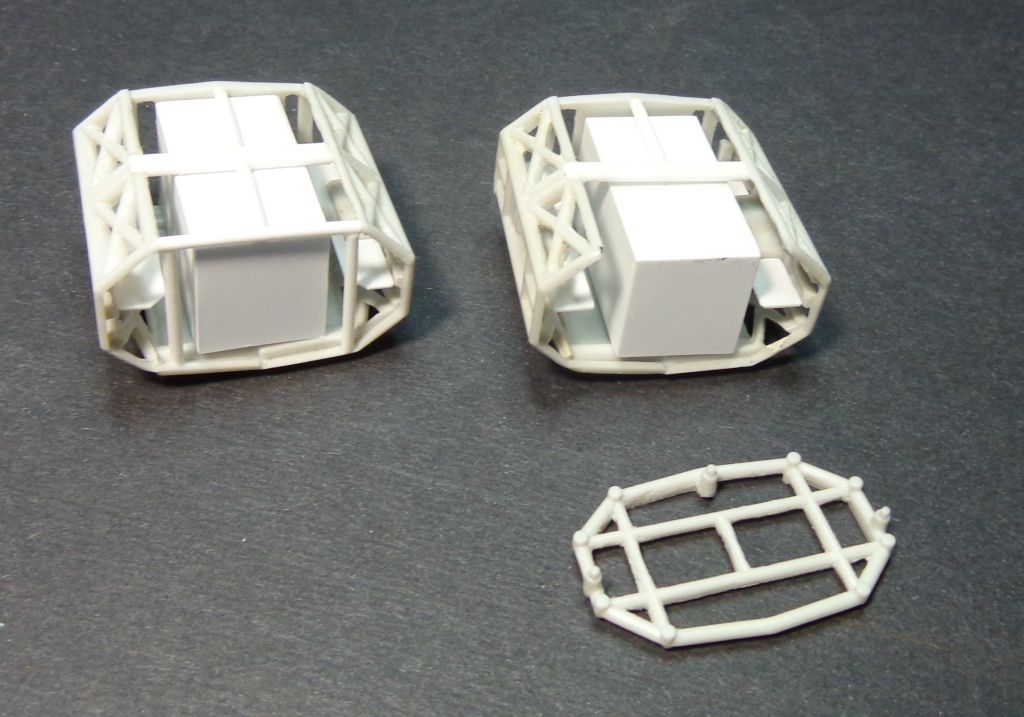
I had to add "shelves" on the sides of the cages. I did all the following calculating and fitting trial-n-error by using an index card first, cutting it and taping it together and making adjustments. Here are the final ballpark measurements that I came up with:

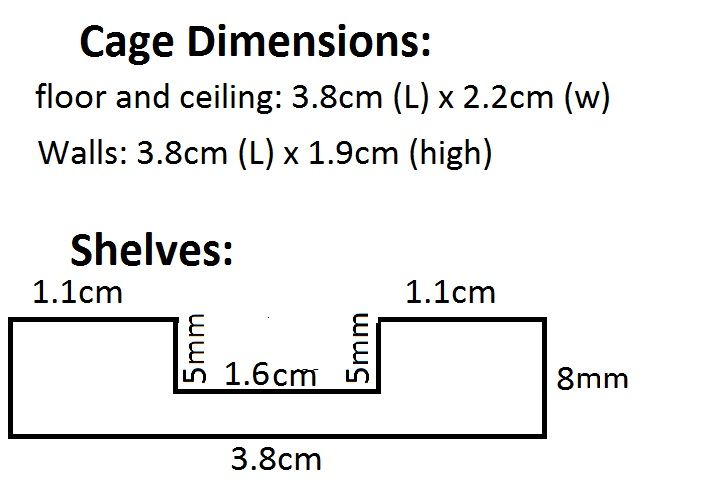
All of these were then fashioned from .20 plastic sheet.
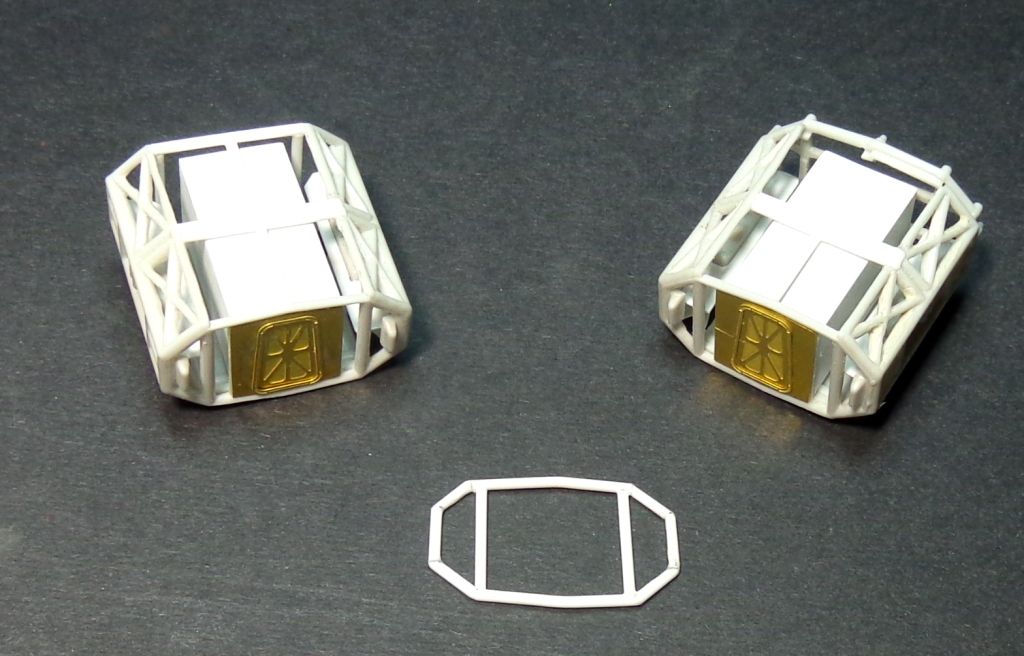
Here is a look at two of the shelves, ready to be fit around the mounting boxes for the leg pods...

Here you can see that I made the inner walkway corridors, and have ground off the door detail with the Dremel and then added the ParaGraphix PE doors. Note they come in two pieces.

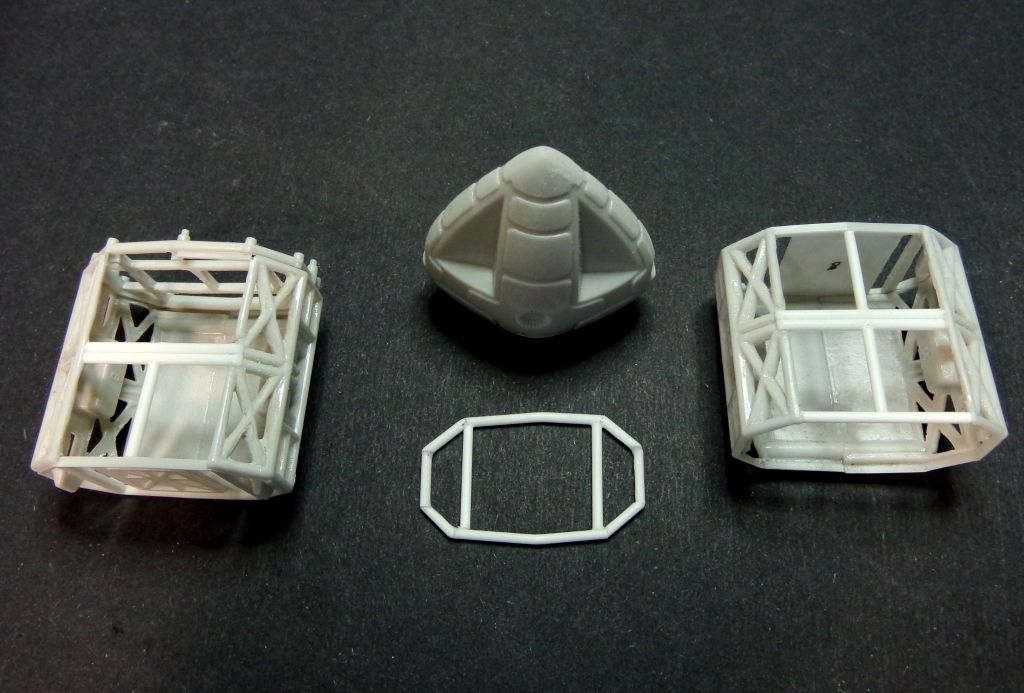
The two of them finished: these will look nice when they're visible behind the nuke pod legs.

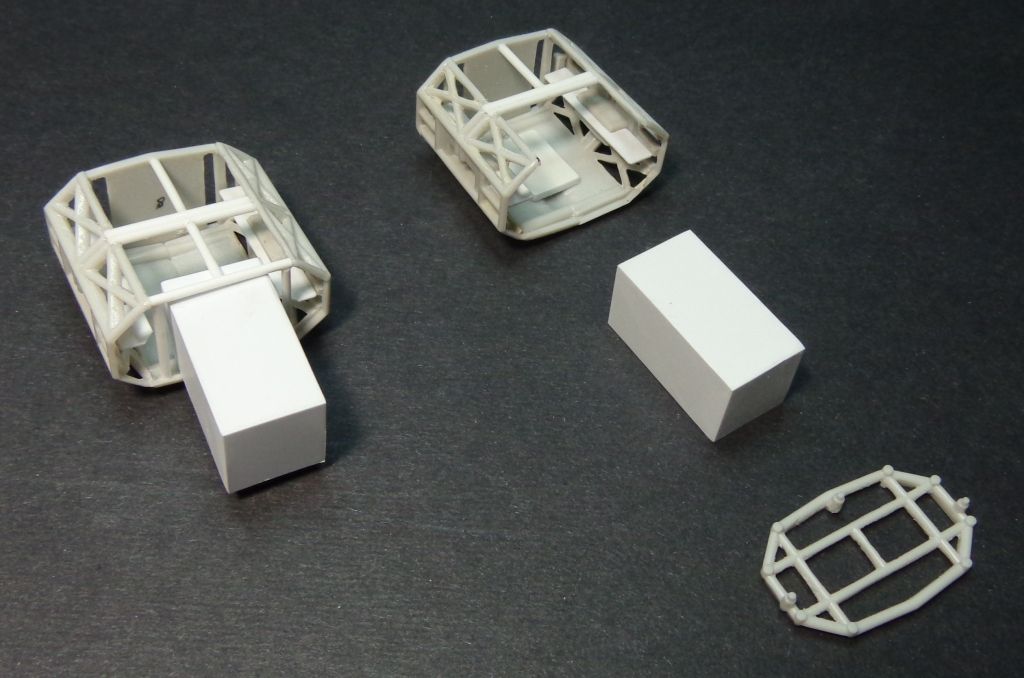
And here is the other sides. One will go toward the engines (that's the engine end framing kit part hollowed out), the other will host the command module.

Note that the walkways aren't glued in yet; now I have to go about detailing the inner shelves and the sides of the walkway rectangles with small kit parts to give the impression of the myriad of odd details on the real Eagle ships, which were actually just odd kit parts from things like the Saturn 5 rocket and even Airfix 1/72 Panther tank decks and T34 wheels!

Well, that's it for today, and probably nothing more until Monday at least. Got plans tomorrow, and who knows what Sunday will bring--the weather is supposd to be nice, and I'll probably spend it with the wife and my lil bud Gerhardt...thanks for looking in, and taking the time to comment it you do! Big Smile

  • Member since
    January 2007
Posted by the doog on Friday, May 13, 2016 10:12 PM

Phil_H

Karl,

Your previous Eagle was awesome, but this one looks like it's going far beyond that. Looking forward to watching this come together.  Smile


Hey, thanks, Phil; very kind of you to say! I am going to wish that I did all these mods on that one. lol. Thanks for looking in and taking a seat! :)

silentbob33
This looks really cool Karl! I have to confess Space 1999 was a bit before my time, but I've seen a few reruns and my dad has a couple of each of the original kits. I'm going to enjoy watching this come together.

Thanks too, Bob! Yeah, I was just a young turd when it was on but I remember it was my favorite show back then, mostly because of the Eagles and the Korean girl "Sandra"---she was my first crush, lol.  Thanks for coming along!

Gamera
Very cool Karl, lotsa work but the results will be worth it.

I sure hope so, Cliff! Thanks for checking in! :)

Update coming up!!

  • Member since
    November 2009
  • From: SW Virginia
Posted by Gamera on Friday, May 13, 2016 11:18 AM

Very cool Karl, lotsa work but the results will be worth it. 

"I dream in fire but work in clay." -Arthur Machen


  • Member since
    February 2014
  • From: Michigan
Posted by silentbob33 on Friday, May 13, 2016 9:59 AM
This looks really cool Karl! I have to confess Space 1999 was a bit before my time, but I've seen a few reruns and my dad has a couple of each of the original kits. I'm going to enjoy watching this come together.

On my bench: Academy 1/35 UH-60L Black Hawk

  • Member since
    August 2005
  • From: Sydney, Australia
Posted by Phil_H on Friday, May 13, 2016 8:44 AM

Karl,

Your previous Eagle was awesome, but this one looks like it's going far beyond that. Looking forward to watching this come together.  Smile

  • Member since
    January 2007
Posted by the doog on Friday, May 13, 2016 6:52 AM

Thanks for looking in, guys! Glad to have you along for the ride! :)

  • Member since
    January 2006
  • From: California
Posted by SprueOne on Friday, May 13, 2016 12:15 AM

Custom detail work is what this is all about YesIdea Good work so far. I'll be watching this build for sure

Anyone with a good car don't need to be justified - Hazel Motes


Iron Rails 2015 by Wayne Cassell Weekend Madness sprueone

  • Member since
    July 2010
Posted by roony on Thursday, May 12, 2016 7:53 PM

I'll enjoy watching this build.  Have fun with it.

  • Member since
    January 2007
AMT Eagle --- FINISHED PICS!
Posted by the doog on Thursday, May 12, 2016 7:04 PM

Hello all.

Here I am again with another Eagle 1 from Moonbase Alpha! There has been a veritable renaissance of Space 1999 lately, especially with the release of Round 2's excellent 22-inch Eagle (which I will tackle in due time) so I've caught the bug again for another Eagle build. This time I'm using the base kit with some aftermarket goodies from Para Graphix (The PE set), WARP (Nuclear Waste Pod) and aftermarket decals from seller "mirrormaskman" on eBay. Nice stuff!

A quick look at the WARP kit---some pewter frames, resin nuclear pods and base. The resin is greeat quality, no pitting, and the cargo bed is completely flat. (WHEW!)And stickers for the pods.

I've already got a good start on a real "upgraded" Eagle. I'm hollowing out the cages. I tried a couple of ways to do this, and the easiest way I found was to use a small drill bit spun in a Dremel. It's better than a grinder tool. I basically do a bunch of small holes in a line and then literally burn through the plastic by dragging the bit sideways through them. It's tedious and potentially disastrous work, but if you're careful, it can work pretty efficiently.

It sure looks like hell when you're in the midst of it...Originally I thought about removing it all with the drill bit trick, but after consideration, it is easier on some parts like the door ends to just make a channel for a saw blade. I will use a small PE saw blade to cut through the rest of the plastic.

The worst part about this is that you have to then slean out the openings with either an Exacto #11 or a scalpel blade. THAT takes time, and it's easy to deform the actual tubes. Then you have to round the backs a bit to look like actual "tubes", and check them all for general similarity in size. This is after about 4 hours work; two evenings down. Not as hard as I thought it would be, but challenging to be sure.

It's going to look COOL when finished. I have to build the inside of the cages now. I'll not do too much more over the weekend but should be able to make some progress. Hopefully I'll have an update after Saturday or so. Thanks for looking in, and stay tuned! Smile


JOIN OUR COMMUNITY!

Our community is FREE to join. To participate you must either login or register for an account.

SEARCH FORUMS
FREE NEWSLETTER
By signing up you may also receive reader surveys and occasional special offers. We do not sell, rent or trade our email lists. View our Privacy Policy.