I'm not a ship expert, far from it, in fact I've only built a single 1/350 ship in the last decade, Dragons Z-38 Destroyer, but I thoroughly enjoyed it. So I decided to tackle a capital ship and my victim of choice is the Trumpeter 1/350 HMS Dreadnought 1907 kit along with some Eduard PE (detail and railings), Master replacement barrels, and a Wood Hunter deck set. I've also got the Kagero 3D book as a reference to help with all the different details and their placement since the Trumpeter instructions are somewhat 'busy' in that regard. 
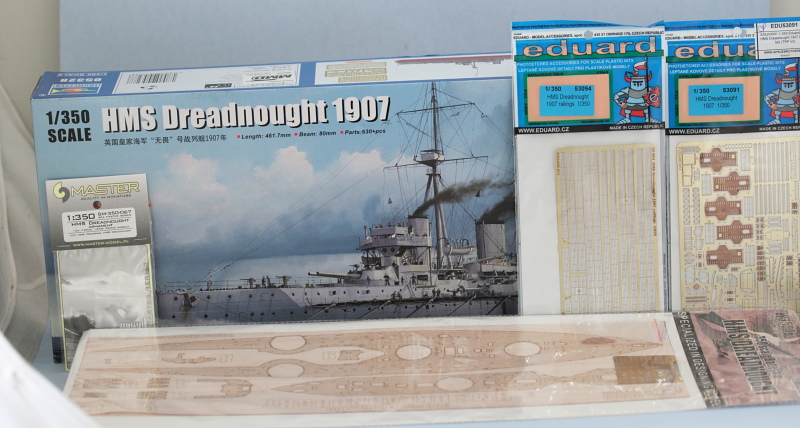
The project took its first steps today in terms of getting the hull together. The first step in the Trumpeter instructions assembles the two-part full hull along with 7 internal braces to stiffen the hull and also provide some support for the main deck. I had read here about other builders having issues with a gap in the hull join particularly in the middle, so I did a test fit first to see how things would play together.
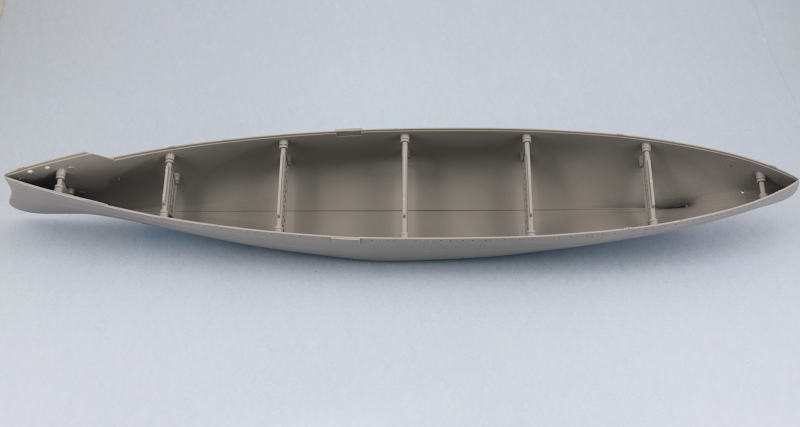
What I noticed, at least on my kit, was that the hull fit together very well at the bow and stern and only in the middle was there a slight gap. I also noticed that the braces had a very tight friction fit except for the smaller bow/stern braces into their mounting holes. I used some strips of masking tape along the bottom of the hull and then positioned each of the braces, squeezing in from the sides so that they would close up evenly. Once I did that, the slight gap in the bottom virtually disappeared and what remained could be closed up with some strategic pressure and rubber bands. I applied some liquid glue at the bow and stern first and used finger pressure to close those up until they set so I had a solid place to start from.
Then to avoid any problems with the hull potentially warping at the top while I worked on the bottom, I used the main deck insert to help it hold its position and taped it down, then added two rubber bands to help wit the small gap on the bottom.
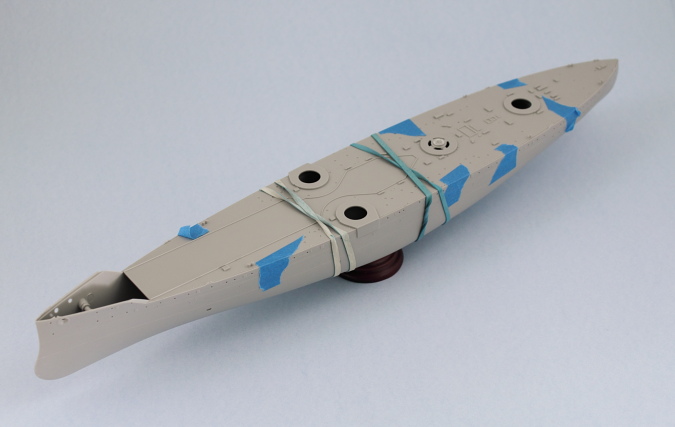
Starting at the bow and working my way back, I applied liquid glue in small sections and gently squeezed the hull together in combination with the rubber bands until the glue 'grabbed', then moved further down the seam repeating the process.
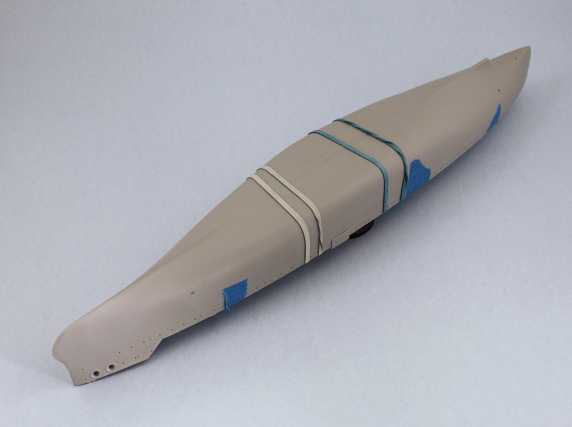
After the glue had set, the rubber bands came off and some light sanding of the seam using sanding sticks was all that was needed. I did need to apply just a small amount of putty around the propeller shaft area of the seam on the stern. This was due to a slight gap created when I removed the sprue connection point there though and not something inherent in the kit.
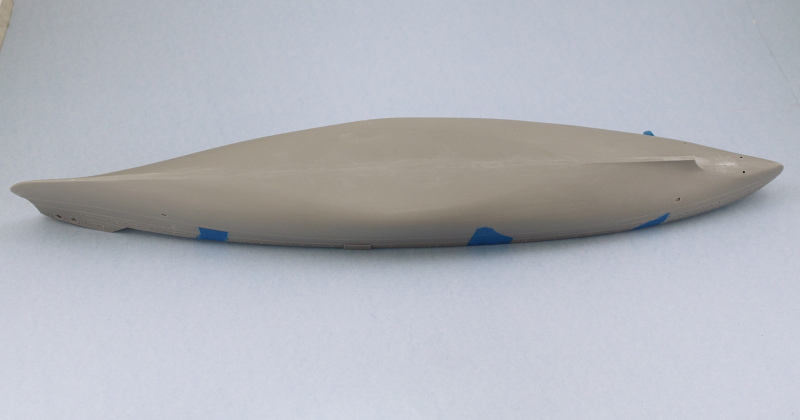
Last but not least, I knocked together the kit-supplied stand so I could have something to rest the hull on. I'm not too thrilled with it as a permanent base but it will serve for now.
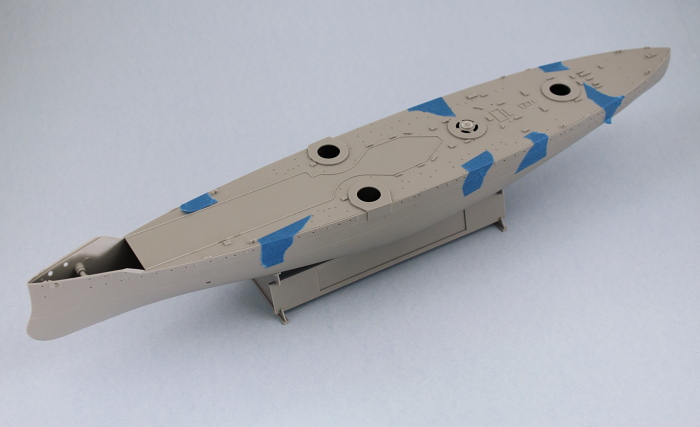
The main deck insert sits flush with the hull top edge so I can already tell that when I add the wood decking it will increase the deck height ever so slightly. I think that's actually going to be to my advantage though in terms of helping provide just a smidge of added contact surface for the railings but have to see about that when the time comes.