Mixer test
I mentioned that I would test the Badger paint mixer. Today I did that. There is one correction that I want to make before I get into things. In my last post I noted that this mixer uses 1 AA battery. That is incorrect. It uses 2 AA batteries. Sorry for the error.
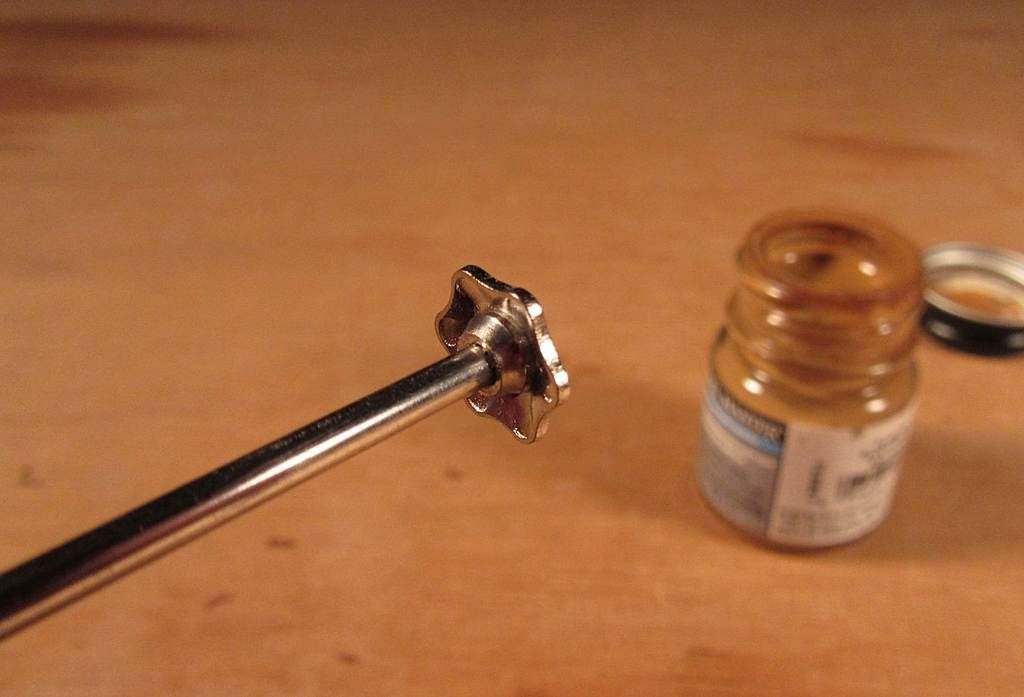
This is how the agitator looks like close up.
Here is one of the reasons why I like the variable speed control on my hobby tool mixer. What you see below won't happen unless you make it happen. It gives you more control.
Right out of the gates I was surprised at how fast the Badger mixer is designed to spin. It is a buzzsaw, and at that RPM, you had better keep that agitator at the very bottom of the jar or you will get this. I had barely tilted the shaft and the paint came frothing out. Honestly, in my opinion, there is no need for this kind of RPM. It is major overkill and worse, it becomes problematic.
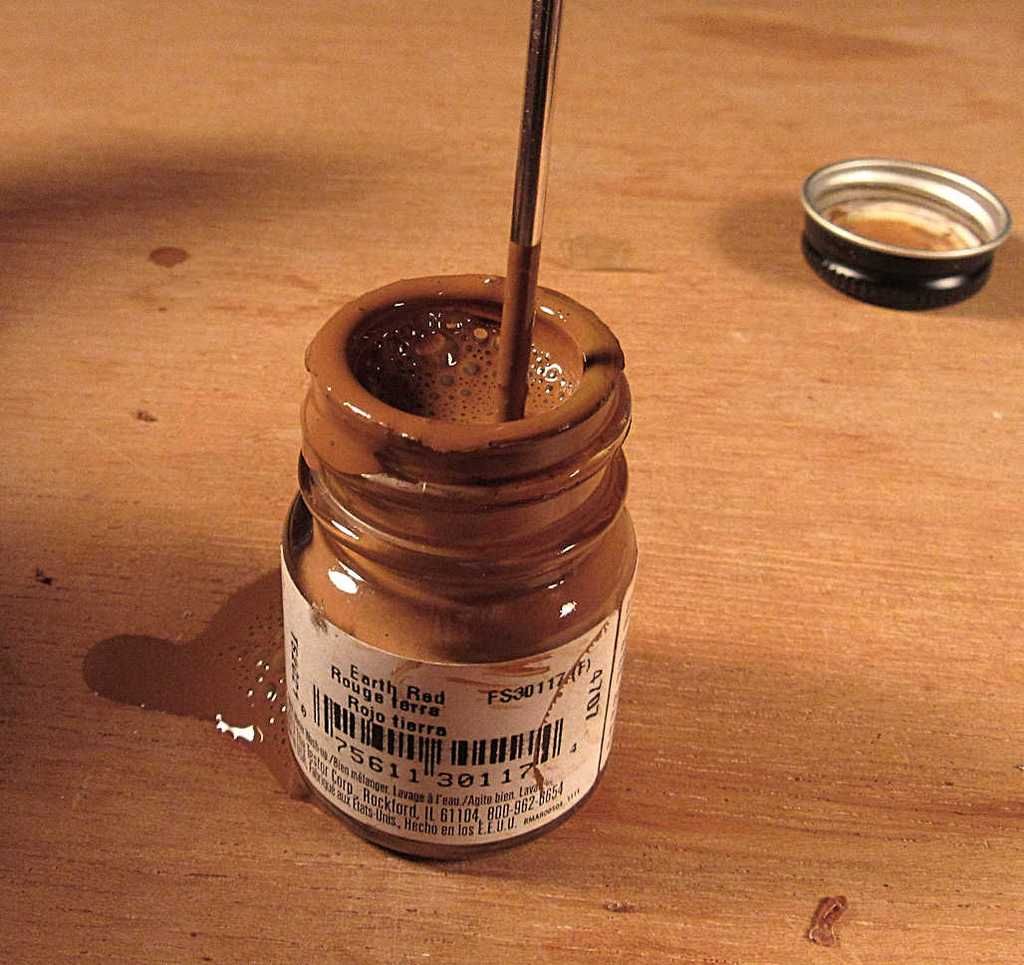
Here is how it works if you are very careful. Place the agitator in the paint and then power it on. Don't let go and don't move!
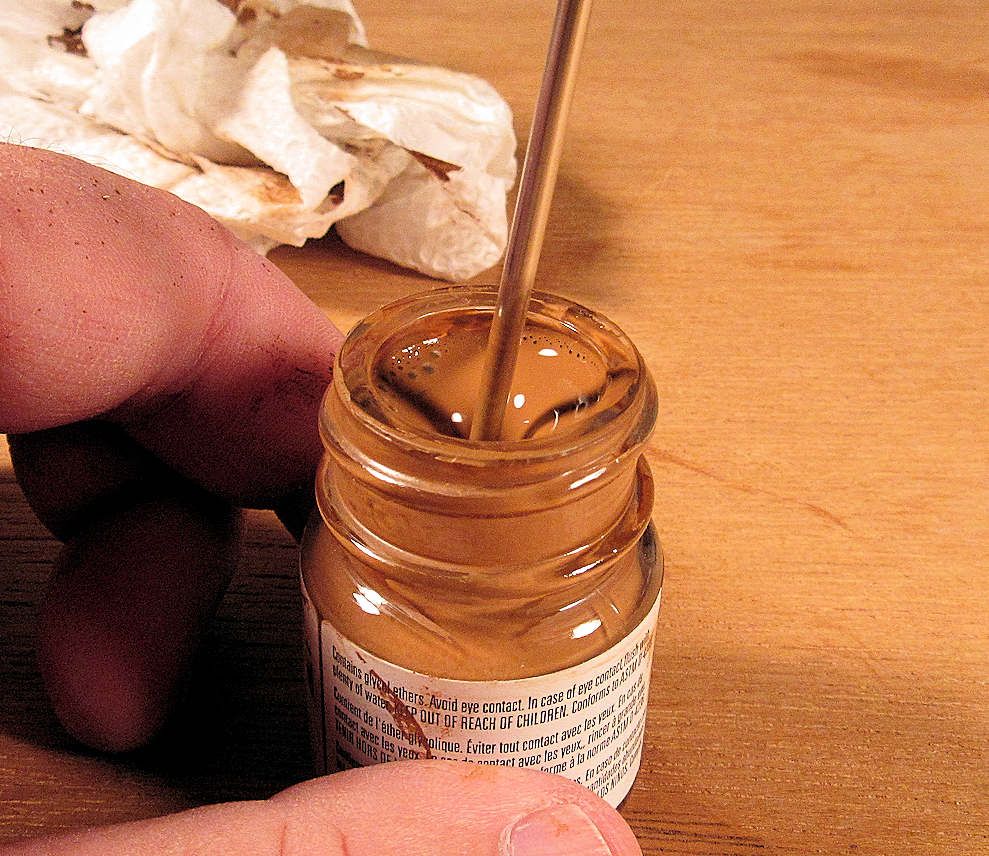
I did try using my alligator clip/mixing stick method on this mixer. It was a disaster. Paint came flying out. The RPM is way way too high. Don't try it with this mixer.
My thoughts:
1. The RPM is too high. Either they should cut that down or put an adjustable control to vary the speed. I would prefer the latter. If Badger would make this one change, it would move the mixer into the realm of being a very user friendly tool, and at a great price.
2. I don't like the power switch. It is a slide switch that requires a little force. It is awkward to operate making it a precarious situation by trying to hold the unit straight and steady while trying to fumble with the switch. Point 1 would fix this.
3. My thoughts about cleaning the agitator bore itself out. I had run the shaft under water under high pressure and there was still paint left behind for further cleaning. This becomes a several minute process to clean. Hence, why, I like the mixing stick method. This is the least of the issues though.
Having said all this, this mixer is better than nothing. It does work. You just have to be careful and it is worth the price. It will really mix your paint well, and fast.
Lantern update
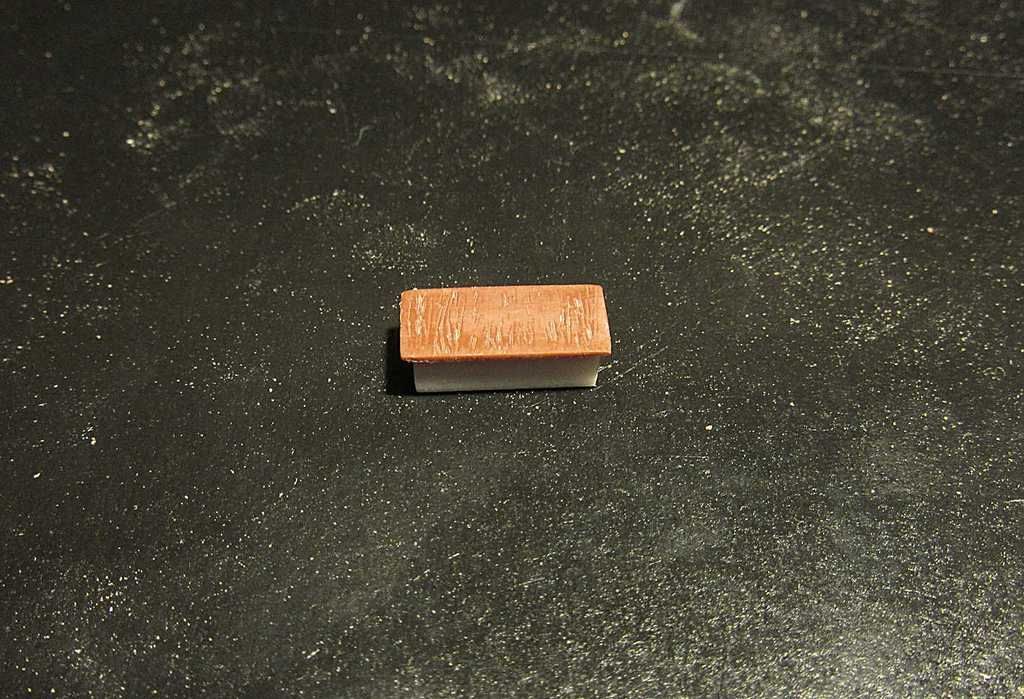
I began work on the table. This piece will be the base of the table. I had used Evergreen Scale Models square stock to make this. This one piece is made from two pieces glued together. Later, not shown in this image, I applied CA to the ends filling the holes. I applied some accelerator, filed, and then sanded until flush.
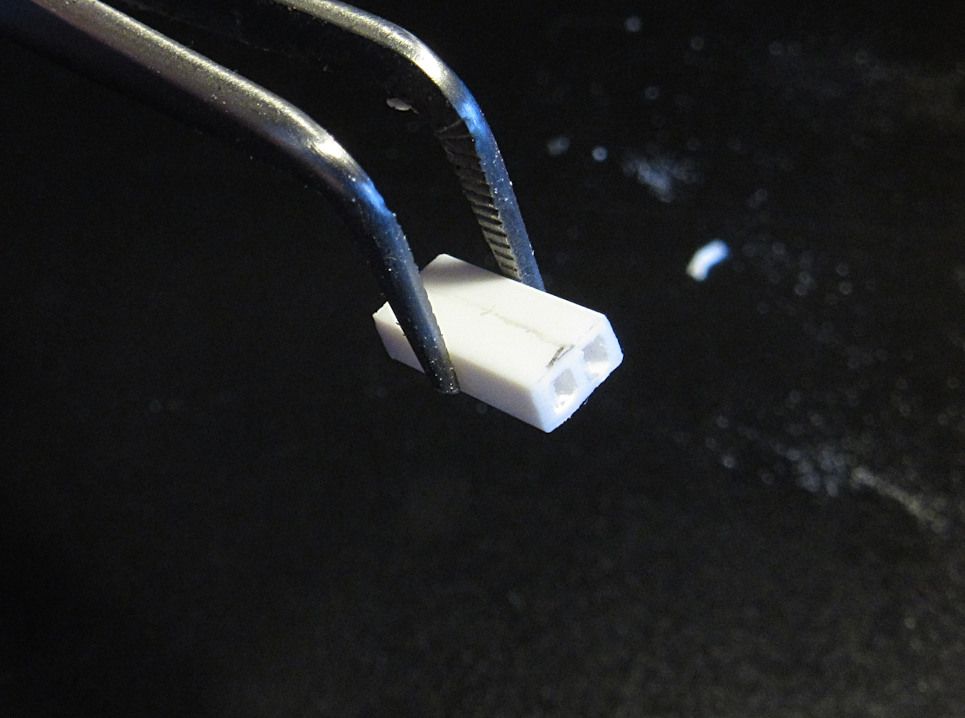
For the table top I cut a piece of plastic from a spare bulkhead. I thought it would be nice to have a little simulated wood grain.
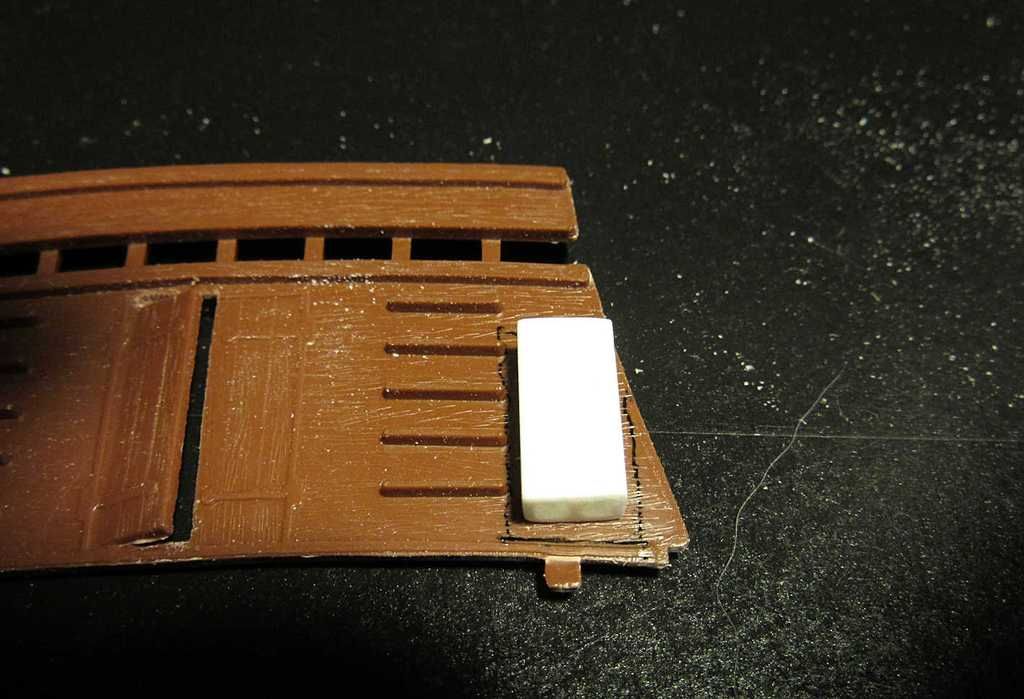
Not painted yet, nor the hole drilled for the light pipe. Oh--I already know that the LEDs will not fit into the base of the table as I first envisioned. I will mount them under the deck.
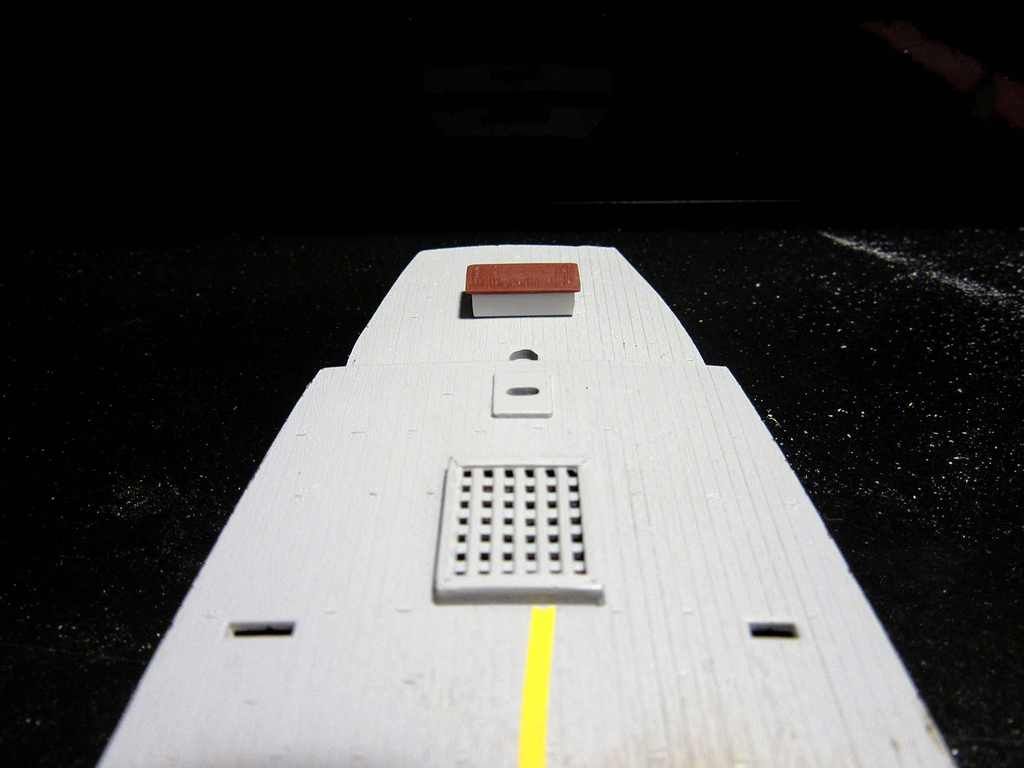
This is roughly where it will be positioned. Subject to change...
I did do some testing with the light pipe. I think that it will work. It should produce a nice flickering effect, a nice scaled down lantern, and a nice scaled down light output. It will be interesting to see how this turns out.
PS: The camera lens distorts the lines. The base looks a little off but that is not how it really looks.