Thank you Scott, now you made me worried ...
*lookingaroundcarefully*
...and Kirill, yes there we go :-)
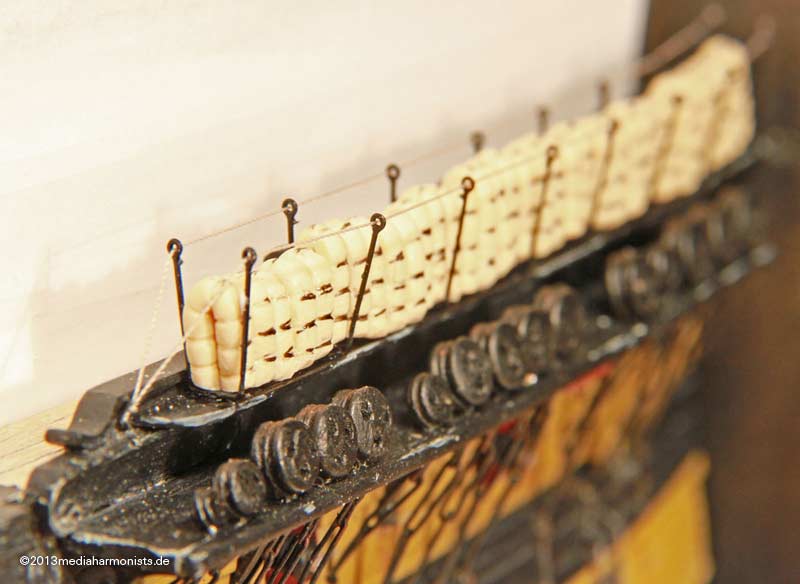
Next intoduced was the top line for holding the netting.


The cranes are bend open for easier handling and black lines of the lashing are mere orientation for me and are not meant to stay.
So far so good, but the next part was a bit scary ...
... on the heads and in the fighting tops of my other build I already tried some netting. But it was quite ridgit and I knew not what would come out now with mor complex forms.
So put the gaze into a cardboard frame ...
... and painted nicely with beige, added some plain white and dirtied it with very diluted black ink.
Easy to see how the appearance became more homogenous.
Then did a test fit and realised how the holes got stuck on the hammock cranes ...
... but it looked ok so far.
Some test handling on the outside ...
... proved that the netting should curl outside instead of inside.
Then introduced some papers as introduction help and introducing the netting was no subject of getting stuck any more :-)
Got the front paper out, adjusted the height towards the rope ...
... and glued with CA the netting onto the rope .
Then used the hammocks to press down the netting ...
... pulled out the back paper and also the hammocks, used pincers to hold rope and netting together and used CA to fix.
Then cut the side length ...
... and the most tricky, cleaning up the top edge with some fine and sharp nail scissors - without cutting the top rope!
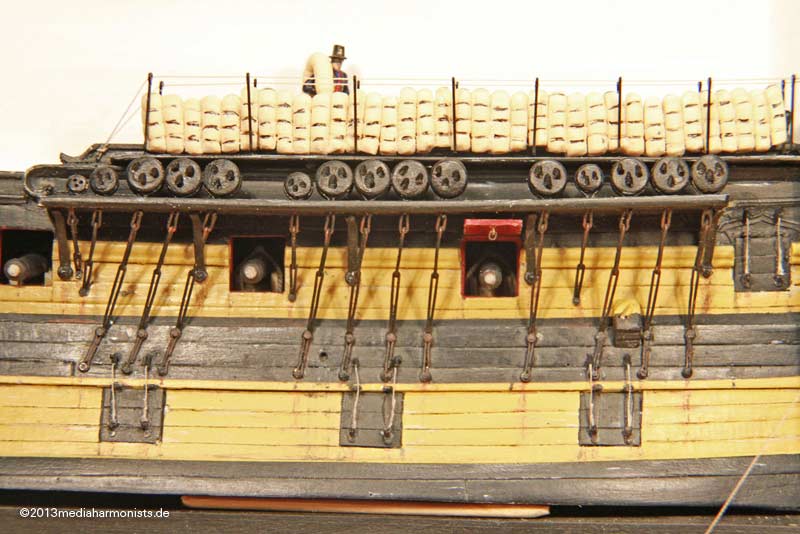
Looks intriguing enough :-)
And another fascinating task, painting the hammocks using my beloved casein paints with all kind of whiter shades of pale ...
... looking if the colors work if hidden behind the netting ...
... some differentiation with some 50 more different shades of ochre ...
... put in place ...
... gently and pushed in :-)
Fascinating!
And as you see on the left - my reference Tic-Tac would even not fit in :-)
Good night and sleep well,
Daniel