I brought the kit home and finally had the chance to see just how off my drawings were. To my surprise, they aren't too bad. The main error was the overall turret plan shape. The model turret was a tad (.08" narrower), but different in length by more and the angularity of my drawing was a bit different. All in all, really close. All the apparatus I've designed so far will fit as it is.
The kit's bottom plate besides not actually being an accurate floor, has a huge opening in the middle which must be closed. The only holes in the turret floor are the rectangular openings for the gun's motion (elevation and recoil), the chases for the powder and projectile hoists.
I measured the circular opening, downloaded what I already had from SketchUp since the openings in the floor were set by the gun's design, and drew the filler piece to close the hole. The hole is rimmed by a 1/16" ledge, so I will either have to get some 1/16" styrene sheet or double it up. I may choose to make the floor and filler pieces out of transparent stock so you can view what's below, but there's some much stuff on the gun room floor you won't see much that way.
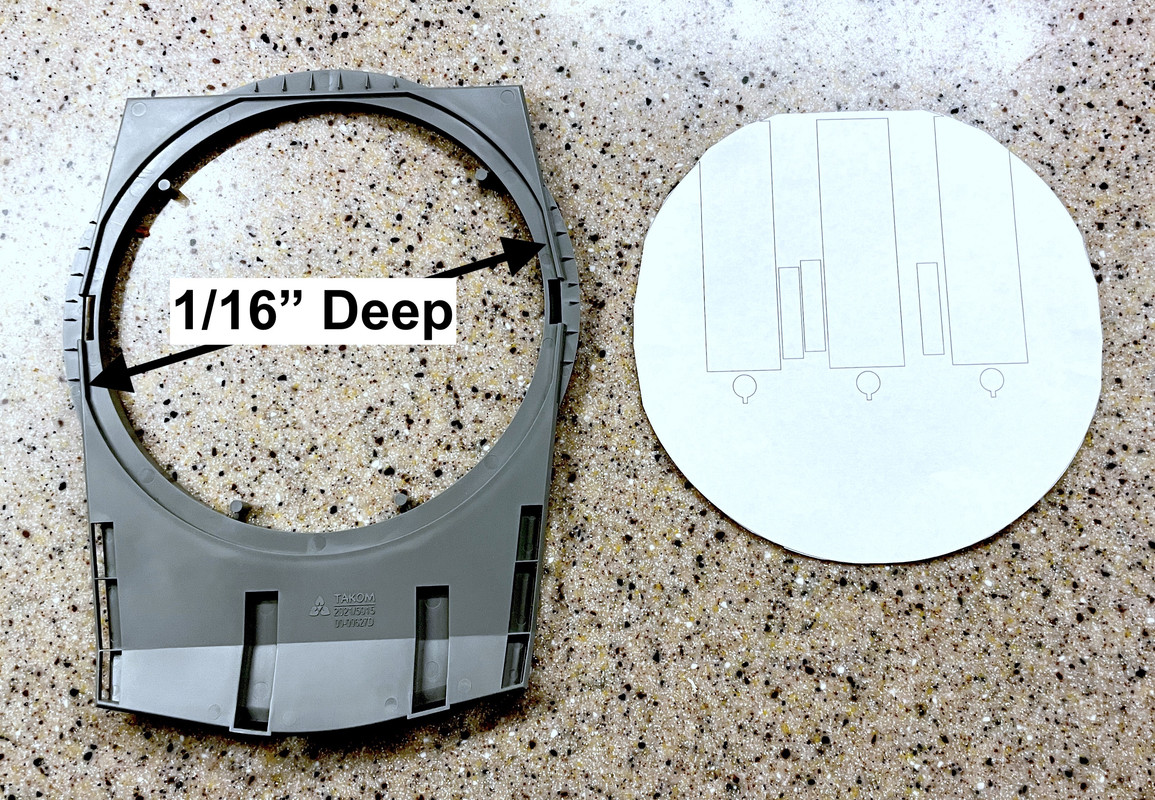
It's not full circle with parts cut off with some angles, but that's not a problem.
Here's how the template fits into the hole. Notice how the gun slots are going to be outside the circle meaning I will have to cut the kit part. I may also have to shorten the slot's length so it stays within the turret's perimeter. The front gun shield swings down into that space so I have to watch the clearances.
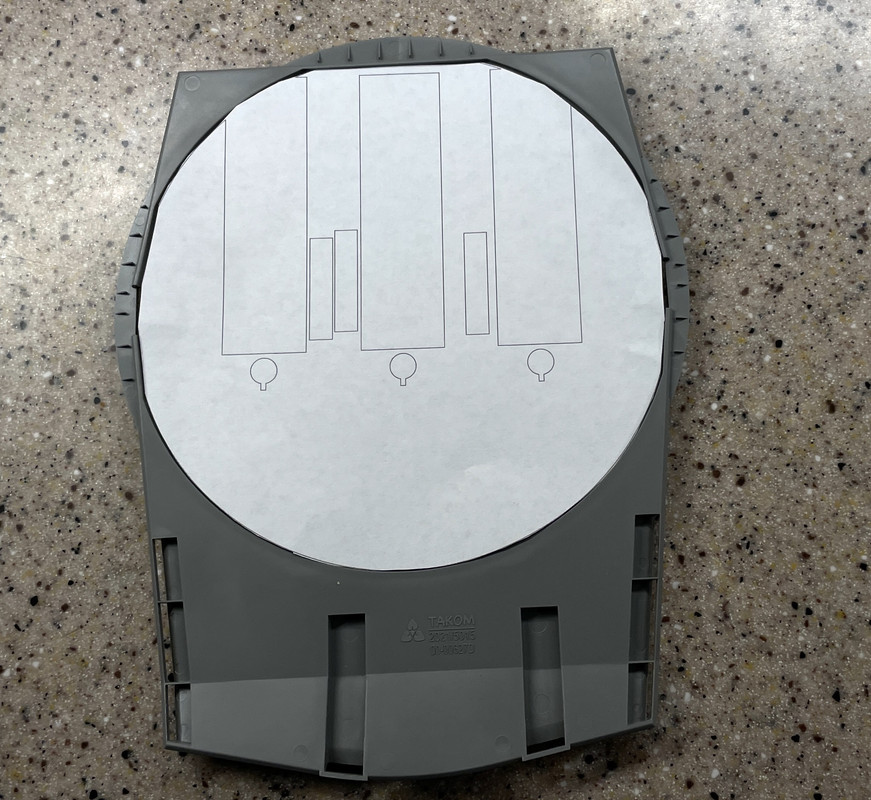
Over this filler will go another flat sheet to provide a smooth floor surface for the entire gun house. This too was created by measuring the space and then printing, adjusting and printing again. It's really nice to have the kit!!
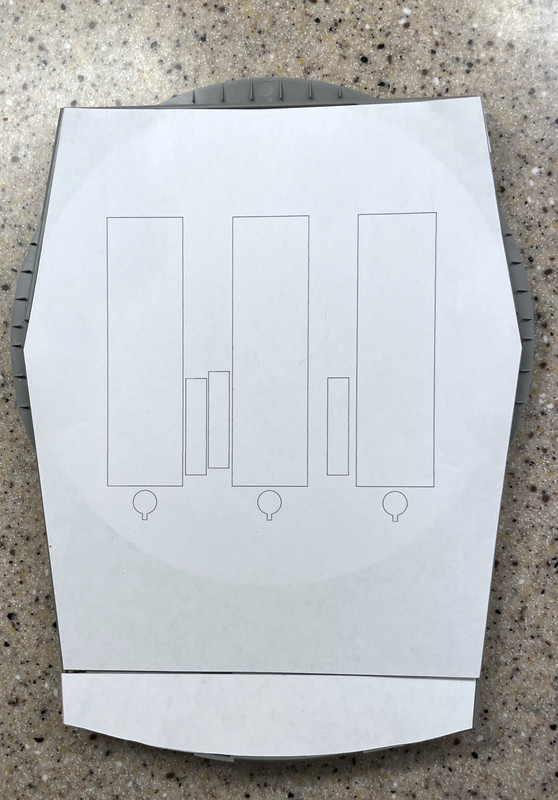
Notice that I'm making it in two parts since the turret's rear has a kickup angle. I supposed I could scribe and bend the styrene to make the angle. In fact, as I'm writing this, I'm thinking that could be better.
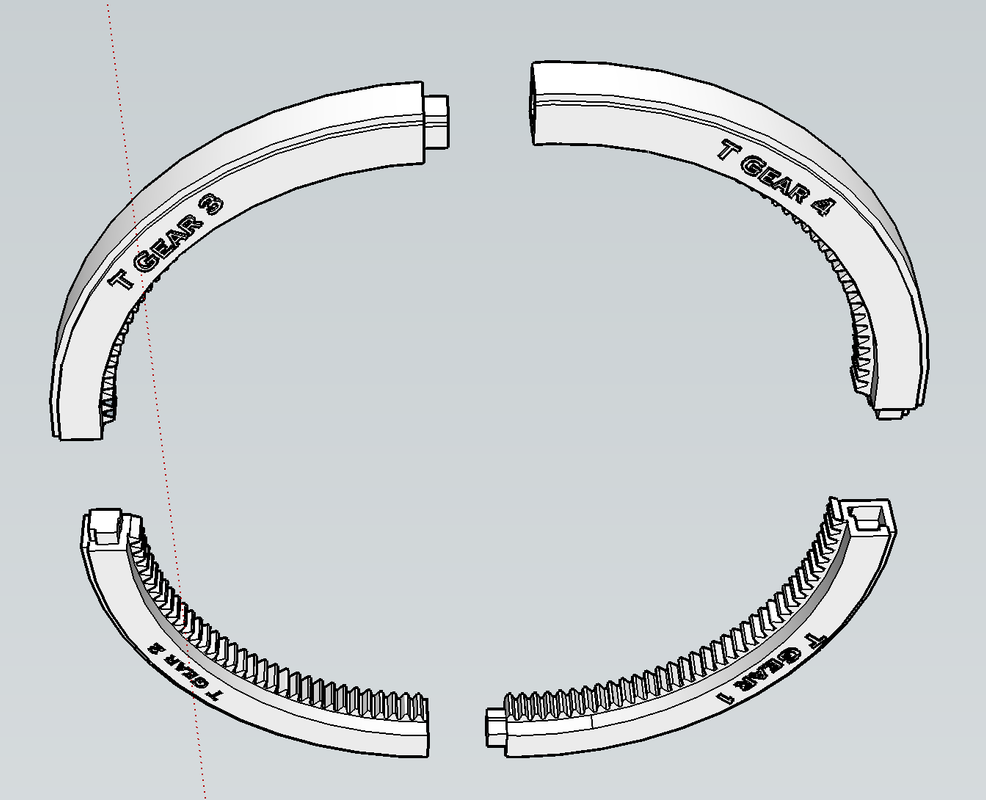
With the actual turning circle in hand, I was able to start finalizing critical parts for 3D printing. I can't print the entire lower bearing race and traverse gear as a single part, or even a half, but I can print it in quarters. I devided it up and provided assembly keys so it goes back together properly. I've recently tried this technique on another long part and it works. I have a software add-in that lets me intersect one object with another an remove material with a mouse click. It worked well in creating the negative space for the keys to engage. This ring and race is a critical component of the finished model.
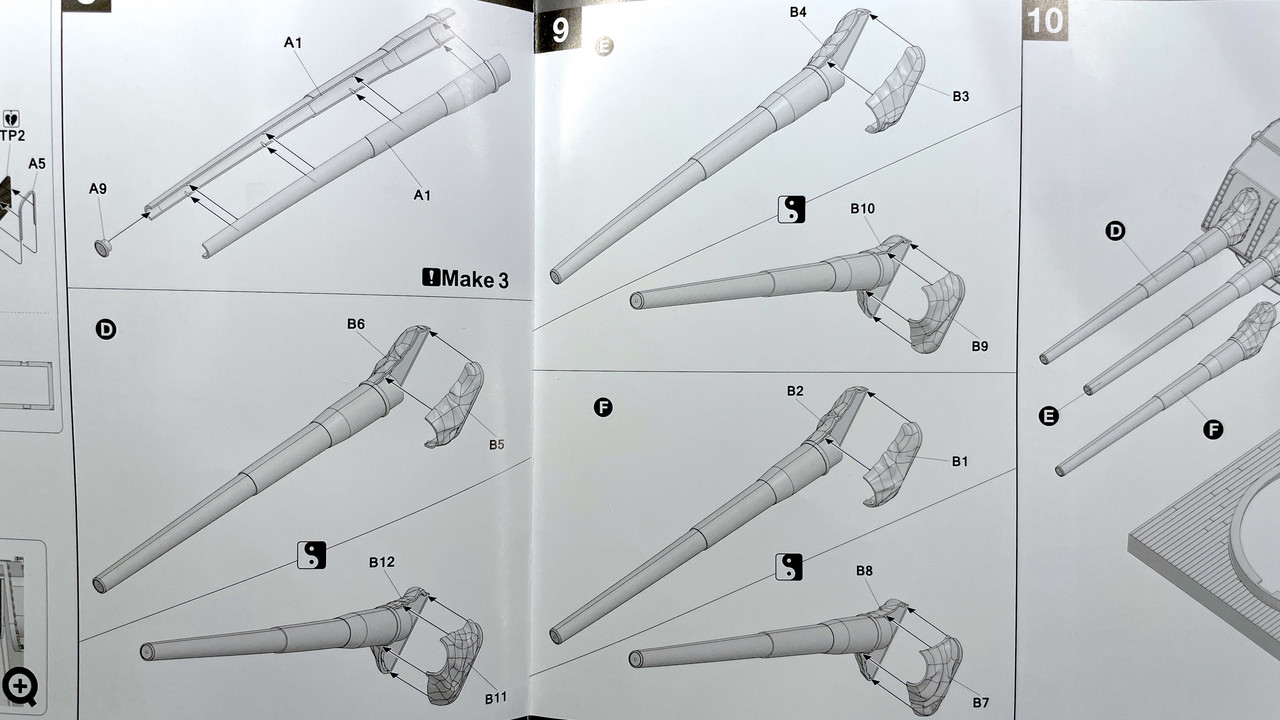
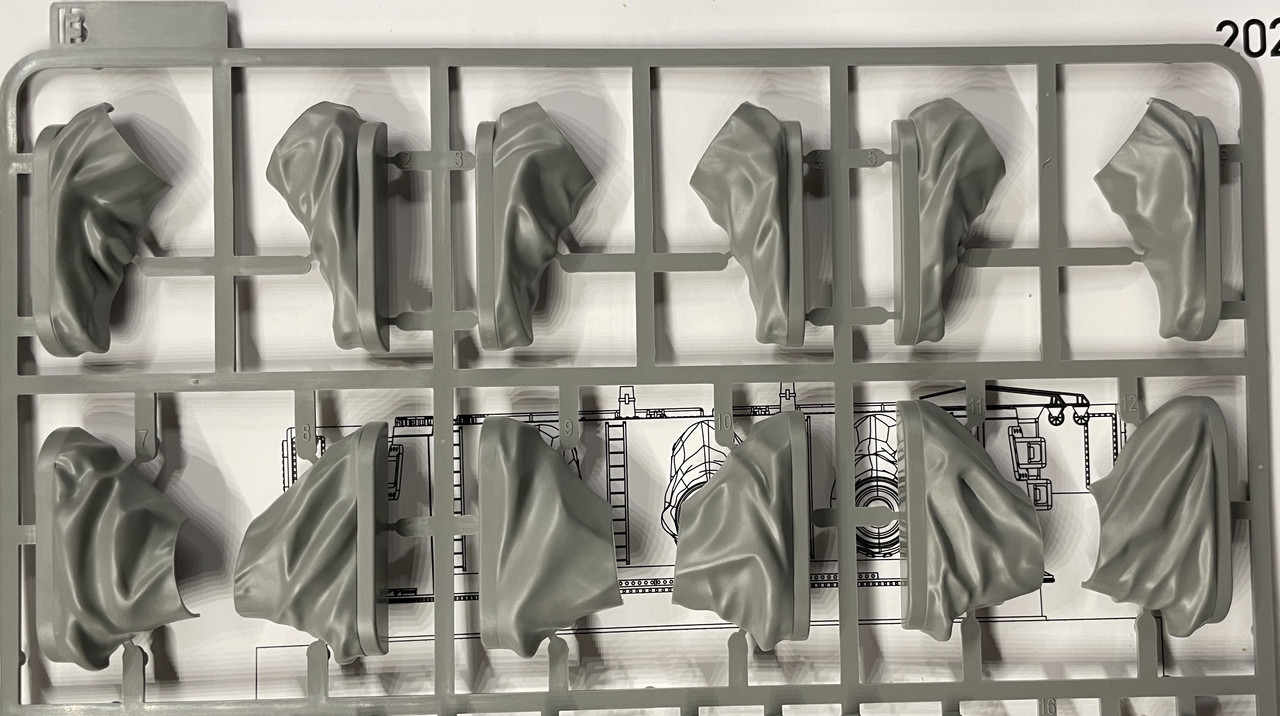
The gun bloomers from the kit are a two-part plastic affair. They come in an depressed and an elevated style. The kit guns glue directly into them. My guns theoretically will be movable, if I can make flexible bloomers. It's one thing to make them look real, but quite another to make them look real and flex.
This is how the kit shows the guns going in. Obviously, with a fully detailed gun behind the bloomer, the kit method will not work.
Here are the bloomer parts on the sprue.
So I woke up this morning working out a method of making a flexible bloomer for this important model. My first thoughts were to coat the outside with silicone mold material in a few thin layers, but the color is wrong an nothing sticks to the silicone especially paint. Then I thought of using Liquid Electrical Tape which is a fluidized vinyl material that is already black and flexible. I thought again of assmbling the bloomer pairs and coating them with this material, but am concerned that the solvent in the liquid tape would not be compatible with the styene.
So I ended my mind experiment by using the silicone material to make a female mold of the assembled bloomer and pouring the liquid tape into the mold, pouring it out again so the material coats the interior, let it cure and do it a couple more times to build up the thickness. This would form a hollowed out perfect replica of the kit bloomer, but it should also flex depending how i can control the thickness. it will be an experiment.
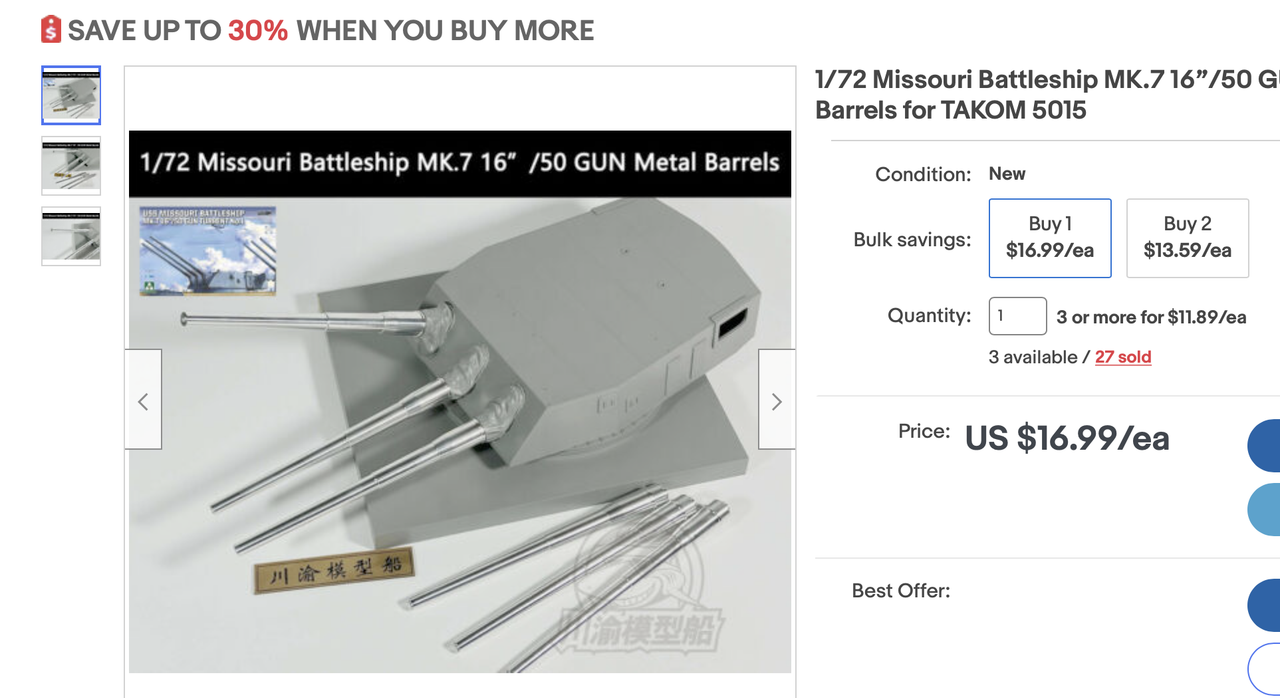
Lastly, I found the metal gun barrels on eBay, directed to me by one my blog readers, and ordered a set for me and two more for the hobby shop as requested by the owner. There was significant price break at three items. They're coming from China with free shipping. The three-item price was $11.89. I really didn't want to mess with the styrene guns. I did use the kit guns to refine the opening diameter in the slide assembly that I've drawn. The beauty of the metal barrels is already having a real metal finish on the exposed slide area. The guns are greased at that junction and I will have to simulate this on the bright aluminum.
The more I do on this project the more challenging it's becoming. There are lots of variables to manage with many part interactions.