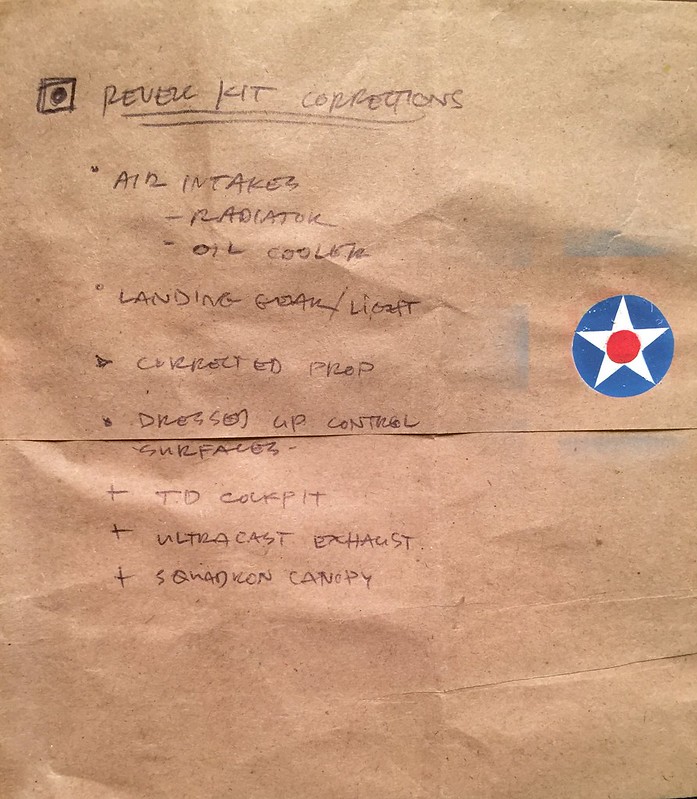
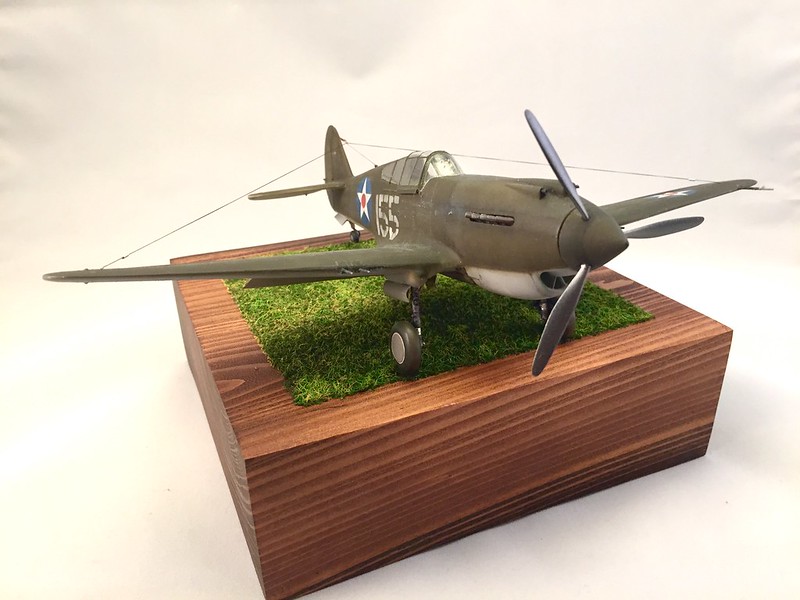
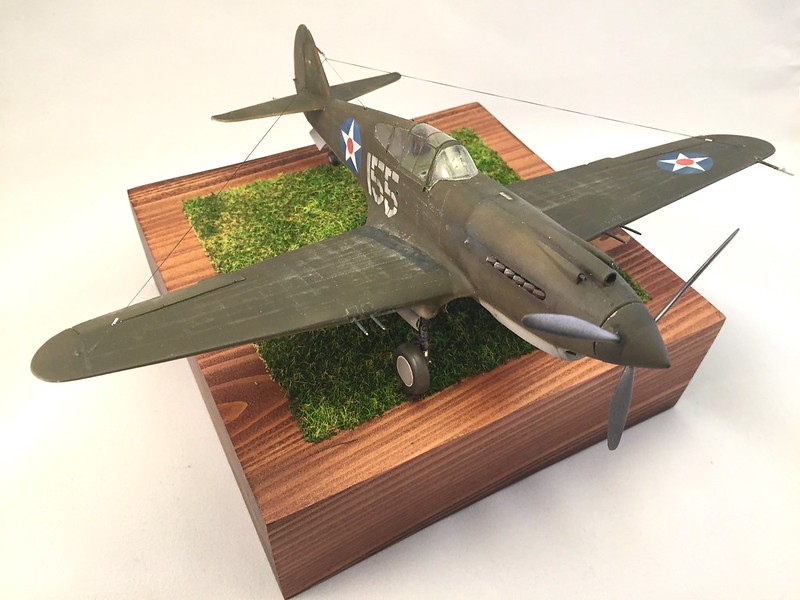
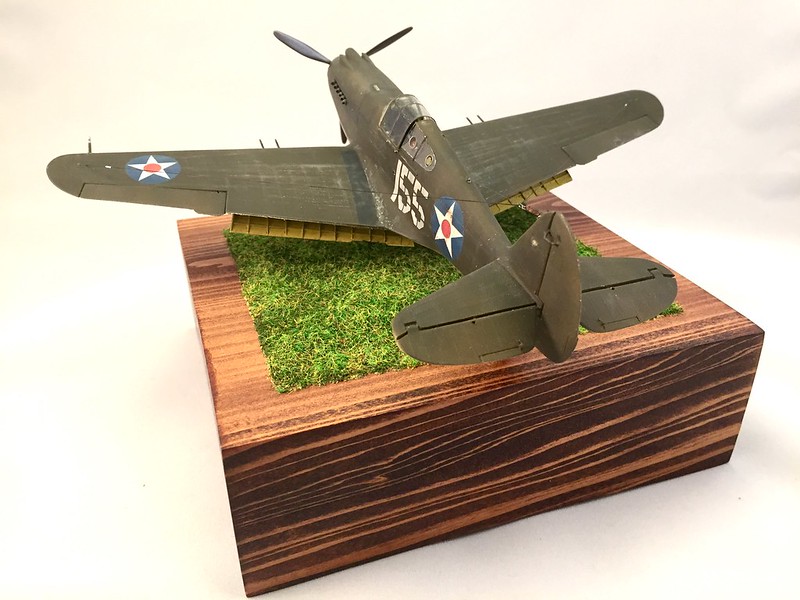
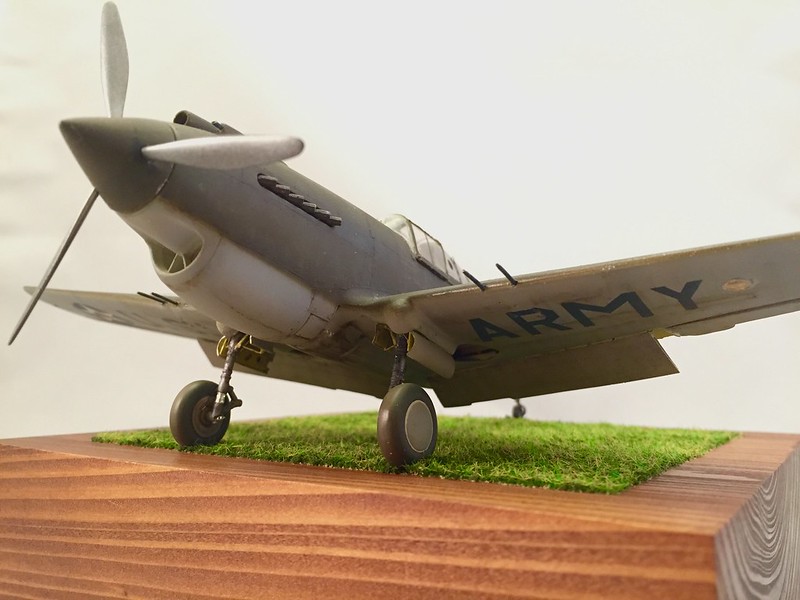
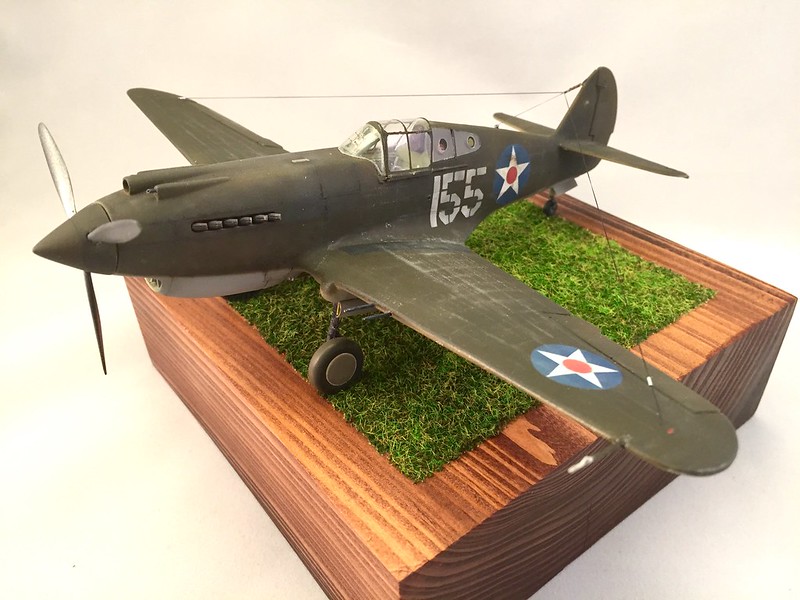
Thanks everyone! I'm so glad to finally call this one complete. So here's what we've done with Kenneth Taylor's P-40B:
 Untitled by Britt Vallot, on Flickr
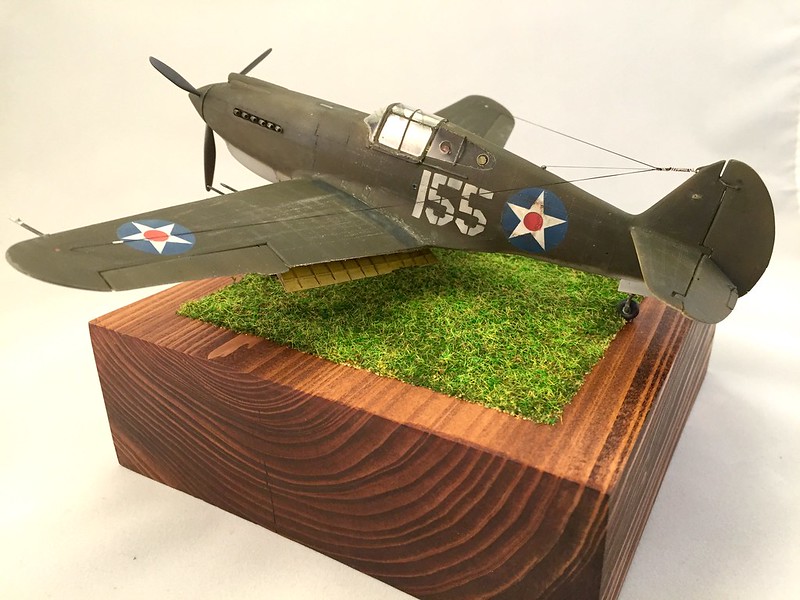
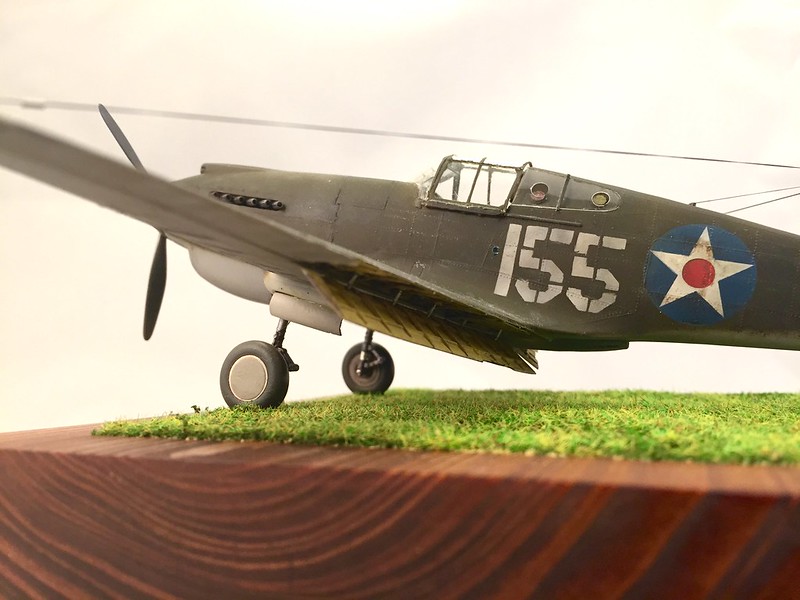
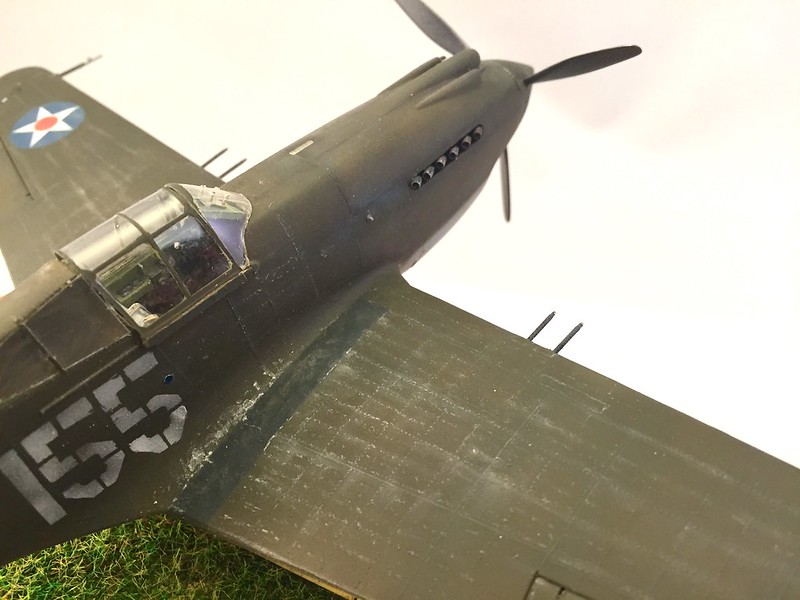
Fixing the intakes for the oil cooler and radiator, goes a long way to dressing up this hawk. The landing gear/bay and landing light are also nice additions. Both of these are fairly simple and can be done by anyone with enough patience for it. The rest are really your run of the mill add ons to polish an already nicer build. =]
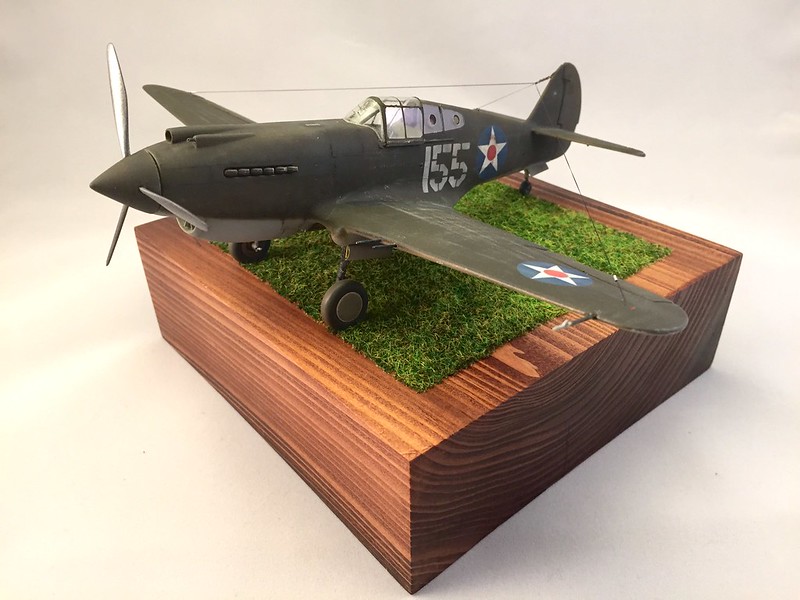
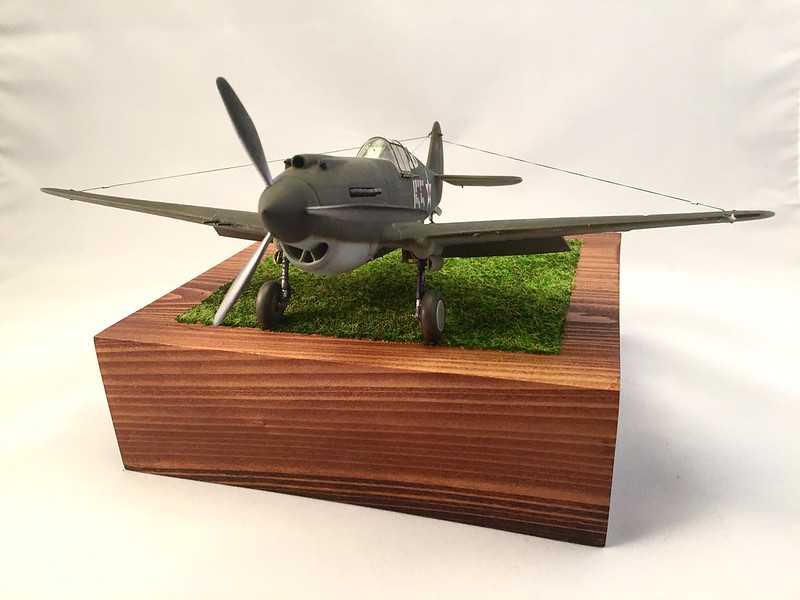
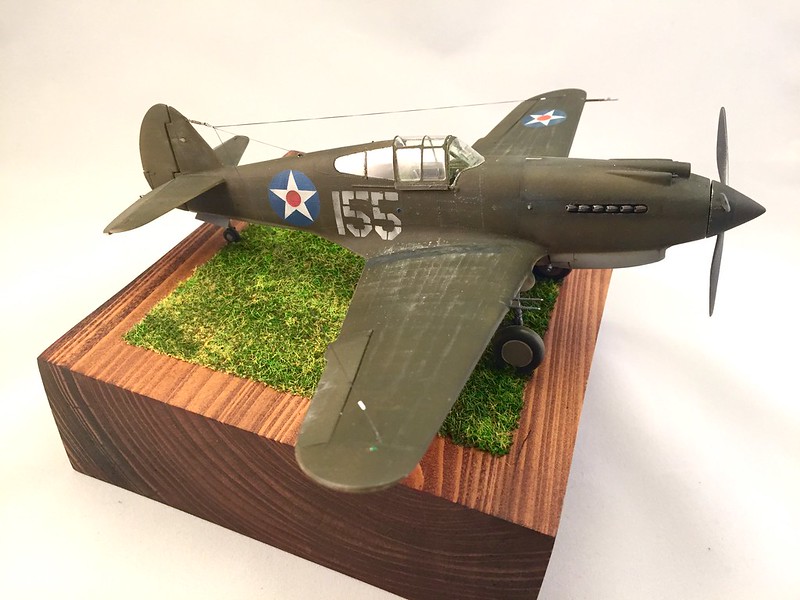
I apologize if this is too photo heavy. I wanted to give a once around and a couple of details of what's going on.
 Untitled by Britt Vallot, on Flickr
 Untitled by Britt Vallot, on Flickr
 Untitled by Britt Vallot, on Flickr
 Untitled by Britt Vallot, on Flickr
 Untitled by Britt Vallot, on Flickr
 Untitled by Britt Vallot, on Flickr
 Untitled by Britt Vallot, on Flickr
 Untitled by Britt Vallot, on Flickr
 Untitled by Britt Vallot, on Flickr
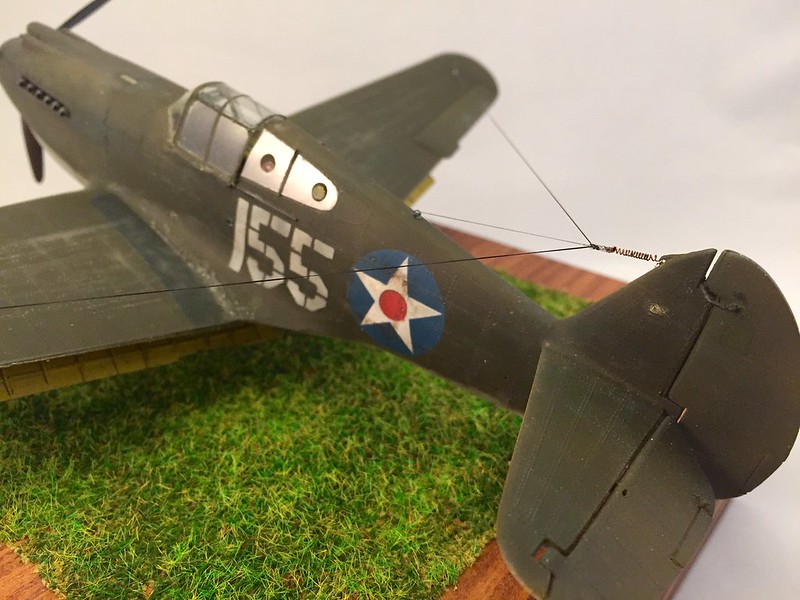
Detail of the spring and tie down for the aerials
 Untitled by Britt Vallot, on Flickr
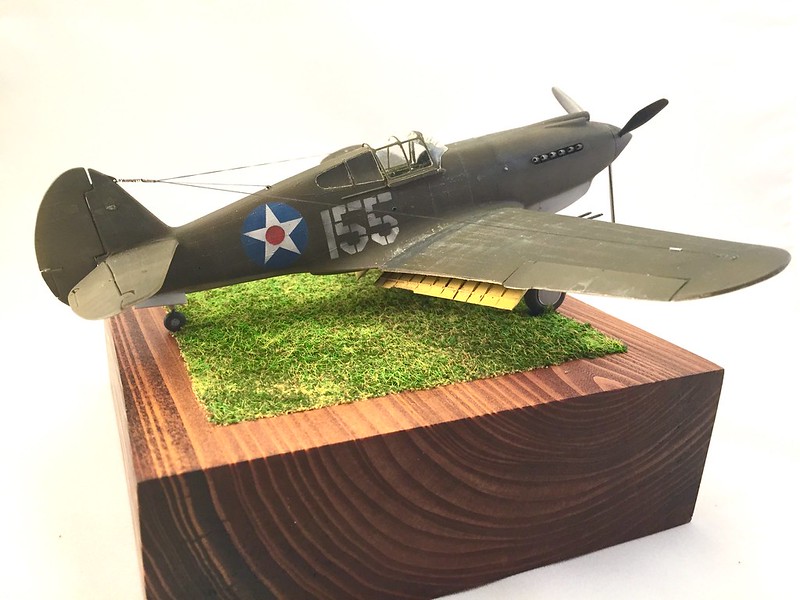
Detail of flap interior
 Untitled by Britt Vallot, on Flickr
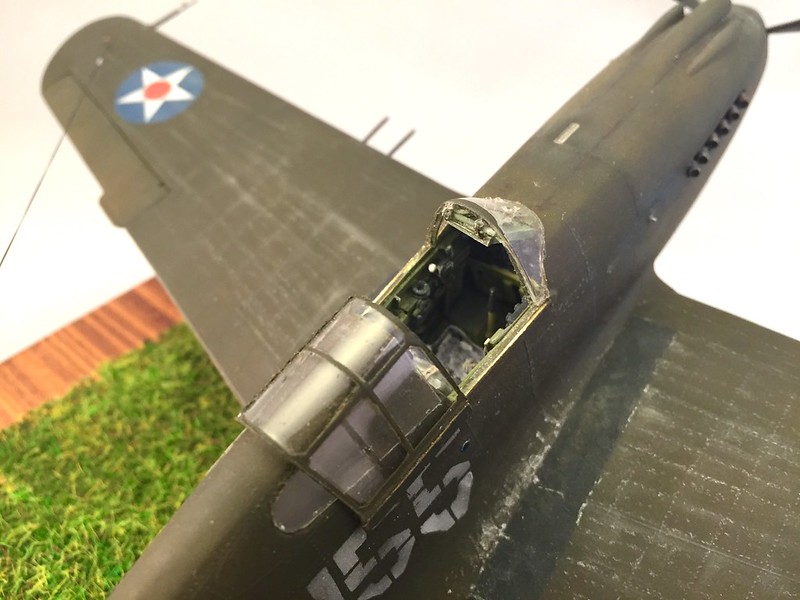
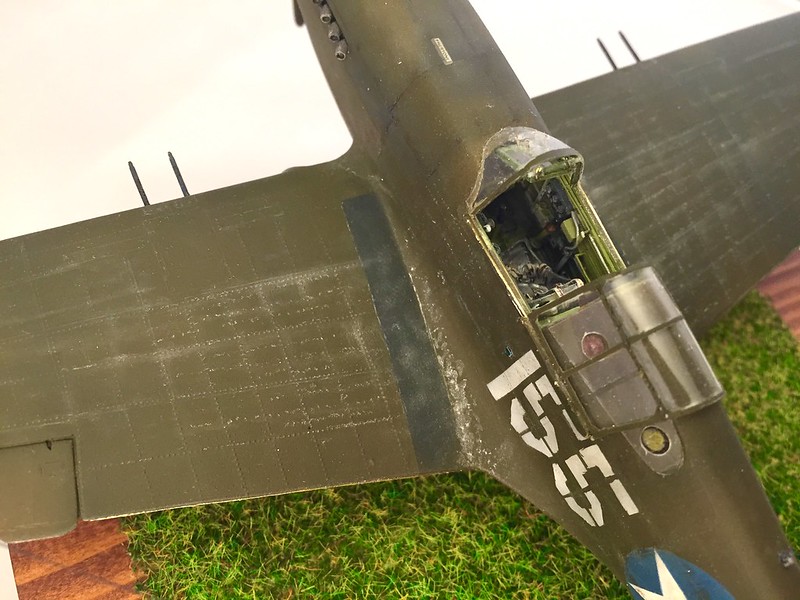
Detail of cockpit
 Untitled by Britt Vallot, on Flickr
 Untitled by Britt Vallot, on Flickr
 Untitled by Britt Vallot, on Flickr
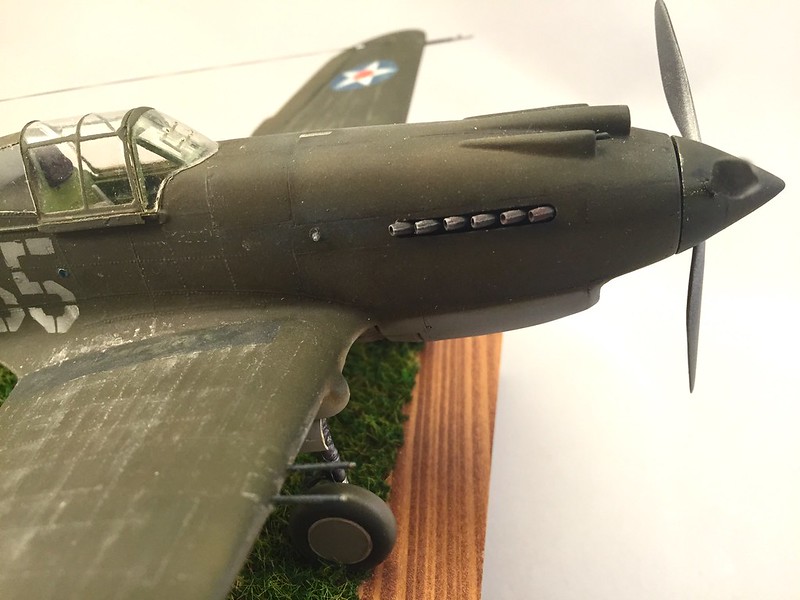
Detail of exhaust, .30 machine guns, static pitot tube, and rivet detail and weathering
 Untitled by Britt Vallot, on Flickr
 Untitled by Britt Vallot, on Flickr
 Untitled by Britt Vallot, on Flickr
She's a beautiful thing! I love the lines on this plane and I could stare at her for hours. =] I hope others out there try some of these tricks. I'm already happier with this one knowing I went the distance. It's really not so bad.
 Untitled by Britt Vallot, on Flickr
Comments, questions, critiques are all welcome.