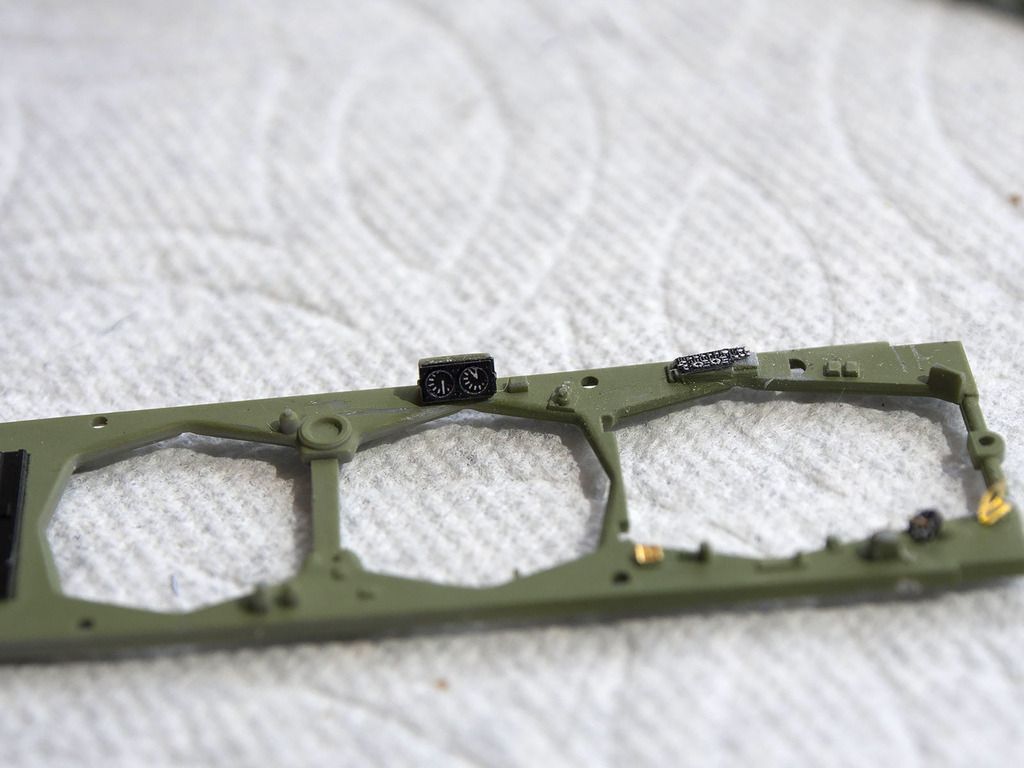
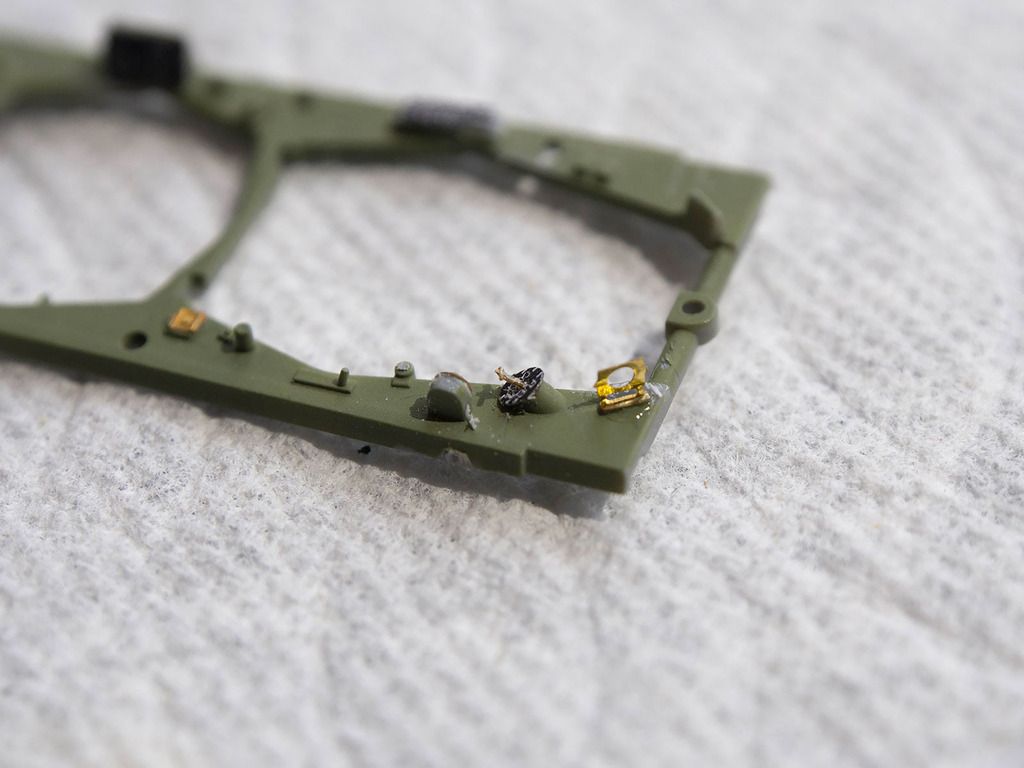
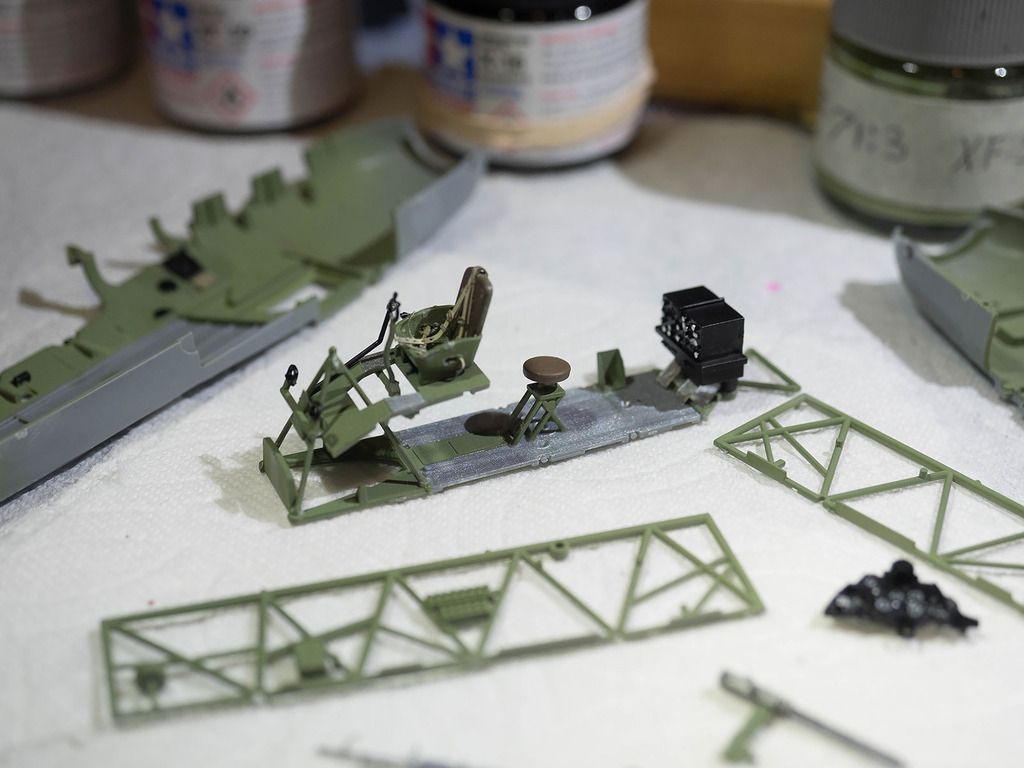
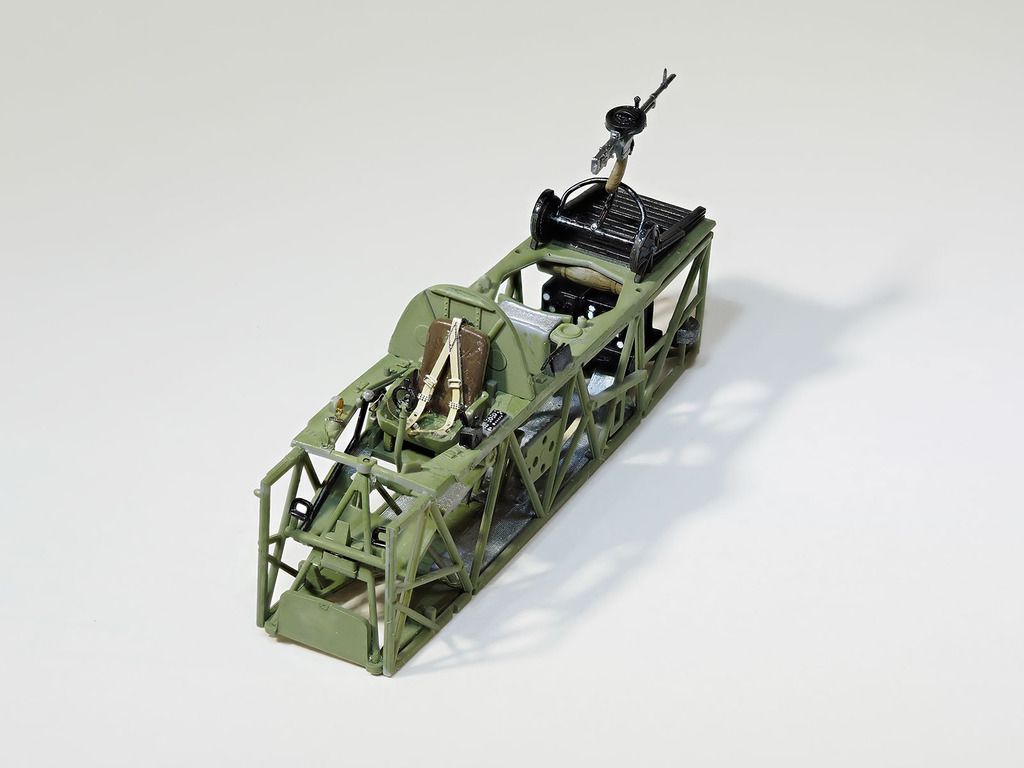
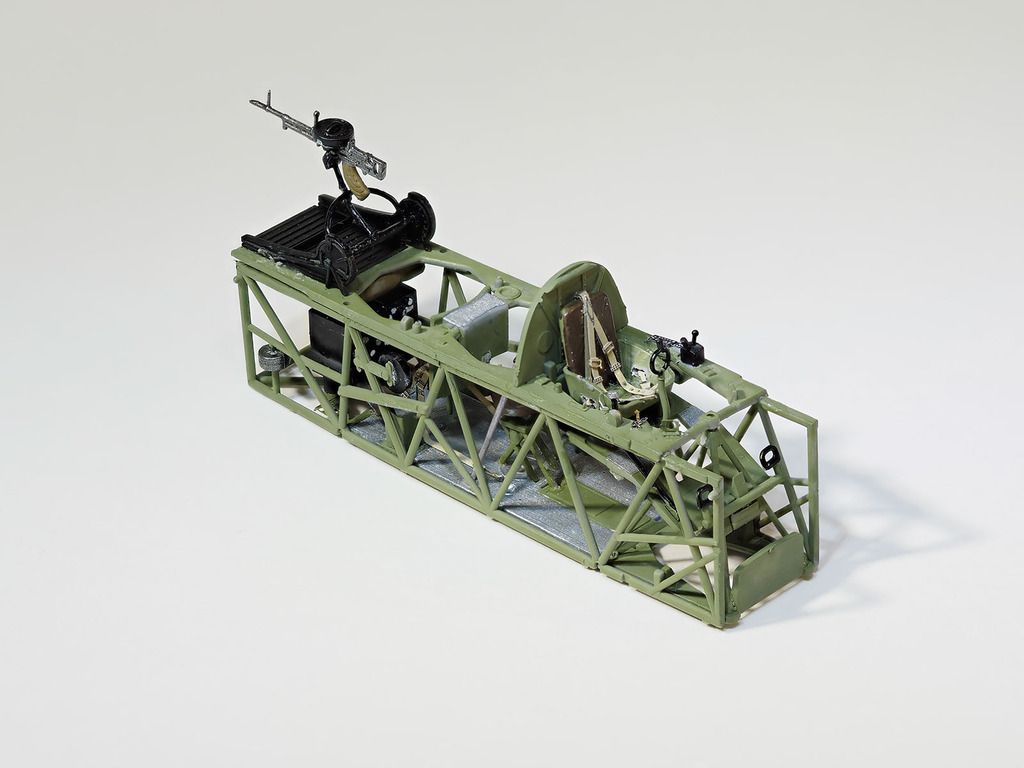
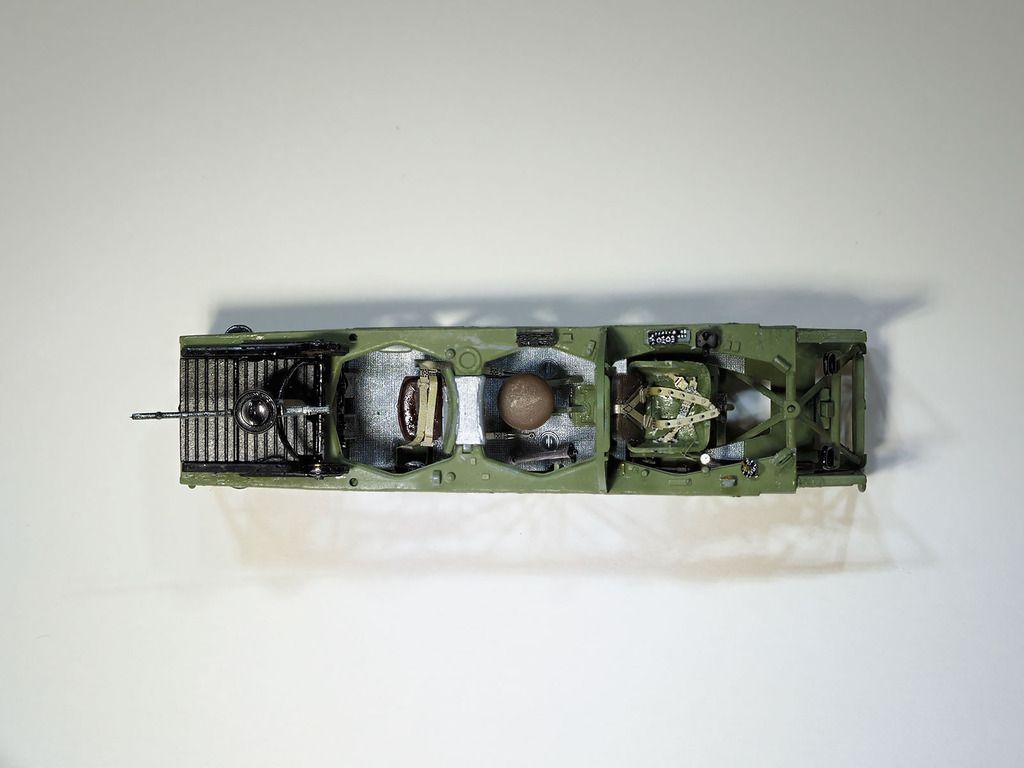
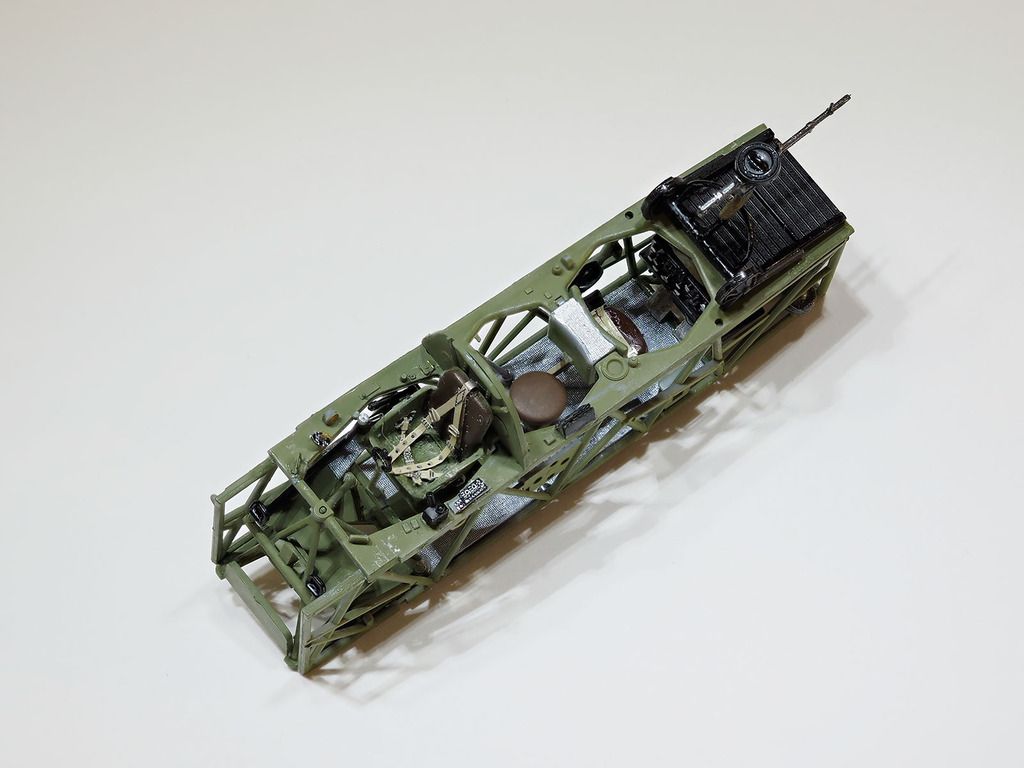
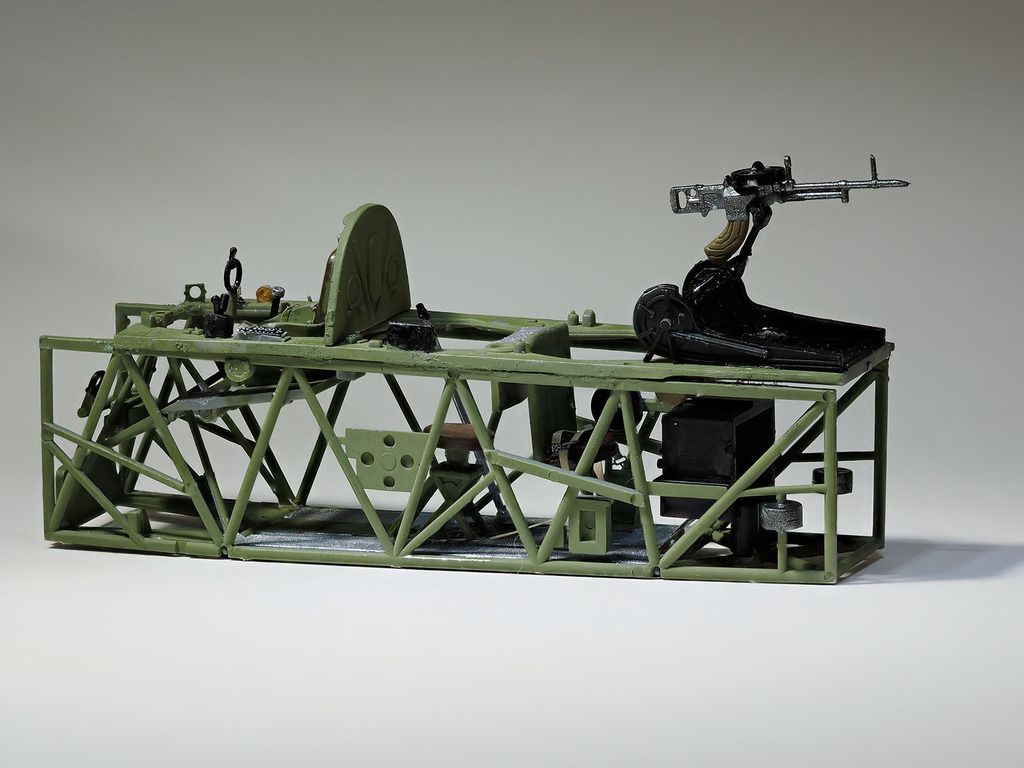
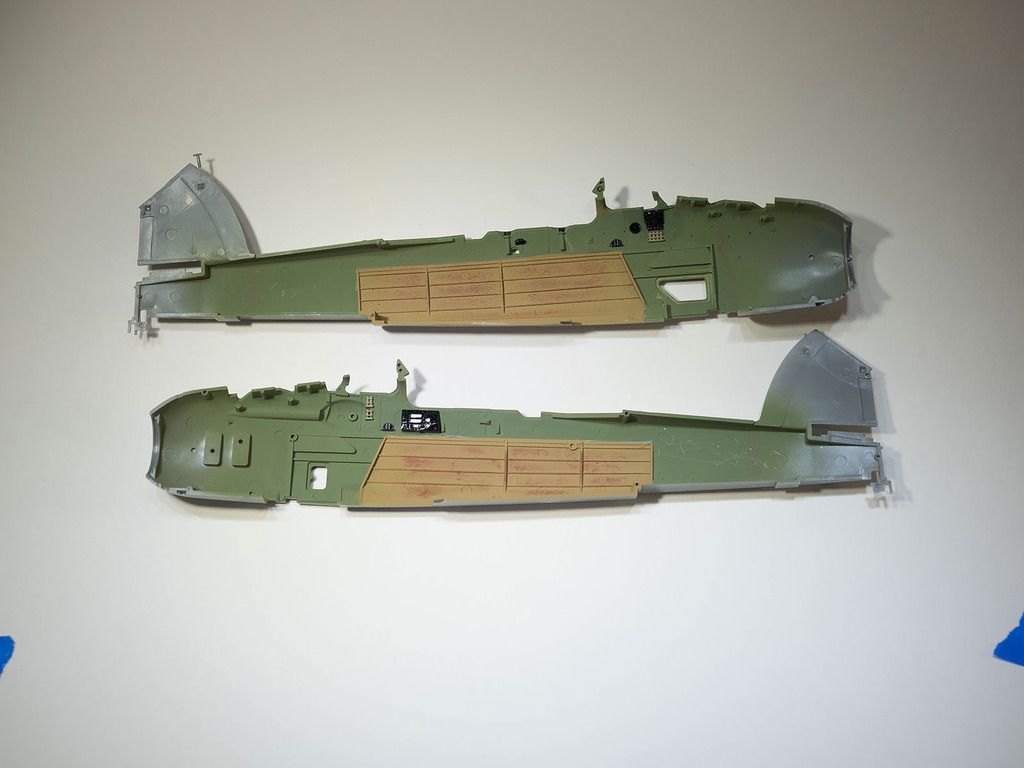
OK, I've done a little work on the cockpit but I've also, in my zeal to take a few pictures of my progress, broken off the machine gun from its bracket. I've glued the gun back on but I've taken the liberty of adding some CA/acrylic powder to the join that will no longer conform to reality. Too bad but on we march!
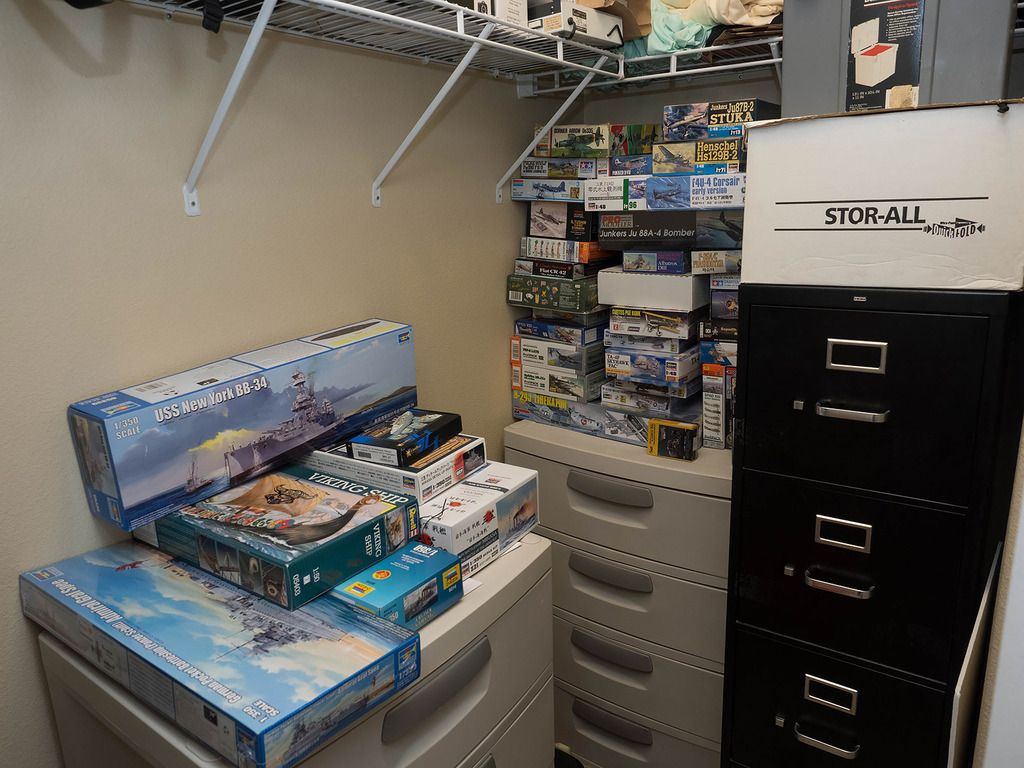
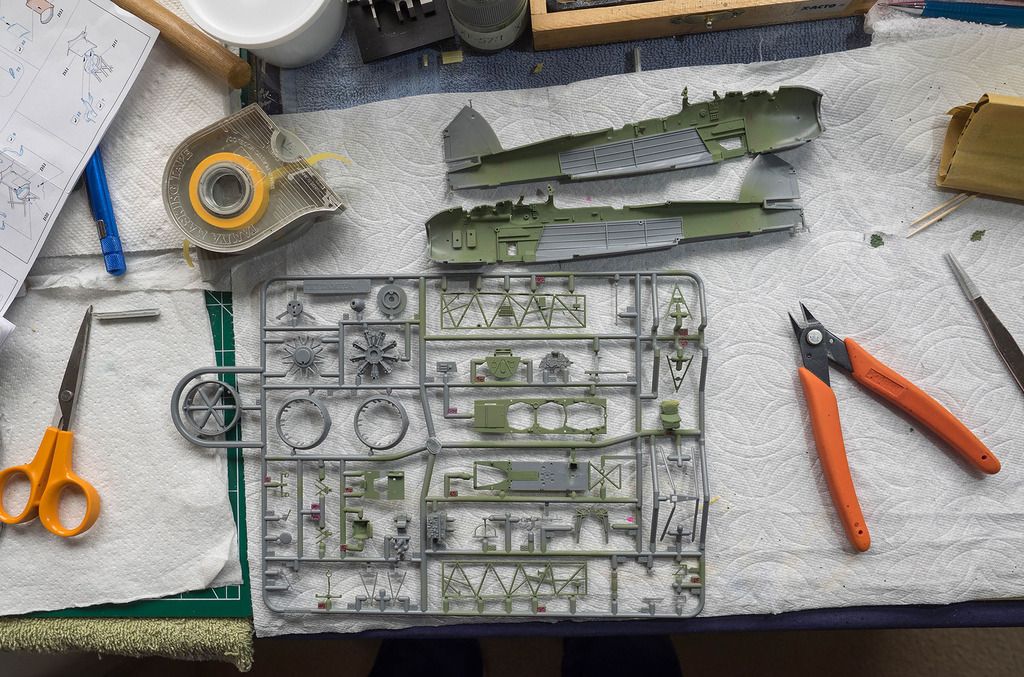
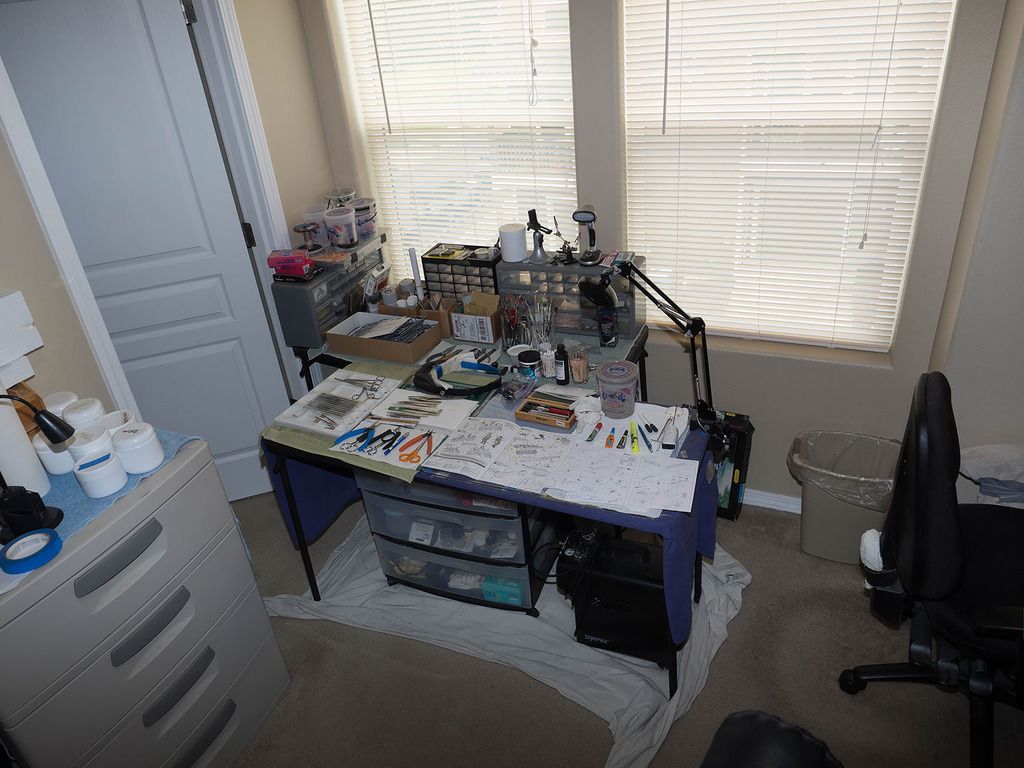
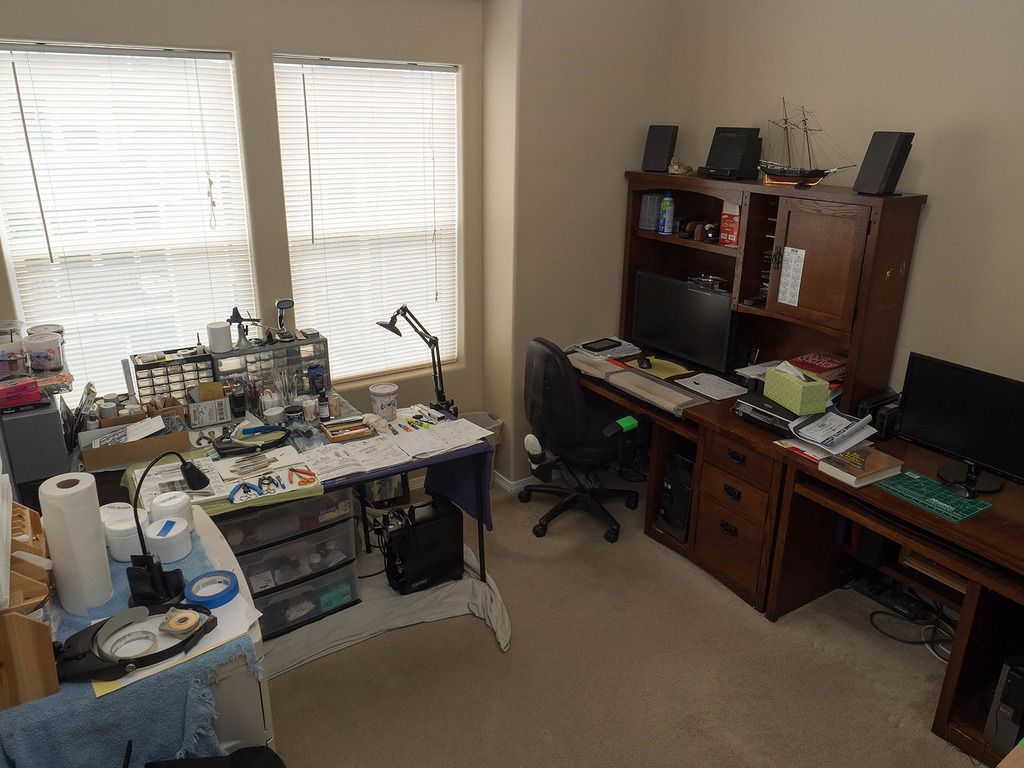
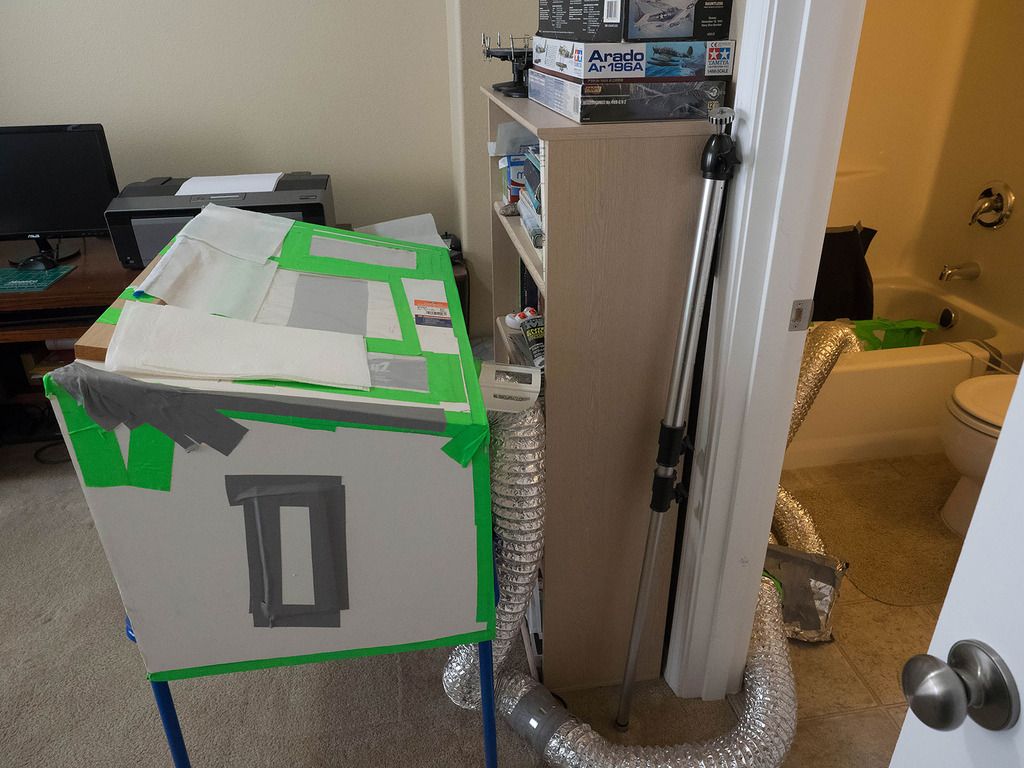
First, some pictures of my work area. It's the small, second bedroom in my condo that I've converted to my hobby room.
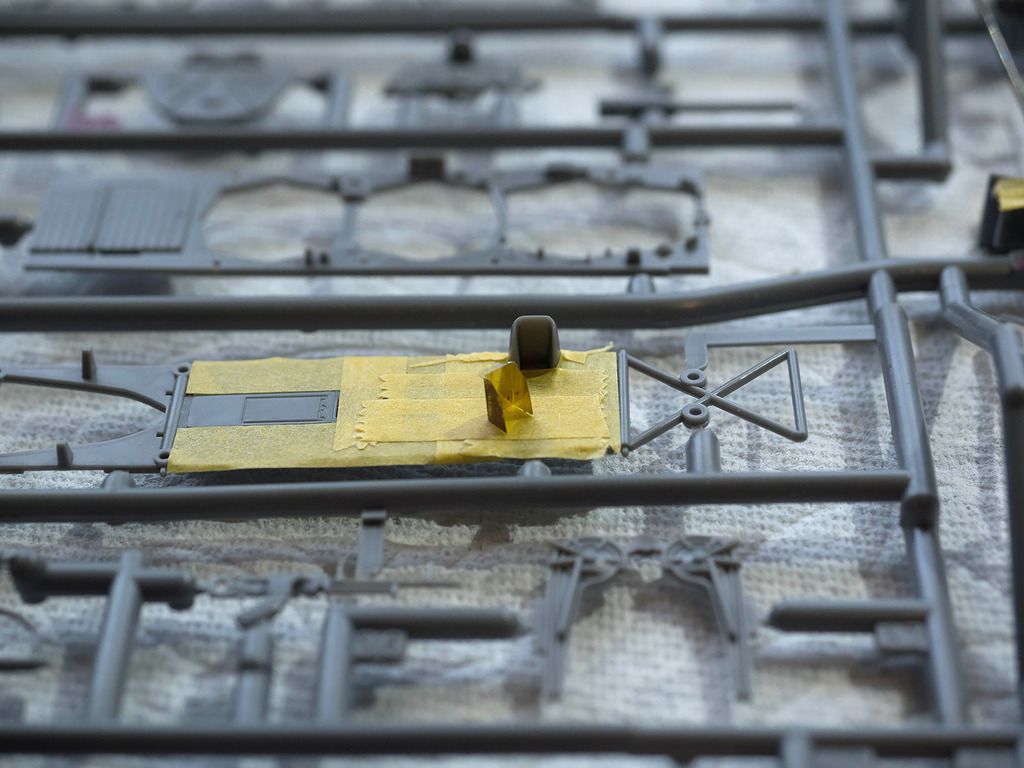
Then follow several pictures in order of my progress. I've used a few parts from the Eduard PE set - mainly got it for the seatbelts (that's another story  - coming up).
I mixed up Tamiya paints to get something that might be passable as the interior green in the Swordfish cockpit area. I used XF-71:3, XF-57:1, and XF-58:1 if anyone's interested.
Back to the seatbelts - I added the pilot's belts without too much difficulty although I left out several parts that were just too tiny for me to work on - remember shaky hands, etc.? Then a couple days ago, when I had most of the parts of the cockpit ready to assemble, I did so without having added the seatbelts to the gunner's chair  . Yesterday I made an attempt to add the belts that are attached to the aluminum floor and draped over the gunner's seat. I think I spent at least a frustrating hour trying to pre-bend them in a way that would allow them to drape over the seat and lie more or less flat on the floor of the pit. Getting them in there after having glued the sides of the cockpit together was a lesson in paying more attention to thinking ahead
  .
.
I'm not very neat and tidy - I try, it just isn't in my DNA to do the fastitiously realistic work I see done on this site all the time. But I'm enjoying myself immensly while trying to get this stringbag together.
Mike
First shot of bench
Wider shot of bench and desks - shot #2
Paint booth and bathroom - shot #4
Hobby room closet stash - shot #5
