Theuns, it's hard to tell in the photos that anything looks wrong. I think what you have there looks just fine. =] But I can imagine the camera and lighting may not always reveal imperfections you can feel and also see with your own eyes. Still, you're beastin' this build out. It's looking great! =]
FightnJoe: That 1:32 scale looks so much nicer to work with than what I'm beginning to look at. =P All the tiny rods and wires and mechanisms just seem near impossible to pull off for the 1:48. I'm not going to be rushing any of this here. Once I get past setting up the cockpit and firewall for the engine mount set up, I think the rest of it will start to wrap up more quickly.
Your cockpit is looking pretty sweet by the way.
Nothing too new for at the moment. I've been dreadfully careful about releasing the two engine cowls on the left side of the fuselage. I want them to fit snugly without a large gap when they are closed.
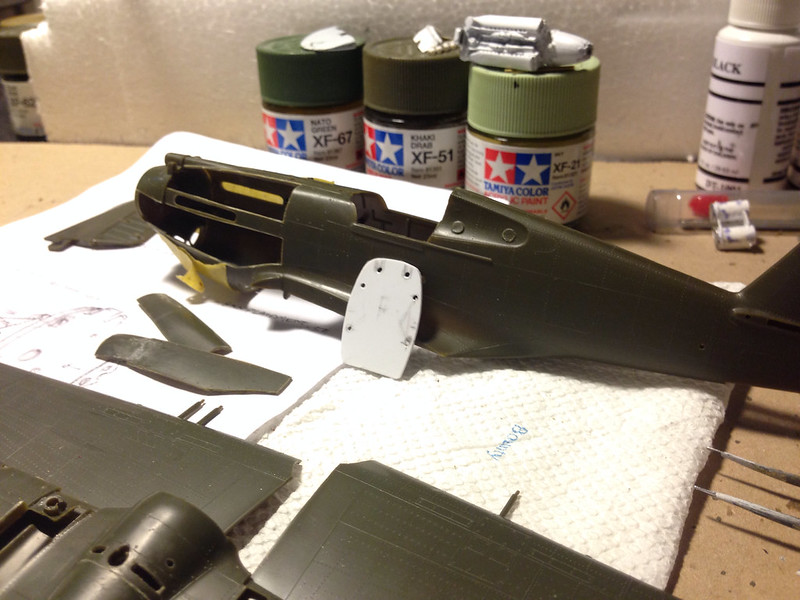
image by brittvallot, on Flickr
So far I have one piece fitted to the kit part that comes separate. It will require a little more attention, but I feel good about it so far. I've also thinned down the panels to better approximate the scale here.
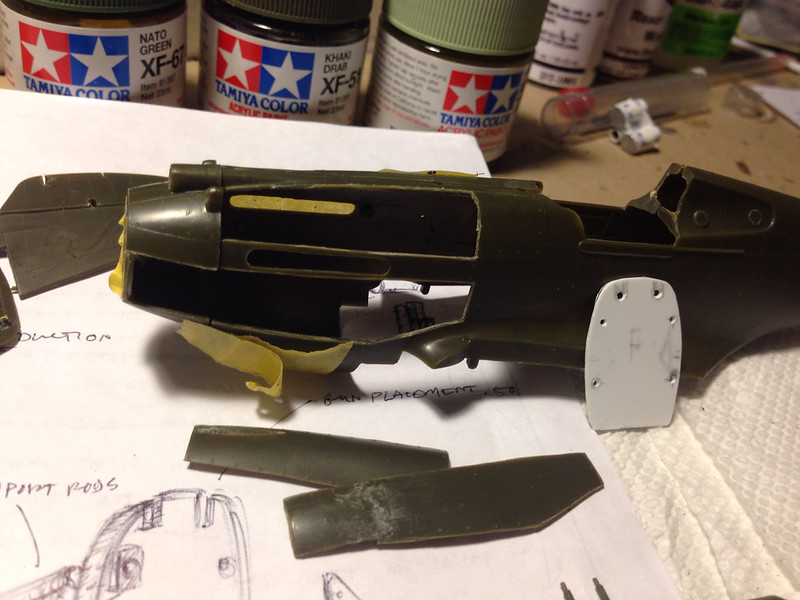
image by brittvallot, on Flickr
I've also started working on the firewall and locating mounting points for the engine.
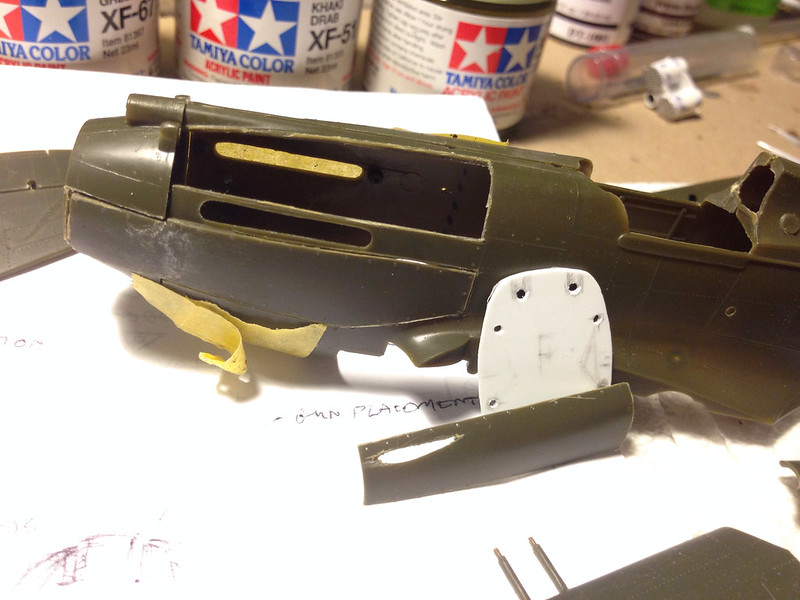
image by brittvallot, on Flickr
Still working on it...
I certainly welcome any advice from others who have been here and done this before. This will be the first time I've attempted opening up the cowls and modeling the engine this way.
=]