Theuns, that's coming along nicely. How would you compare the 1:32 kit to Trumpeter's 1:48 so far?
I still haven't gotten too much noteworthy accomplished on this P-40. I'm slowing down a bit to address a few things:
1. I was looking at the fuselage fuel tank, and on the True Details AM cockpit it's made to be a flat panel. I realize this will get covered up by the seat but I wanted to make it anyhow for the practice (and incase it's at all visible). So I'll be scratch building it.
2. I learned from my mustang that some things are better to reach and deal with before you close up wings/fuselage and so forth, so the rudder horn that controls the swing of the rudder will get scratch built along with the actuators for the trim tabs and elevators.
3. I'm also building up the engine and the mount...so I have to get that measured out and stuck in there before anything else gets put in and closed up.
But here's where I'm at right now...
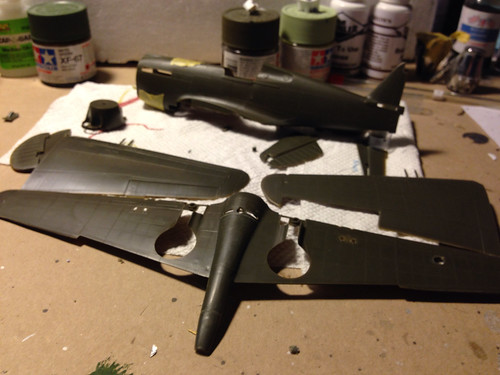
image by brittvallot, on Flickr
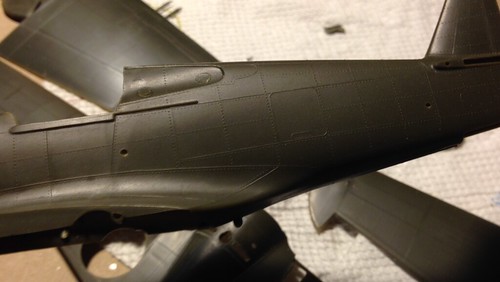
image by brittvallot, on Flickr
I've drilled out the nav lights on both sides of the fuselage as well as the lift point on the back end. They were drilled part of the way.

image by brittvallot, on Flickr
I'm riveting the wings here (lightly) in an effort to bring some of this out with some weathering. I'll repeat this on the fuselage as well as appropriate.
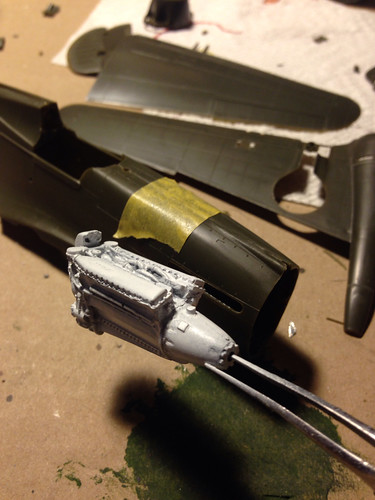
image by brittvallot, on Flickr
This is the Allison V 1710-33 that I got from Engines & Things already cleaned, trimmed, and primed.
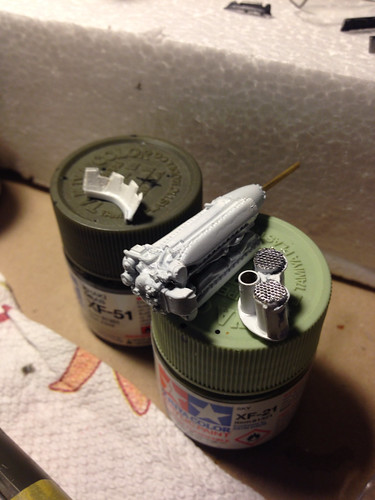
image by brittvallot, on Flickr
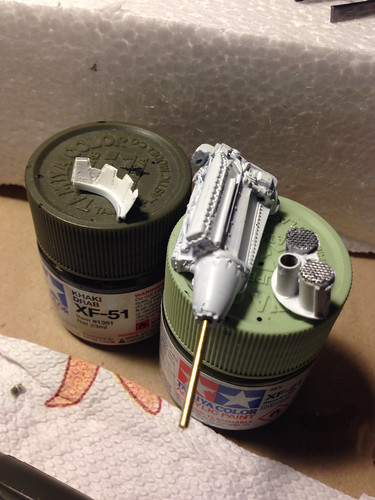
image by brittvallot, on Flickr
It appears as though the Ultracast exhaust stacks will need a shim in order to appear correct poking out of the fuselage. So that's one consideration to make. But I am very happy with this engine. Now I just need a way to show it...