Welcome aboard ygmodeler4!
I believe I will be putting together an Allison V-1710-33 engine for this P-40B I'm doing. I found a resin block from a Canadian vendor Engine & Things. Give them a look. They have quite a few engines for variants that you won't find ordinarily. Now the problem I'm looking at is how to display this engine. I had originally planned to place it in flight. I've found tiny round magnets that I may place inside to attach to a panel that covers it. Only, I haven't actually done this yet to uncover any pitfalls along the way. Anyone who's had any experience with this...I'd more than appreciate some pointers. =]
I did however manage to get the cowl flaps started. I cut off the kit flaps and replaced them with plasticard. Next, measured out a thin ring to secure them on.

image by brittvallot, on Flickr
I glued the flaps in place (in an open position to show more of the radiator and engine block.
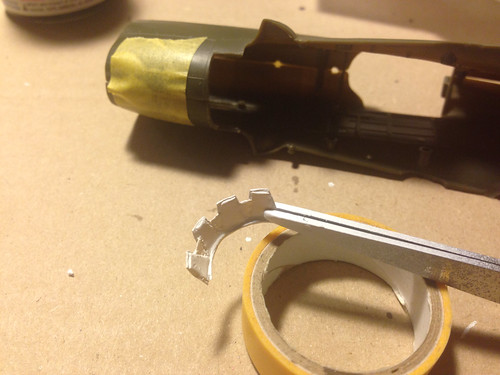
image by brittvallot, on Flickr
The aluminum band that these flaps would fit over like a sleeve was too thin for me to cut and shape. So instead I settled for tamiya tape with a coat of primer to seal it.
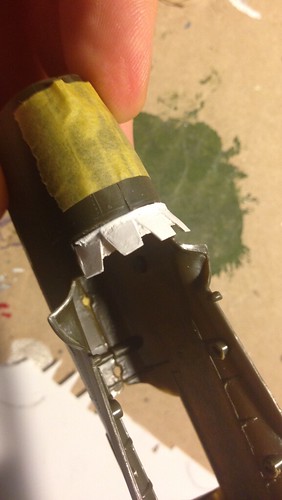
image by brittvallot, on Flickr
The inside of the flap was filed down to resemble the piece that receives the aluminum band. The tape was cut to this and smoothed out.
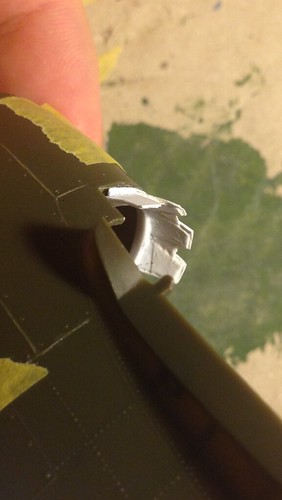
image by brittvallot, on Flickr
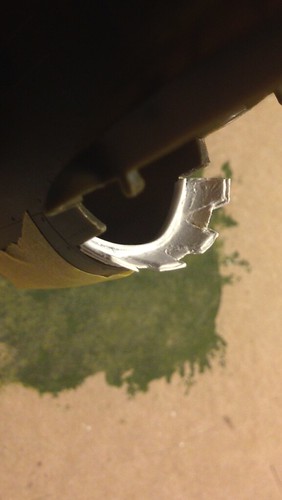
image by brittvallot, on Flickr
That's where I am for now. I'll build up the actuators for the flaps once I get the engine fitted and the mounts rigged up. That way I'll know better how all this stuff with fit. =]