Hope you find what you want at a decent price, RBaer.
A bit more progress to report -- the tracks are done, they took some days as the repetitive nature of the process is somewhat tedious. See my blog (address in my sig line) for a workshop on the method -- suffice to say it takes six stages and was done mostly in Tamiya Acrylics...
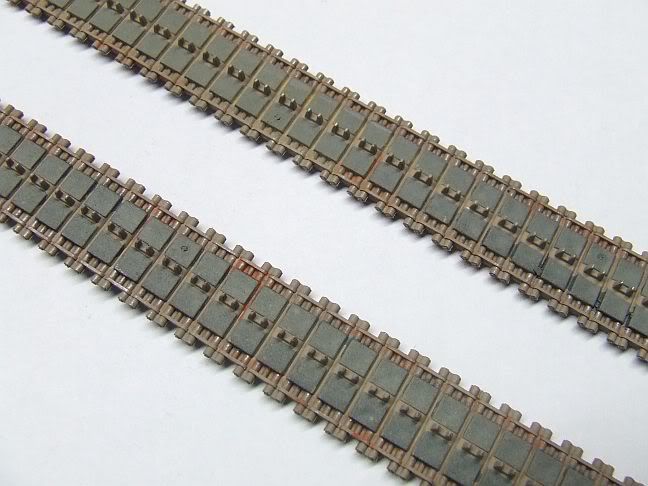
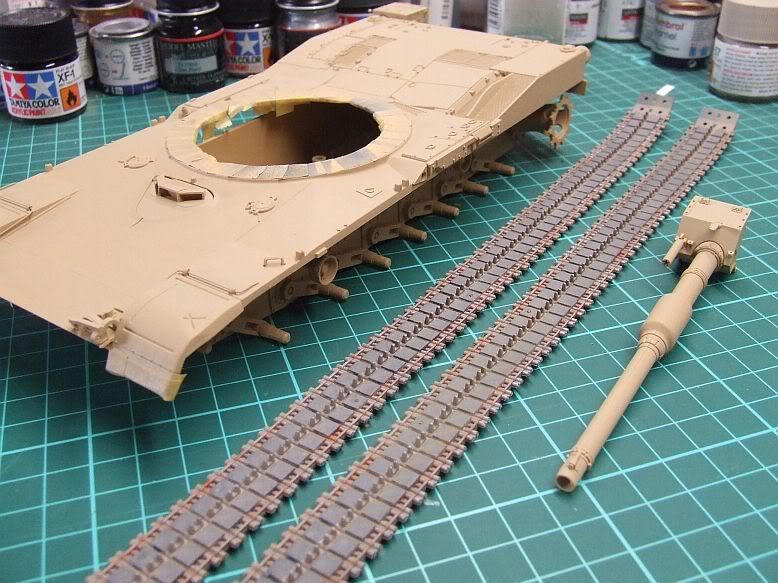
The dusty look of the rubber is a bit more pronounced in real life than it appears here, and was done with an overspray of well-thinned Buff. Next, the state of play as of this morning:
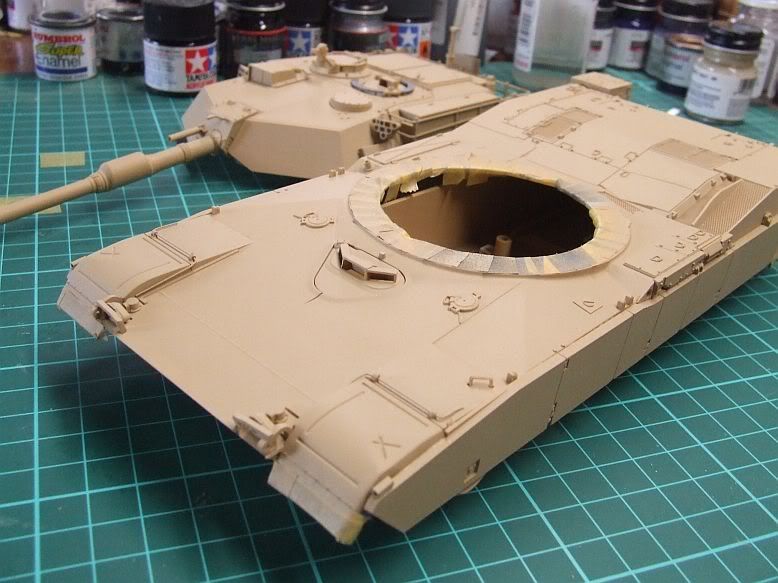
The next major job was to attach the skirts, and this was a PITA -- for some reason the parts fit perfectly when you dry-fit them, and as soon as you add glue they don't want to know about it. I tried fitting them before painting but they wouldn't have it and I lost patience. This time I cleaned up mating areas with a knife and used gel superglue as well as liquid cement and they seem to have accepted that their new home is on the sides of this beast. Here's the job as it stands right now:
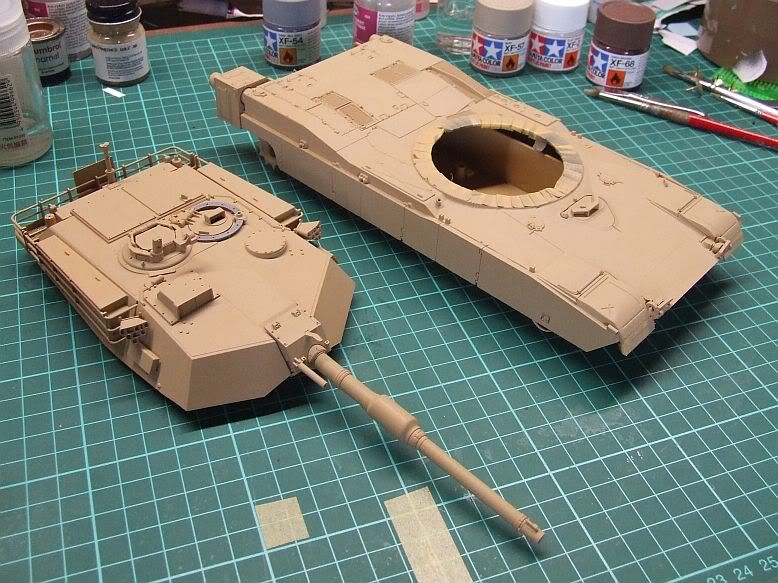
Next, check for needed reinforcement of the skirts while I have access from underneath. Yes, the idler wheels are in place behind the skirts, and yes, I had to pry the front ends free to mount them, on both sides (real ability to hold onto details, eh...) Next step, fade coat on the top surfaces, subtly done, and maybe a shade coat on the underworks, to the same degree, then I can get to the pinwash. The MGs are underway as well.
I considered doing a dust coat on the roadwheels to match the track pads and blocks, but photographs suggest the roadhweel tires retain a darker appearance than the rubber they are in contact with, so I'll let a little Mig powder suffice on that score.
Cheers, Mike/TB379