Nice work on the Dodge MOPAR, that is something I have never attempted.
Mustang - your gloss finish looks flawless. amazing.
Joe, I think it's worth it.
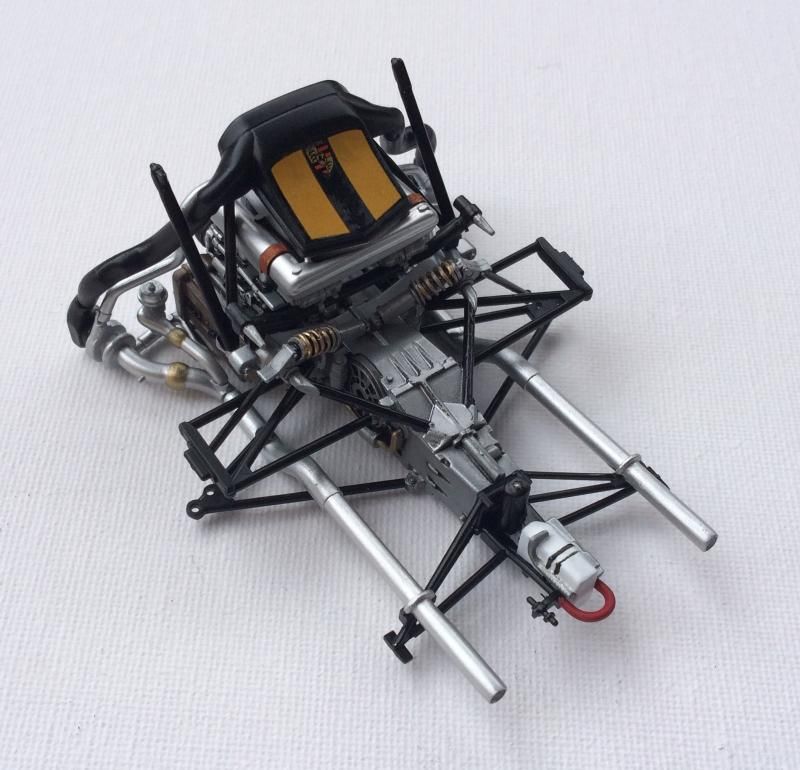
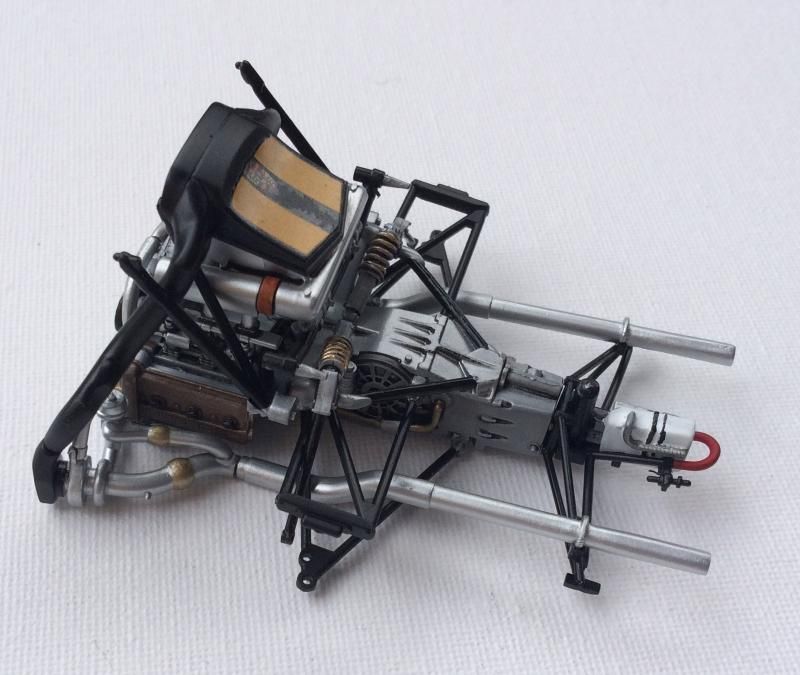
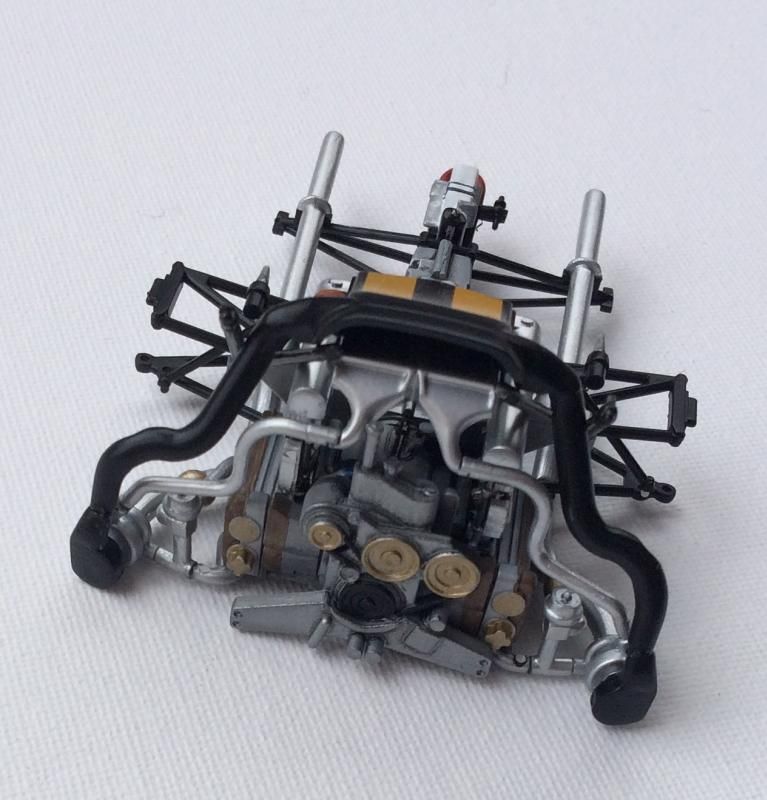
I've actually made some progress on the engine and rear suspension assembly. Tamiya's engineering is exceptional. It's not finished yet, but here is some progress photos. It's not finished just yet.
I think once it's installed you might be able to see a fraction of it through a wheel well, if the wheels, tyres and brake assembly allow it.
Cheers
Tony