LOL...Joe, your a real funny guy! lol... No really. 72nds are too small for my aging a**. Although, sometimes a 72nd jet model is OK, since there about the size of a 48th prop plane. Any way... DECALS!!!
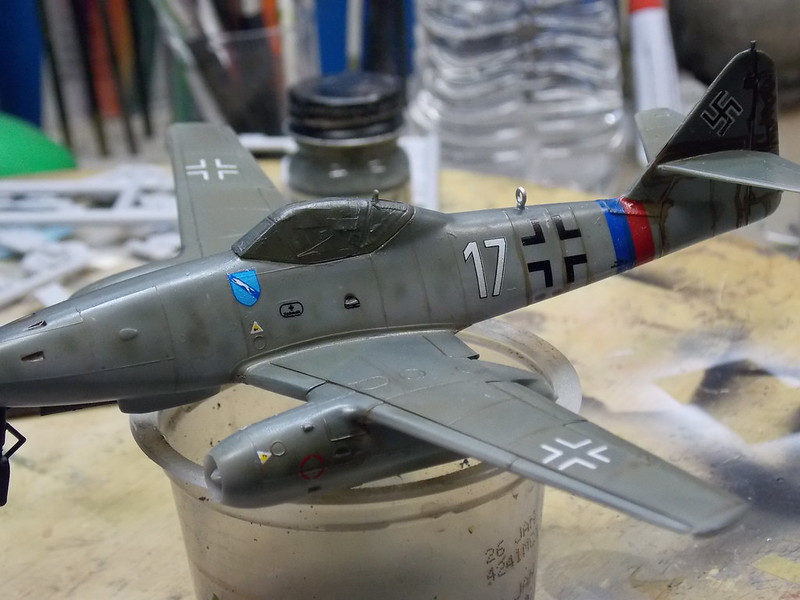
As I apply decals, I'm also doing the weathering on this one... seems to be working out OK at this point.
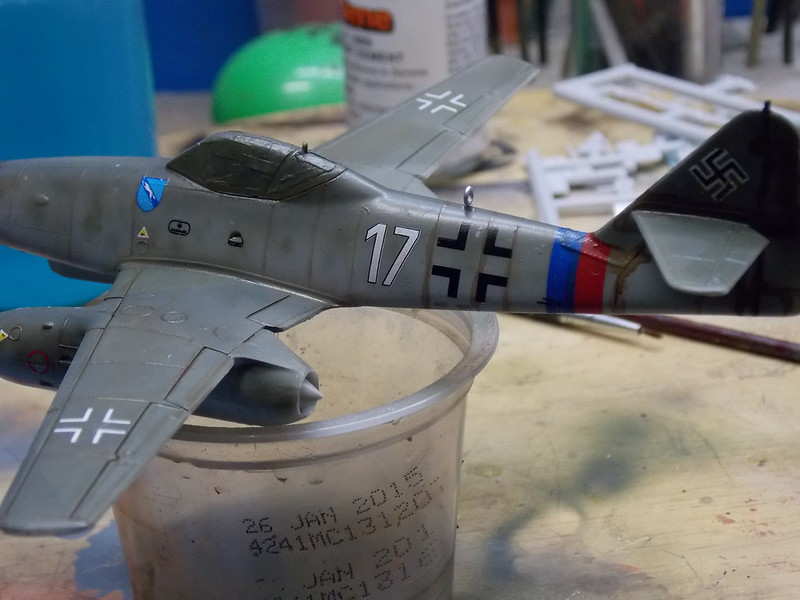
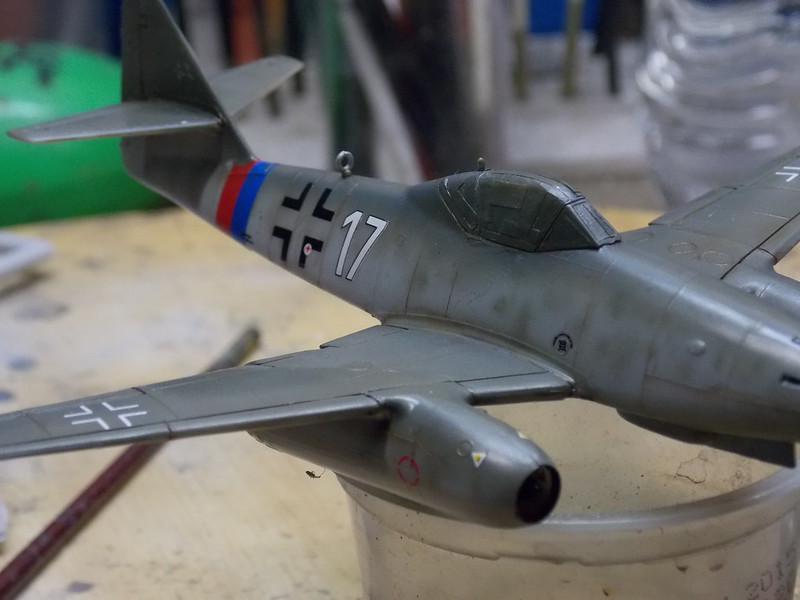
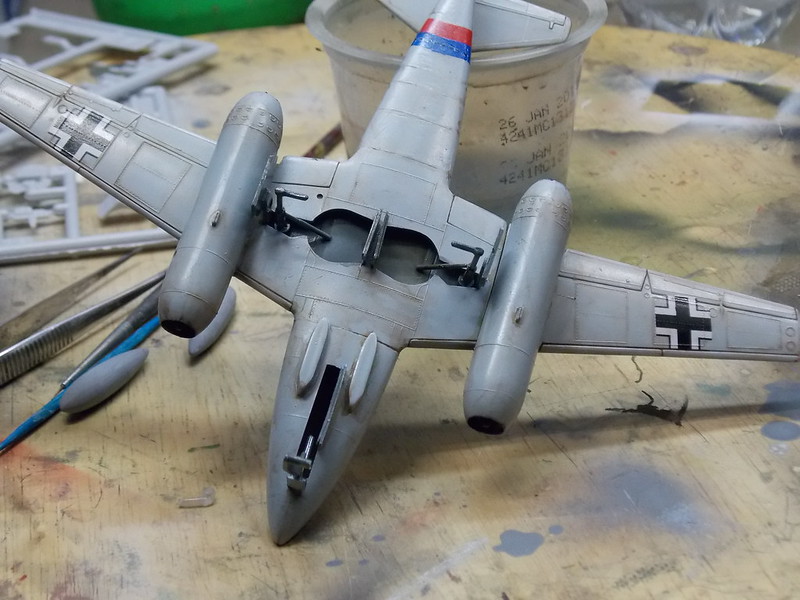
So far so good, I was going to use chalk dusting on this one to show detail, but I can't find my fixative to seal it with. Any way the AK liquids seem to be doing what I wanted it to do. Well any way, thanks for looking and soon as this sets up, we'll start mounting them together. Take care all!
Doug