Hi guys,
Well, I've finally got some significant progress to report. Man, I've been puttering away, but honestly, the PE is just taking a lot of time. Anyhoo----
waynec
might i presume the gray on the edges is the squadron putty? i have found using white glue wiped down with a damp Q-tip works well for filling hard to sand edges too (like caulking a bath tub and blending it with your fingers).
---Wayne, that was a great tip! White glue--I wish I'd thought of that before I started with the putty!
OK, I've been experimenting with this PE zimmerit--I don't care for the uniformity of this zimm (1): I wanted to add some damage and variety, so I cut the zimm with a fine pair of scissors. (2) Unfortunately, this tends to deform the brass (3), so I just tamped it down with the flat handle of my bigger Exacto (4) and that seems to flatten it just fine with no other degradation of the pattern. (5).

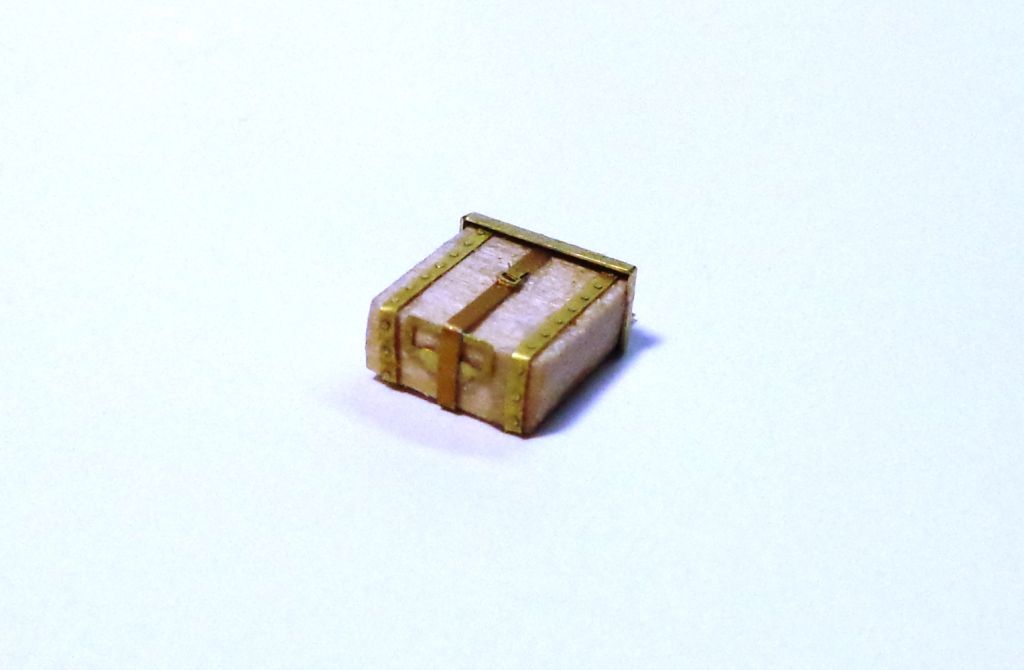
I made a nice little jack block out of balsa wood and the supplied PE.
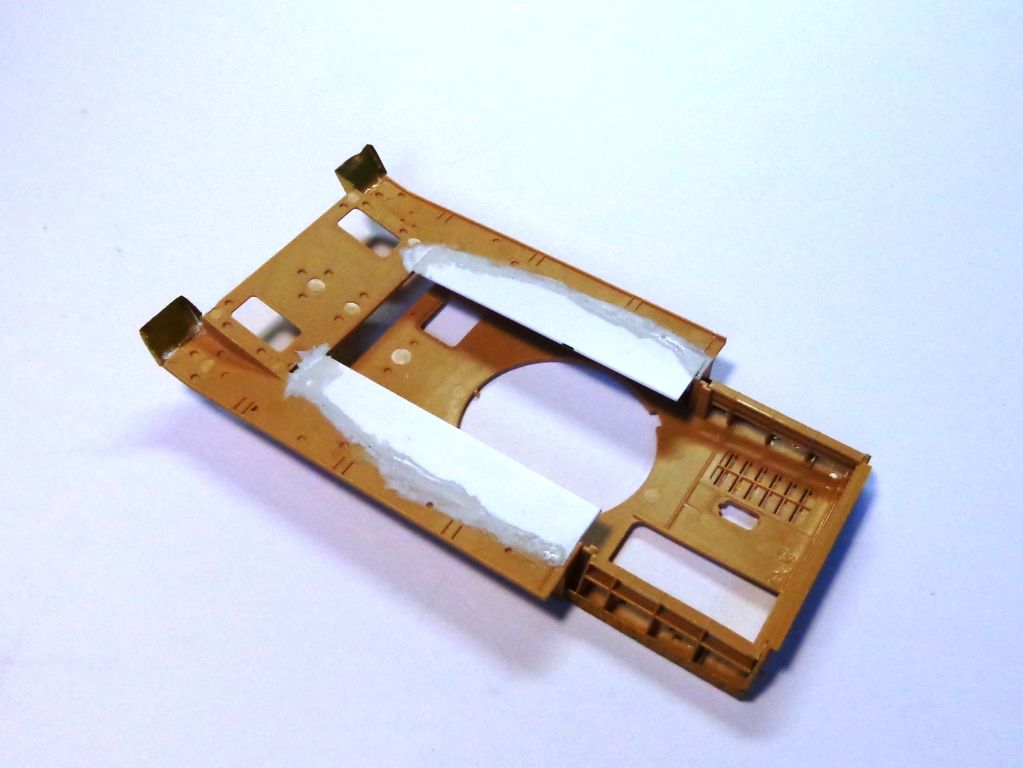
I also added some blank panels under the hull area where it's open before I mounted the hull halves.
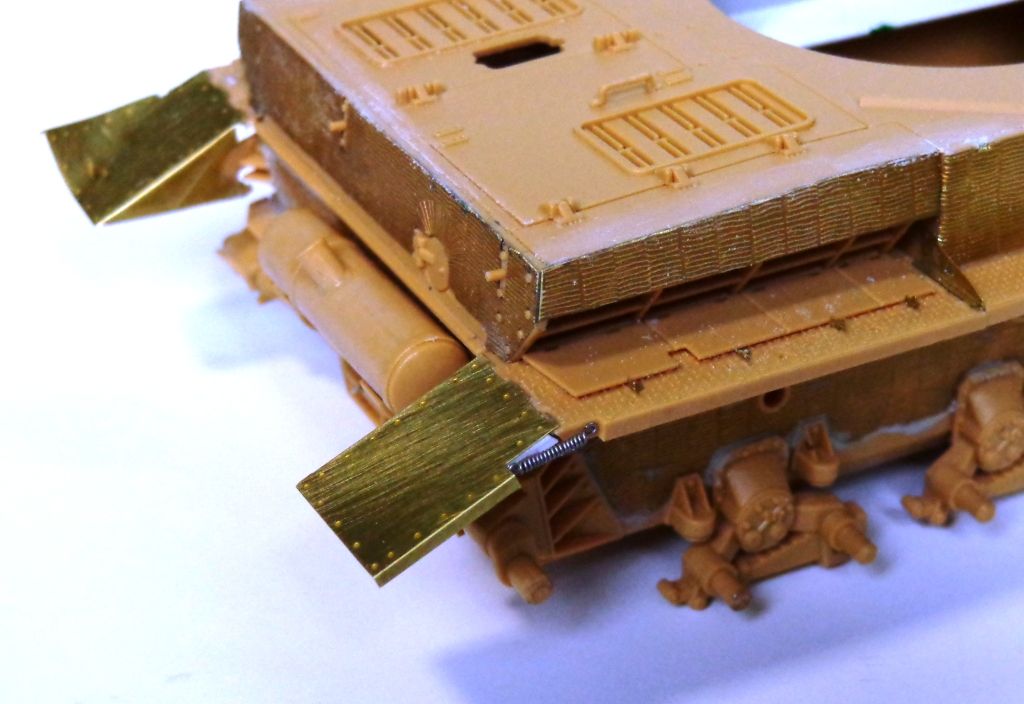
The front hull, so far...note the damaged zimm panels...I still have to put in the zimm on the sides of the fenders after I fashion some fender springs.

In the rear, I made springs out of wire wrapped around another wire--I have yet to put these on the front ones too...Annoyingly, I had to build "fender insides", as the PE part doesn't provide for that. I chose to use the kit parts on the air intake flaps that rest on the fenders because the PE parts were simply too big. I've actually veto'ed some of the other PE parts in favor of the more "to scale" kit parts. Sometimes, all that glitters is not in scale. 
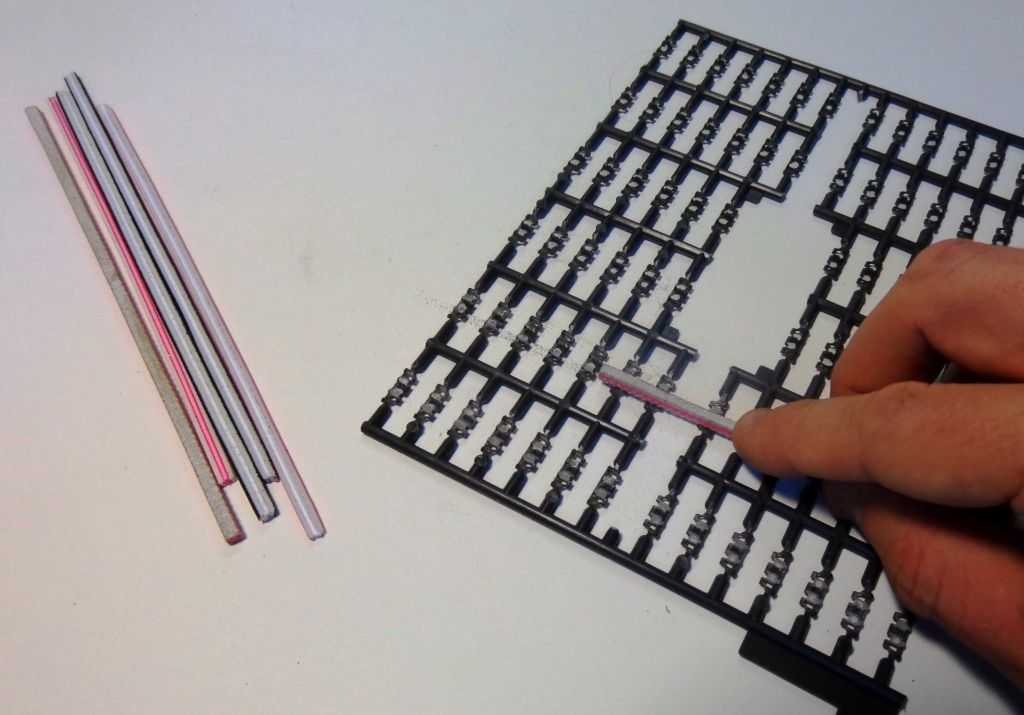
The Academy tracks I was using for this build (the kit has Tamiya one-piece that you can't really sag) all had to have their double knock-out marks filled in... OY!

But with these little sanding sticks that my local LHS up in Syracuse had when I lived there, it proved pretty easy to sand them down.
Next, the spare barrel boxes on the rear need to be completely sanded down to put the PE parts on them--this leaves you with nothing but square styrene rectangles! I had to find some way to add a straight line to represent the two halves that would open up.
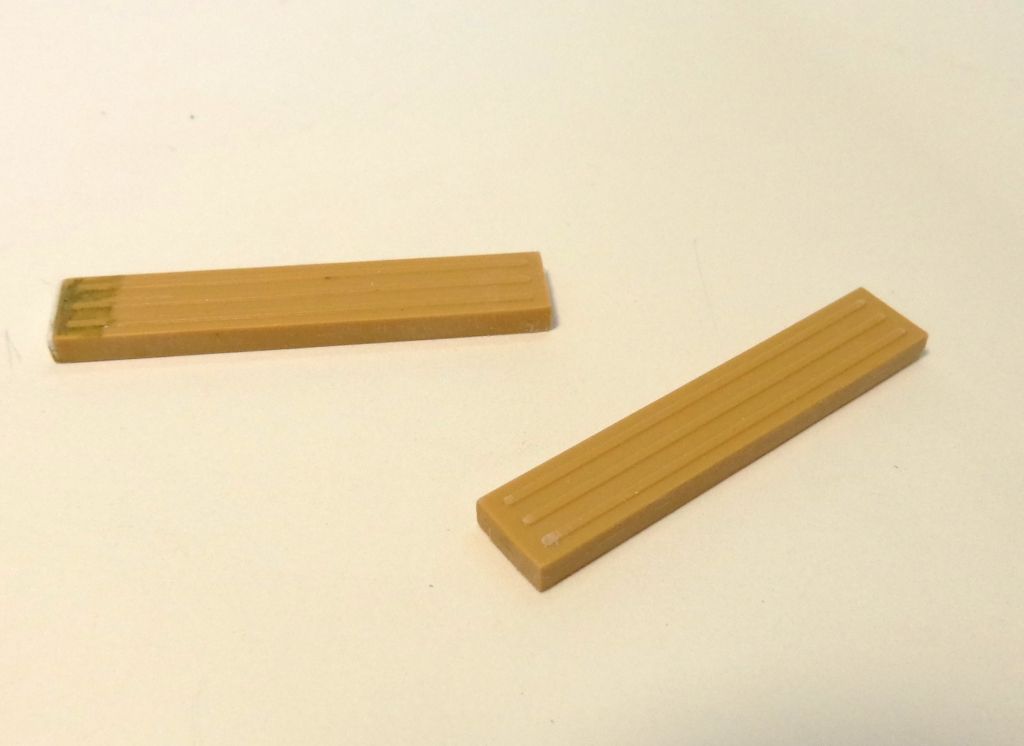
I would up gluing a piece of .080 angled styrene to a piece of glass that I have here, and used that as a template for a scriber that I got from MicroMark.

After filling in the void on the bottom with a piece of styrene, they're good to get the PE...
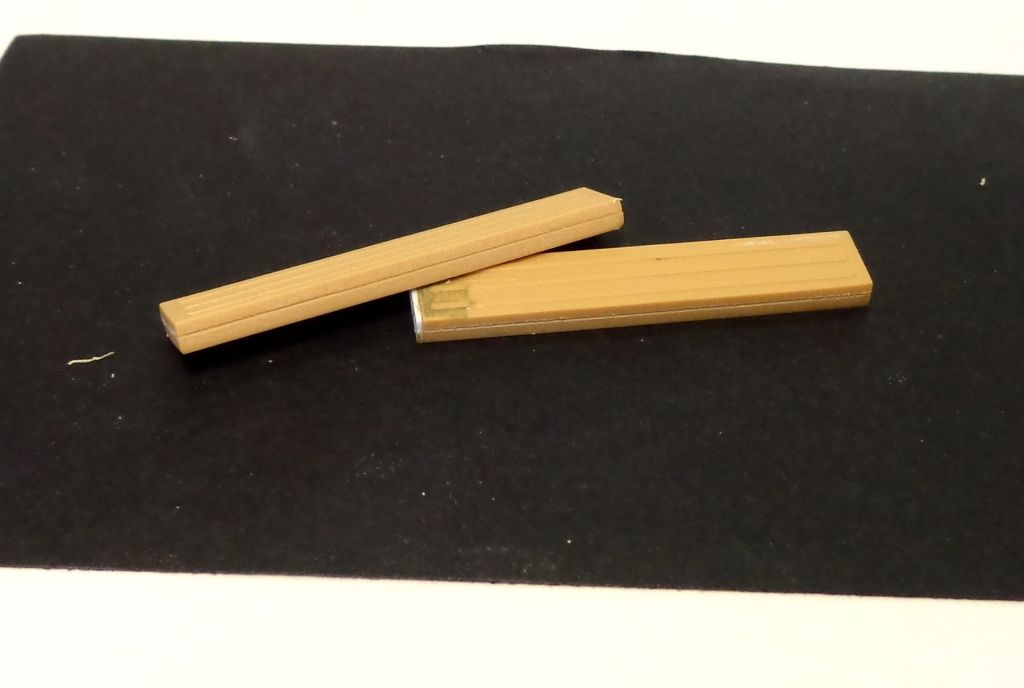
The PE attached.

Here they are attached: note that the hinges are on the OUTSIDE of the boxes! A lot of modelers make the mistake of putting the latches on toward the outside, but they are designed to open to the back deck of the vehicle. Weird, I know----I put 'em on backwards the FIRST time too! 


That's where I am now...motoring on, getting there.....thanks for looking in and giving a shout out! 