Thanks Joe, allan and Lee for all the encouragement on this retirement project. lol
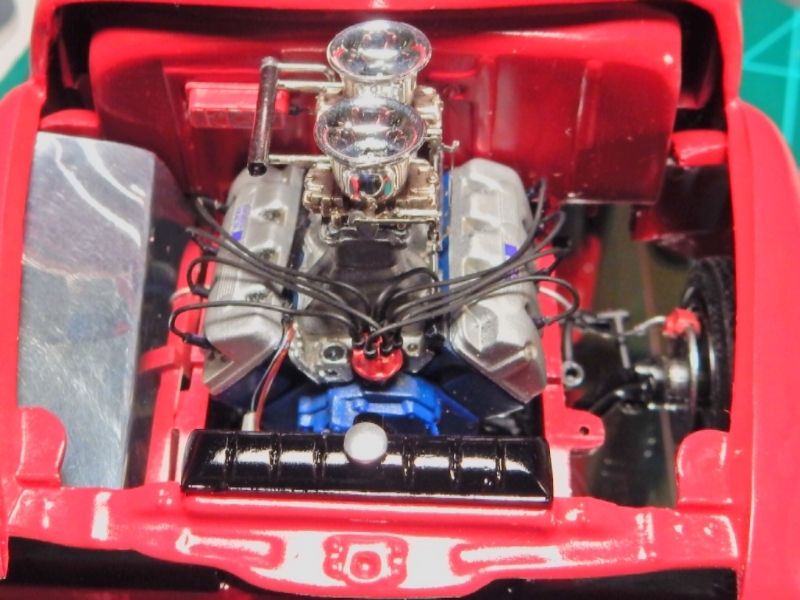
This may not seem like a big deal to some but it's a major breakthrough for me in the fact that I've got the R/H inner fender well installed. The hard part was just getting the thing to fit. I managed to get the interior/ engine bay isolators at both sides of the firewall installed as well. I had to cut a 3rd fender well out for the L/H side and after stripping the protective coat and polishing up the insides is now in the paint booth with the wheel side of it drying / curing out.
One step closer.......