 Lancair IV:
It took awhile, and 3 attempts, but I finally have an exhaust ring that looks acceptable. A little paint and weathering this week, and the engine will be complete. I'll leave the tube going to the turbo long until I install it onto the airframe.
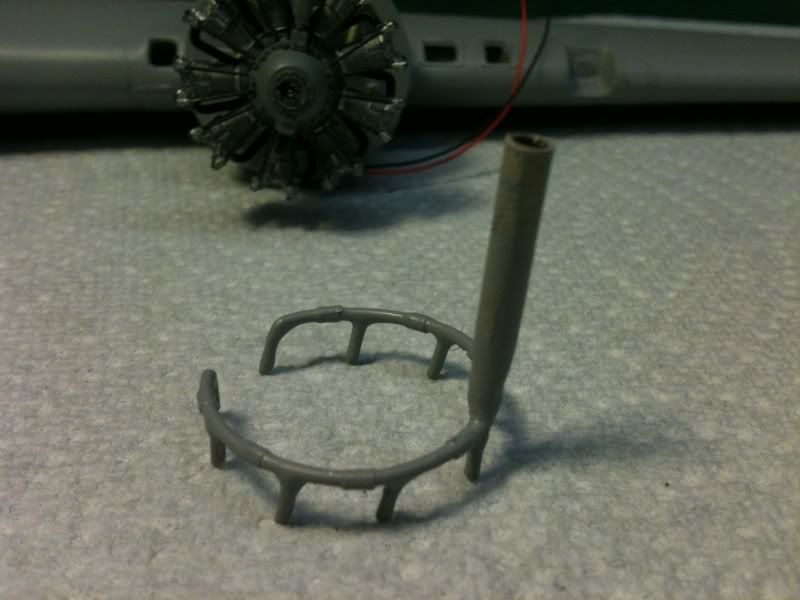
Cheers
Just Wow! I am guessing that's copper and/or brass wire and tubing that's been soldered up and painted, but could you please explain in detail how you created that? Thank you.
Gene Beaird,
Pearland, Texas