Rob, fabulous work . I've been following along for quite a while. You probably have photos, But I've got a couple nice detail shots of the restored engines from the Memphis Belle.

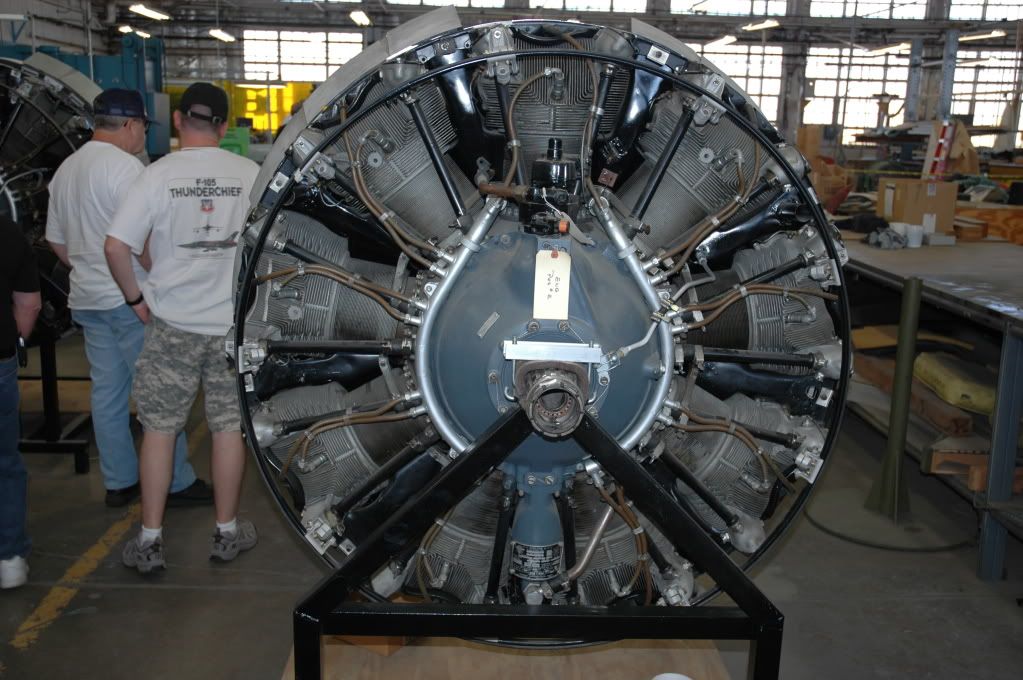
The "Belle" and the "Swoose" are coming along nicely. Another couple years and they will both adorn the National Museum of the USAF at Dayton, OH. Rick