So I realized in my haste I didn't post anything about the construction of this part. I've updated this section to reflect some of what's going into the lower flaps.
Here's where I started. Some plastic sheet cut to fit. I borrowed the kit's flaps to help find the shape and the rest is cut based on photos. Here's a match up from the AM parts I bought on Ebay from Eduard. ...They're a little off... =[
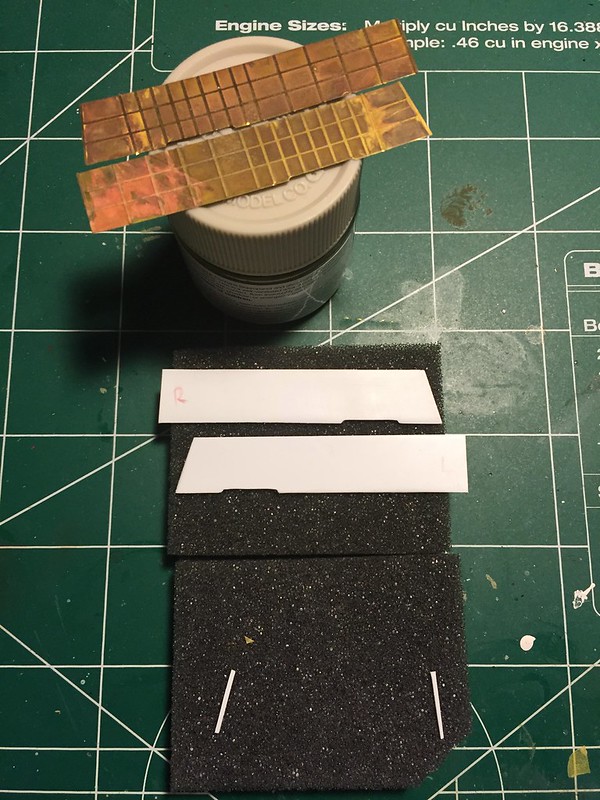 2015-04-23 22.57.26 by Britt Vallot, on Flickr
I don't have pictures of the steps in between but I don't feel it's too necessary for something this simple. Two different strips went to down to make up some of the horizontal ribbing (I'll have the sizes tomorrow). This time around I got smarter and cut into the strips for the bracing to fit into instead of cutting out a bunch of notches from tiny bits of plastic. All of this was welded together with Tamiya ETC to make a nice complete, seamless look. I think it came out a lot neater than anything I'd have put together with PE brass. You'll note that this outdated Eduard brass is more than a little incorrect. At first I was concerned I wouldn't be up to the task of completing something like this on my own, but the truth is...it's really not so bad. Just keep on keeping on and I promise you won't find it as daunting either. =]
Here's the completed Flap assembly. Next is to place the actuating arms that guided it up and down. I've settled to place these in a fixed position. I've seen practically every P-40 at rest with the flaps up. A very, very few have been photographed with them down...my guess is that they'd be under maintenance but either way I've put the effort into fixing this part of the kit so I'm going to keep them down. =] Maybe next time.
Scratched. Painted. Clear-coated with Alclad Aqua Gloss Klear Kote
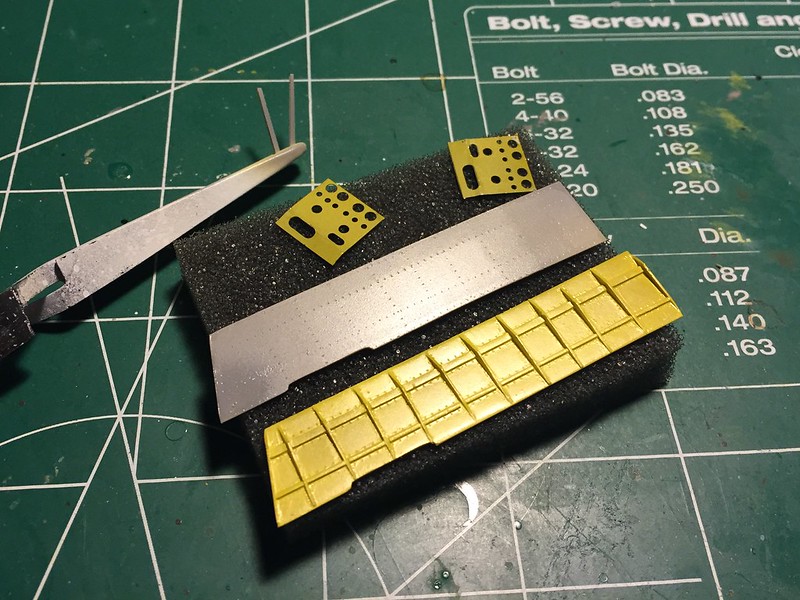
Untitled by Britt Vallot, on Flickr
Detailer/Valejo pigments. Alclad Klear Flat.
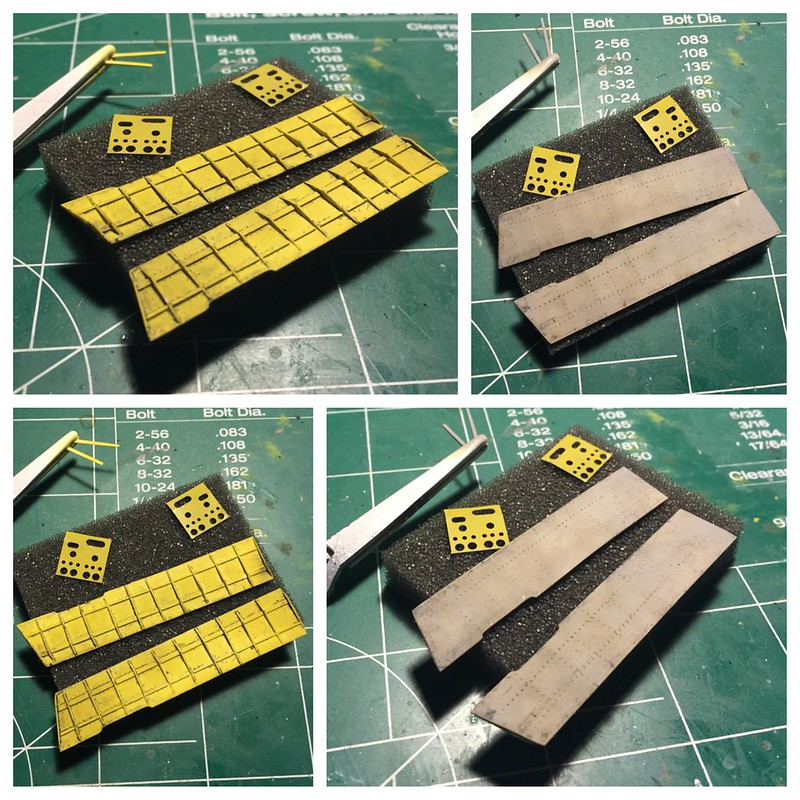
Untitled by Britt Vallot, on Flickr
Before placing the triangular bracing, I brought out Rosie the Riveter to place the riveting that went into building the flaps up. Simple. None of this was terribly difficult. Just takes some patience and a few good references. =]
I also thought I'd take this moment to show the back plexiglass windows and the glass for the landing light. It's really not that complicated either, but I think it merits a quick walkthrough.
I used a thin sheet of clear plastic (I believe mine is acetate) and used the kits back glass windows as a template to cut my pieces out. Now this is delicate work. One slip and you'll scratch into your "glass" and there's no fixing it. Trust me. Just start over. I must've gone through about a dozen of these little sob's before getting it just right. For the holes over the fuel and oil caps, I used a small pin vise drill to start a hole over where it was needed. A needle file about the width of the hole was used to slowly widen it to something I felt was appropriate based on photos. I could've measure better but I'll be honest that this was mostly trial and error. By the time i had done this for the 5th or 6th time I pretty much knew where it needed to be. =P Anyhow, the faintest touch of Micro white glue for clear parts and Voila! I came back with some Tamiya Olive Drab and thinned it down some to lightly paint over the very tops of the glass. This way it blends in very seamless with the fuselage. The support in the middle of the glass is made from very thin brass sheet. I chose this as I didn't want it returning to a more original flat shape like plastic might decide to do. It was cut, primed, and painted and glued with the same Micro white glue. Simple.
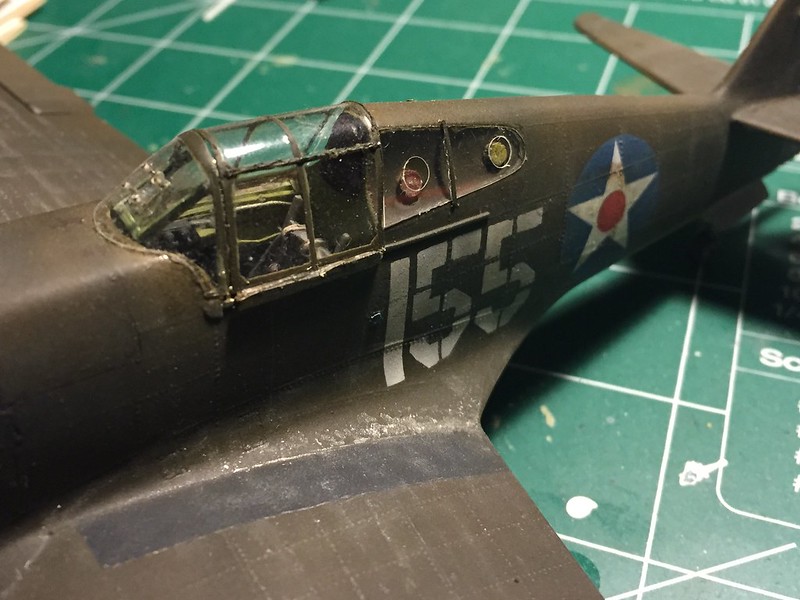 Untitled by Britt Vallot, on Flickr
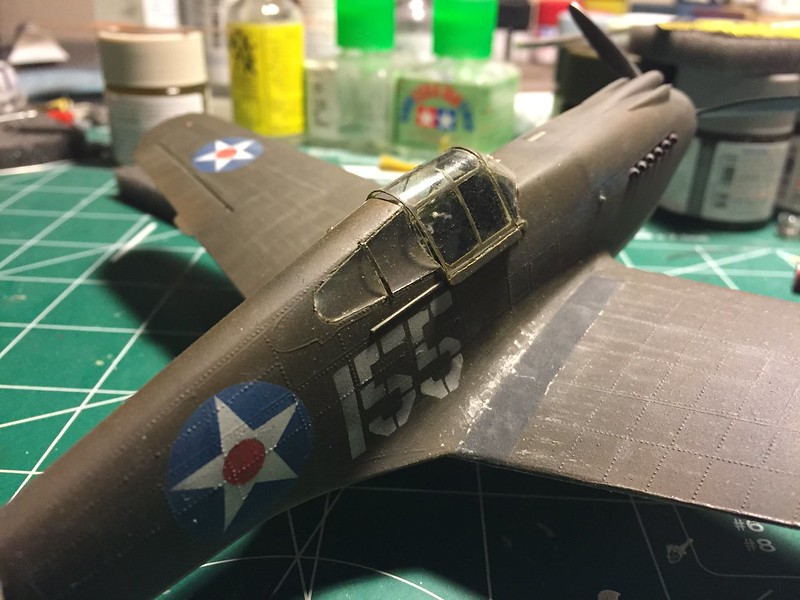 Untitled by Britt Vallot, on Flickr
Just to show you what I mean about be patient =] ...It looks nice when you nail it, but...
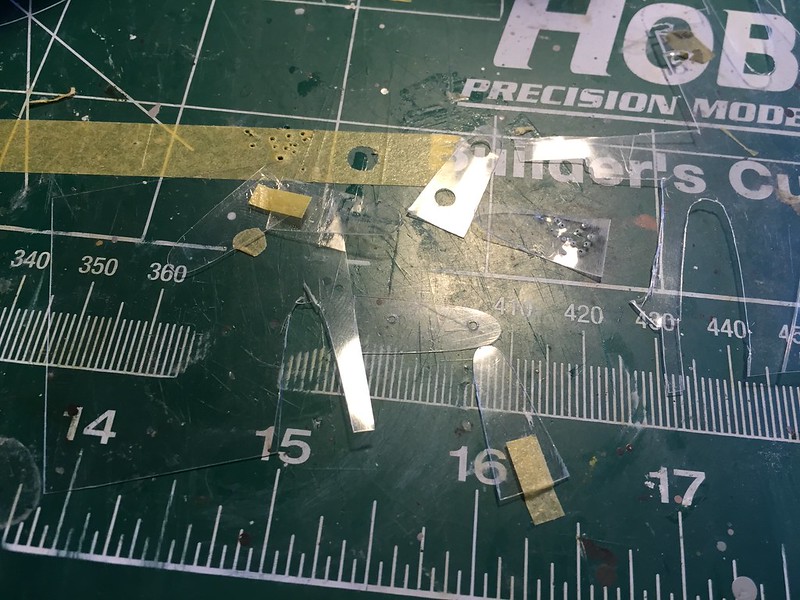 2015-05-05 09.51.59 by Britt Vallot, on Flickr
I'm still finding some of these around the house. The static has them sticking to me I think.
The landing light was a circle cut and sanded more true to shape and placed down again with the Micro white glue.
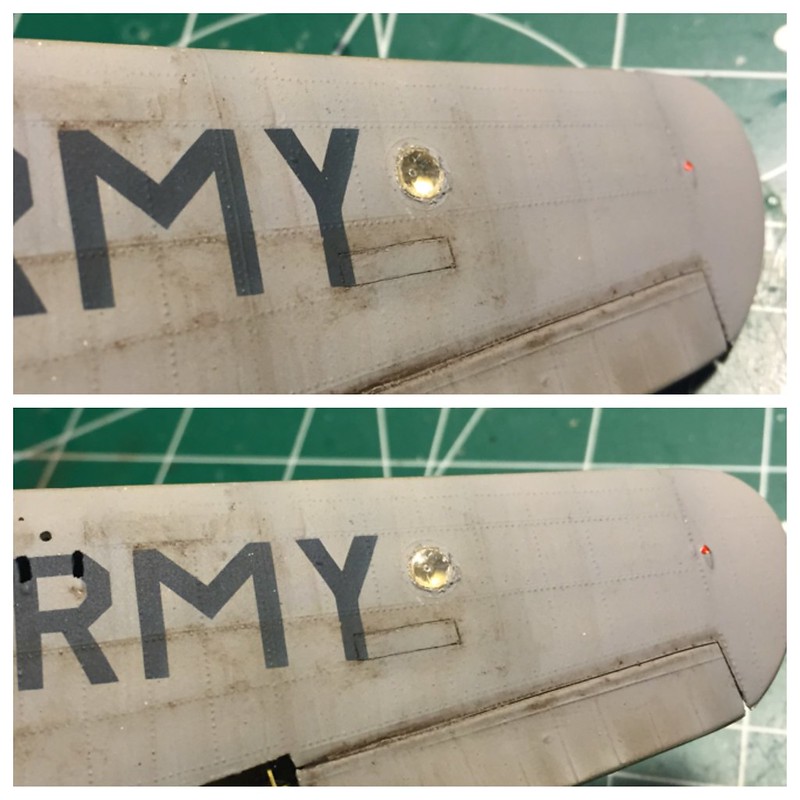 Untitled by Britt Vallot, on Flickr
That wraps most of that up. I'll show the landing flaps up and fixed to the plane and then film the plane complete with machine guns, pitot tubes, and aerials.