Revell 1/32 Supermarine Spitfire Mk.IIa "Build Update #3" (9.1.15)
It's been almost a week since my last update, and since that one, I've progressed quite a way! Below describes my journey from where I left off at "Build Update #2" and where I'm presently at with this build....
With the plane built up, it was time to mask in readiness for priming. I temporarily located the wheel bay doors with putty, taped the ailerons into their locations. I then fitted the underside lens and masked the center of it with liquid masking solution. The wheel wells were then masked with damp tissue followed by masking the cockpit with damp tissue, too. I then cleaned the plane down with Isopropyl Alcohol to make her ready for the primer;
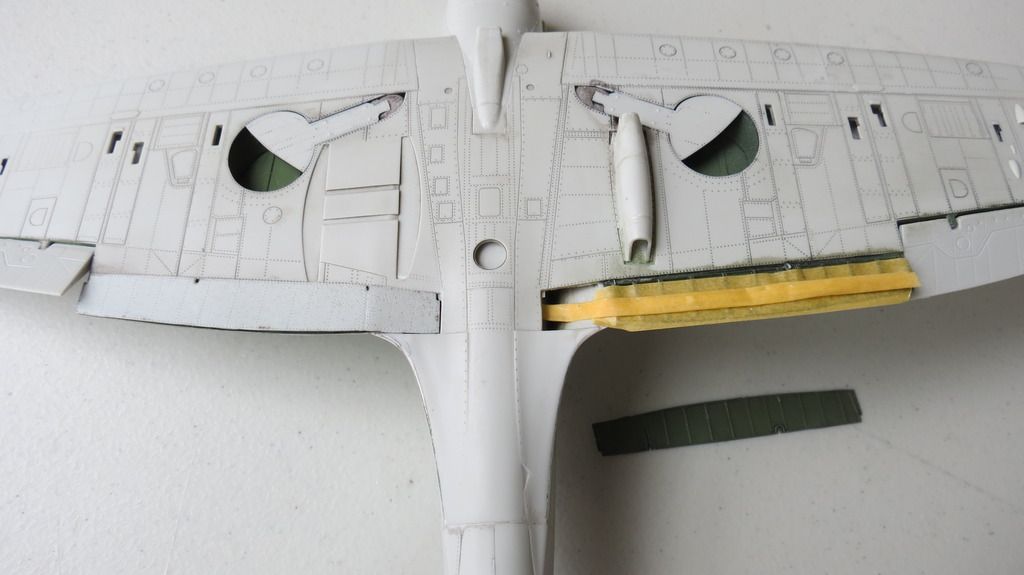
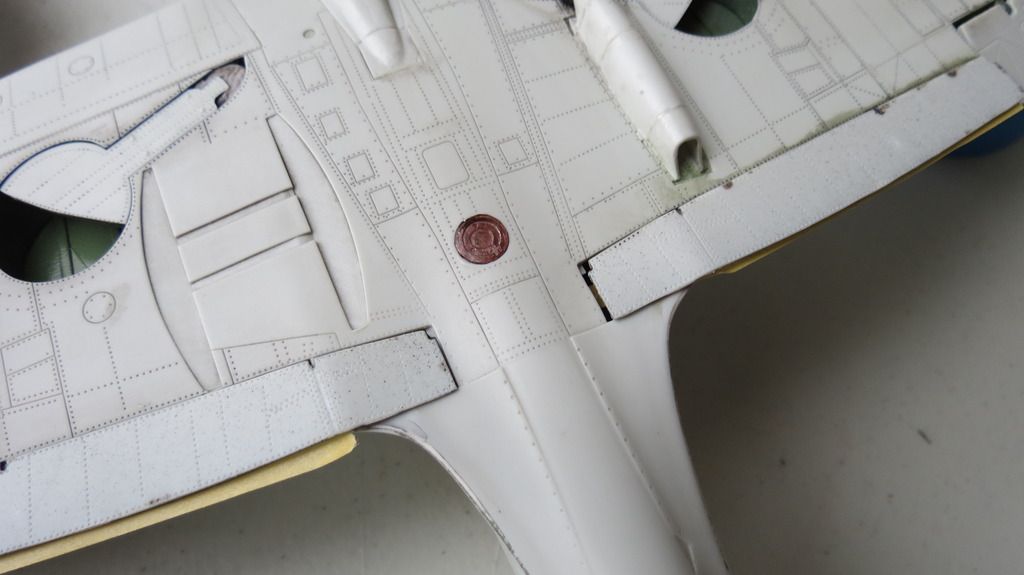
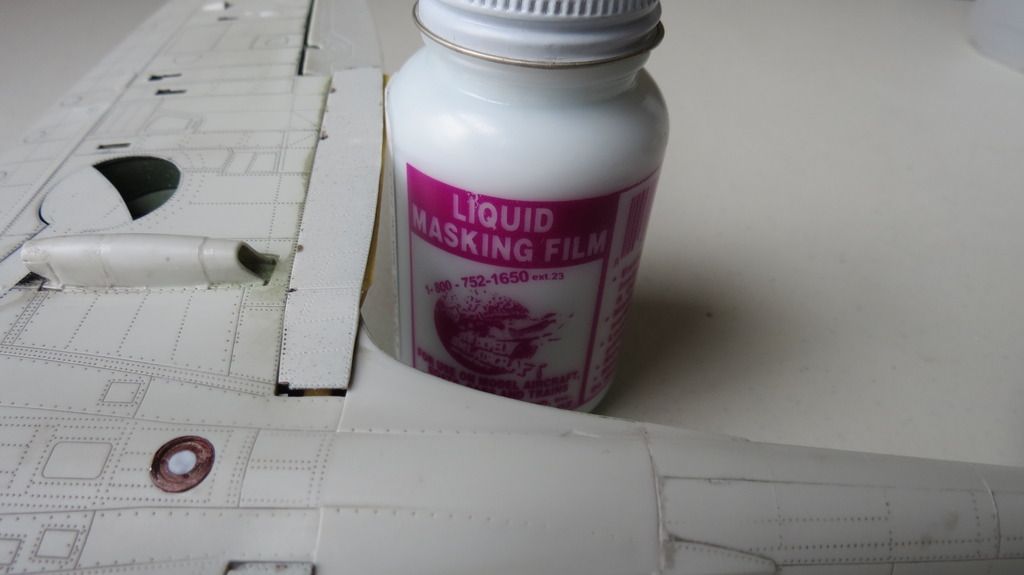
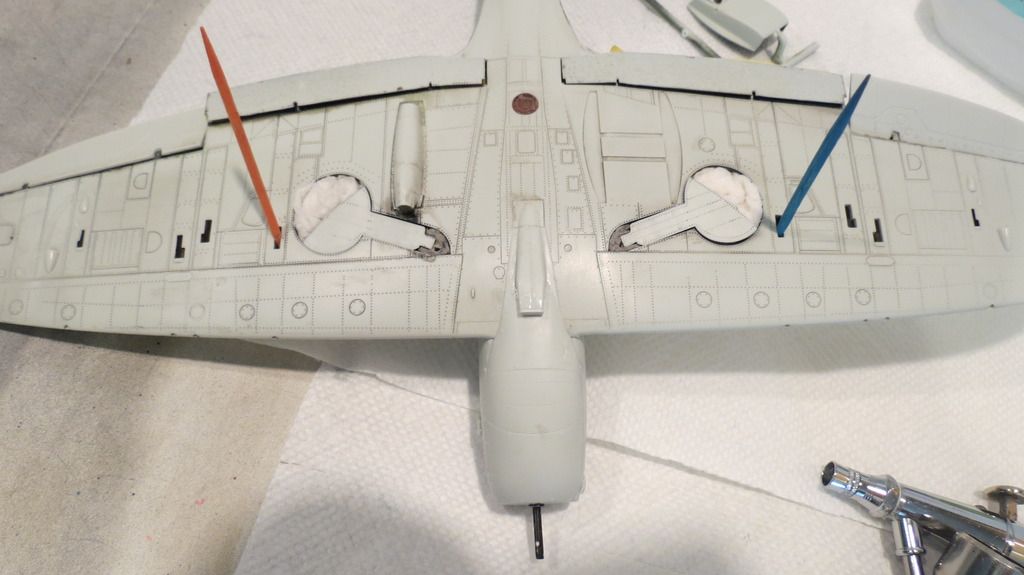
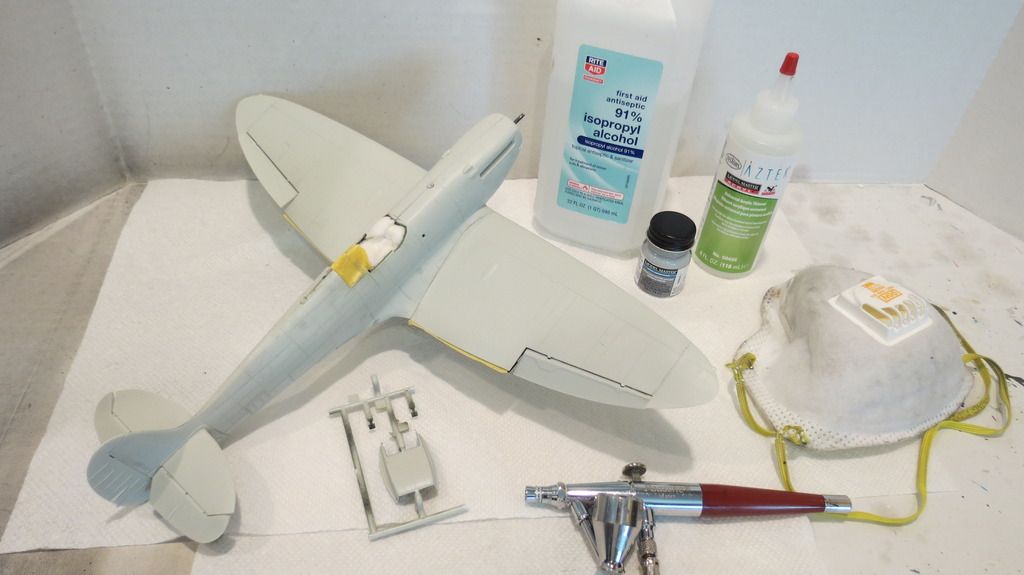
After all the masking and cleaning was completed, I airbrushed Model Masters Grey Primer onto her:
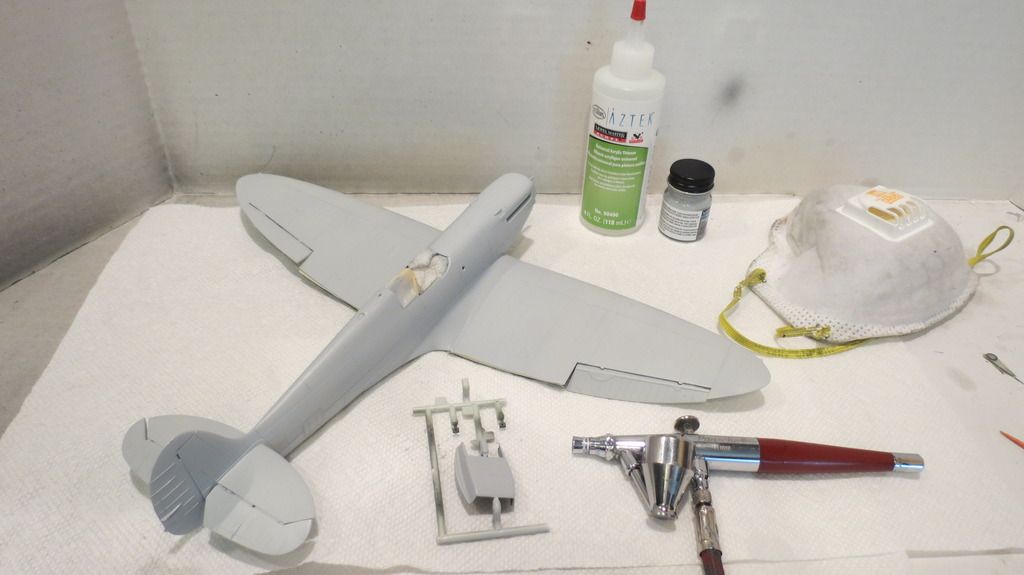
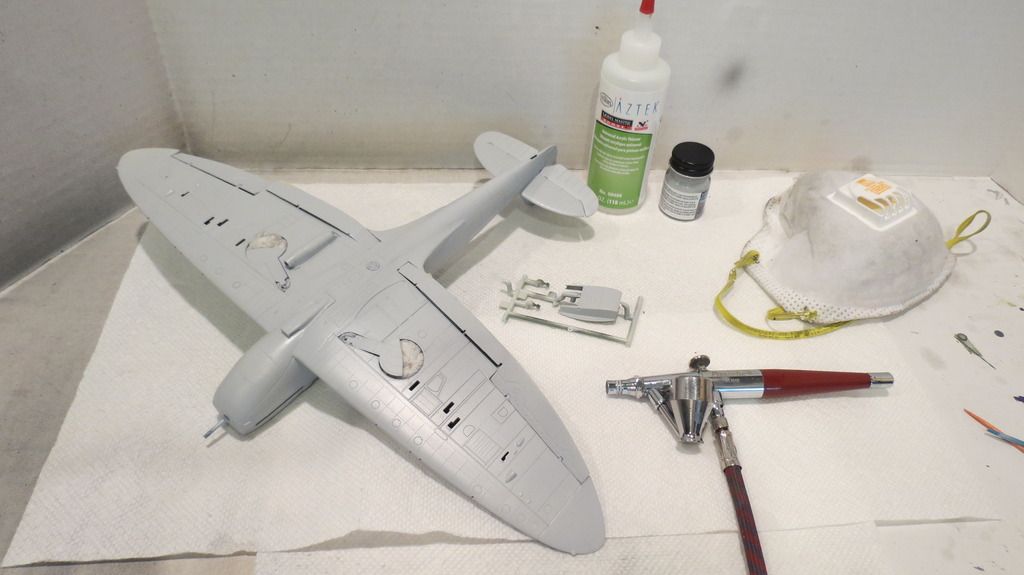
When the primer was dry, I then airbrushed silver onto the areas where paint chipping could occur, both on the top and bottom surfaces:
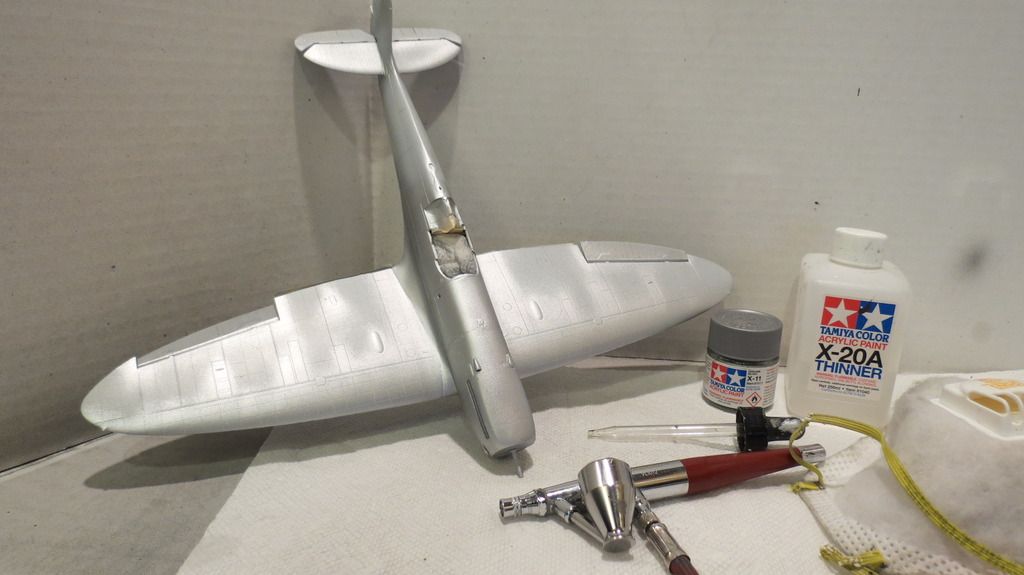
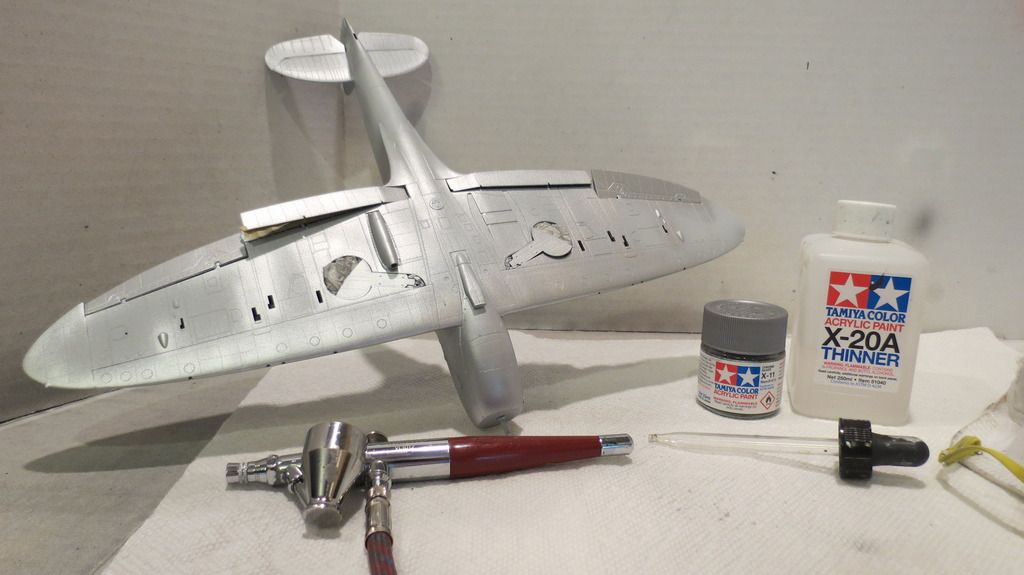
I allowed the silver to dry then I airbrushed a clear coat over it to seal and protect it and allowed that to dry overnight. The following morning, I decanted hairspray into my airbrush cup and airbrushed it over the silvered areas.
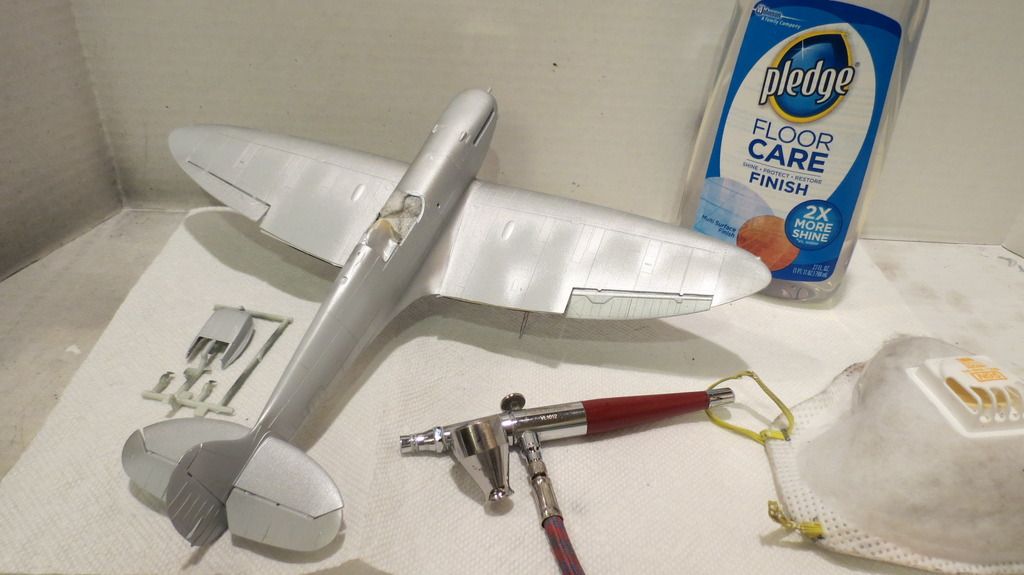
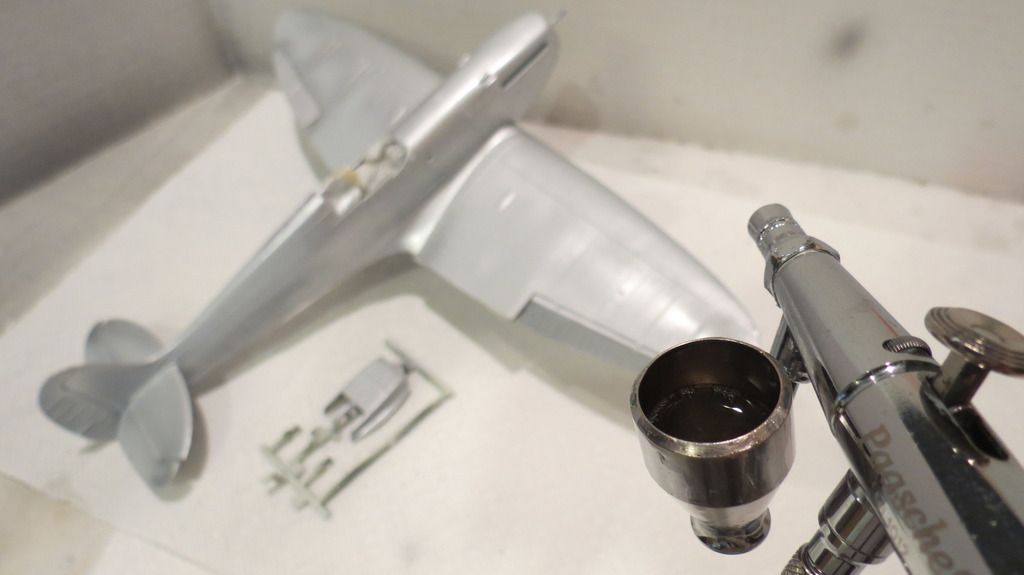
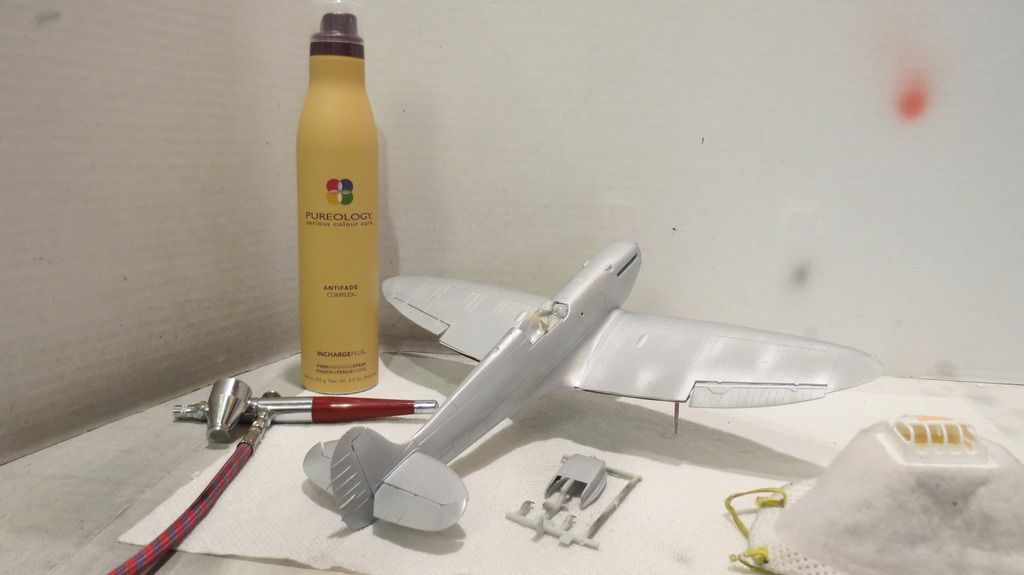
When the hairspray had dried, it was time to move on with pre-shading, starting with the top side and moving onto the underside:
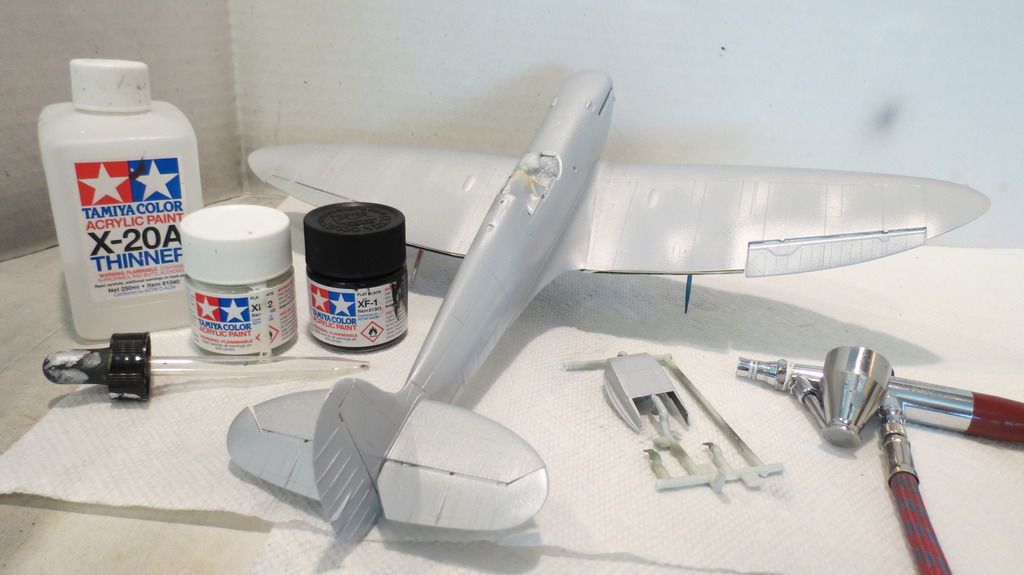
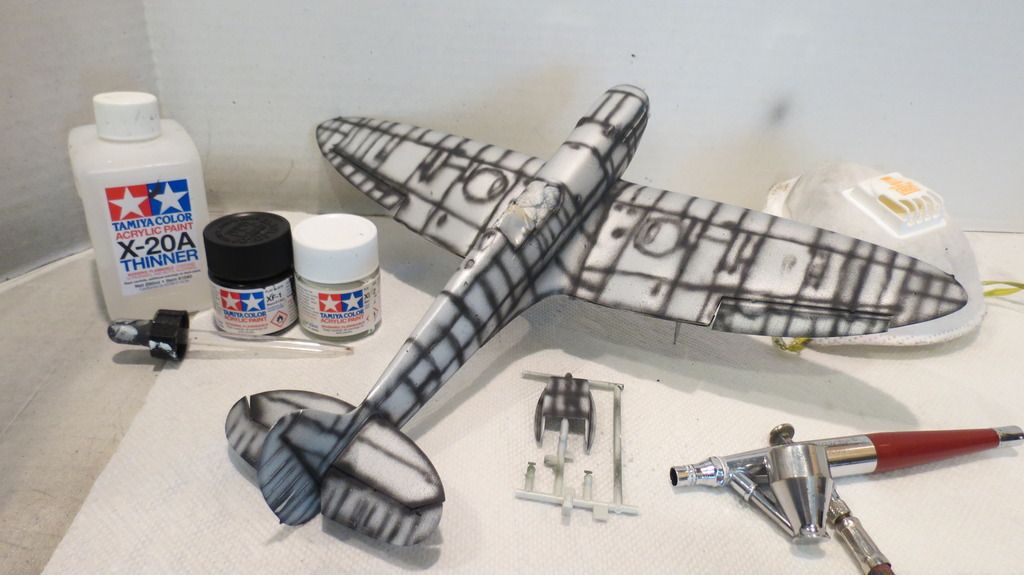
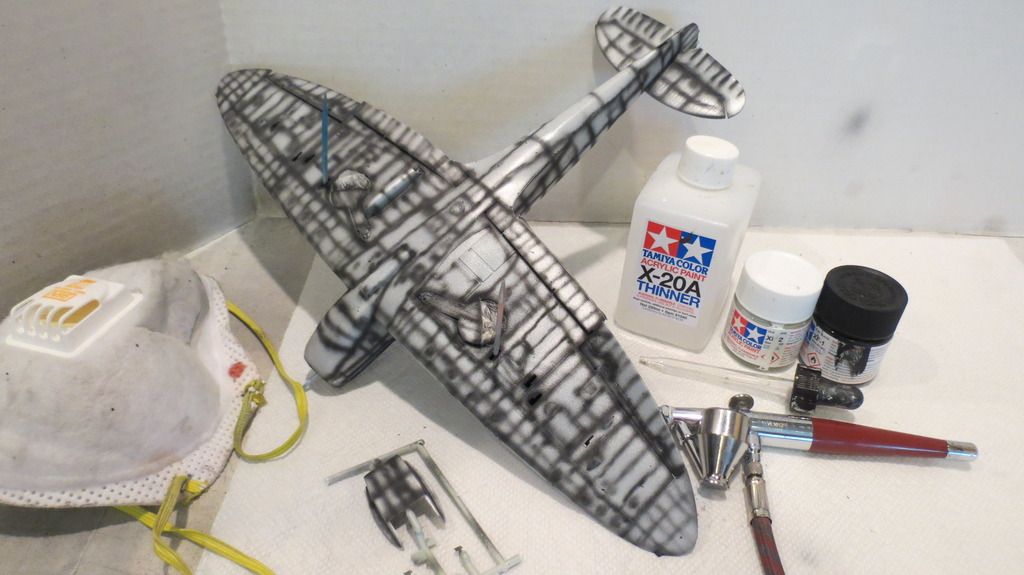
The pre-shading dried very fast because of how well thinned it is, and so, I was able to quickly start masking the plane in readiness for airbrushing the underside Sky color, along with the tail band. I used Tamiya XF-21 Sky toned down around 25-30% with Tamiya XF-2 Flat White. I then added more white to what remained in the cup and airbrushed some highlights on top:
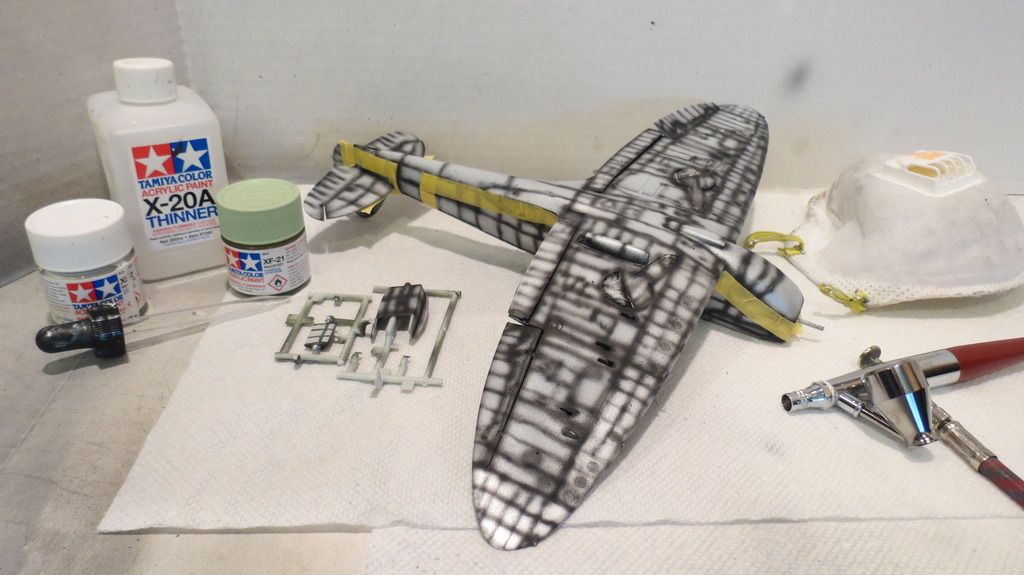
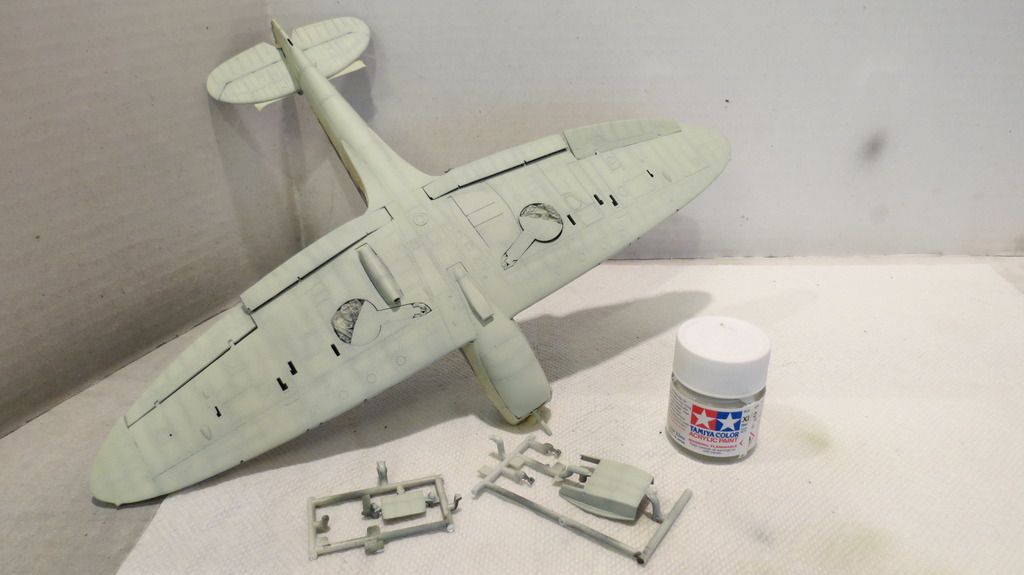
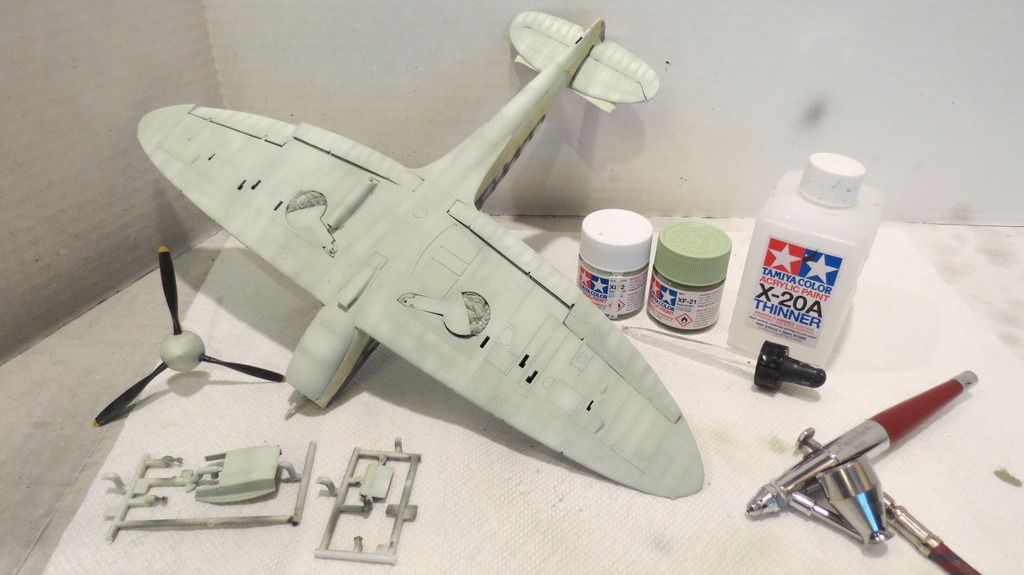
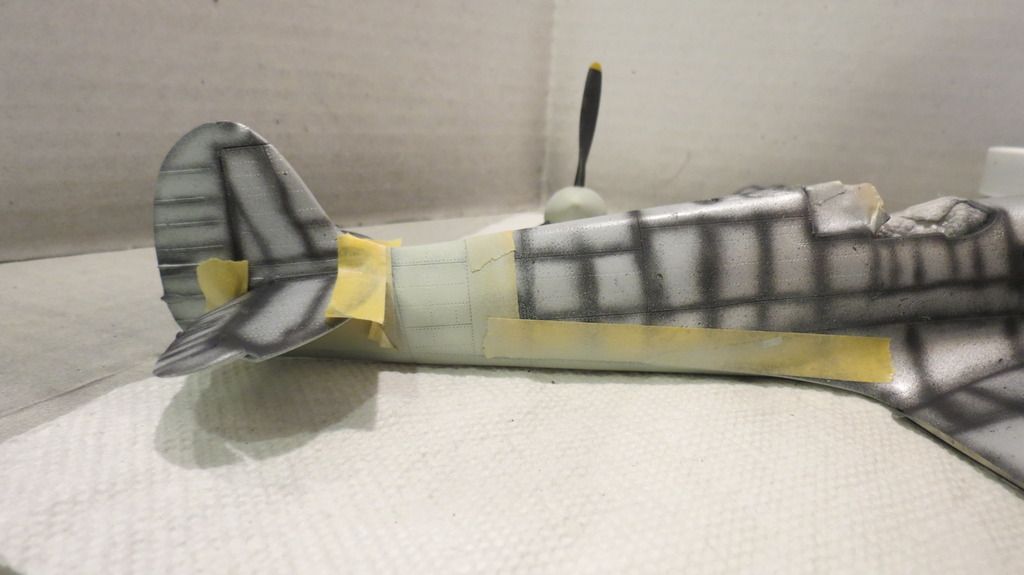
This was allowed to dry for 3 hrs before I airbrushed a gloss clear coat onto the Sky painted areas to seal it all in;
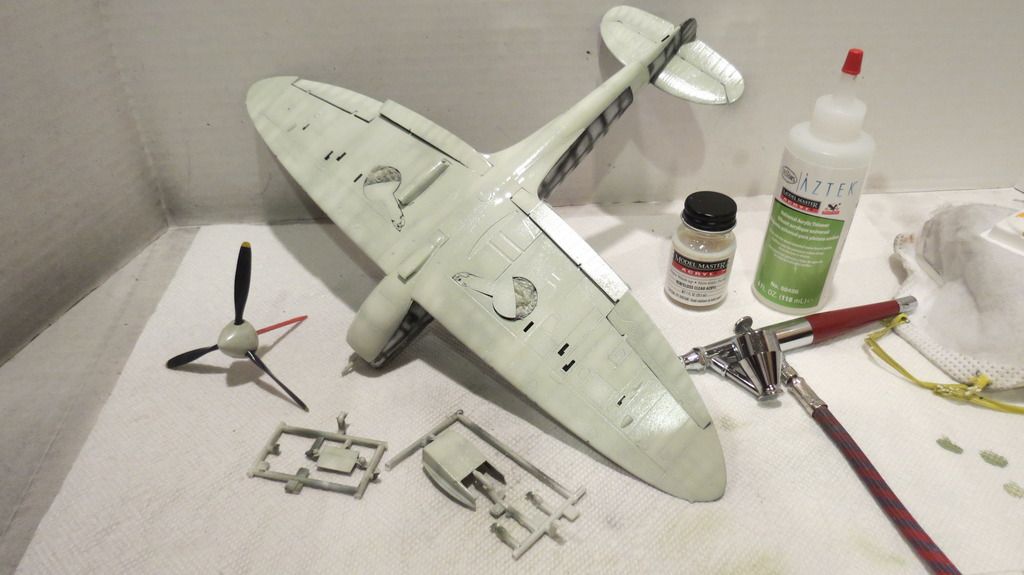
I allowed the gloss clear coat to dry overnight, and the following morning, I created my "full-sized" paper masks from the views shown in the painting guide. To do this, I measured the distance from wing tip to wing tip on the model and did the same on the plan view diagram shown in the paint guide. I then divided the larger number by the smaller number to get a scale factor which was 2.36x. Using the zoom function on my photo-copier, I then copied the views on the paint diagram and increased their size by the scale factor of 2.36 magnification. First, I created the starboard side fuselage paper mask, followed by the portside fuselage, the starboard wing and the portside wing upper views. I was now set to cut the patterns out to mask the plane for the upper camouflage colors;
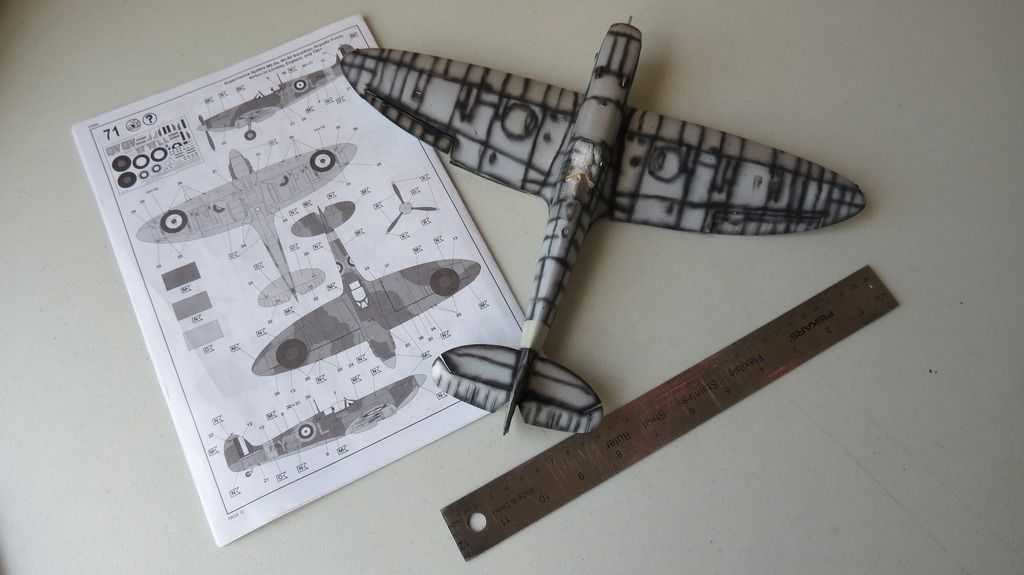
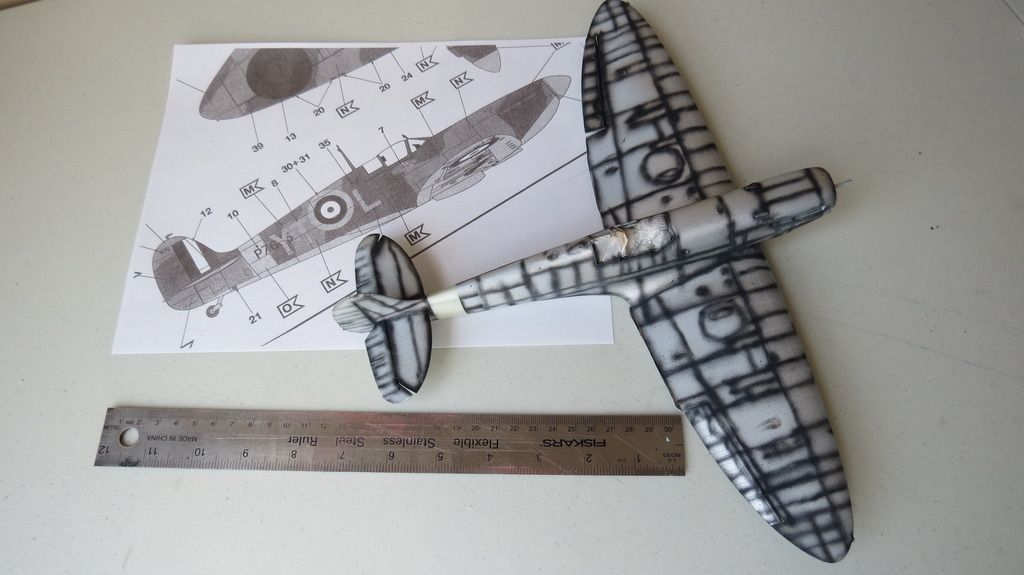
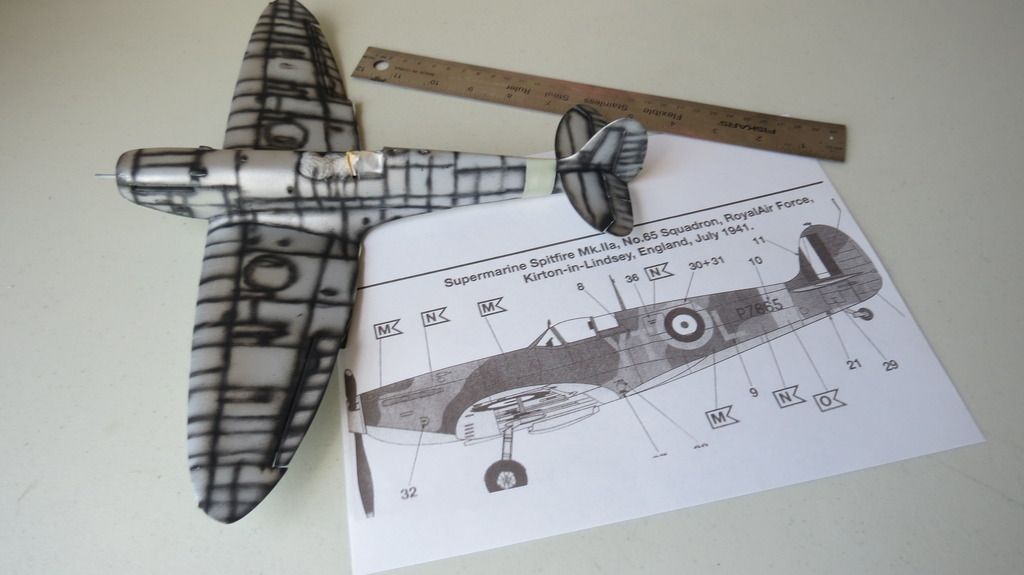
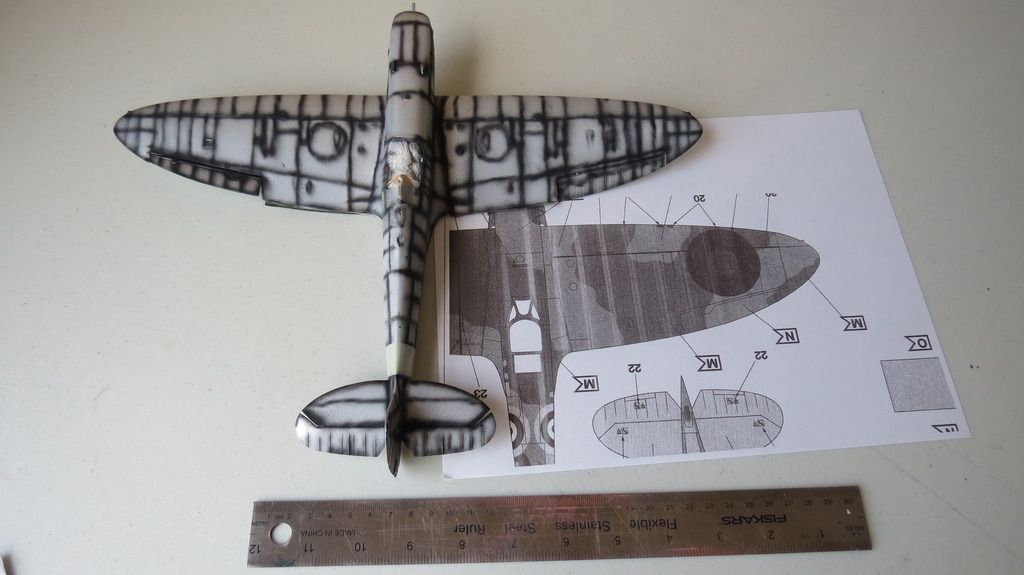
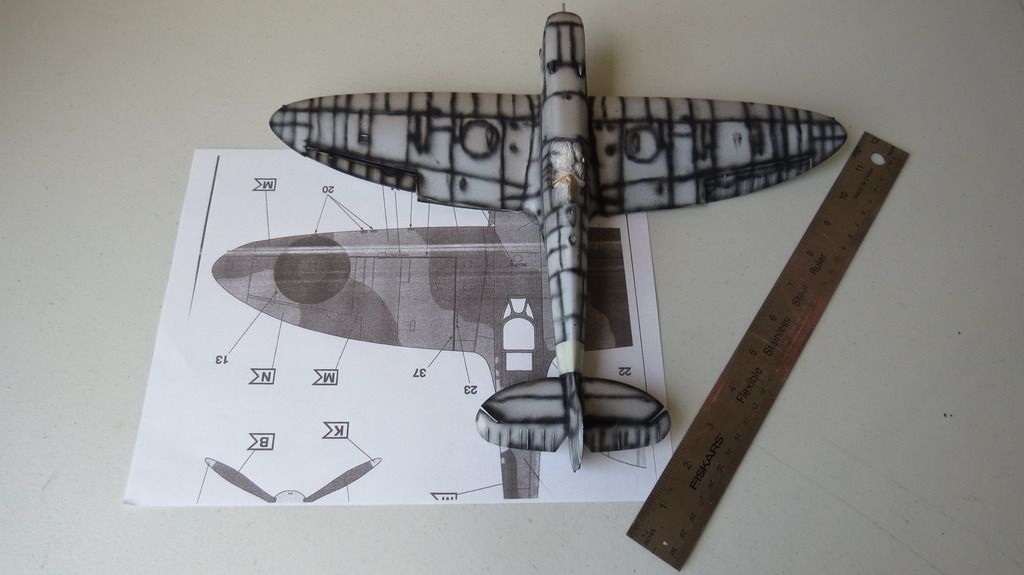
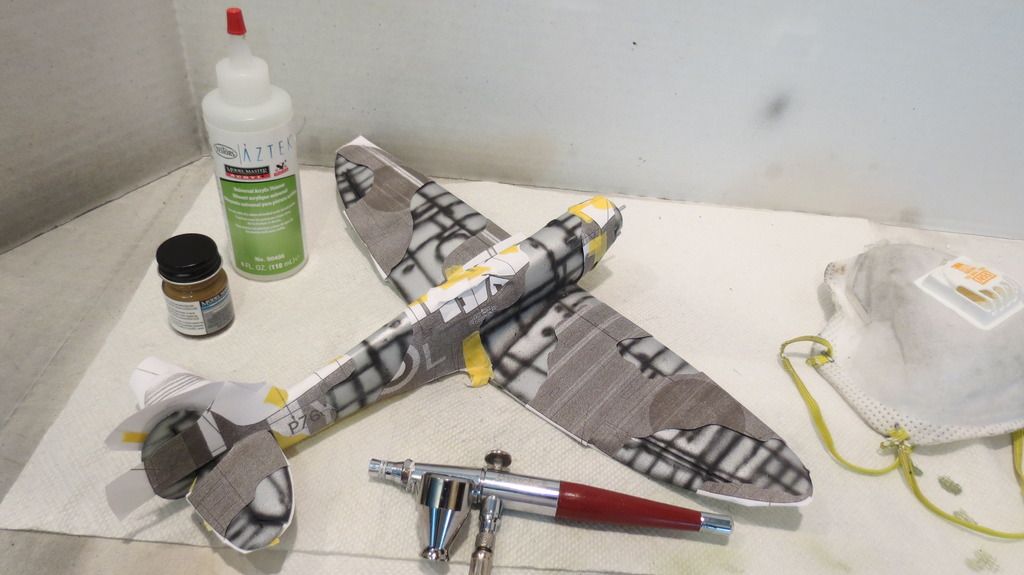
I wanted to airbrush the Dark Earth brown color onto the plane first, so, I cut out the "Dark Green" camouflage areas from the paper masks and stuck them down to the plane in their corresponding locations using Tamiya tape folded over to create "two-sided" tape. I then airbrushed the "Dark Earth" color over the exposed areas. I used Model masters Dark Tan 4709 toned down 20% with Model Masters Flat White 4769 and thinned about 40% with Tamiya X-20A. After completing airbrushing that mix onto the plane, I then toned the mix down further with more white and then airbrushed highlights on top of the previously airbrushed "Dark Earth":
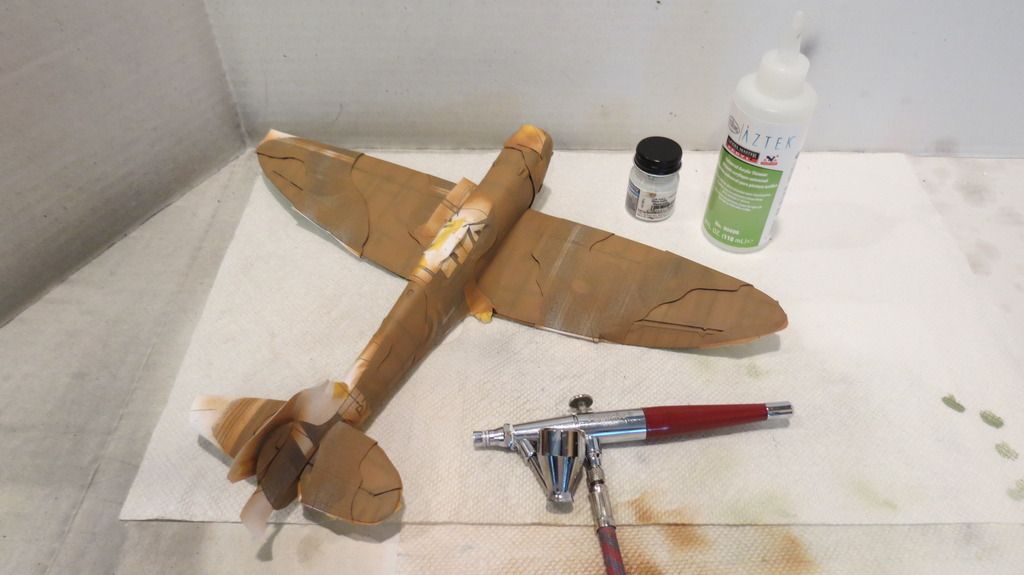
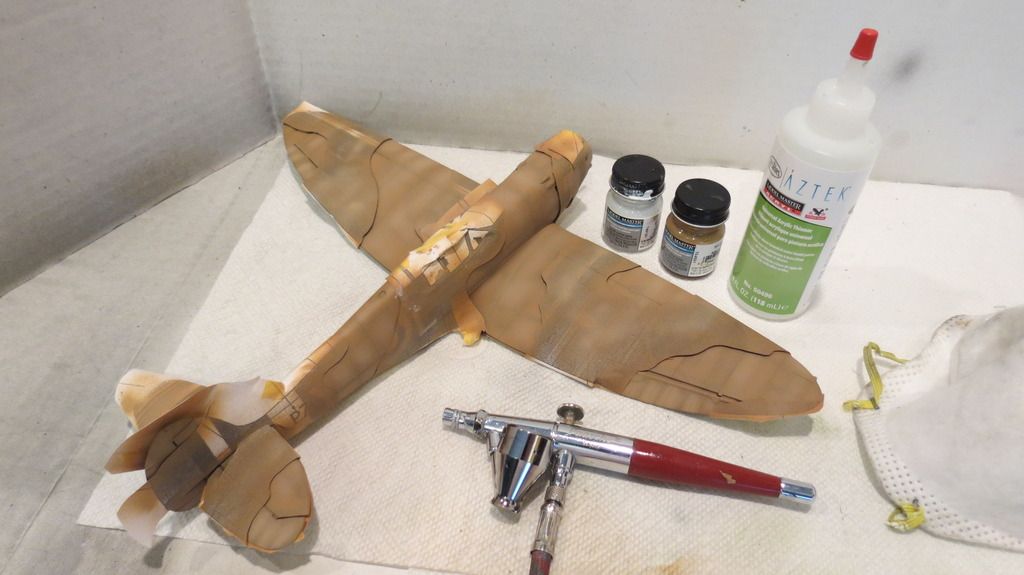
When the paint was touch dry, I carefully removed the masks and checked how the paint work had turned out. I was happy with the result:
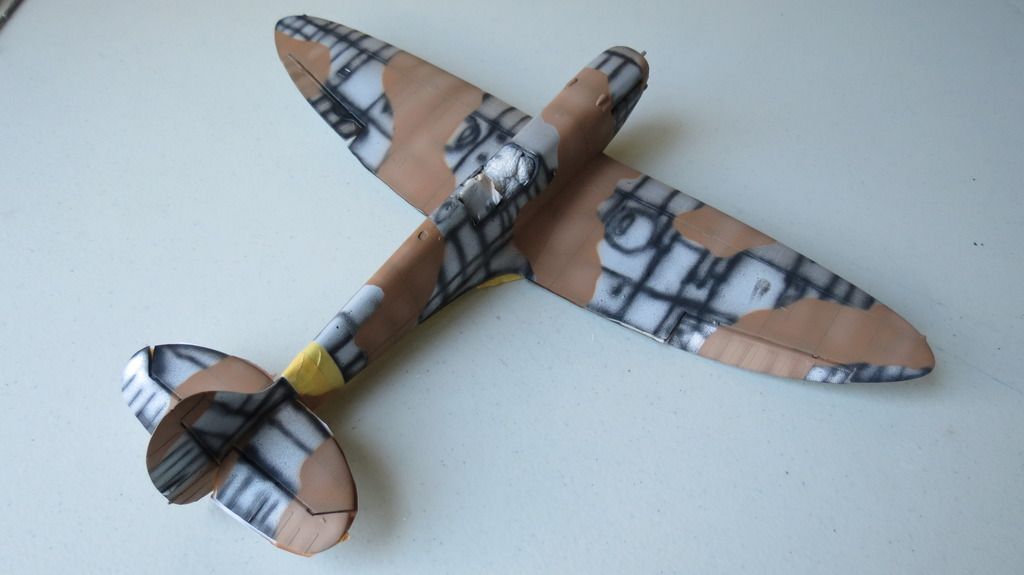
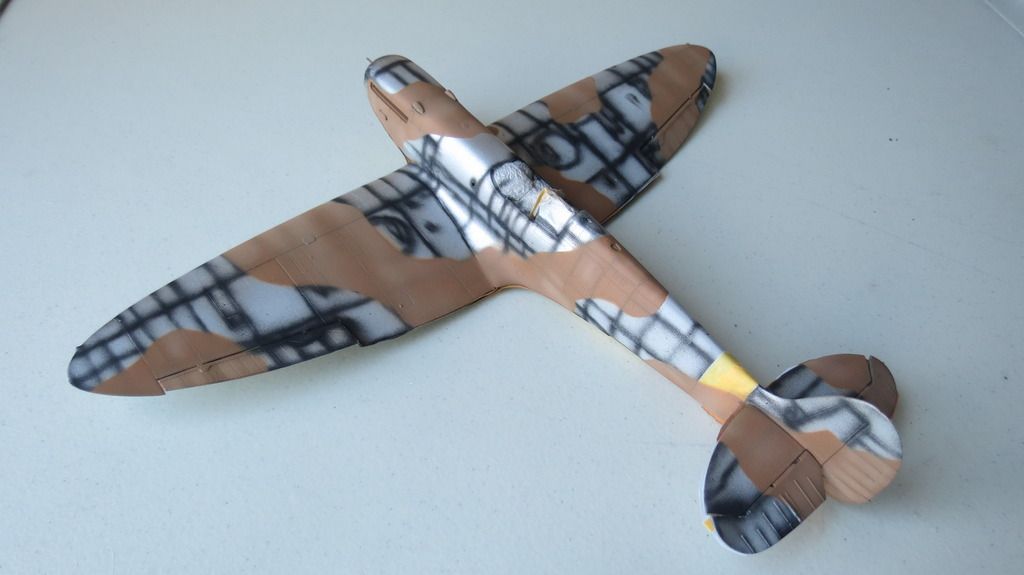
I allowed the Dark Earth paint to dry for 3 hours before I started masking for the Dark Green color. I cut out the areas that represented the Dark Earth color on the paper masks and used those to mask over the previously painted Dark Earth. Again, using folded Tamiya tape to create "double-sided" tape. When the masking was complete, I then airbrushed Dark Green over the exposed areas. I used Humbrol 30 toned down 15% with Model Masters Flat White 4769 and thinned 40% with Tamiya X-20A. Yes, I know what you're thinking..."He's mixing three different brands of paints and thinner?!"....It works for me, especially when using the Tamiya X-20A thinner, the different paint brands mix well. I then added more Flat White to what was left in my cup and airbrushed highlights onto the Dark Green;
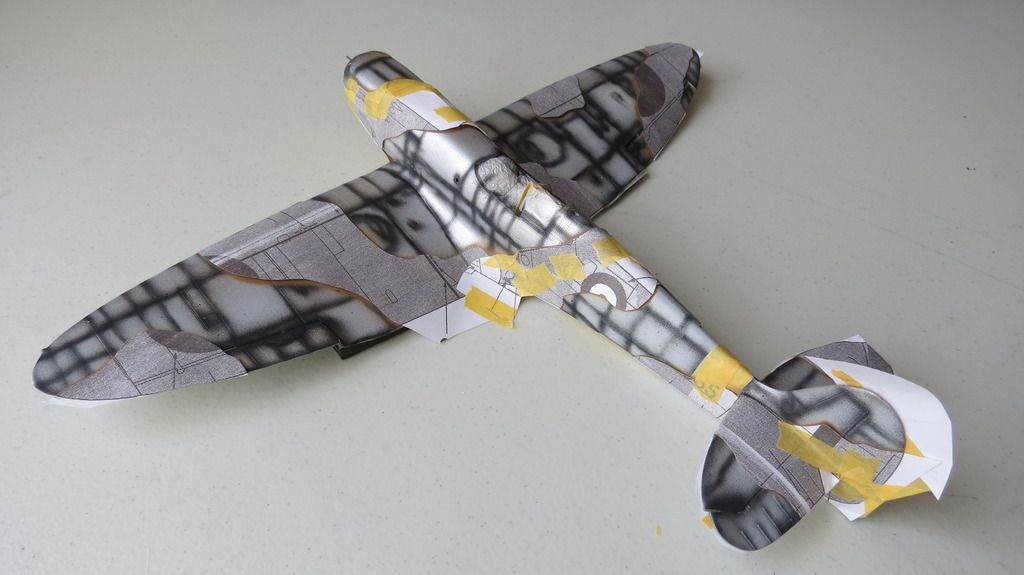
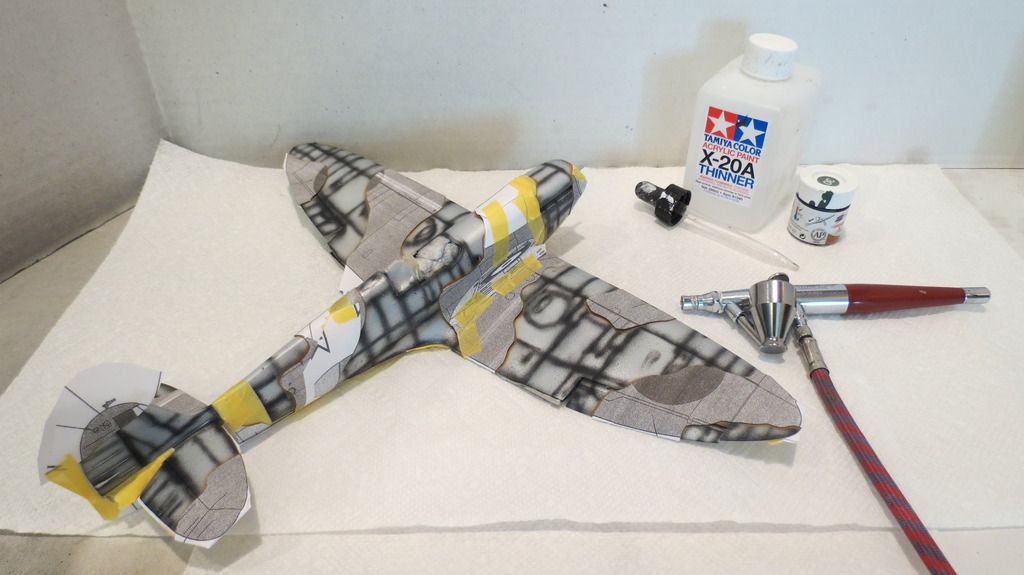
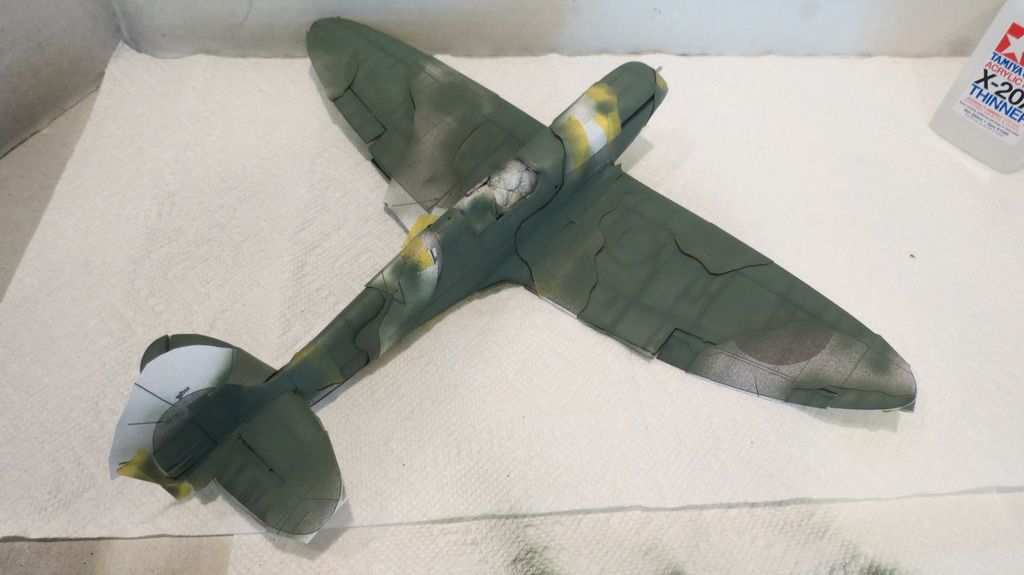
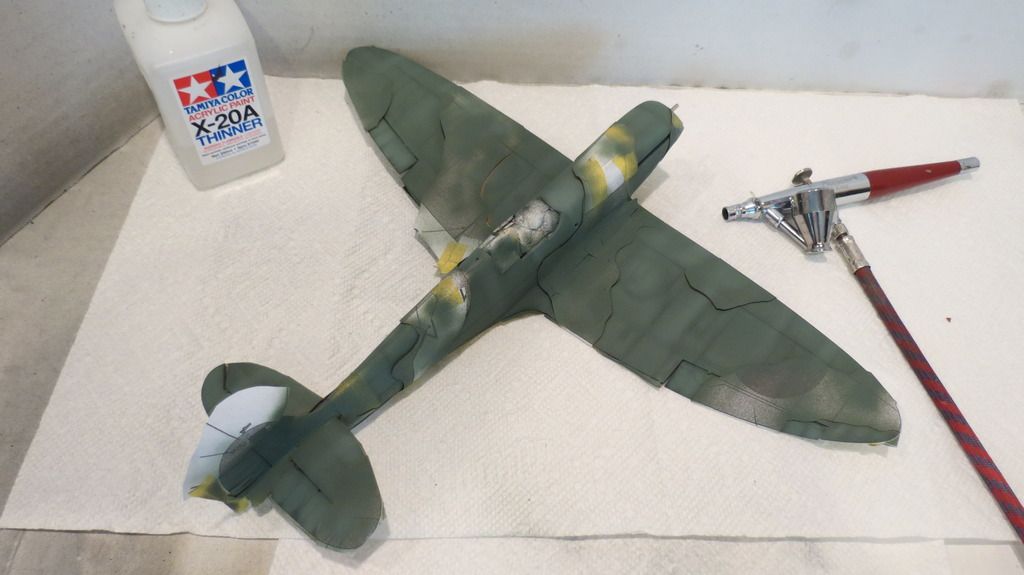
When the paint was touch dry, I carefully removed all masking and then checked to see how everything was looking, and again, I was reasonably happy with the results, bearing in mind that these are only my base colors to work with that I will be applying filters and weathering to later on;
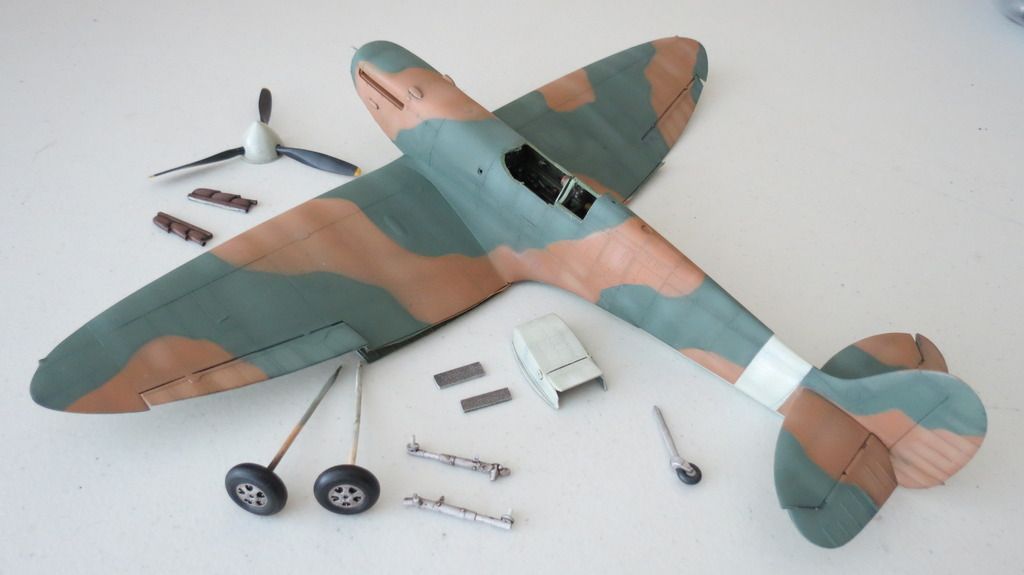
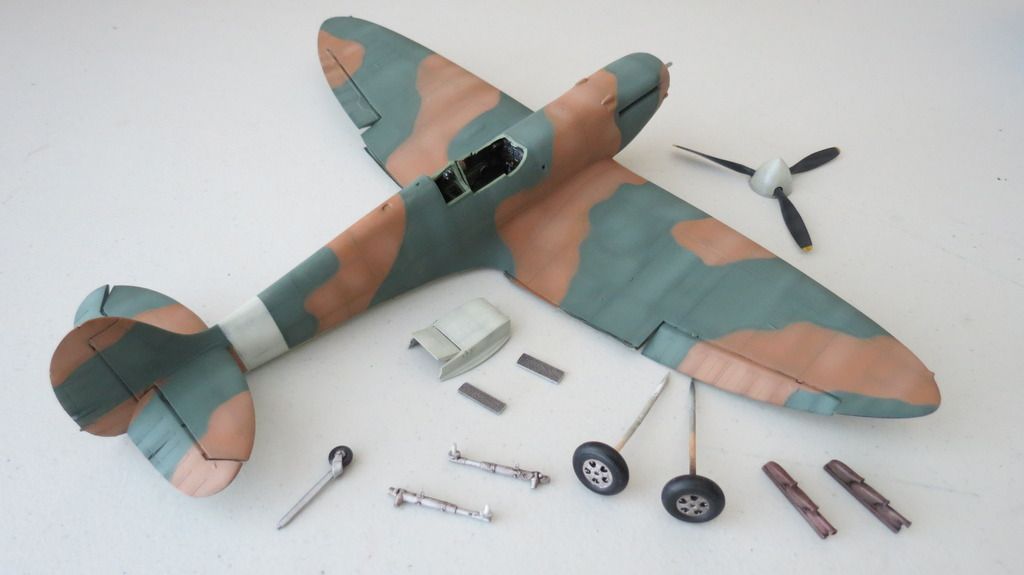
When the paint was completely dry, I then assembled the radiator housing to the underside followed by both exhaust stacks:
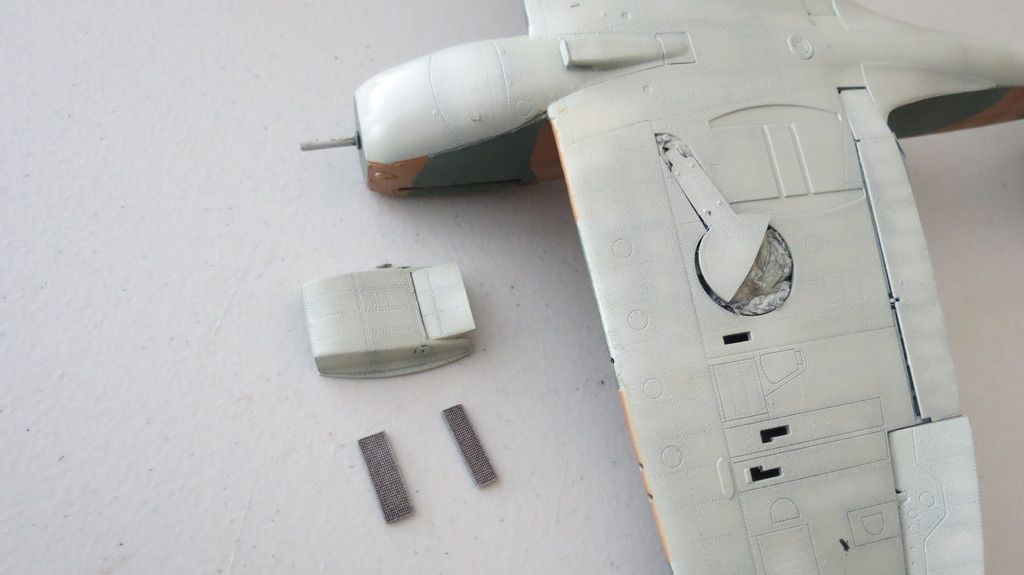
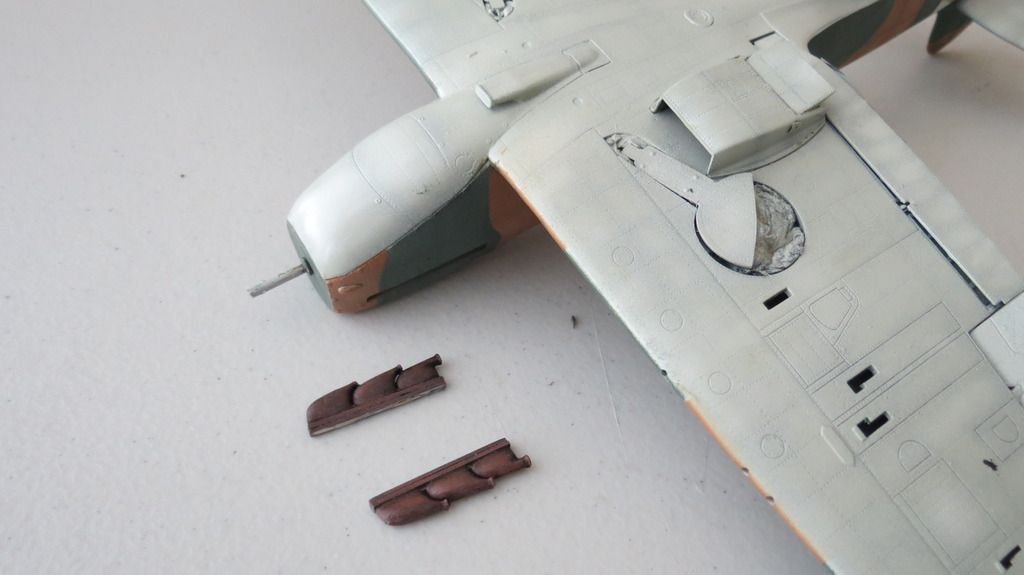
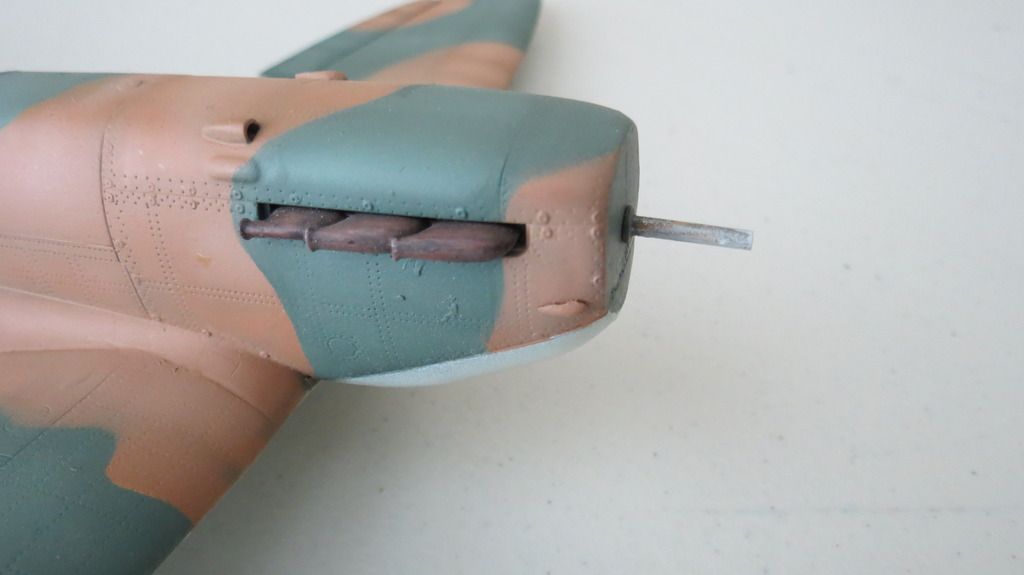
She was now ready to be airbrushed with a gloss clear coat to seal all the paint-work in prior to applying decals. I used Model Masters Gloss Acrylic clear-coat:
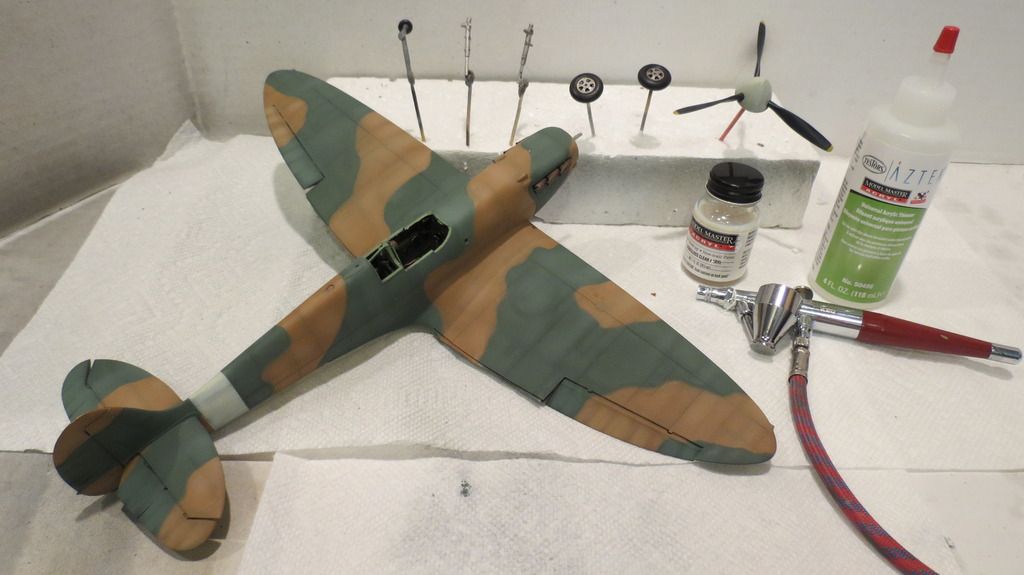
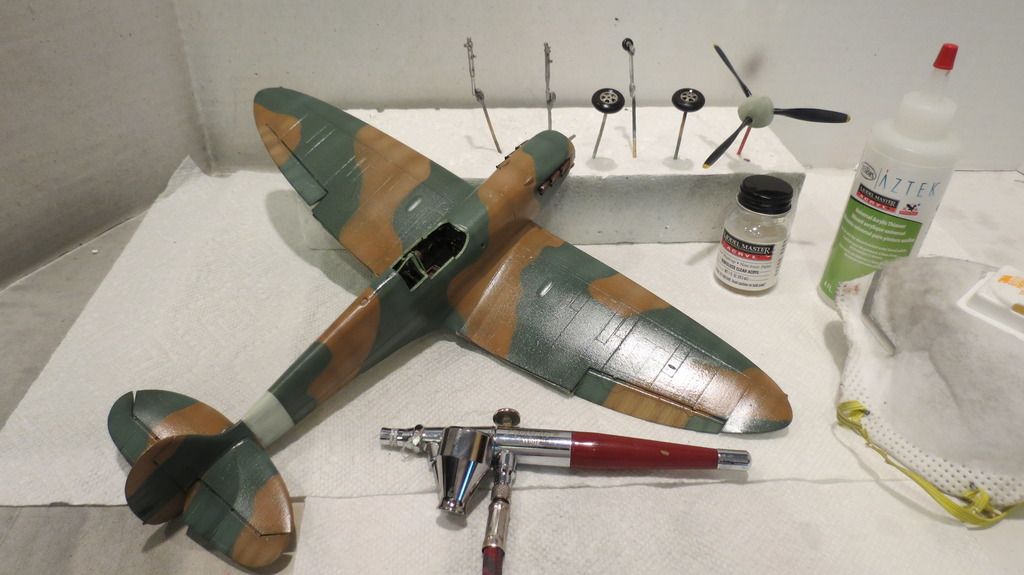
I allowed the gloss clear coat to dry over-night and then the following morning I applied the decals. I started off with the upper side, followed by the portside, the starboard side and finally the underside:
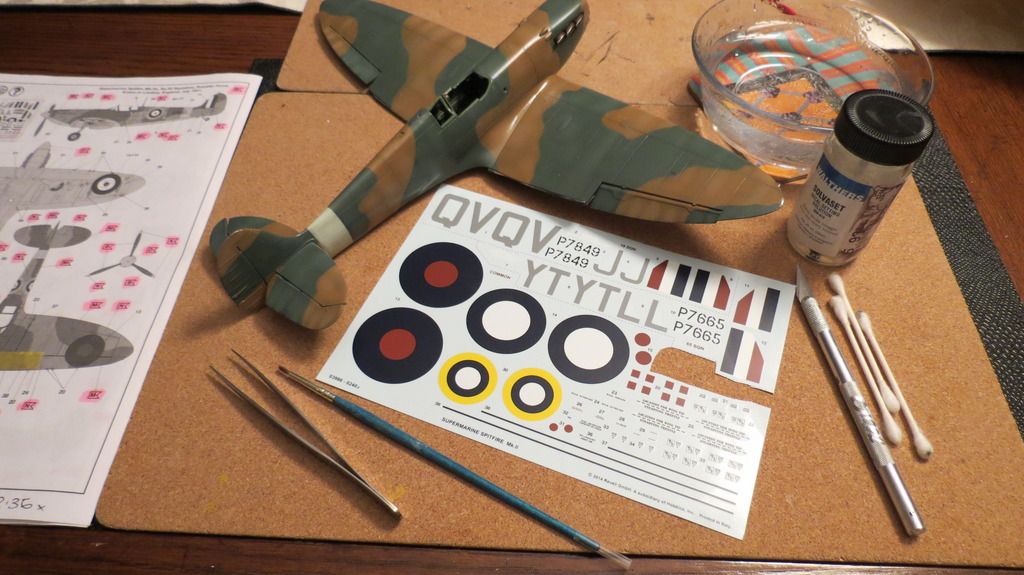
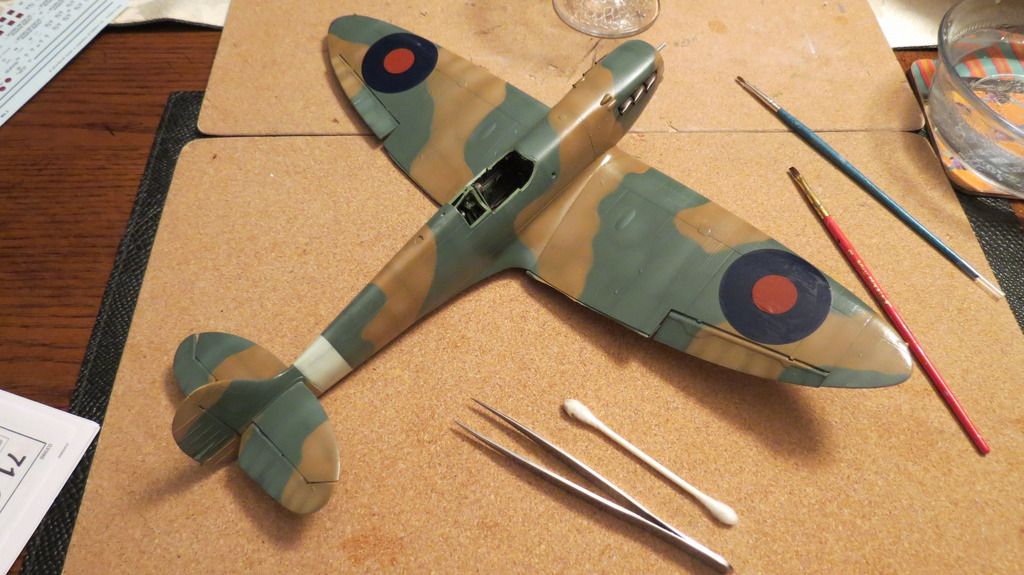
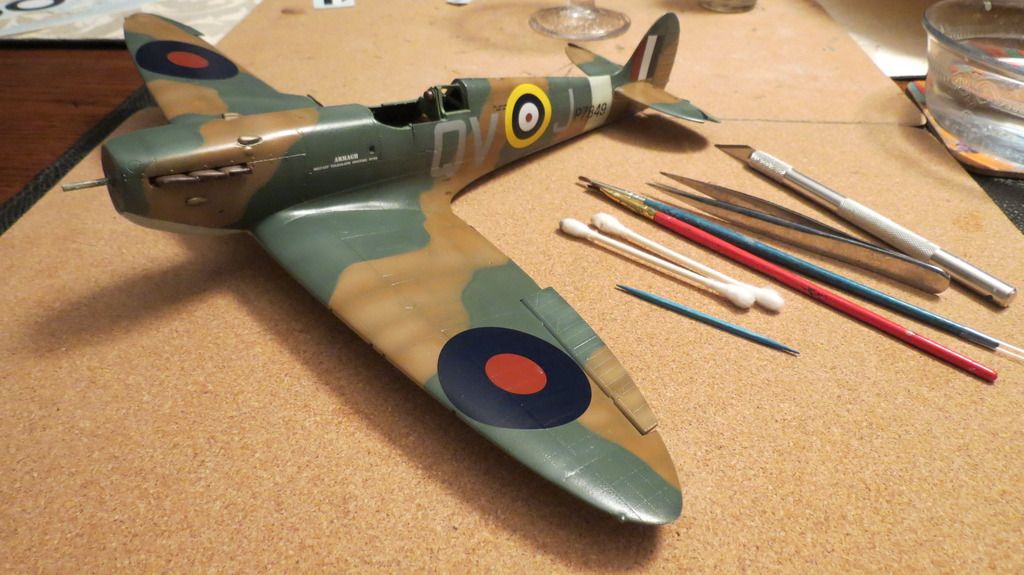
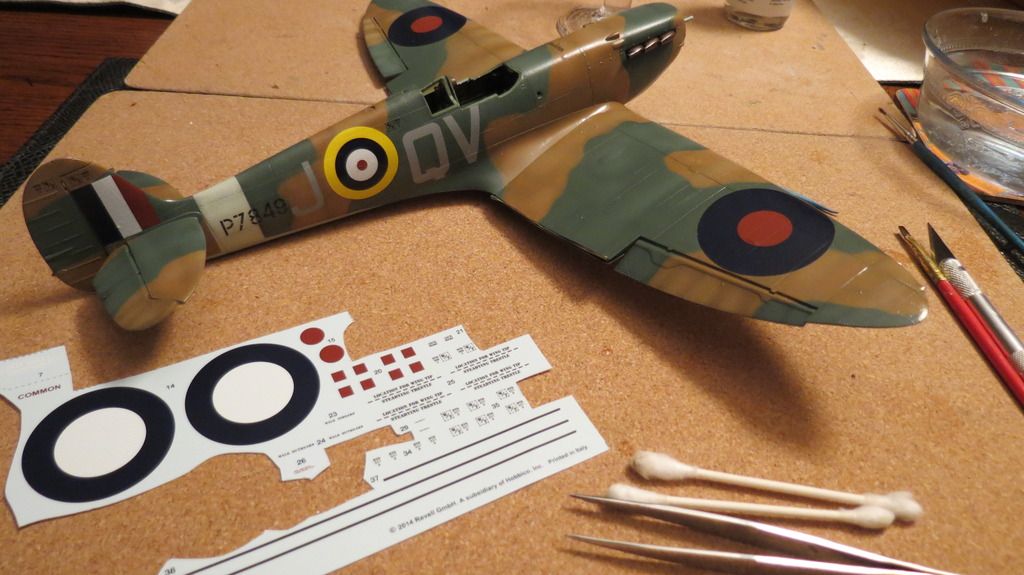
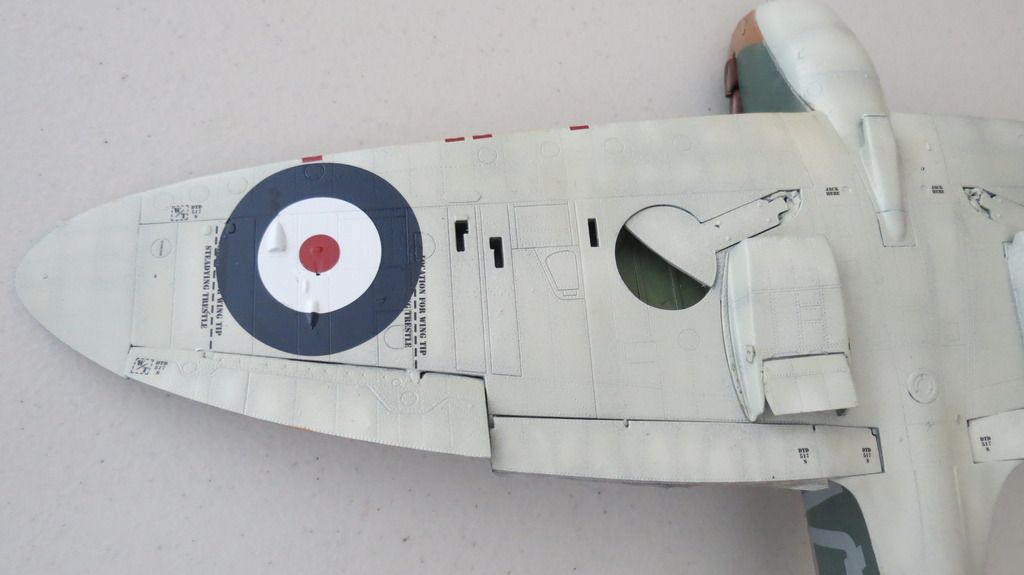
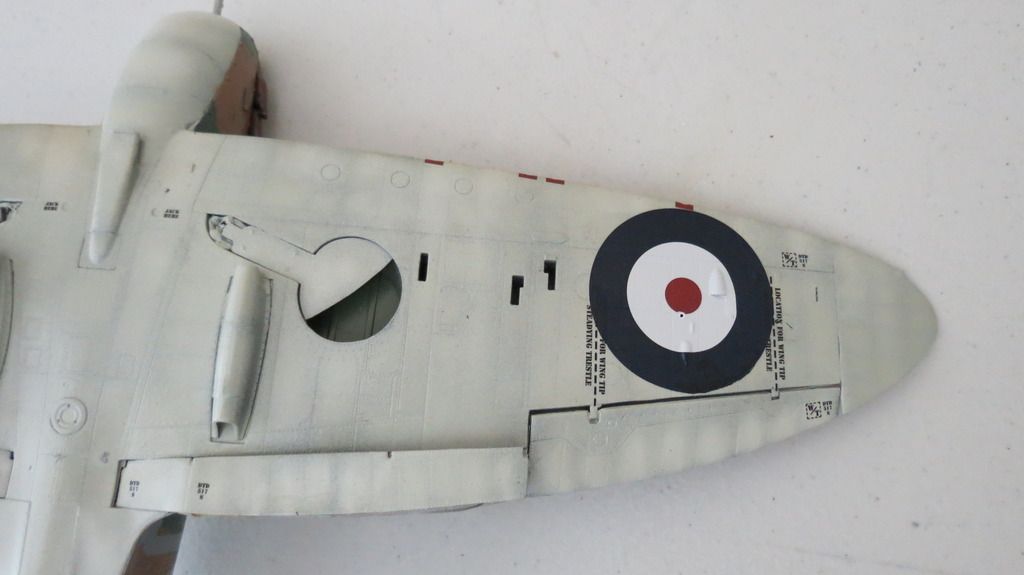
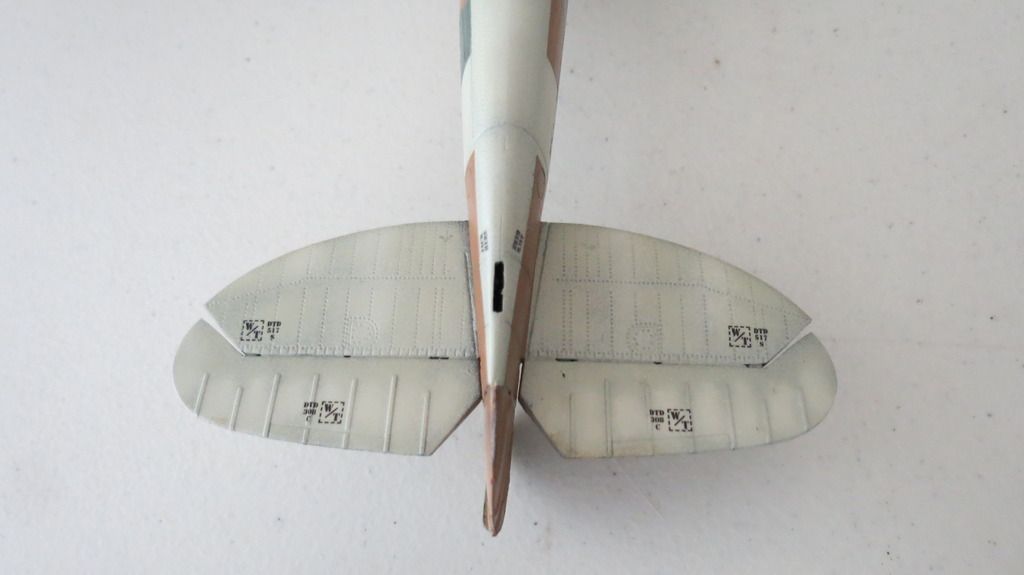
When the decals were completed, I decided that this was as far as I wanted to go with this update, and so, I laid everything out on my table, checked over my progress and took a few photos to show how she was looking so far:
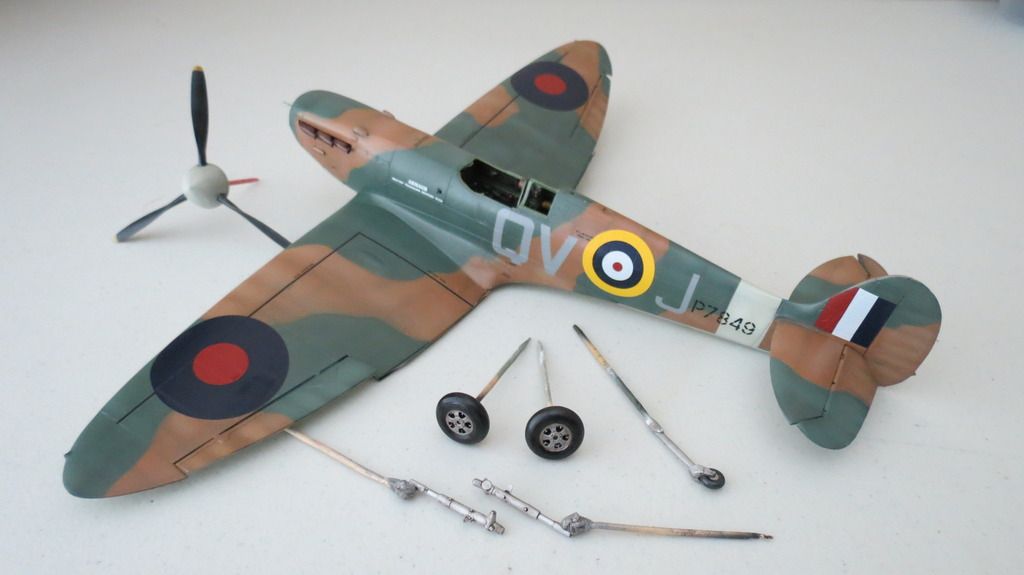
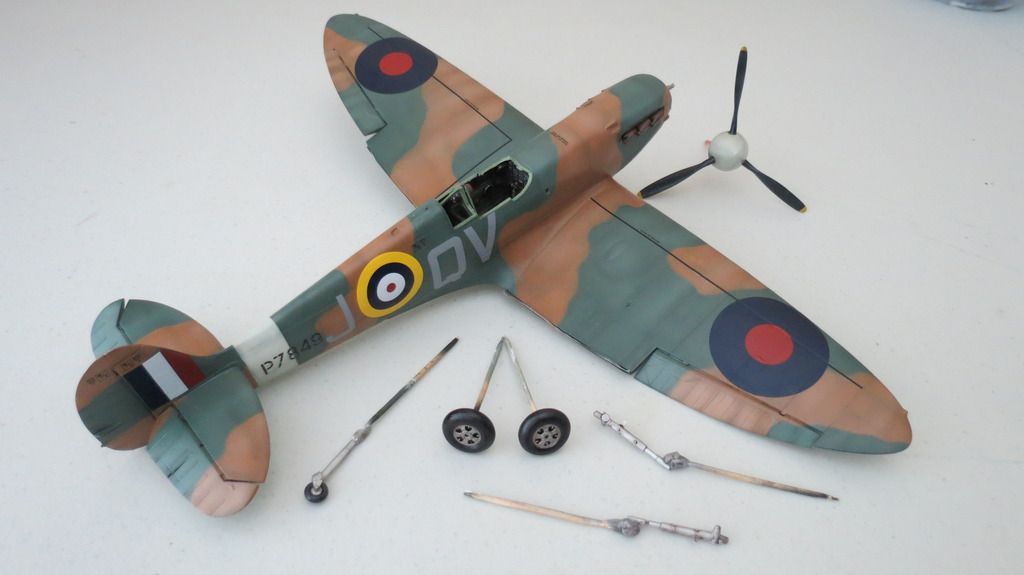
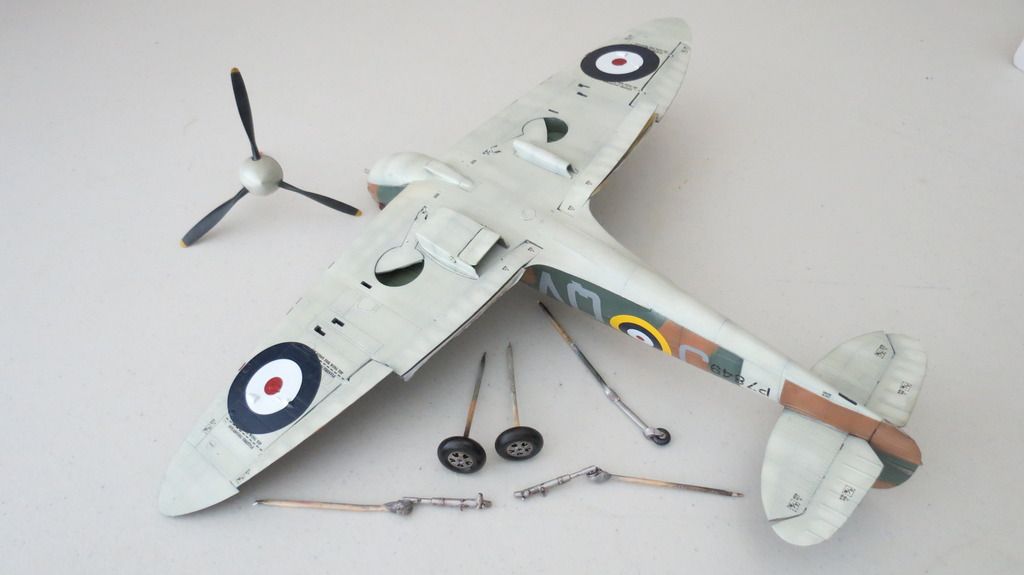
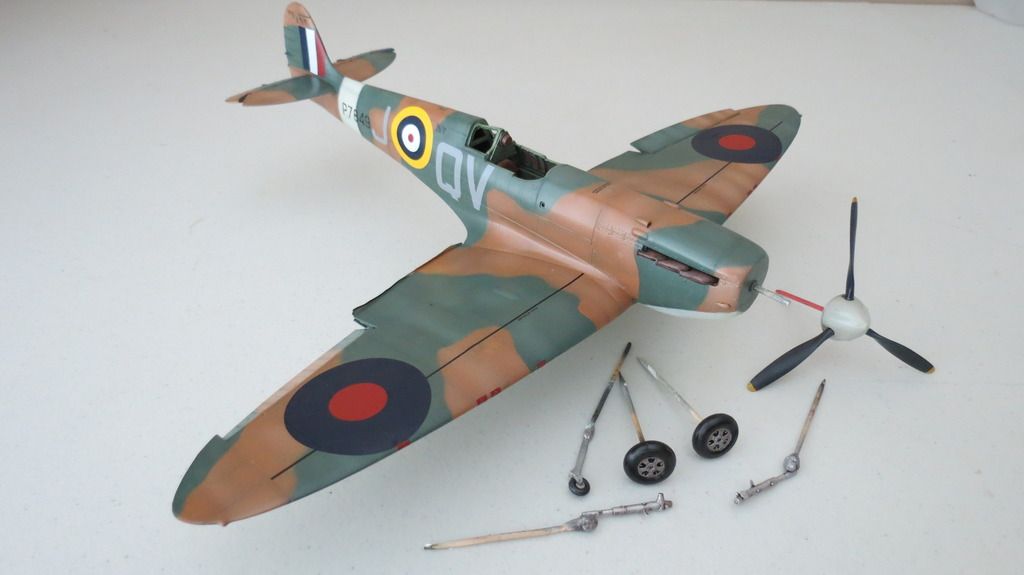
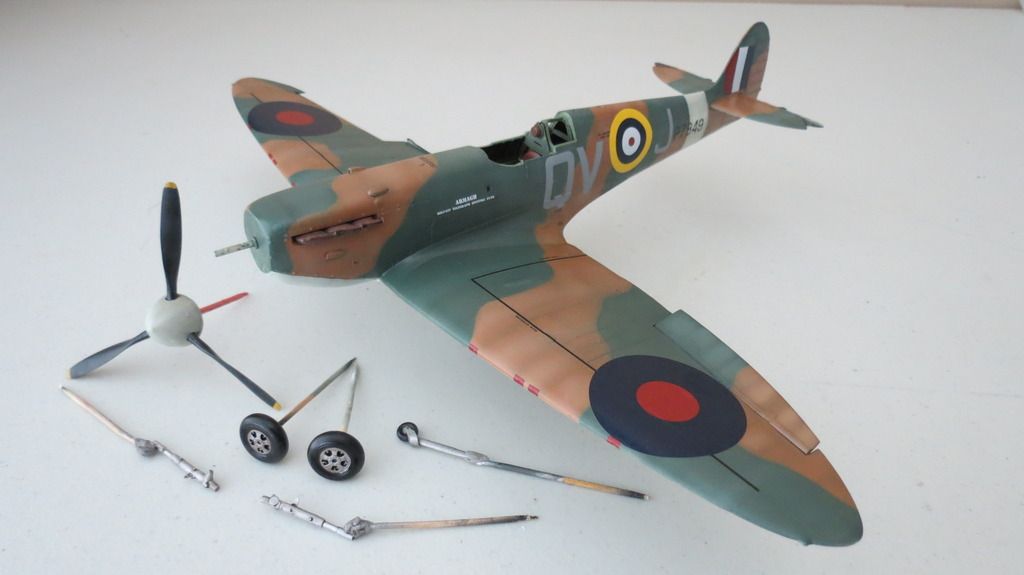
After completing the decals, I suddenly realized, when thinking about the next stage- weathering, that I had applied a clear coat over the paint and moved on with the decaling before making the most of the "Hairspray Chipping Technique" and applying ater to the freshly painted surfaces to activate the hairspray beneath, so that the paint could easily be chipped away with a tooth-pick!! SUPER BRAIN-FART moment!! Oh well, maybe I can scratch through the clear coats to expose the silver paint now? If not, I'll just have to apply aluminum paint with a fine brush and the previously applied "hairspray technique" applications were wasted effort.
Well, that's it for this update! From hereon, I will seal the decals in with a clear coat and then begin the weathering and "Final assembly" stage which will include masking and painting the canopy sections, fitting the wheels, the propeller, the pitot tube, the rudder actuator, counterbalance weights, the aerial and antenna cables.
Until my next update, if you would like to watch my "Build Update #3" video on YouTube, here is the link for that:
https://youtu.be/KIFePoj0KTQ
Thanks in advance for following this build thread, watching my video and leaving comments, much appreciated! 
Until next time, happy modeling and have fun!
Cheers 
Martin