Revell Pro-Modeler 1/32 Junkers Ju 88A-1 Bomber "Build Update #5" (3.15.16)
Hello Chaps, it's been 2 weeks today since my last update, but I managed to get my weathering and final assembly stages completed ready to move forward to a "Final Reveal" later this week. 
Starting from where we had finished in "Build Update #4", I had painted and decaled the plane, so, I needed to seal the decals with a gloss clear coat, along with the peripheral parts, to make them ready for weathering....
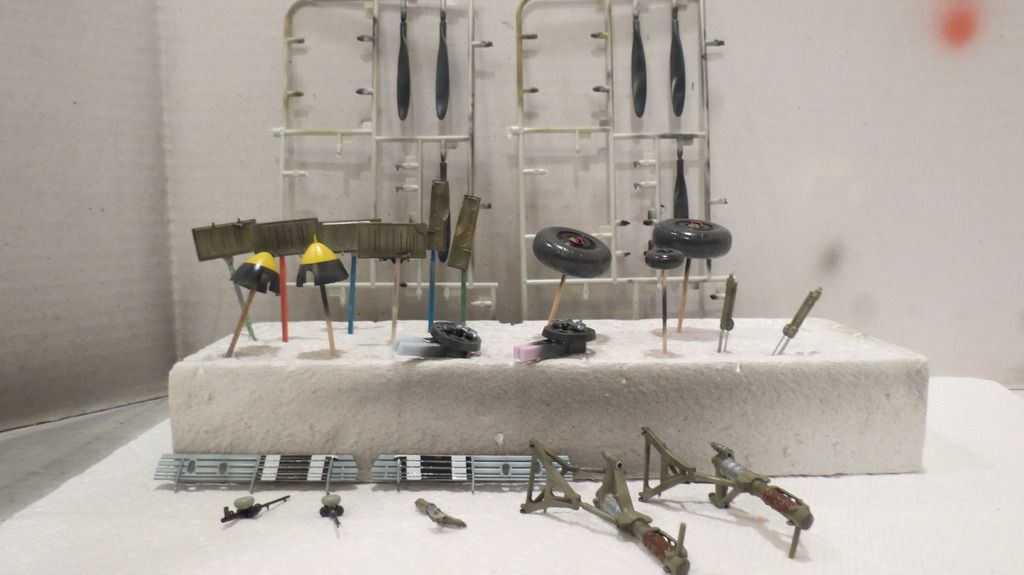
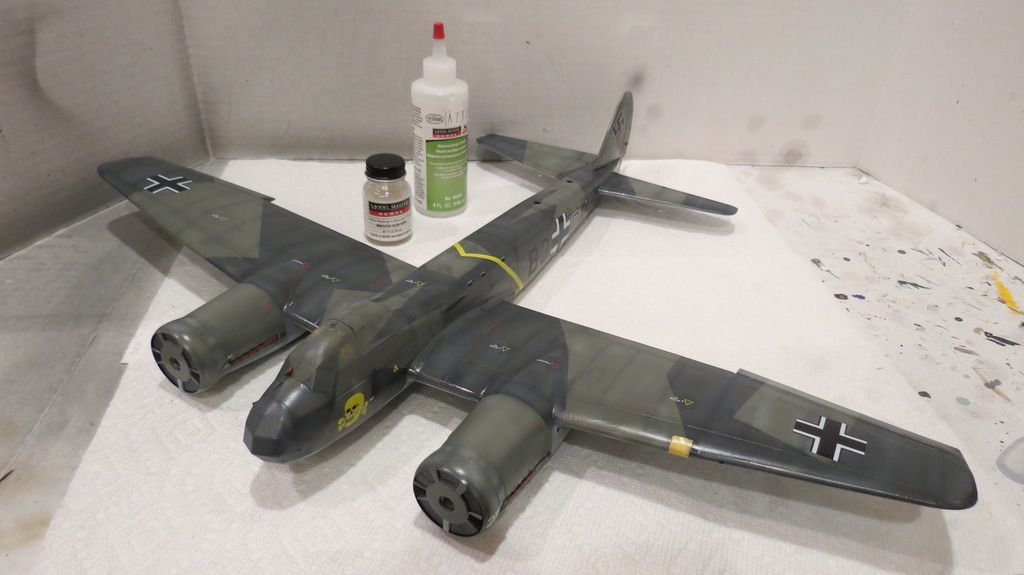
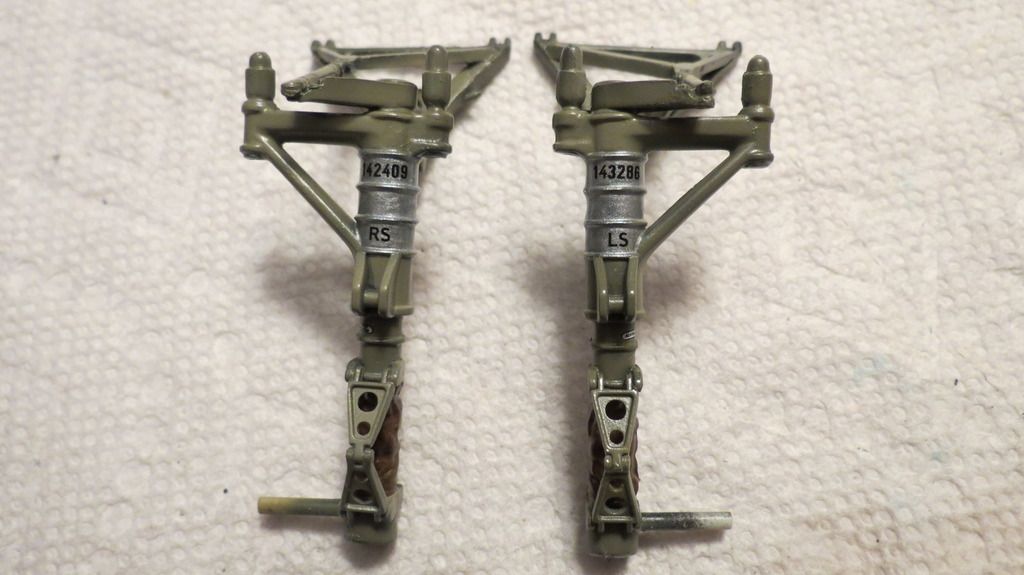
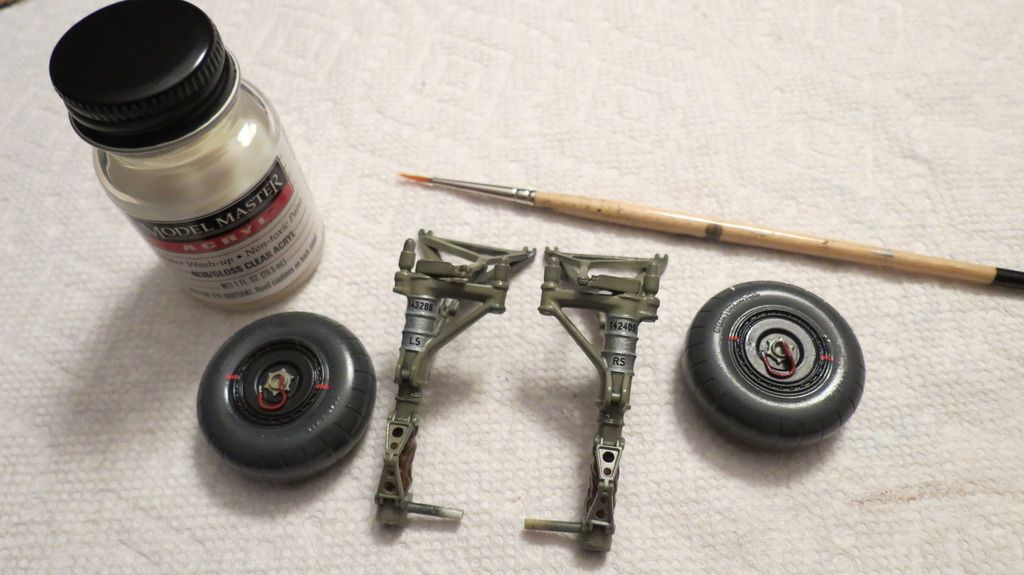
But, before I began the weathering stage, the wheels and their struts required the application of some small decals. So, they were applied and then sealed with some gloss clear coat...
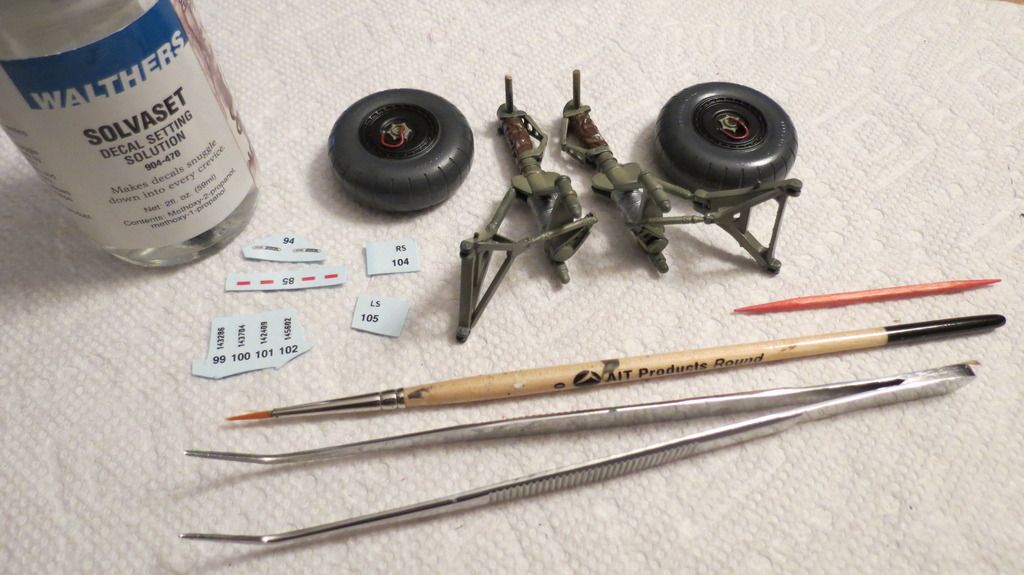
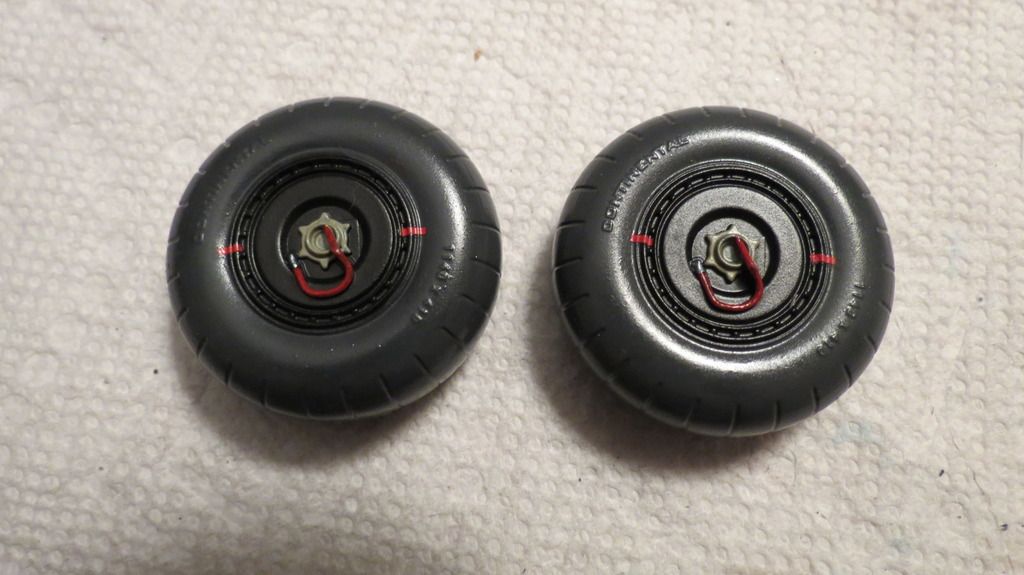
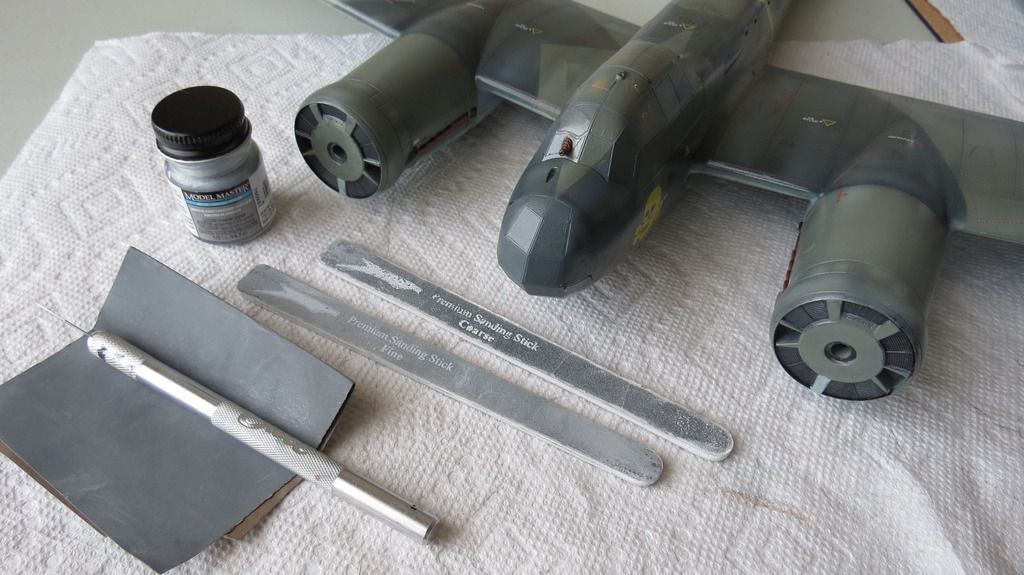
I started my weathering with chipping/scuffing and scratching using a sanding stick, some emery cloth and my scalpel blade to expose the silver paint beneath the top colors. I also scuffed the large decals so that the washes adhere to them better to help tone the bright white parts of the decals. I wasn't concerned about the appearance looking overdone or exaggerated, because with the application of washes, the scratches, scuffs and chips will be muted and blended...
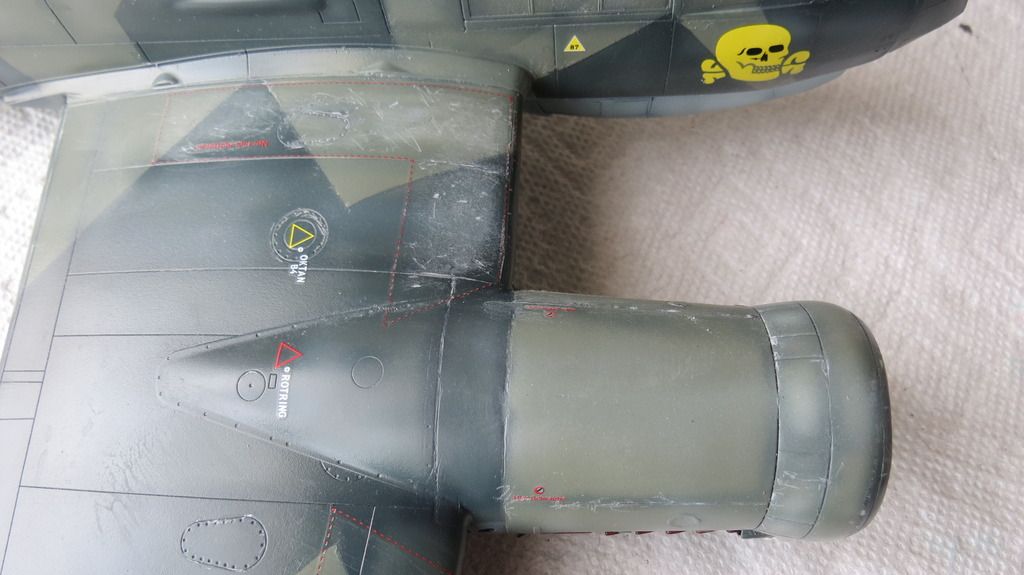
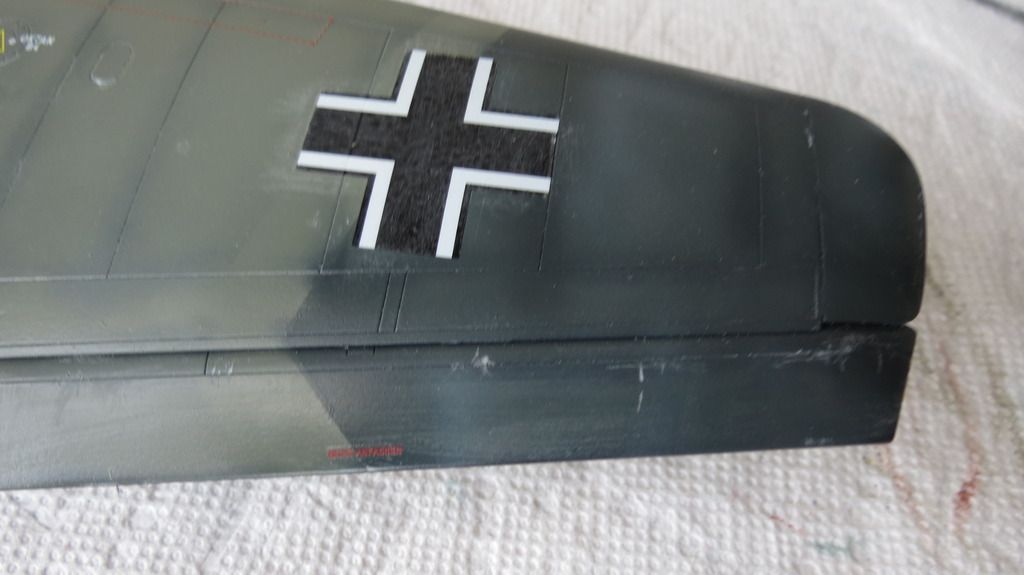
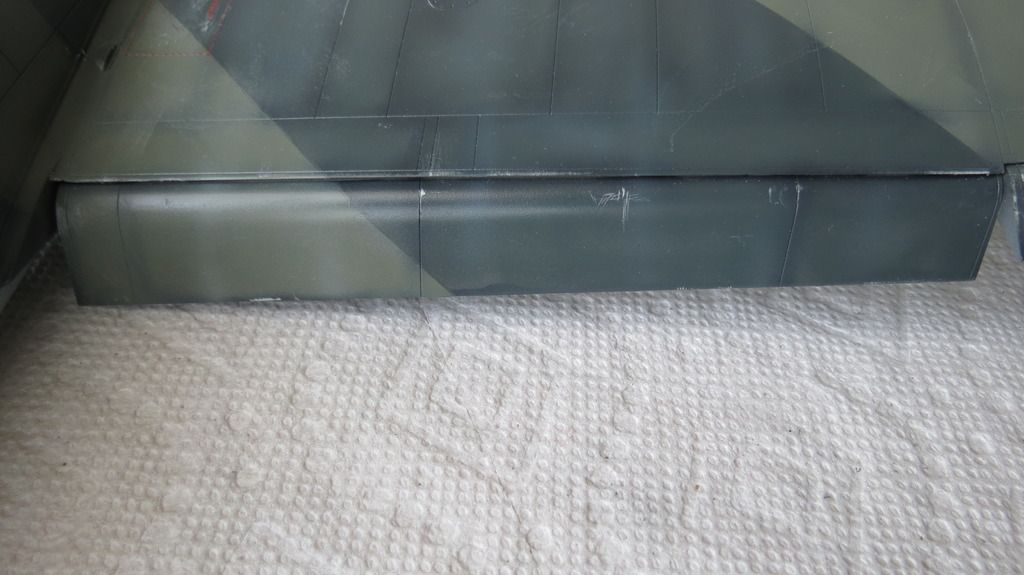
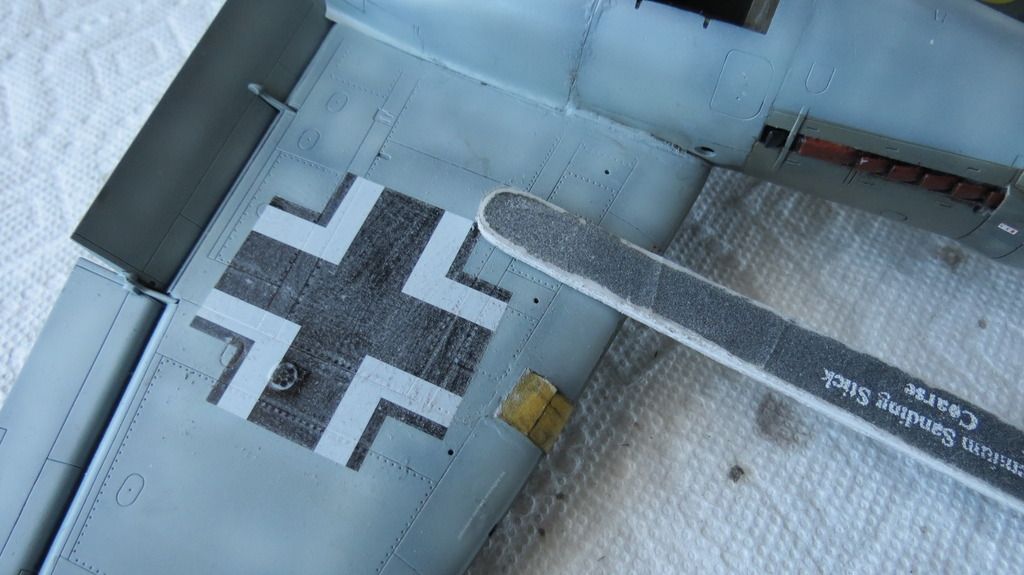
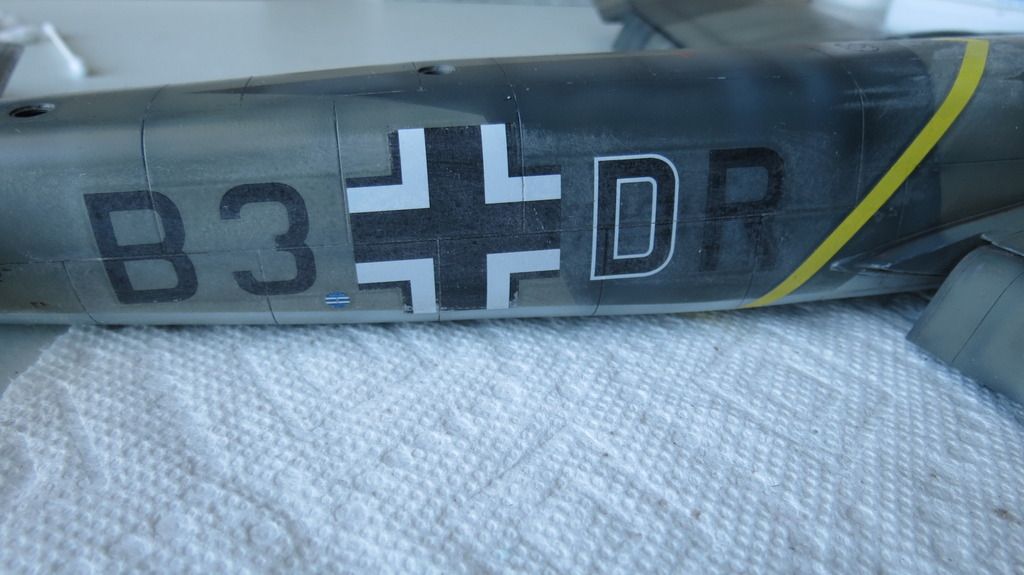
I then mixed a dark dirt wash using black oil paint with a little smidgeon of white and thinned down with odorless mineral spirits and applied it to the top side first, starting with the wings, the stabilizers and the fuselage. I allowed it to dry for 30 minutes, then used kitchen roll and cotton buds/-tips to wipe the excess off in the direction of air-flow, leaving on an amount that gave a desired effect...
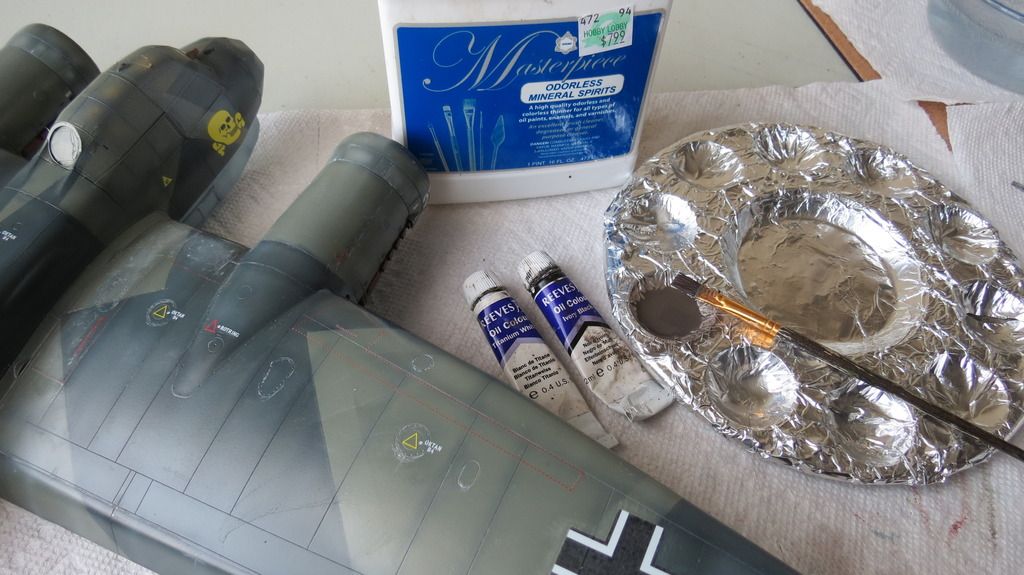
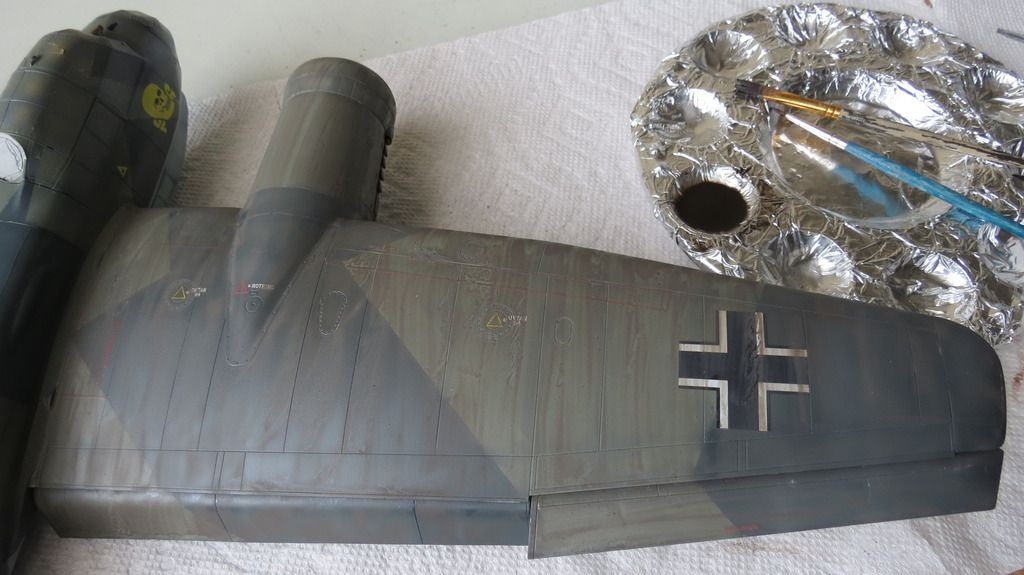
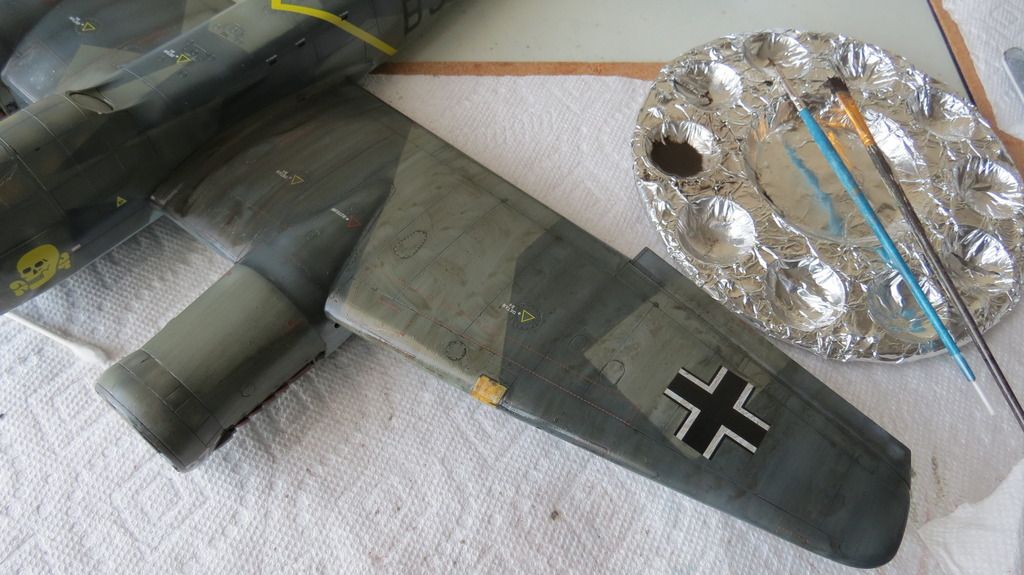
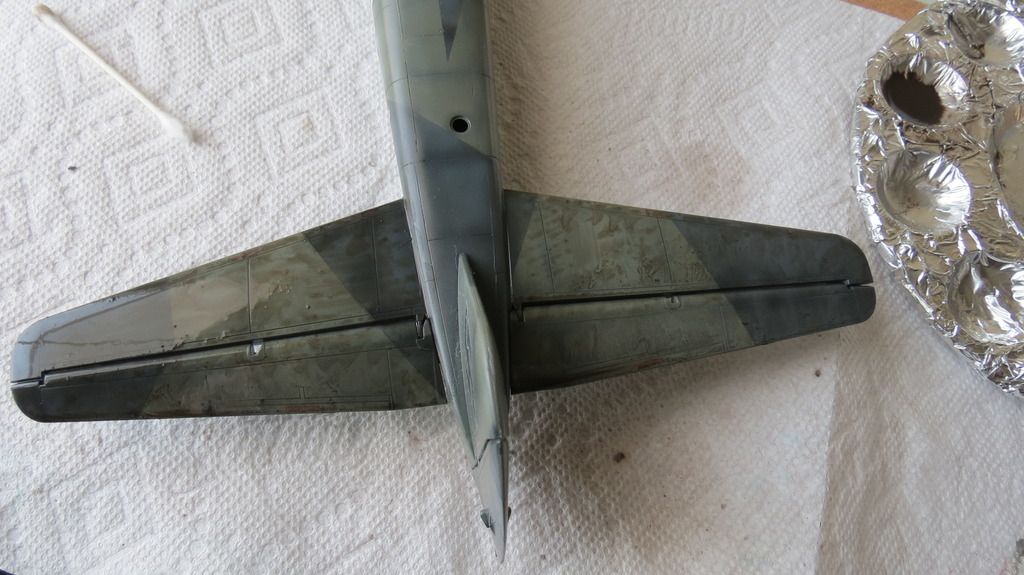
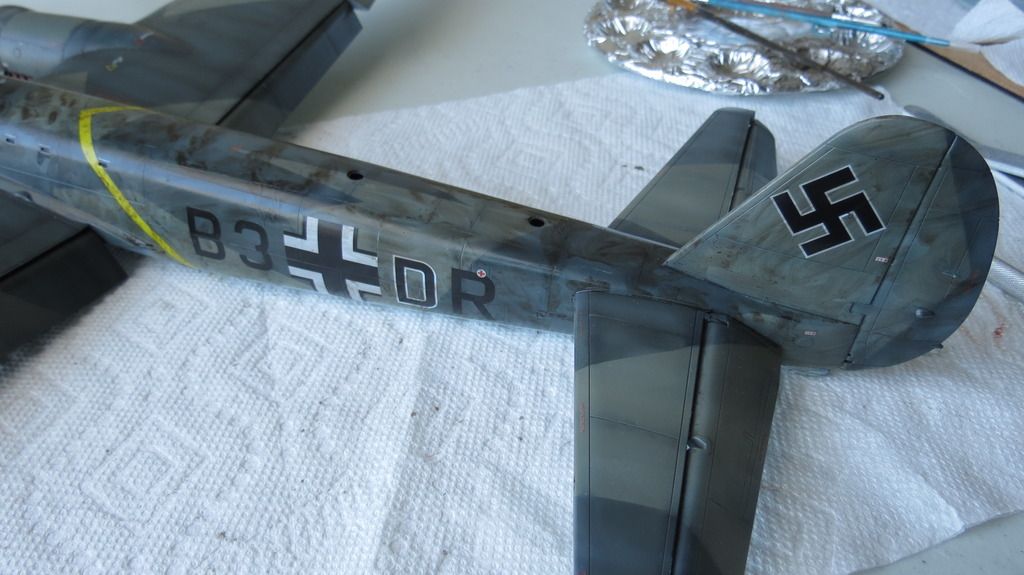
I then repeated this process for the underside...
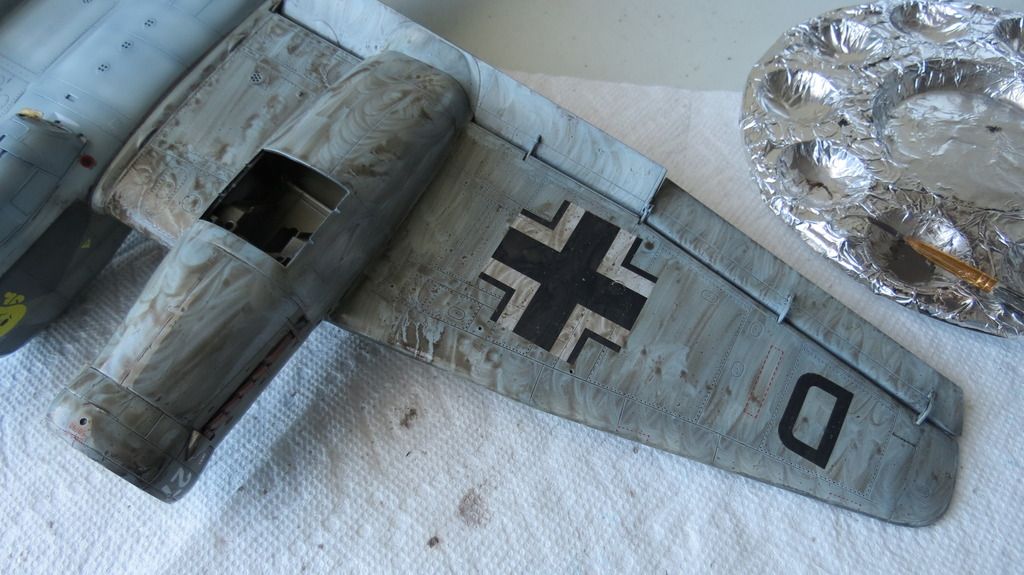
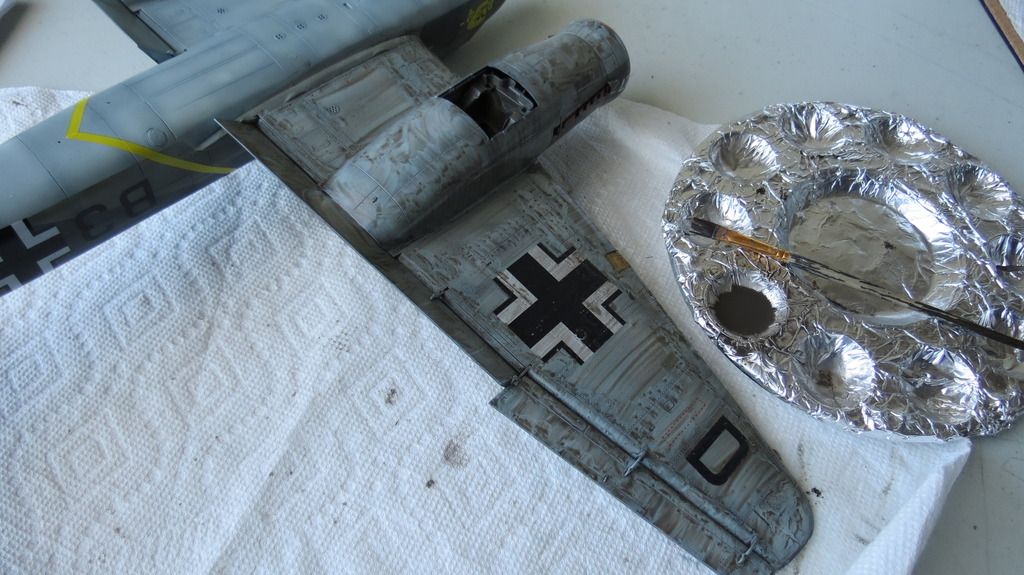
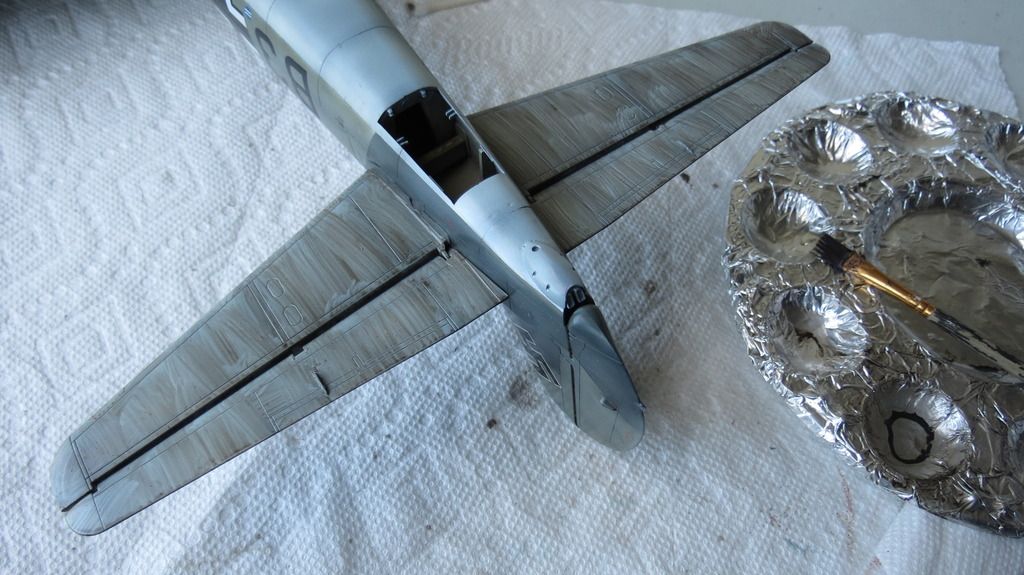
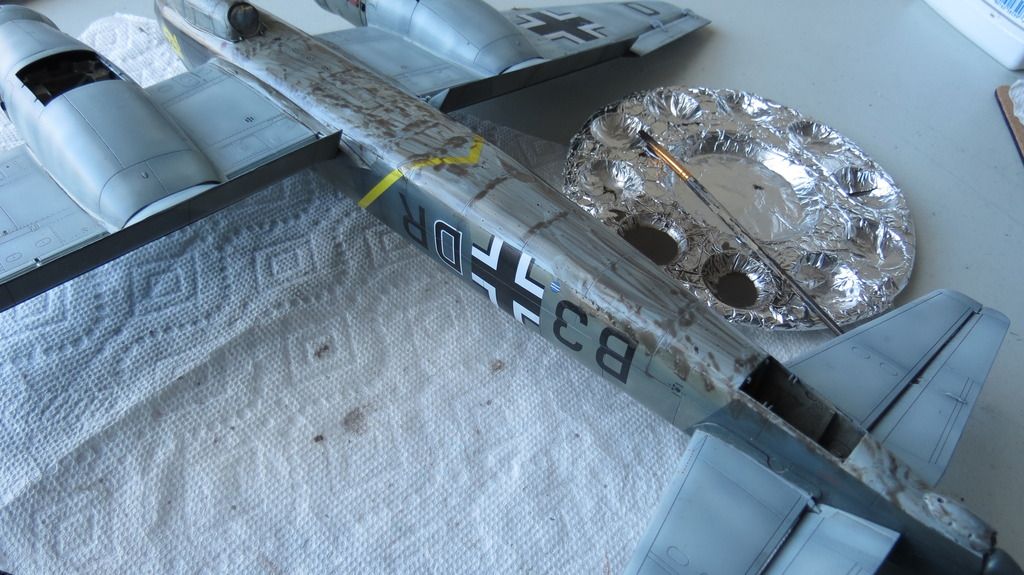
Some of the panel lines weren't highlighted enough for my liking, so, I mixed a pin-wash and applied it to all the panel lines to darken them more...
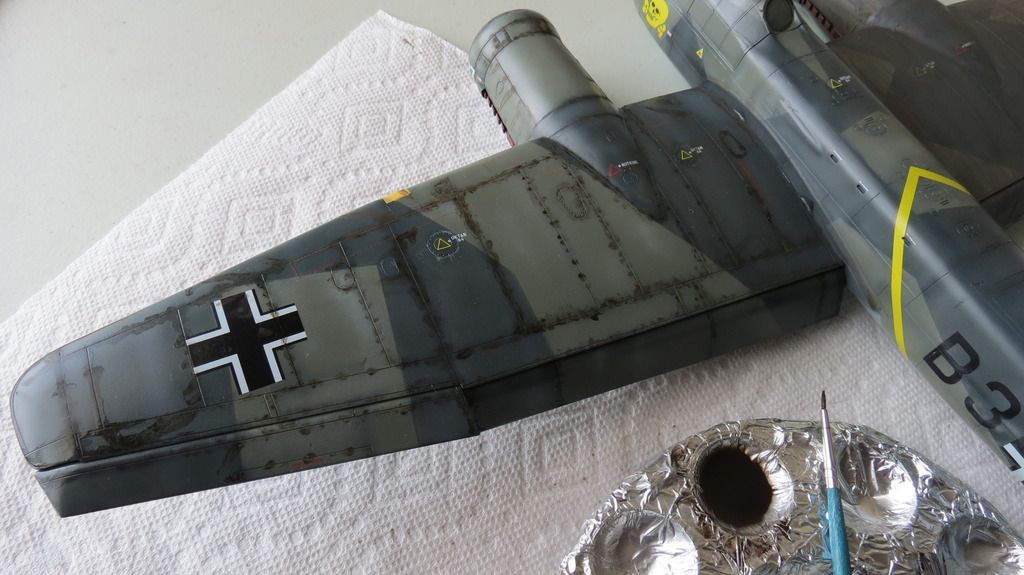
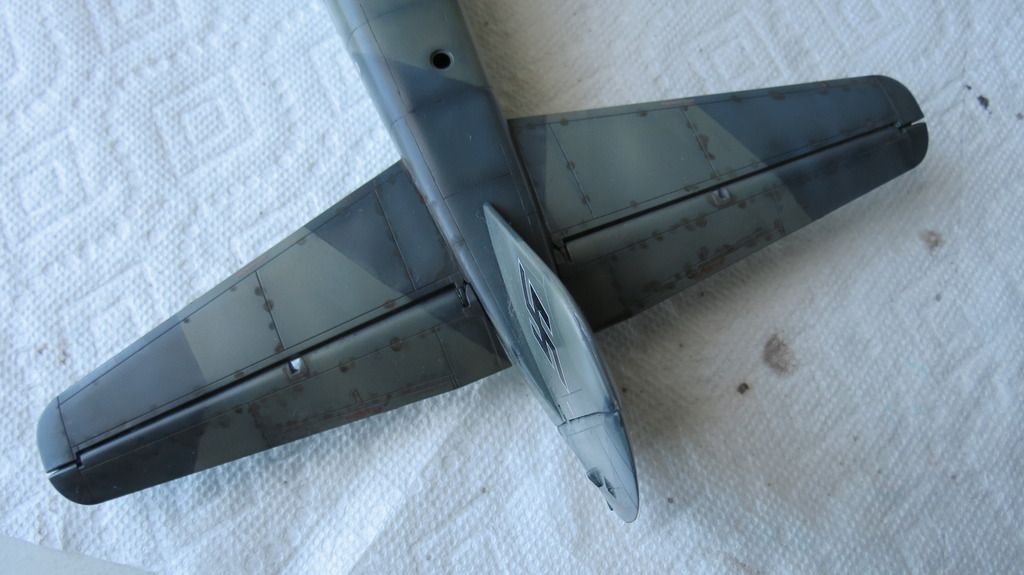
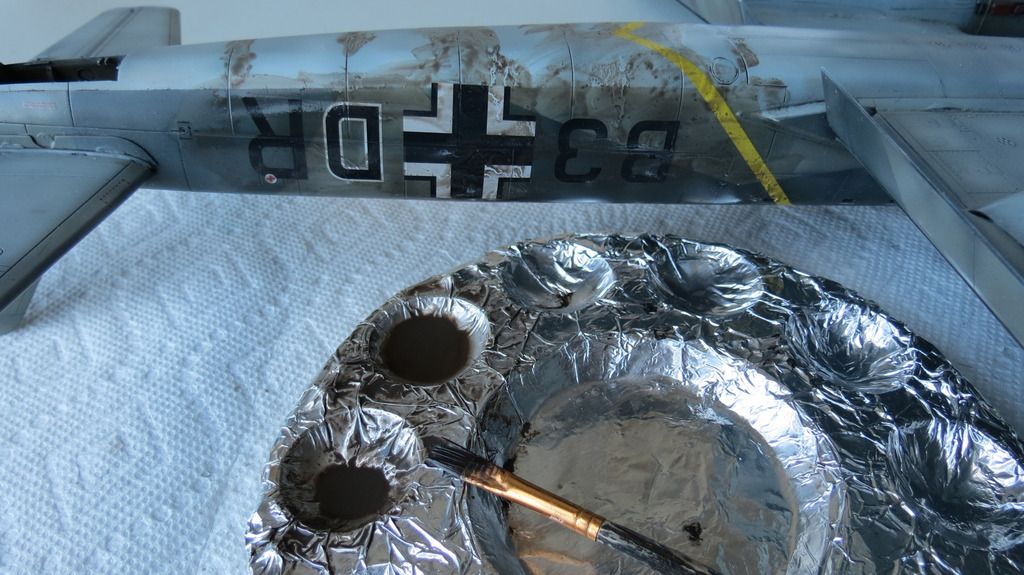
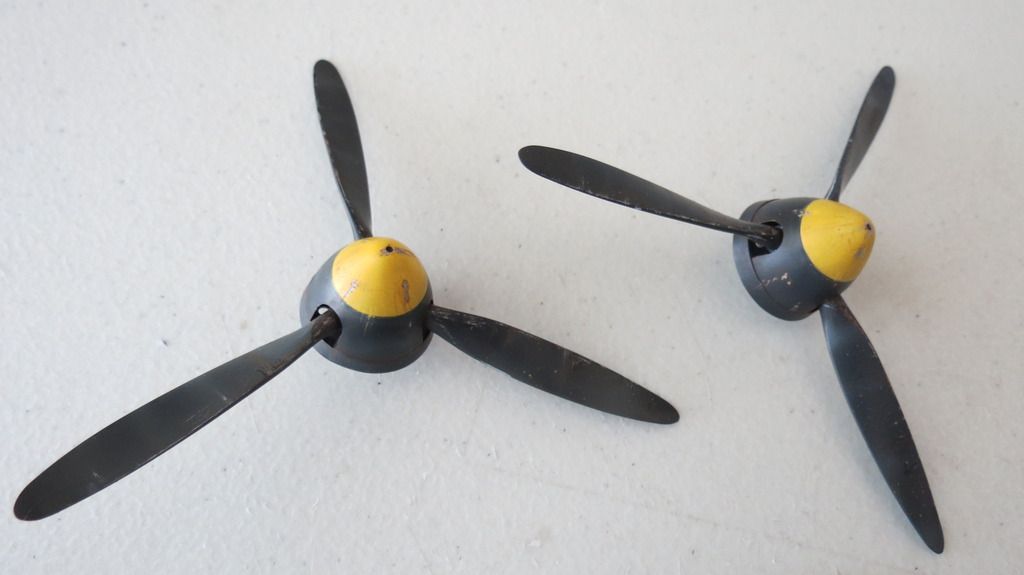
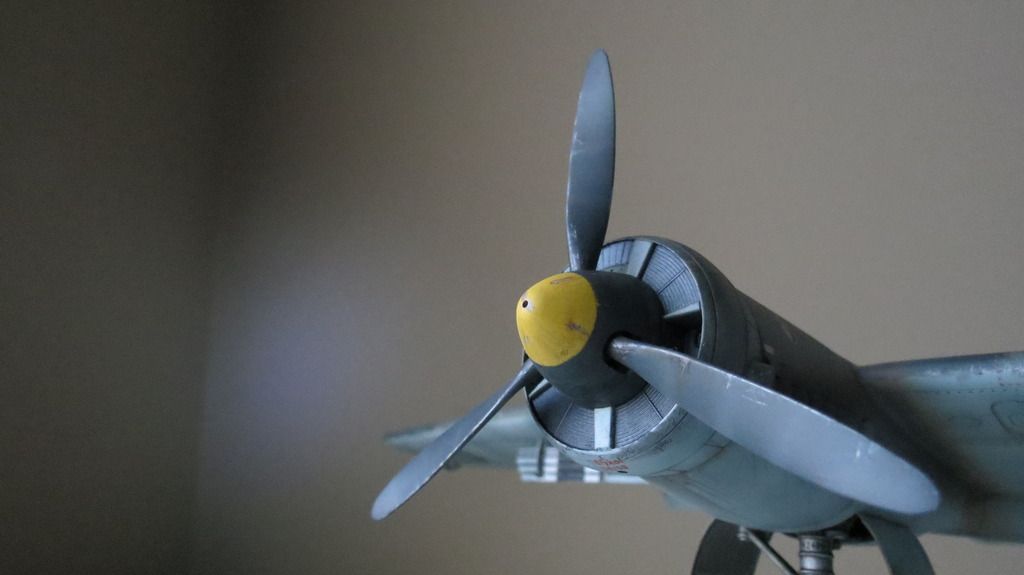
Next, I got together all the parts for the two propellers and assembled them...
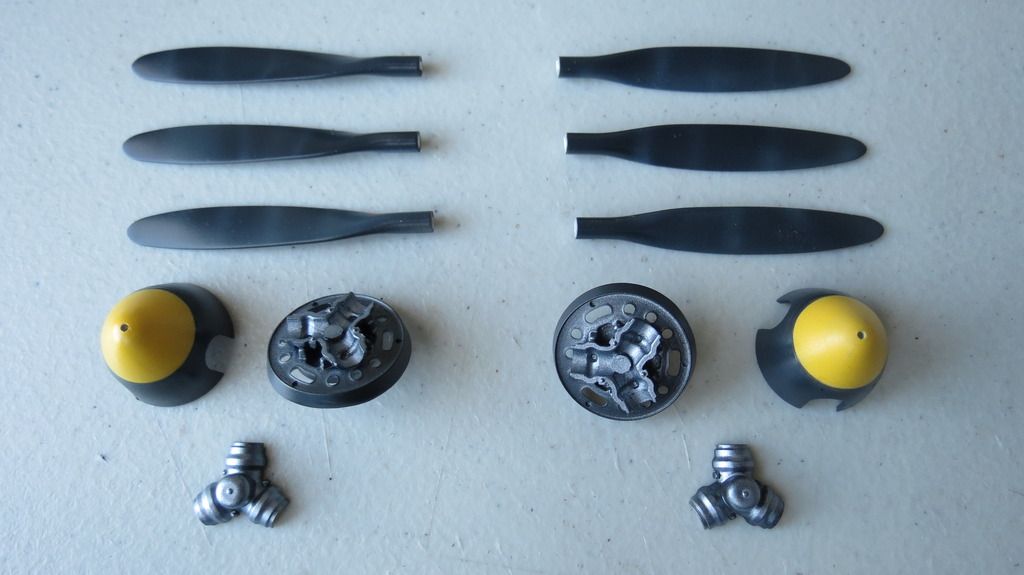
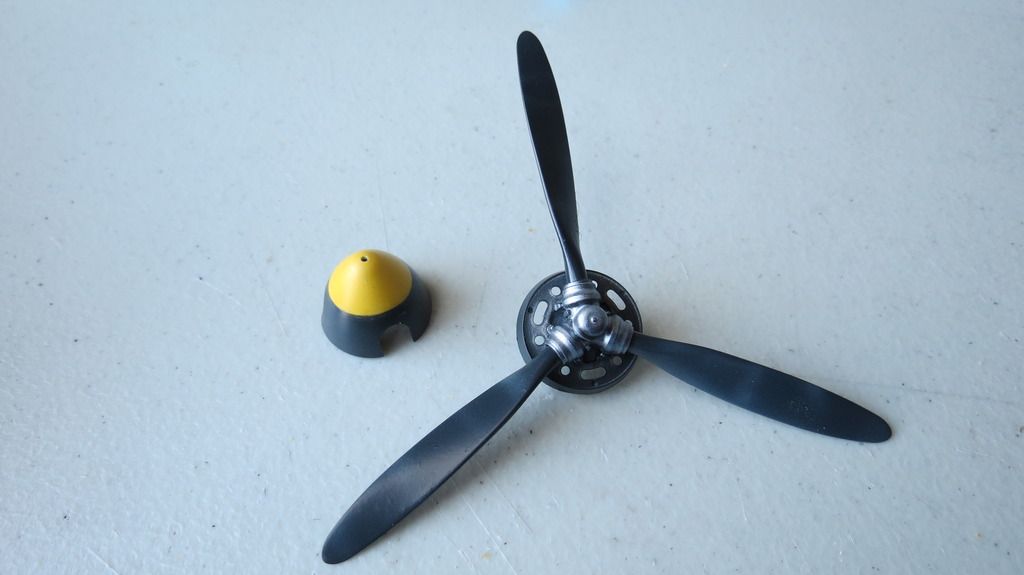
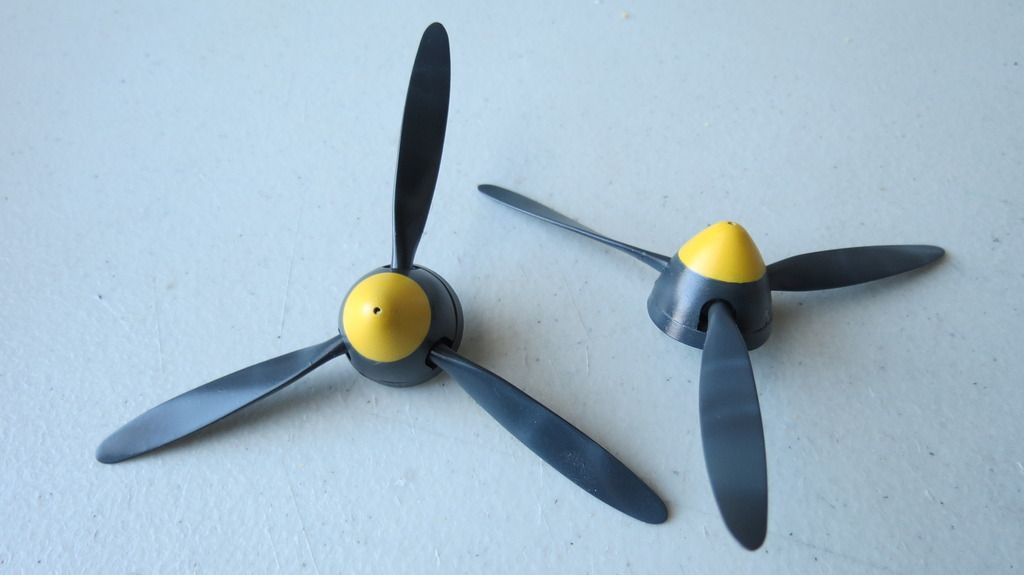
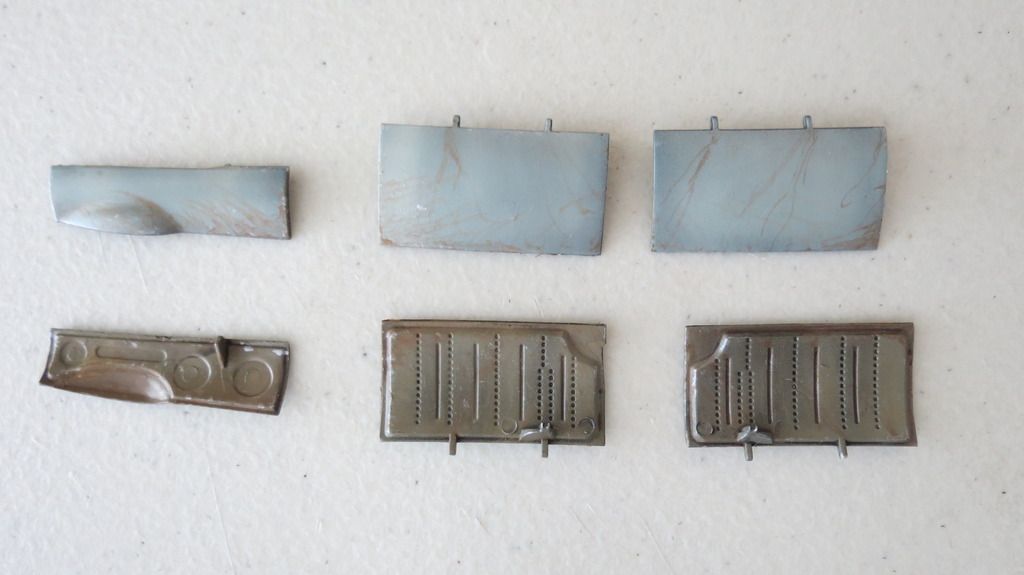
With the dark dirt wash complete on the plane, it was time to apply the dirt wash to the peripheral parts- the propellers, undercarriage, wheels and doors, allow it do dry for 30 minutes then rub it off using Q-Tips/Cotton Buds....
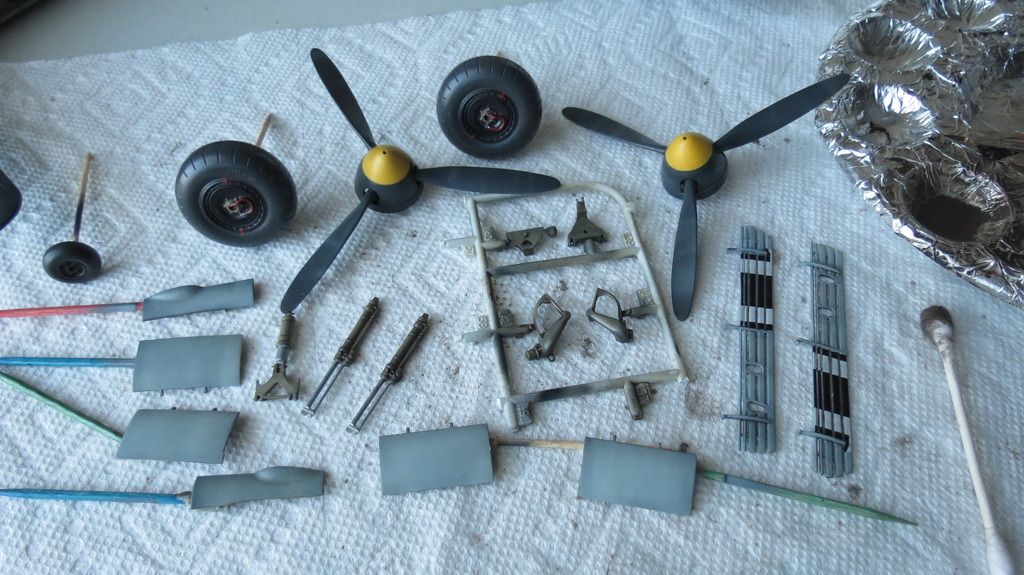
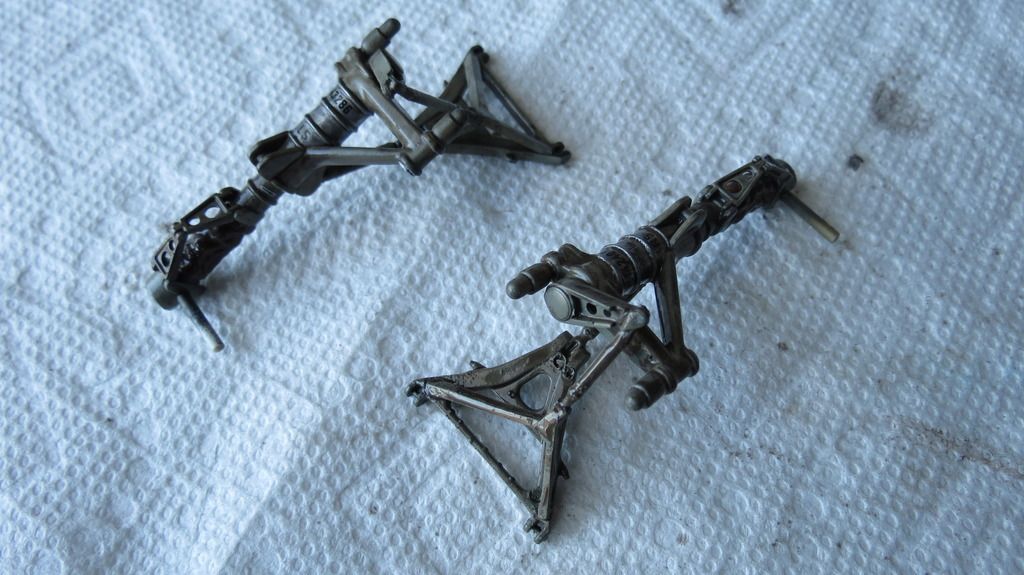
I now mixed a couple of acrylic washes to add some reddish-brown and blackish streaks and add some tones with the reddish brown acrylic wash....
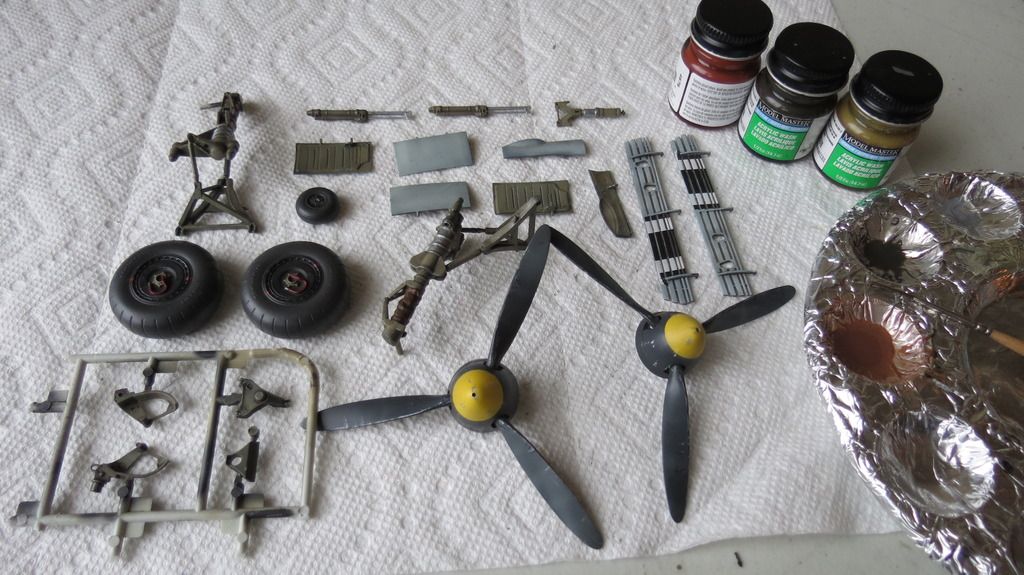
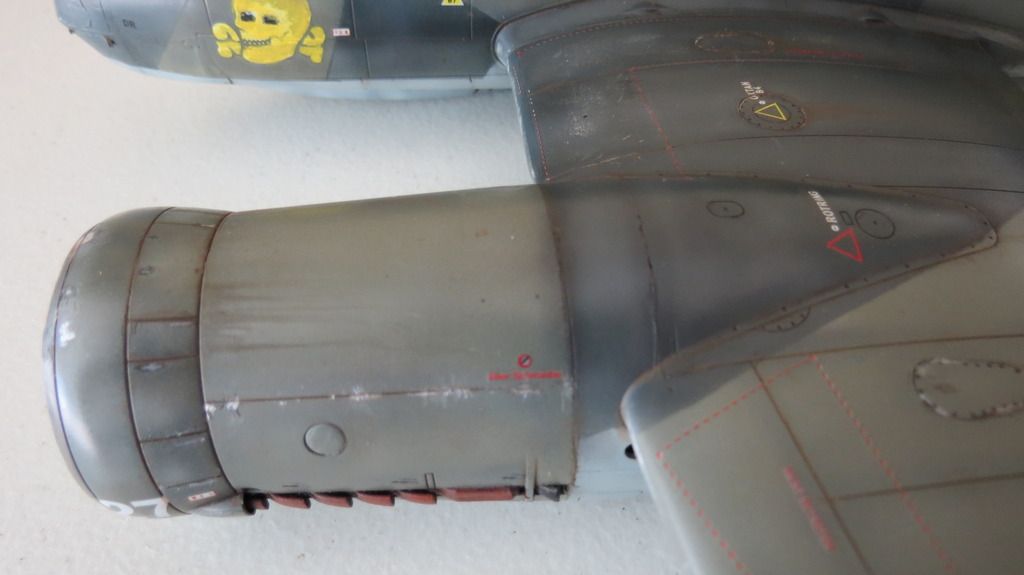
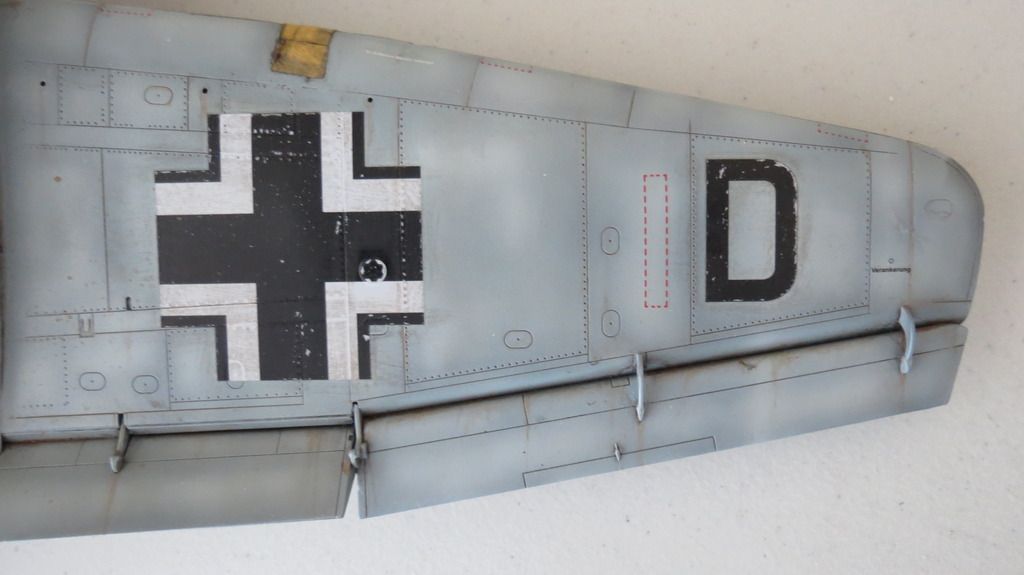
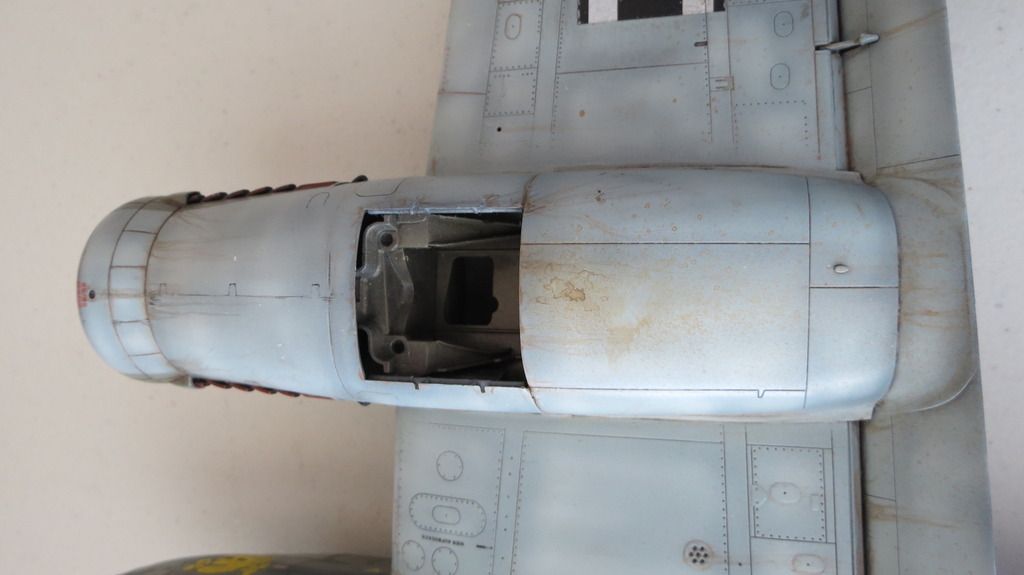
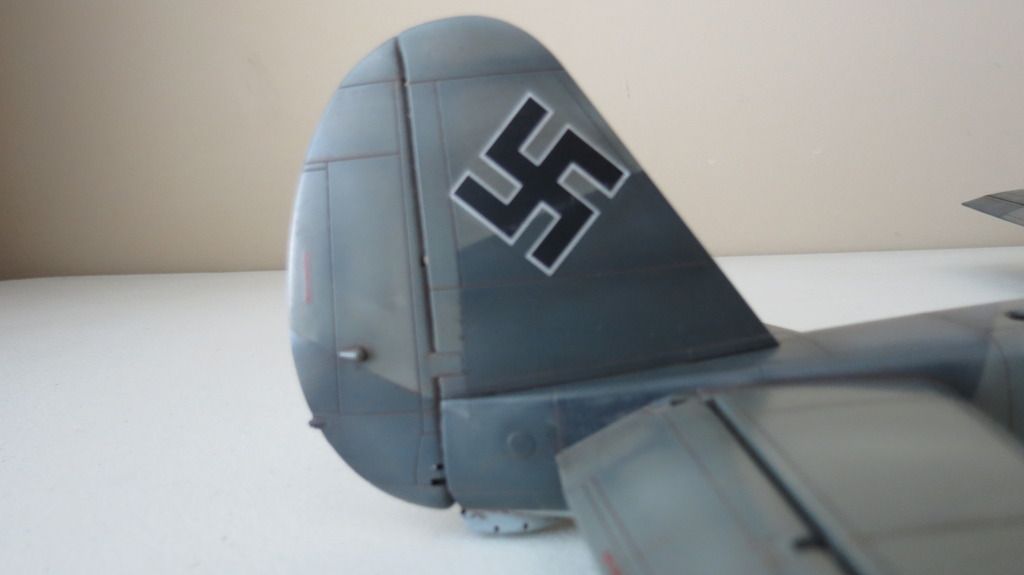
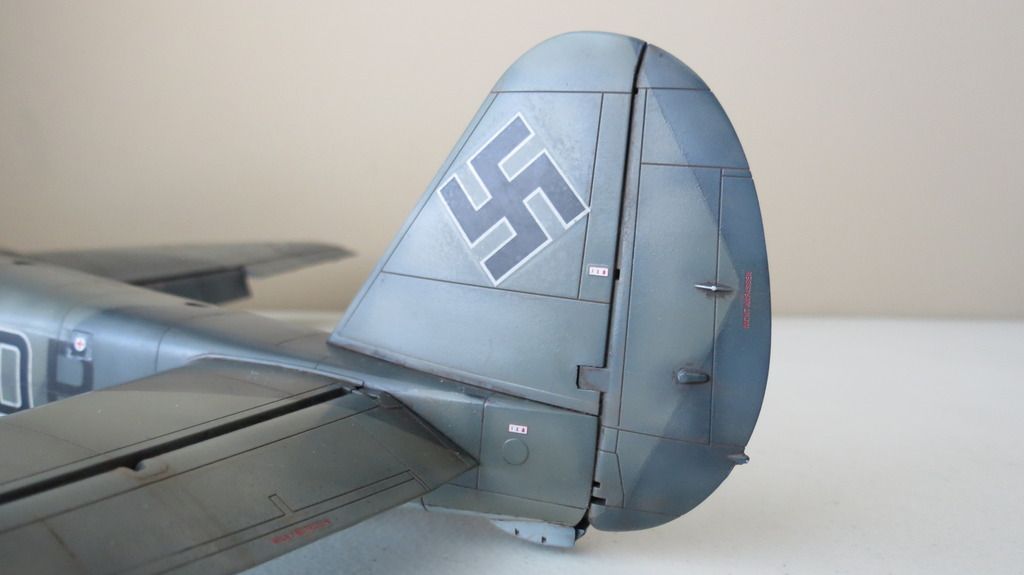
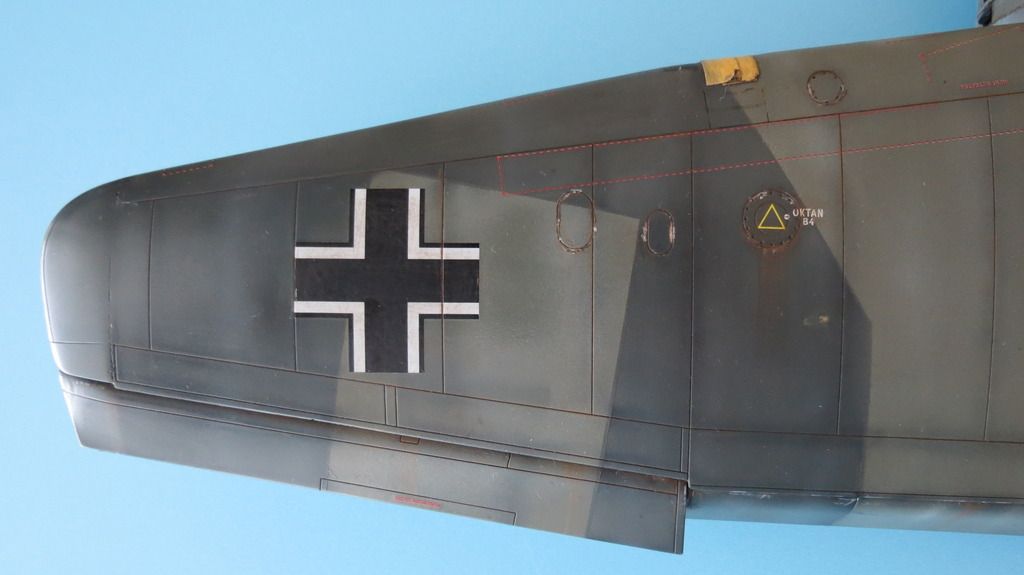
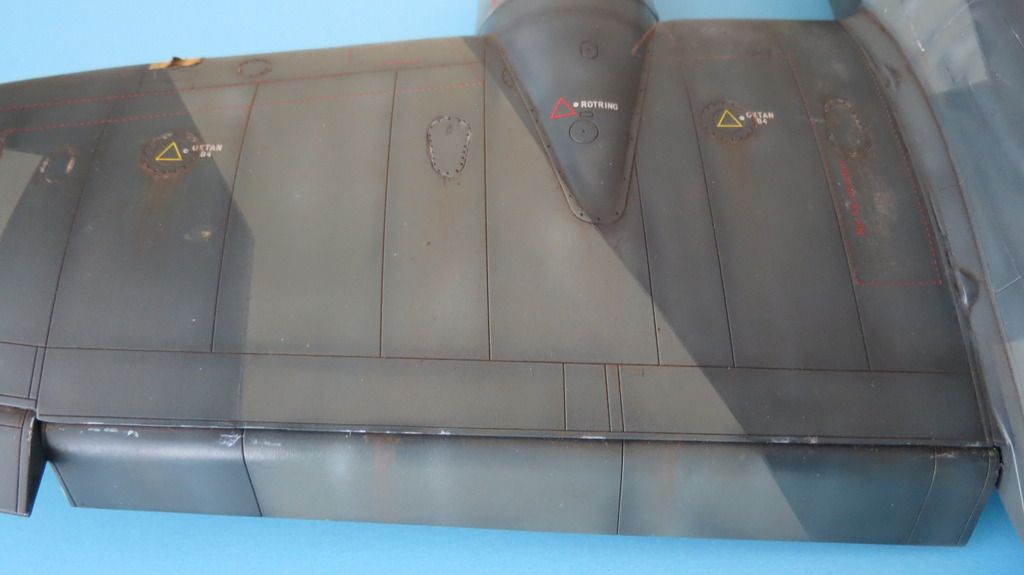
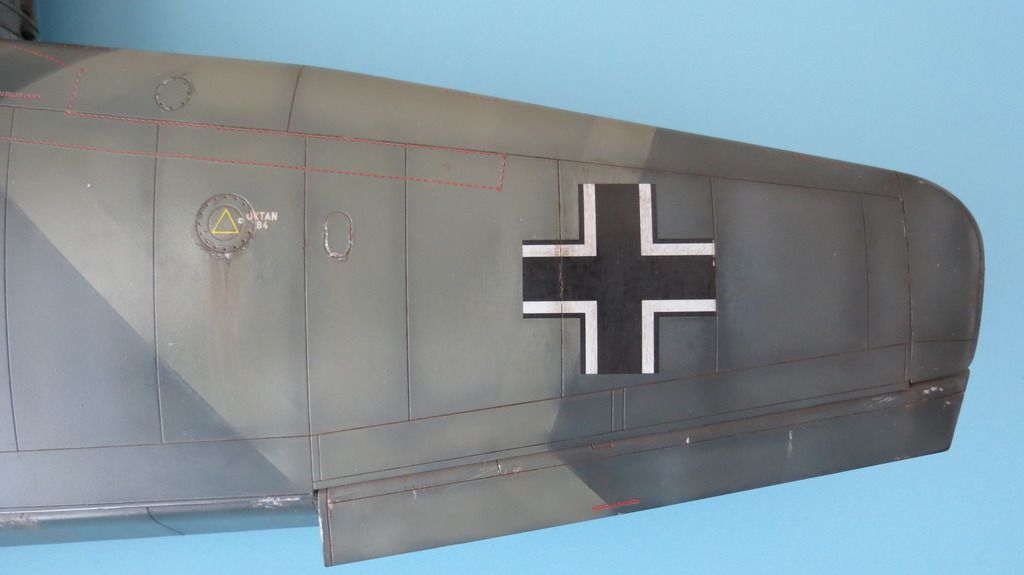
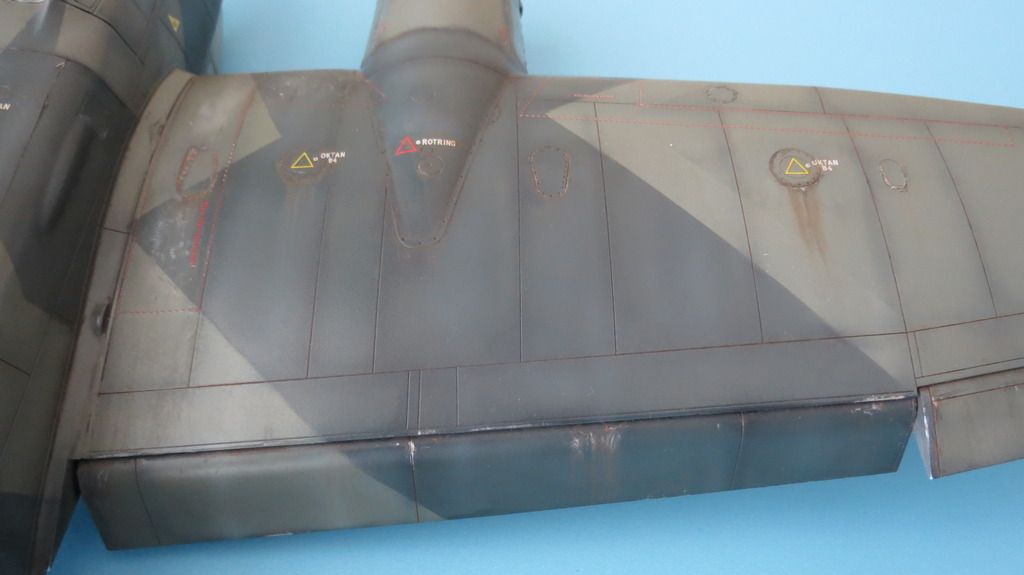
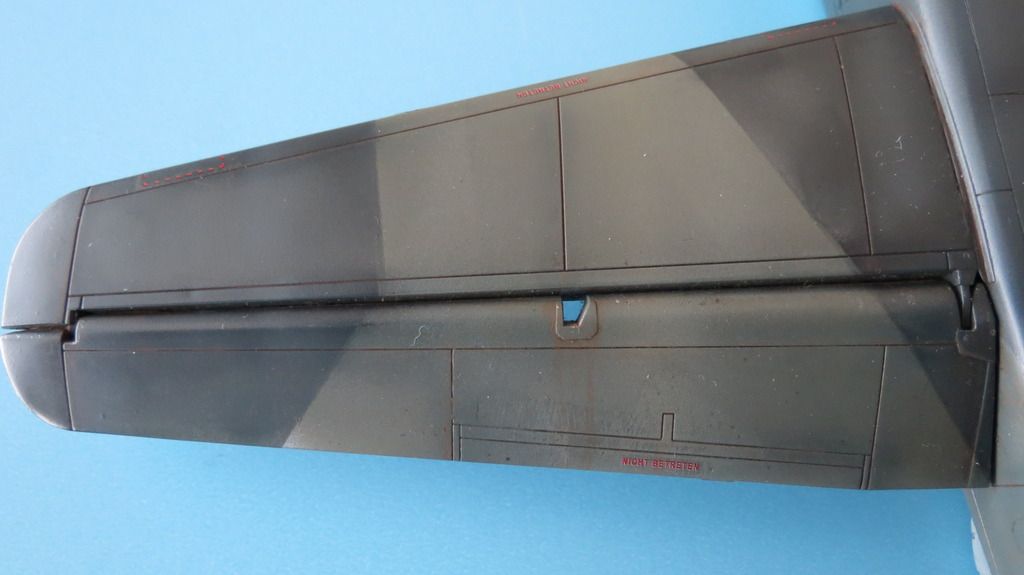
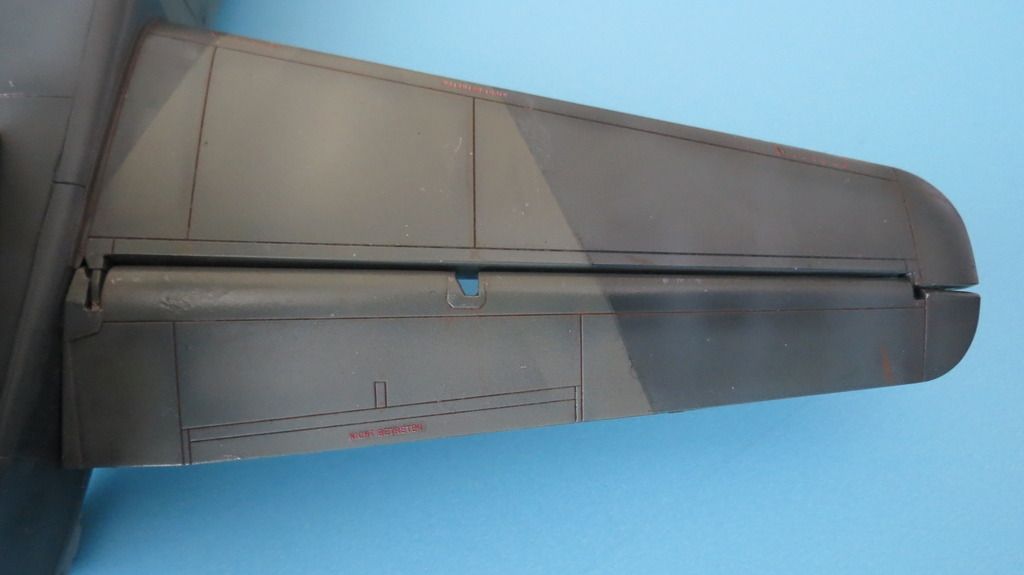
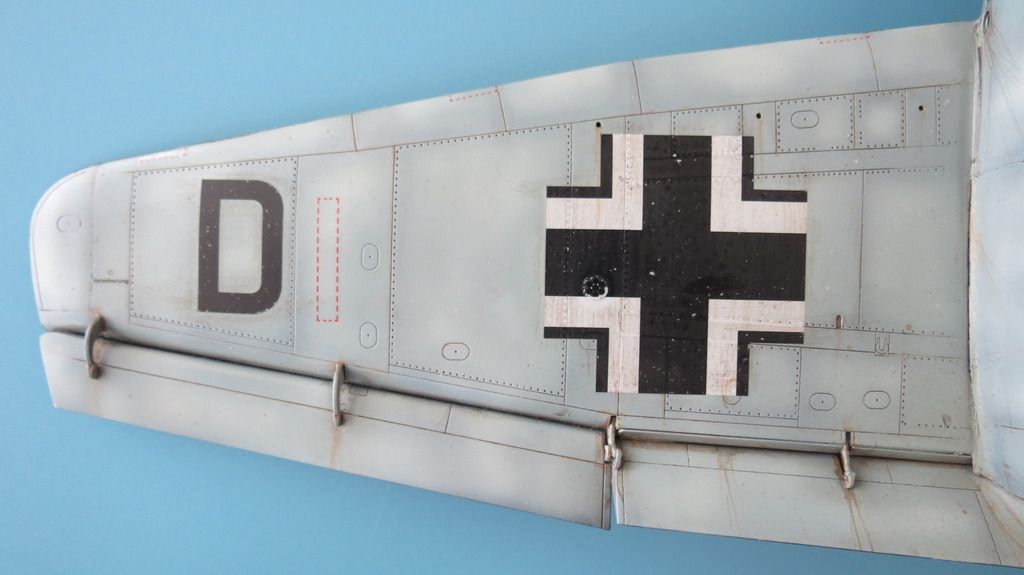
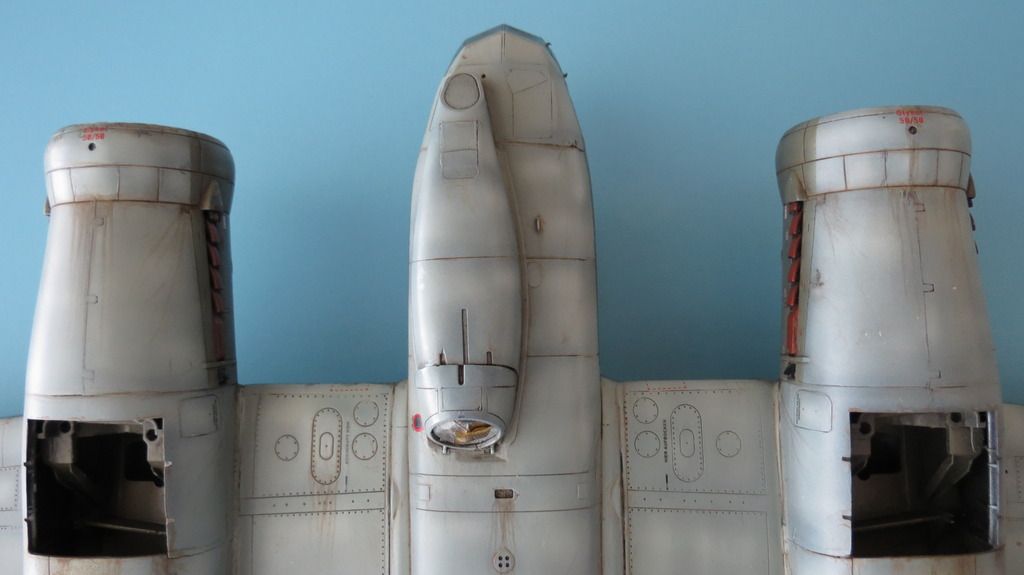
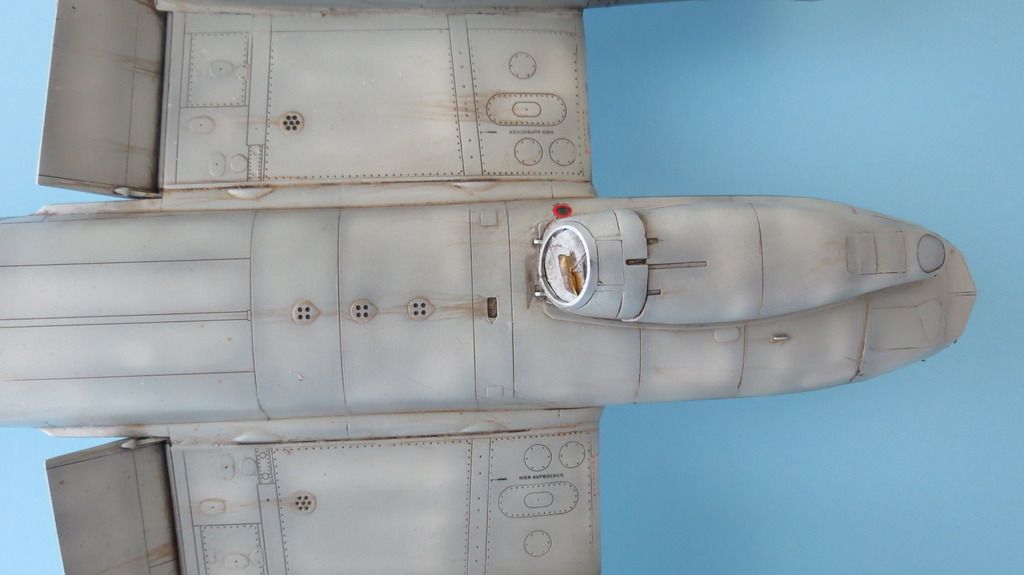
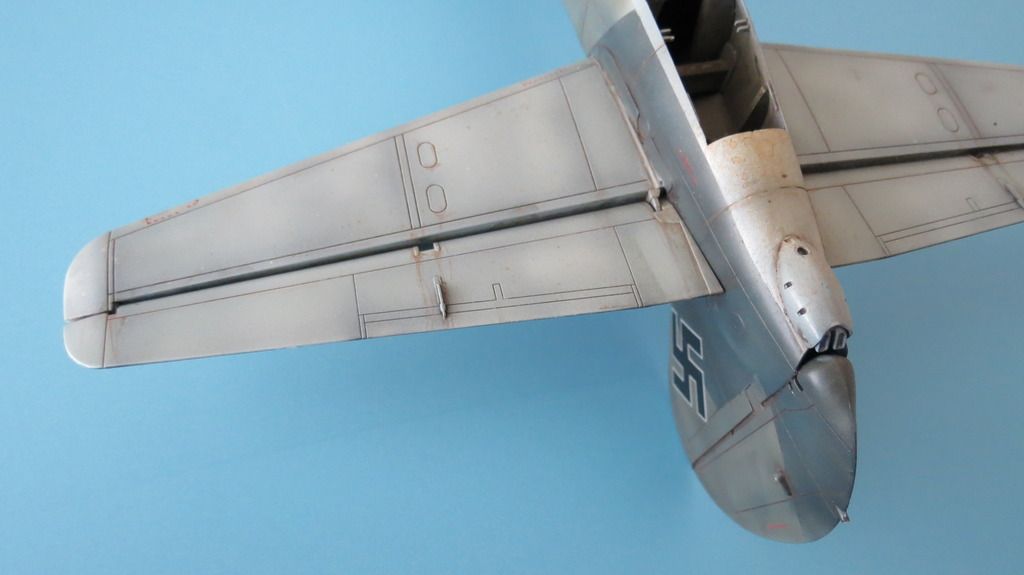
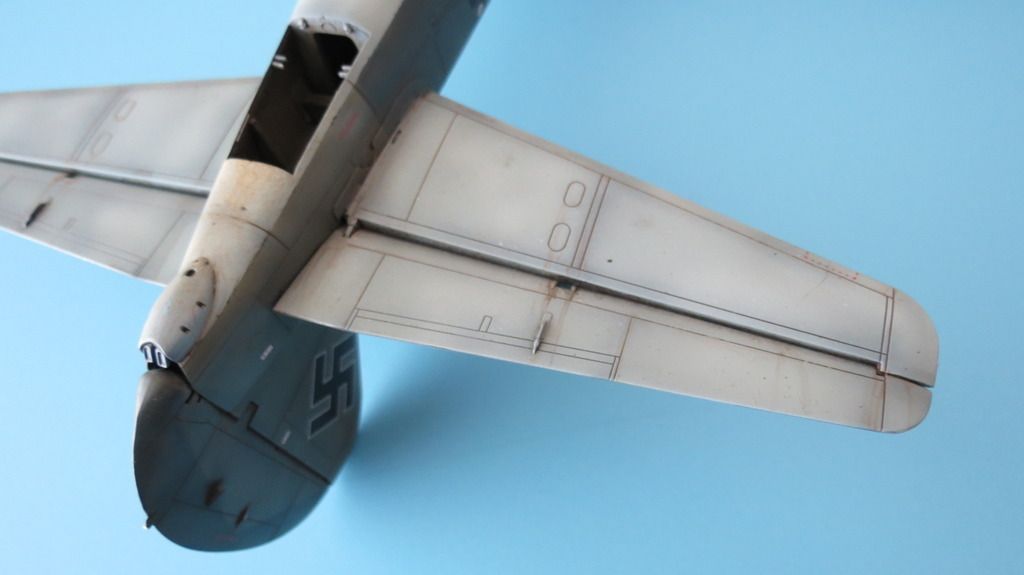
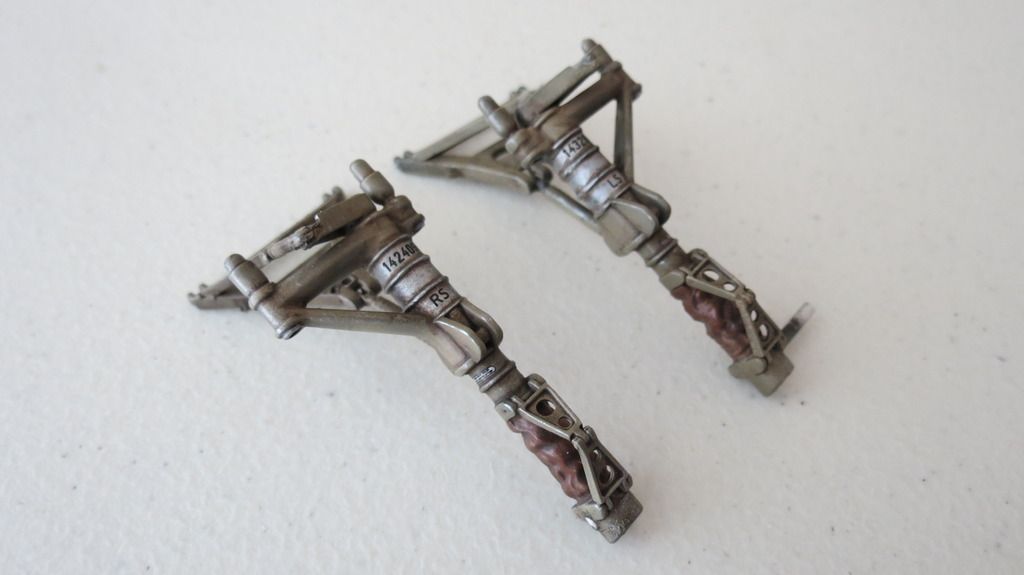
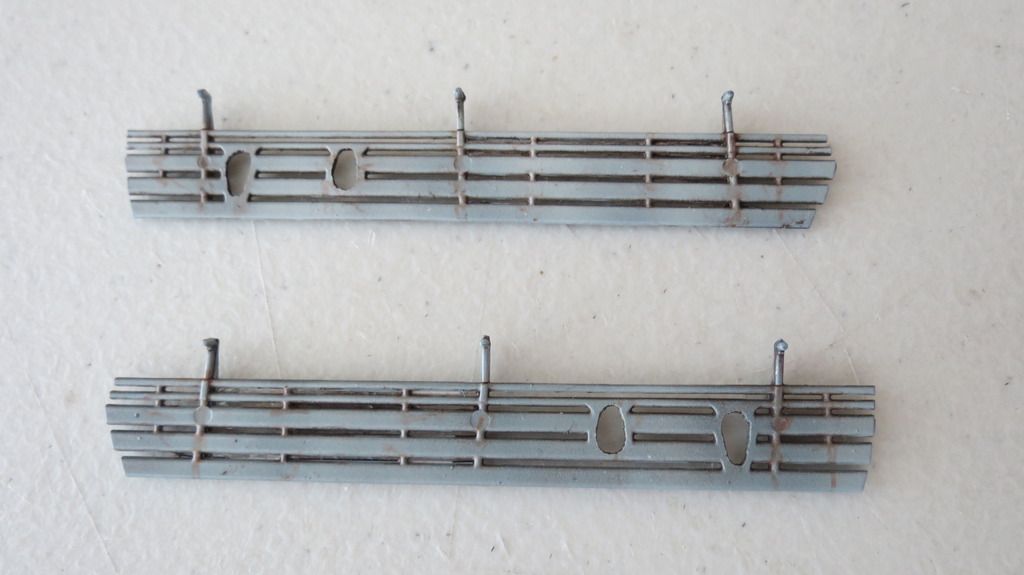
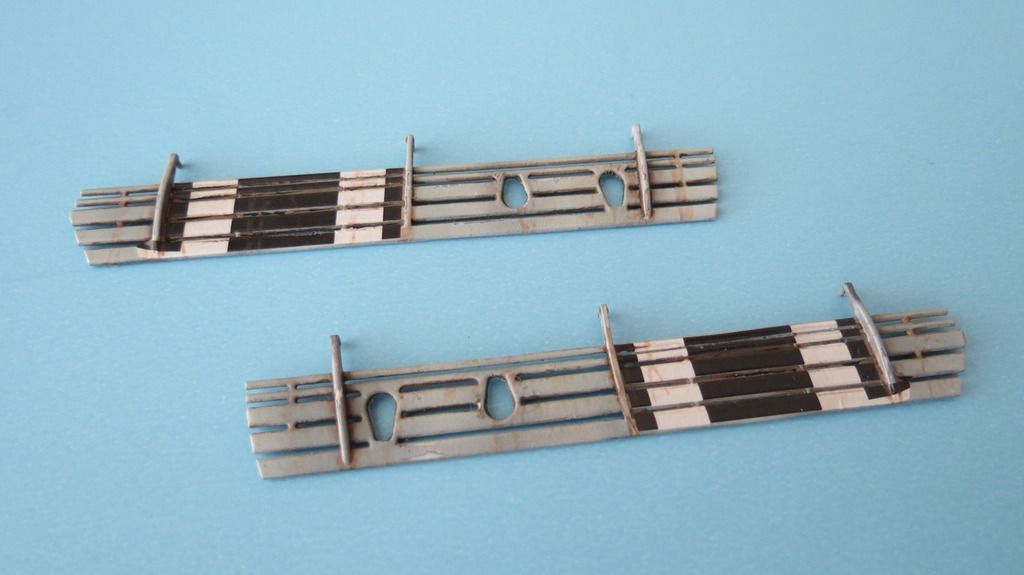
Lastly, I applied the reddish-brown wash to the wheels followed by dirtying them using some Dark Earth acrylic paint thinned down to a watery consistency...
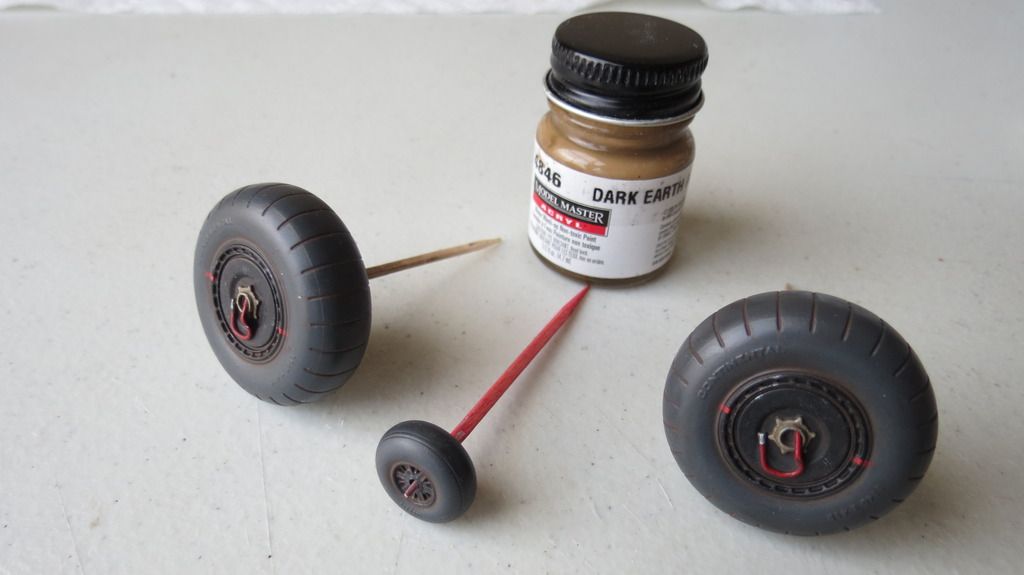
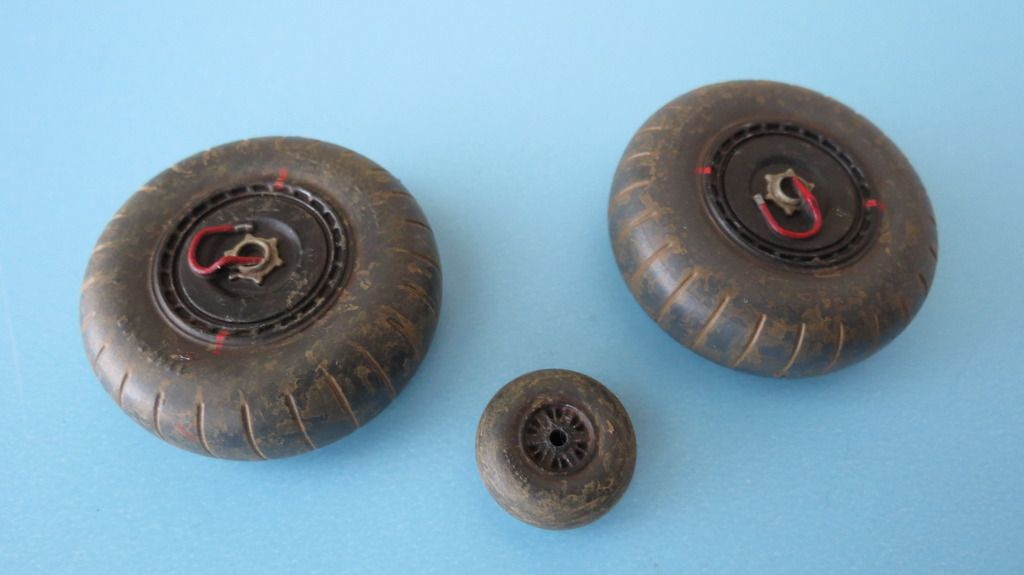
My weathering was now complete, and so, I sealed everything in with the final matt/flat clear coat...
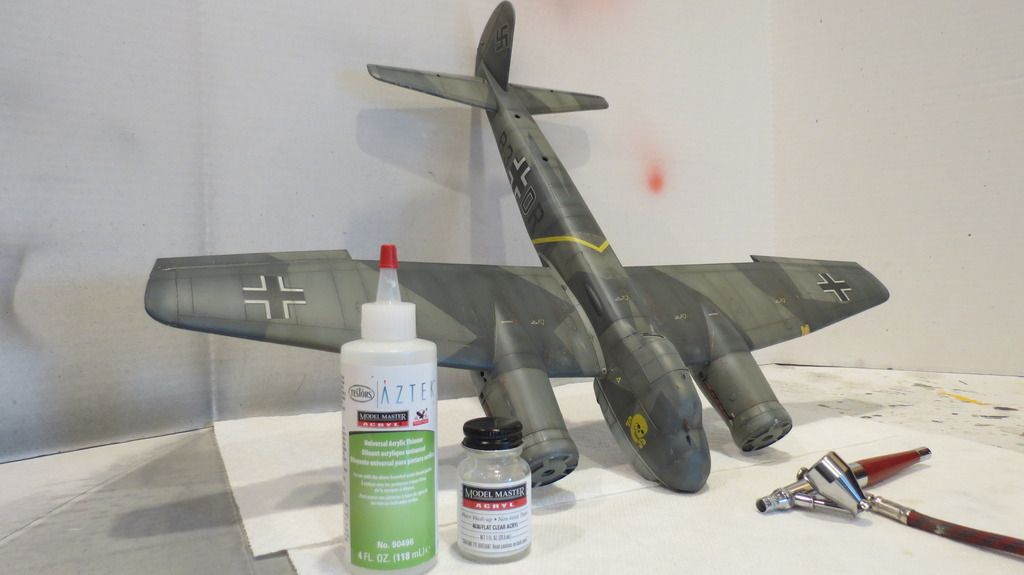
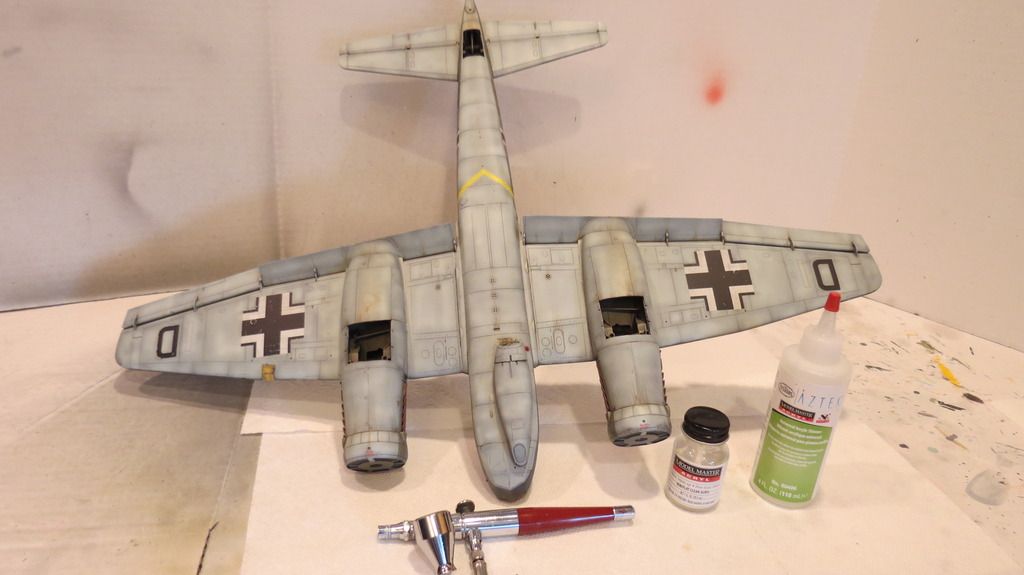
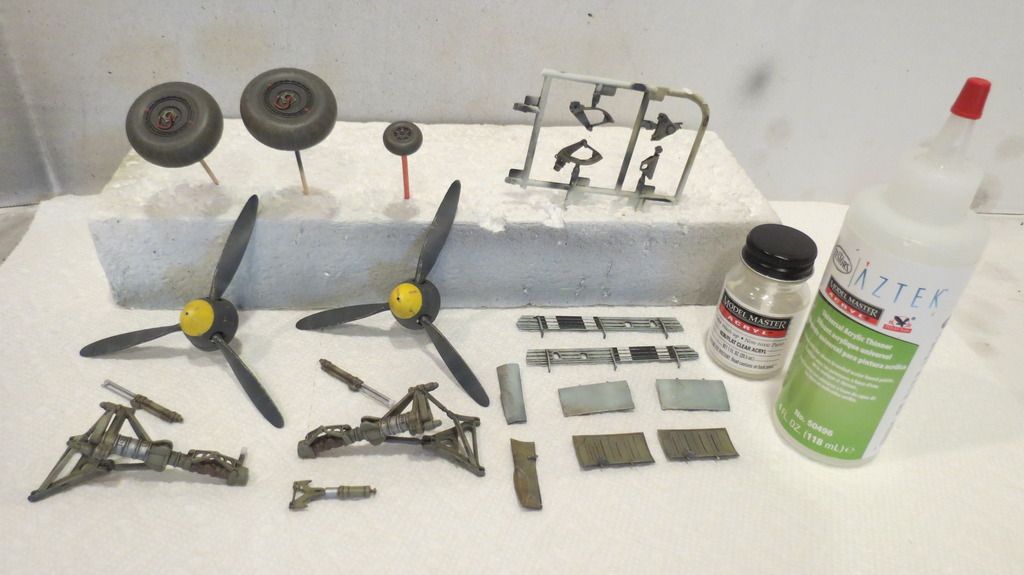
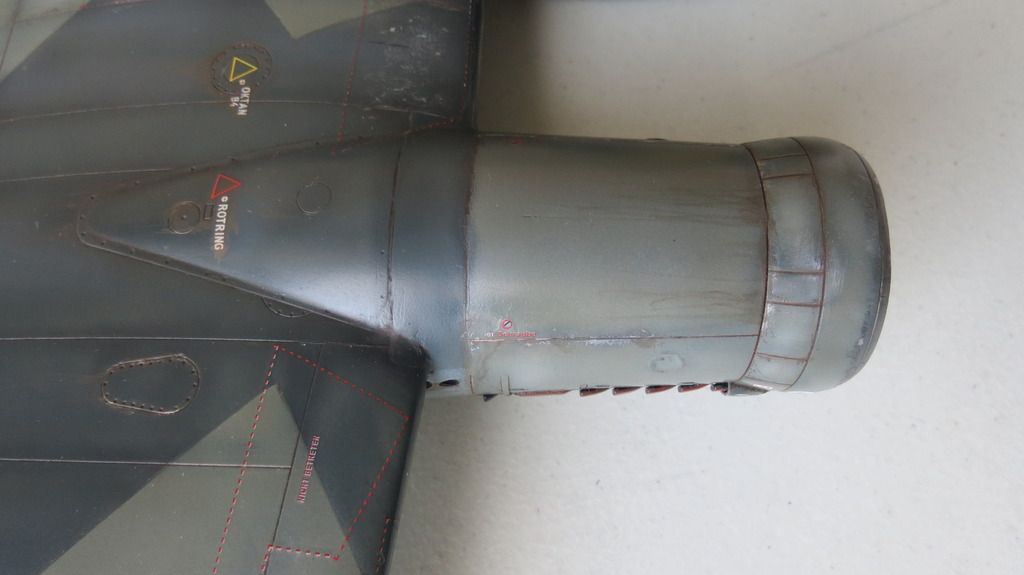
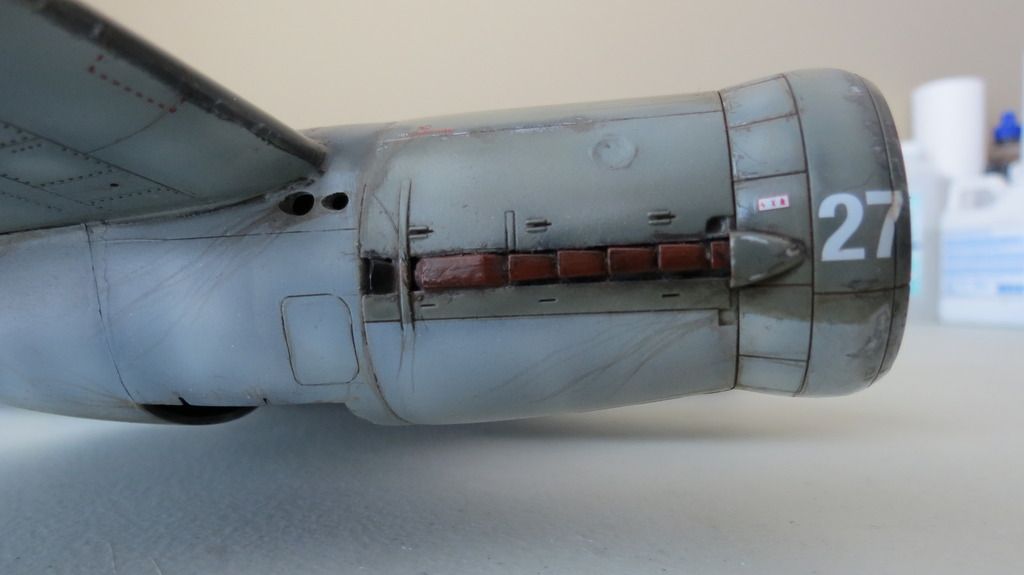
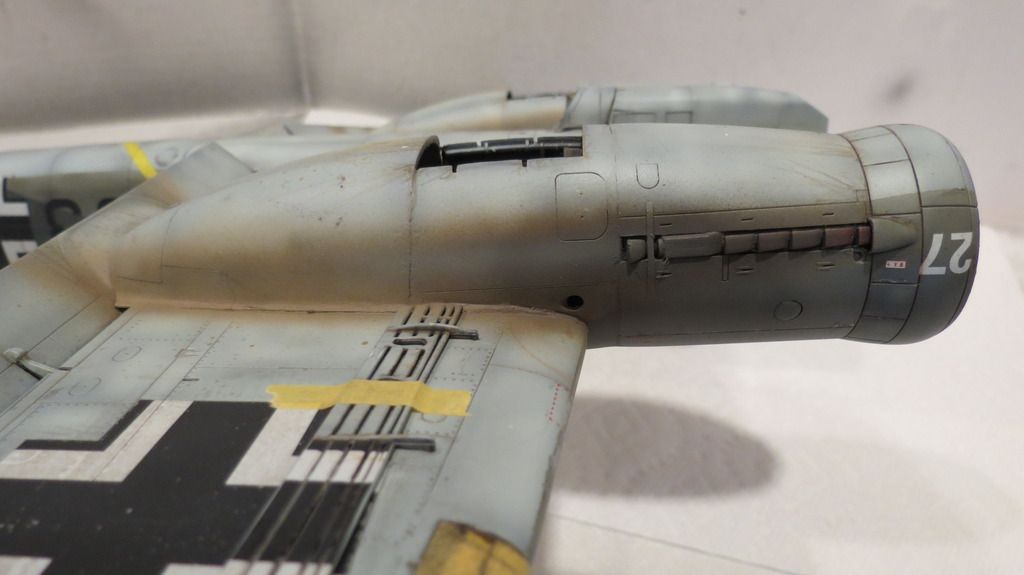
It was now time to add the exhaust stains, and to do this, I used 4 colors- rust, dark earth, white and black. But, before I applied the colors, I temporarily located the two air-brakes using Tamiya tape, because the ends closest to the exhaust would be effected by the staining also...
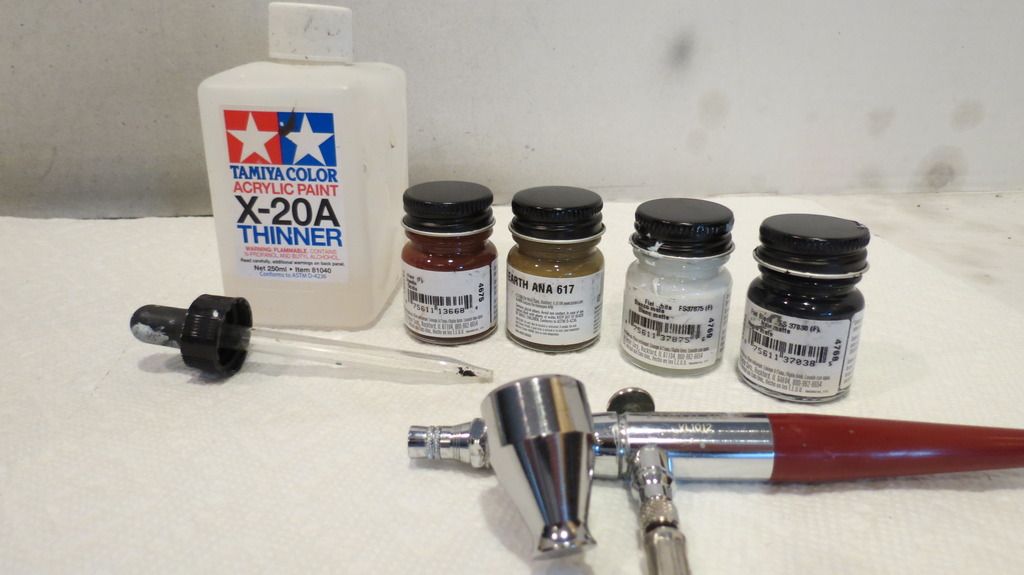
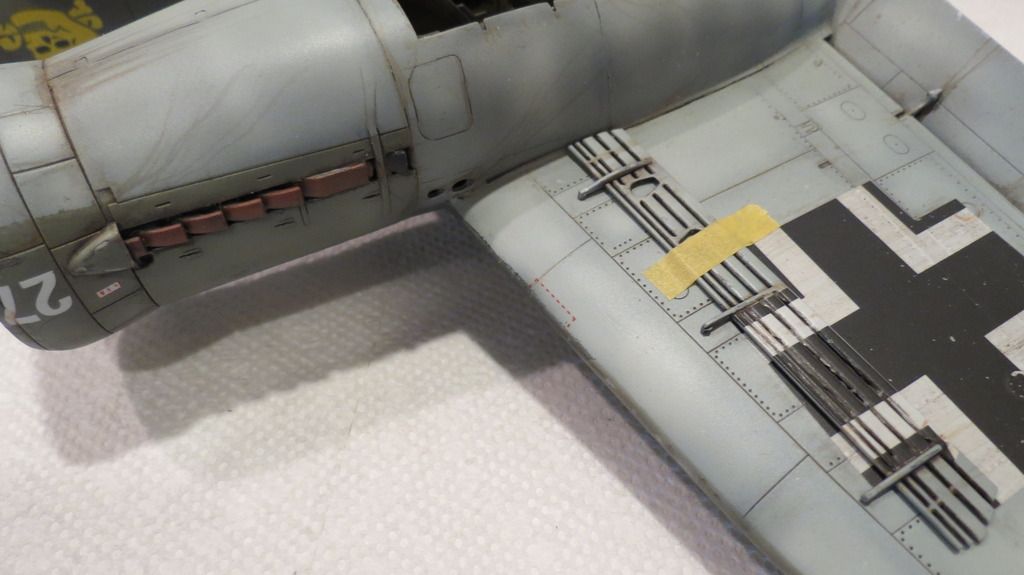
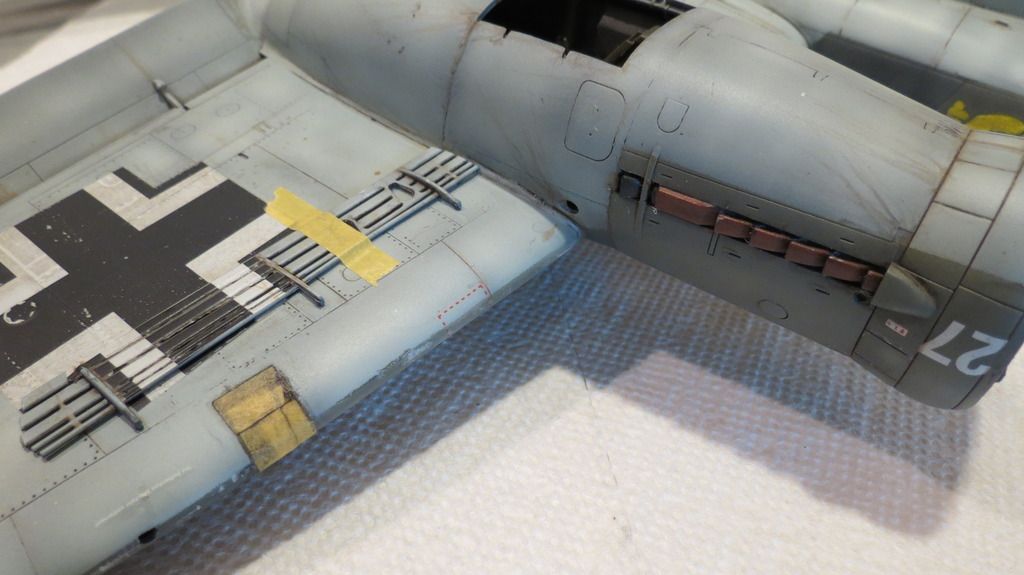
The first color I applied was dark earth mixed with a small drop of the rust and thinned down 80% with Tamiya X-20A....
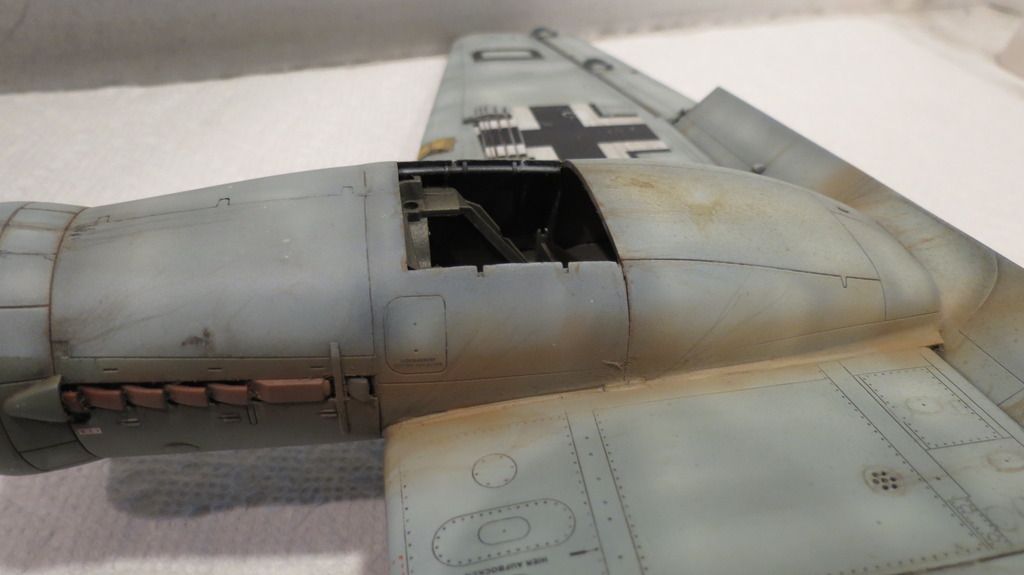
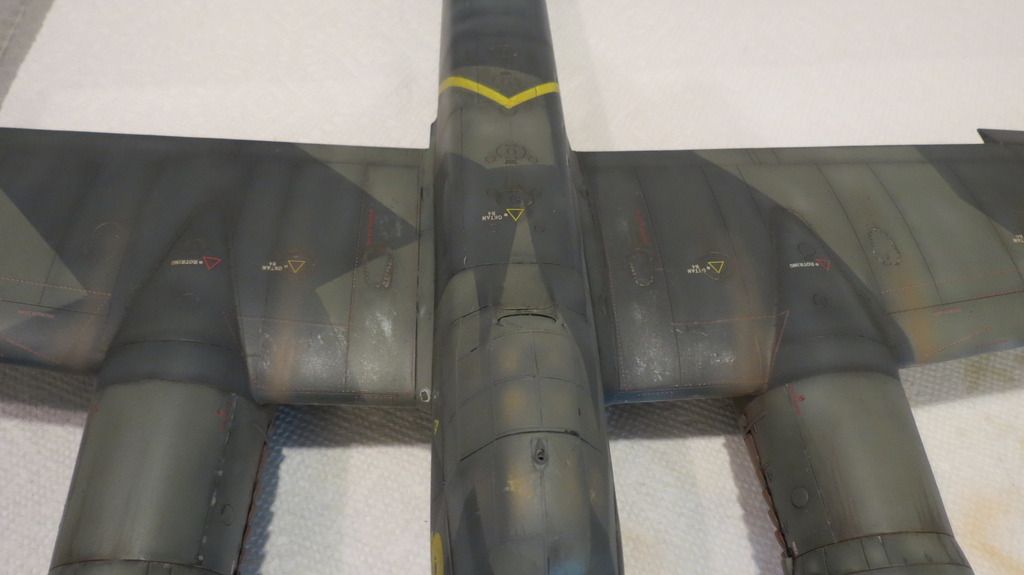
I then mixed some black with what was left in the cup, thinned that down by 80% and then carefully airbrushed some on top of the first color that was applied...
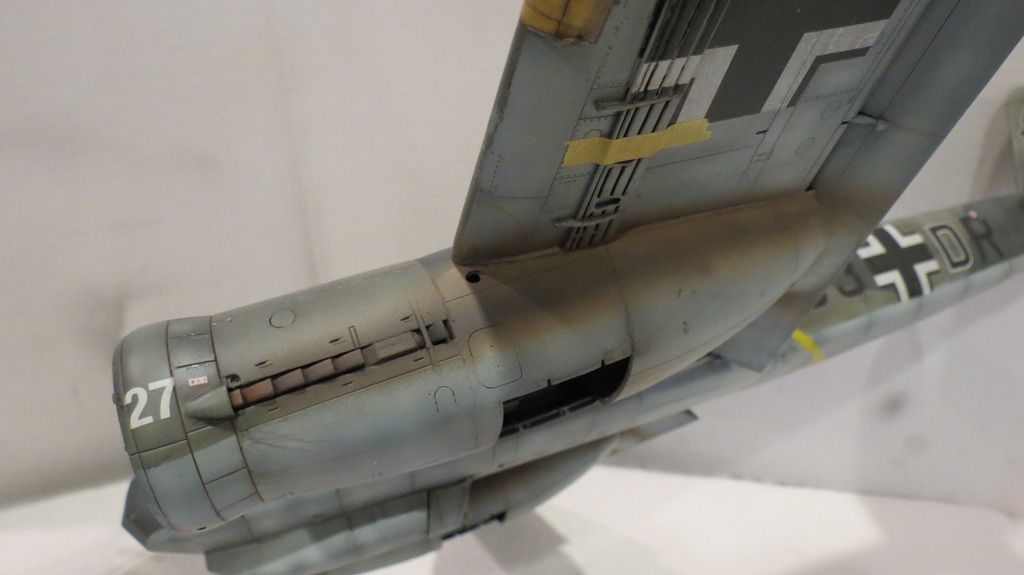
I then wanted to simulate lead deposits sitting on top of the staining, so, I mixed some white with a drop of the dark earth and thinned that 80% and carefully airbrushed it over the first few exhausts and just beyond them.....
Next, I removed the masking from all of the cockpit and gondola windows as well as the engine indicator gauge windows...
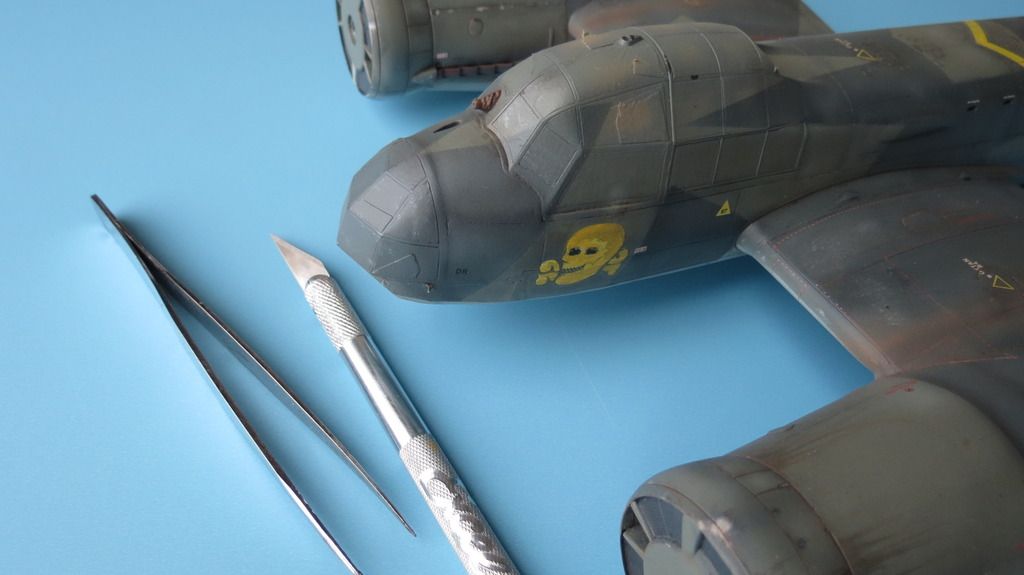
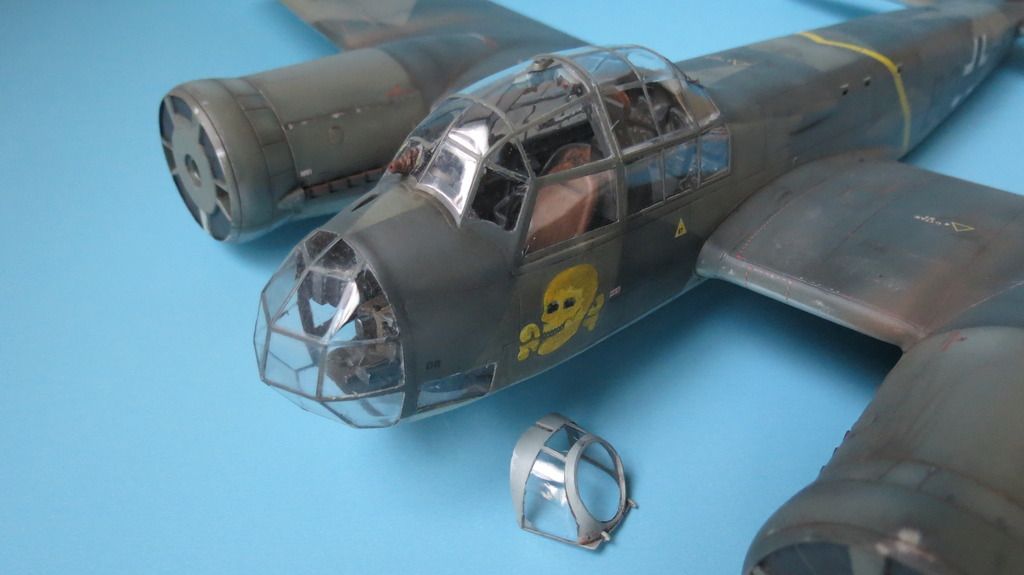
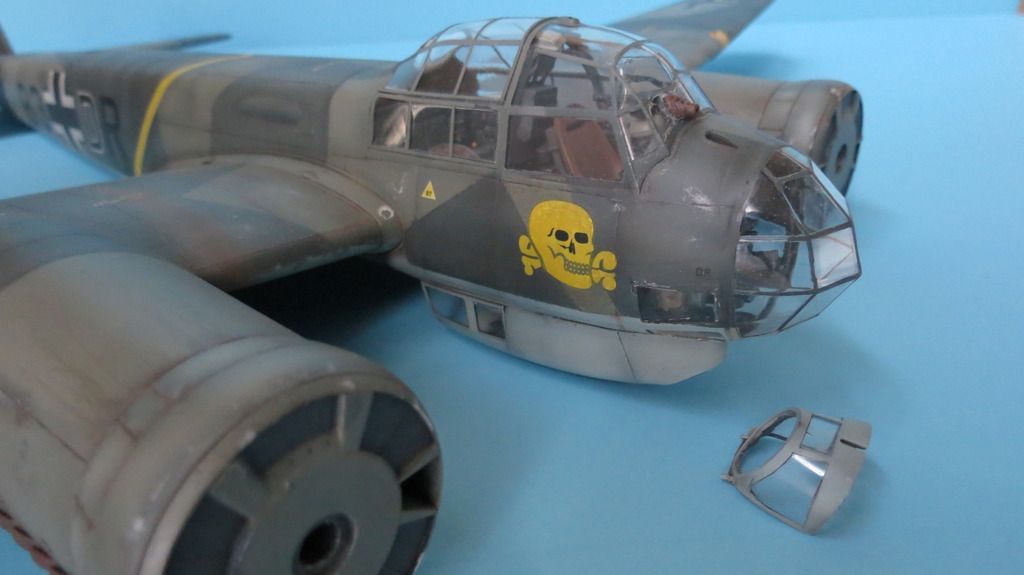
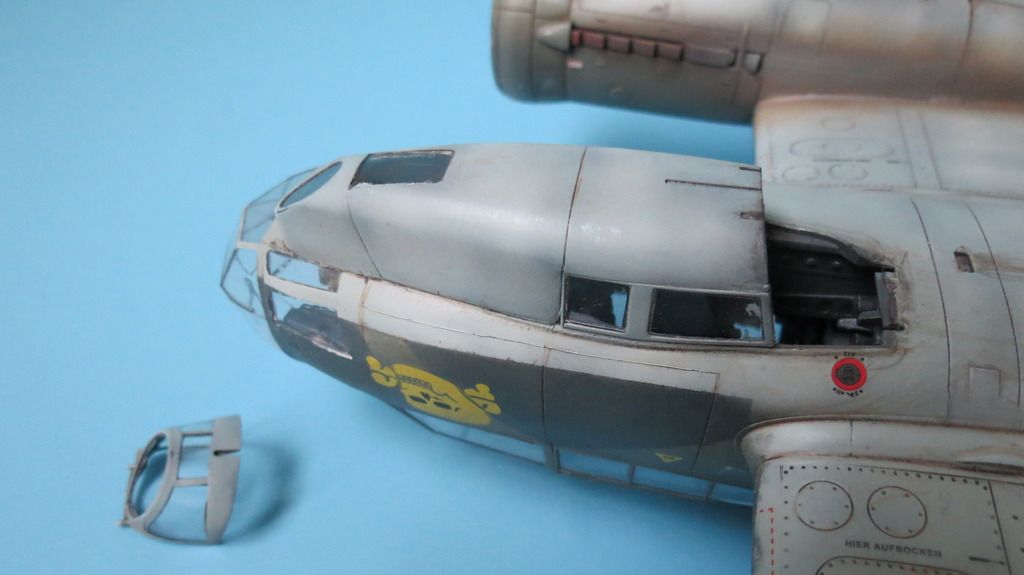
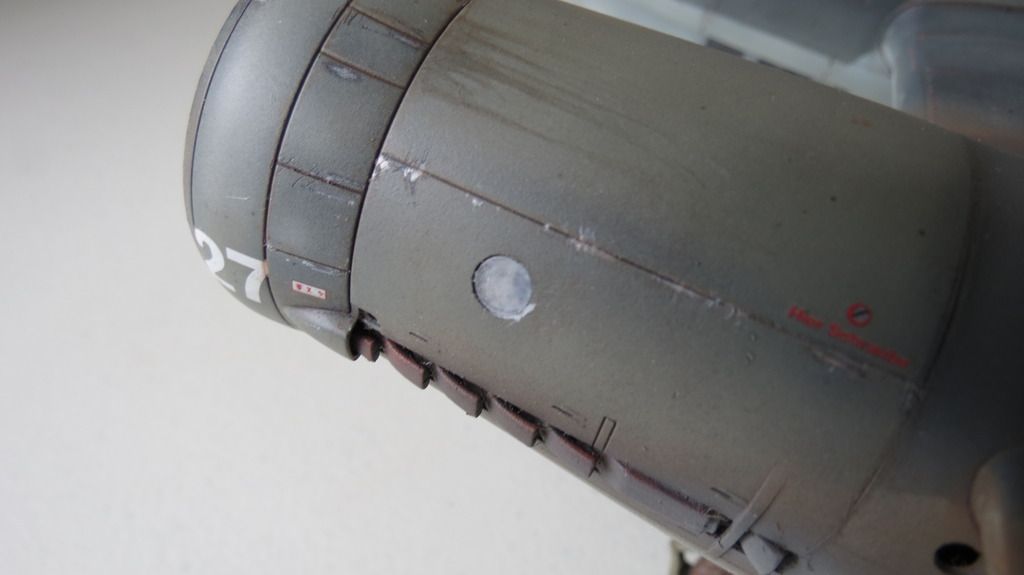
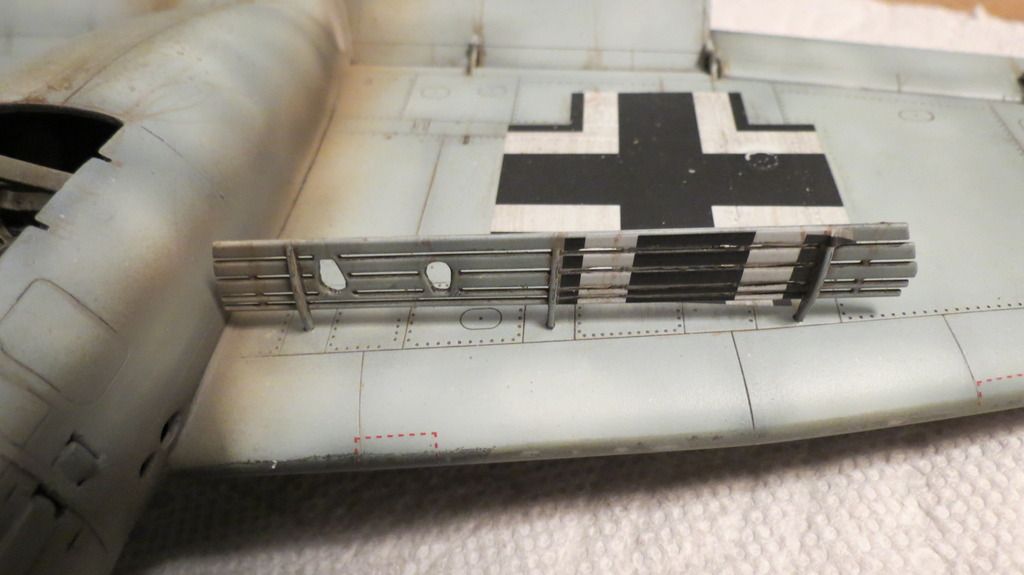
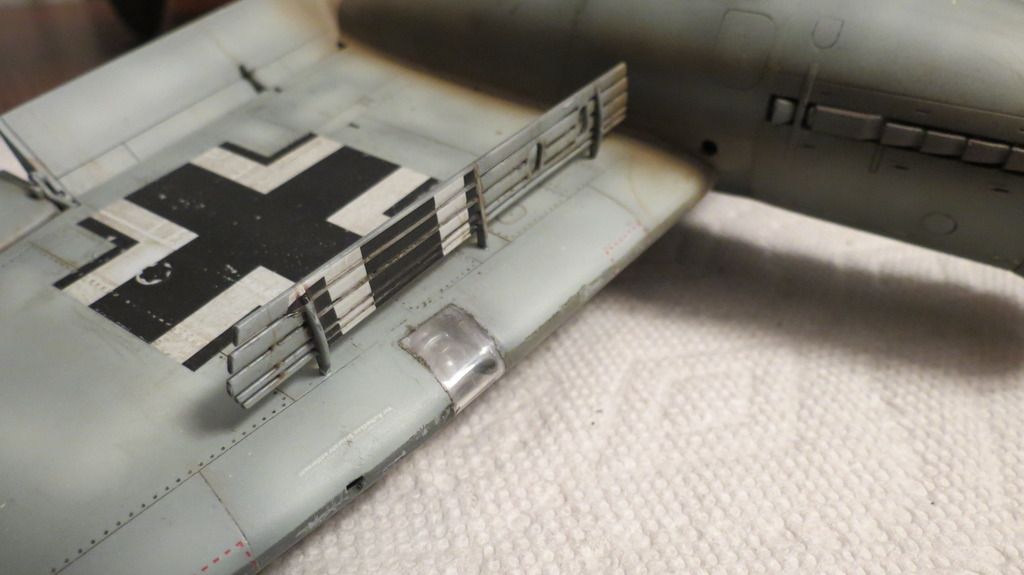
I now moved forward with the final assembly, and the first parts assembled were the two air-brakes. These were designed to be assembled in their retracted position, flat against the underside of their corresponding wings, but, I wanted them posed in their down position. Therefore, I cut off their location tabs to allow me to push the ends of the vertical struts into the location holes. I used CA glue to fix these in place...
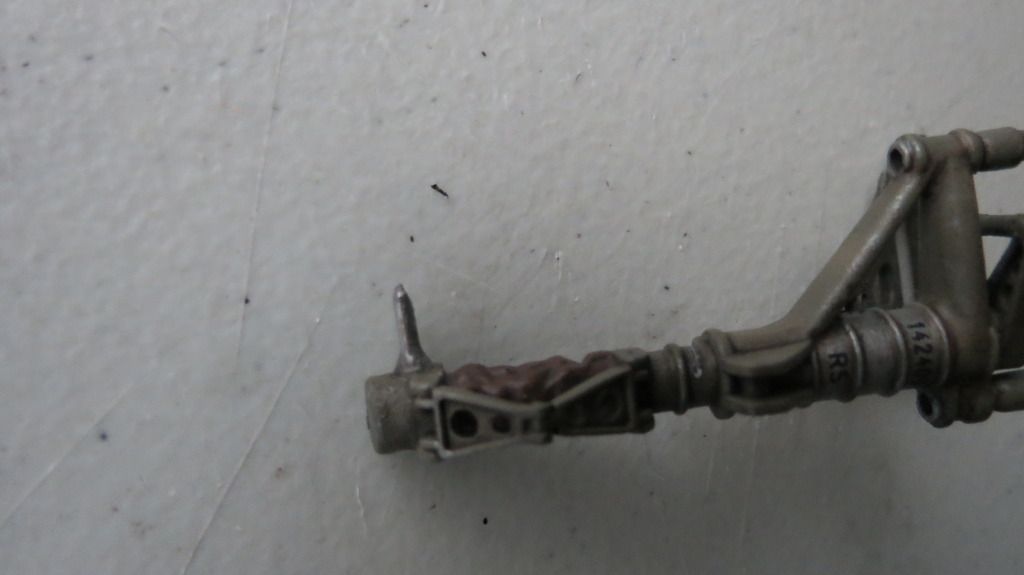
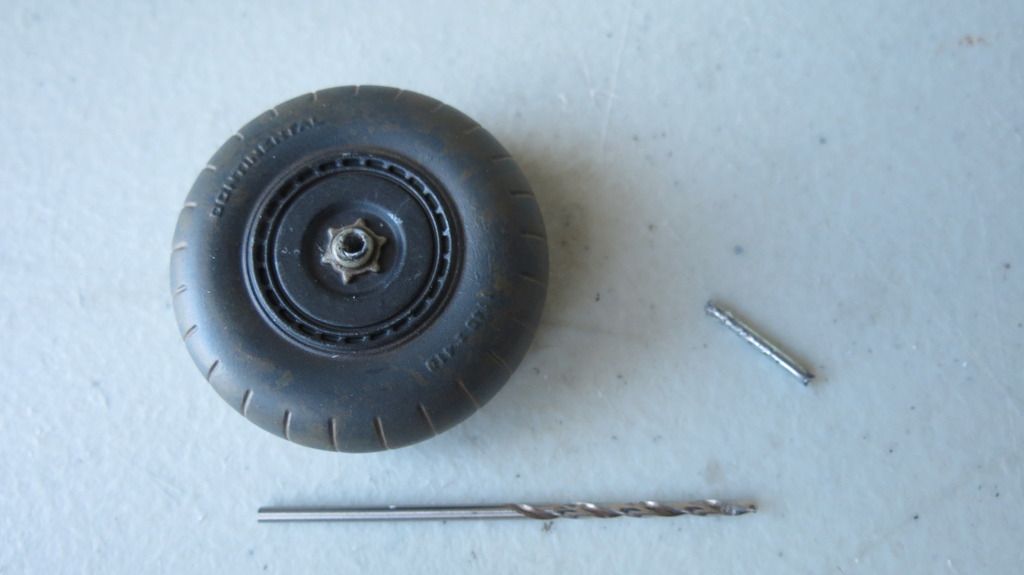
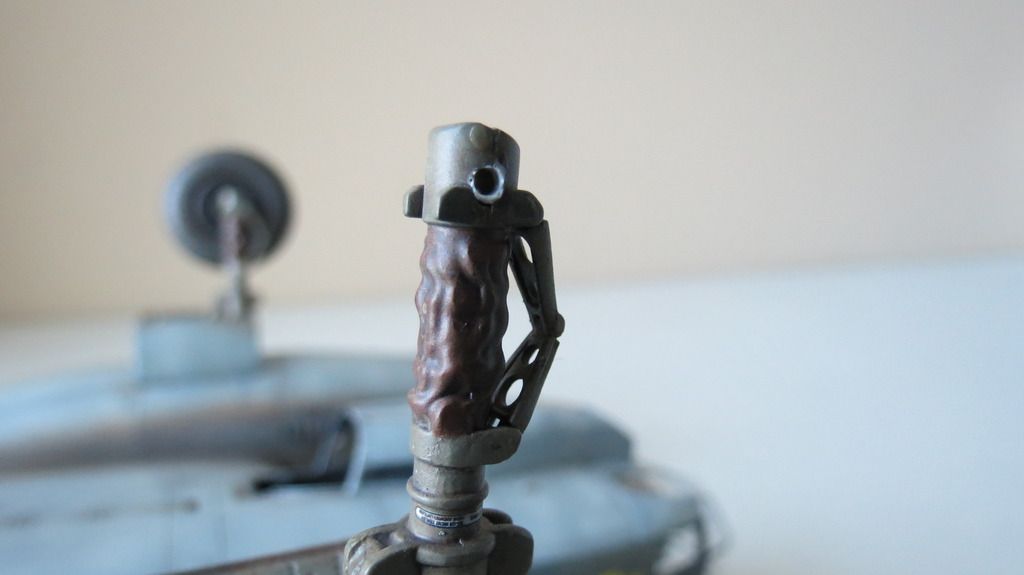
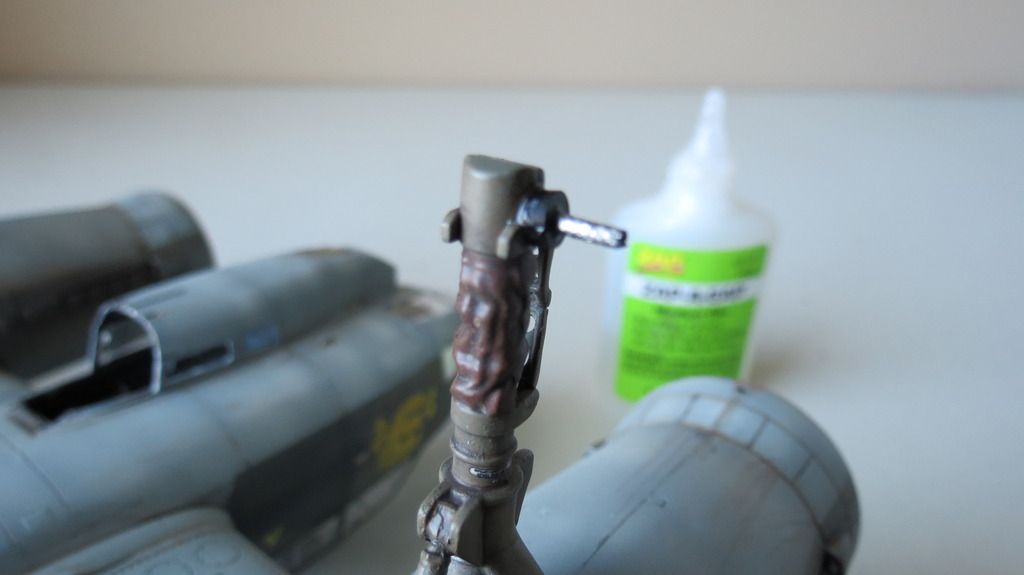
Next, I moved onto assembling the undercarriage together and fitting them into their corresponding wheel wells. But, when putting one of the wheels onto the starboard side strut, the axle sheared off very easily and remained inside the wheel. This is a weak spot in the molded wheel struts wherein internal shear-stressing has occurred at the 90` junction of the axle to strut location. If there are no vent pins located at the bottom of the deep axles to allow the internal compressed gases to escape out of the mold cavities, then this will further exacerbate the problem. I therefore drilled out the broken off axle strut from the wheel and drilled a corresponding hole into the wheel strut where the axle was located. I then made a steel pin and press fitted and CA glued this into the wheel strut...
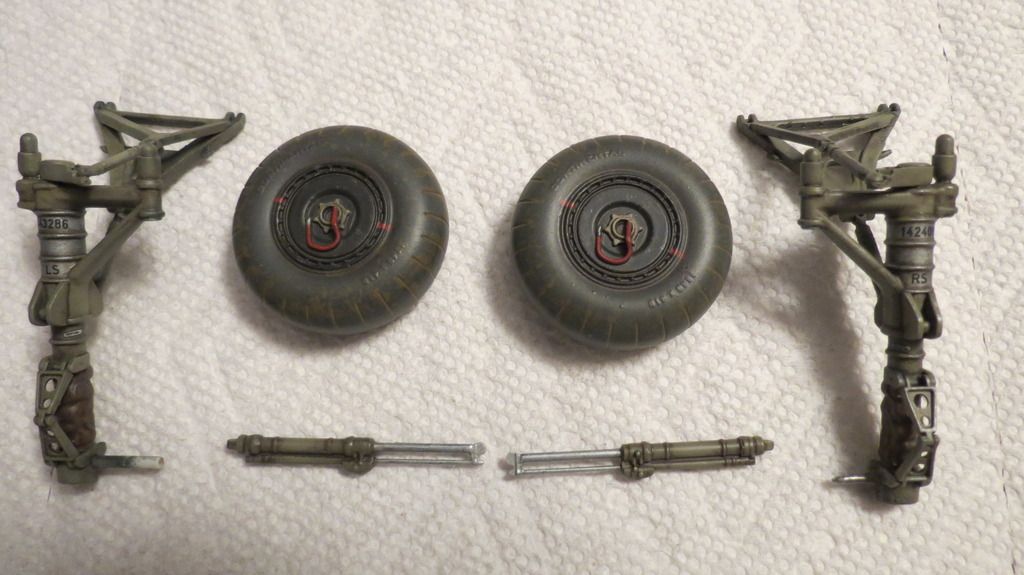
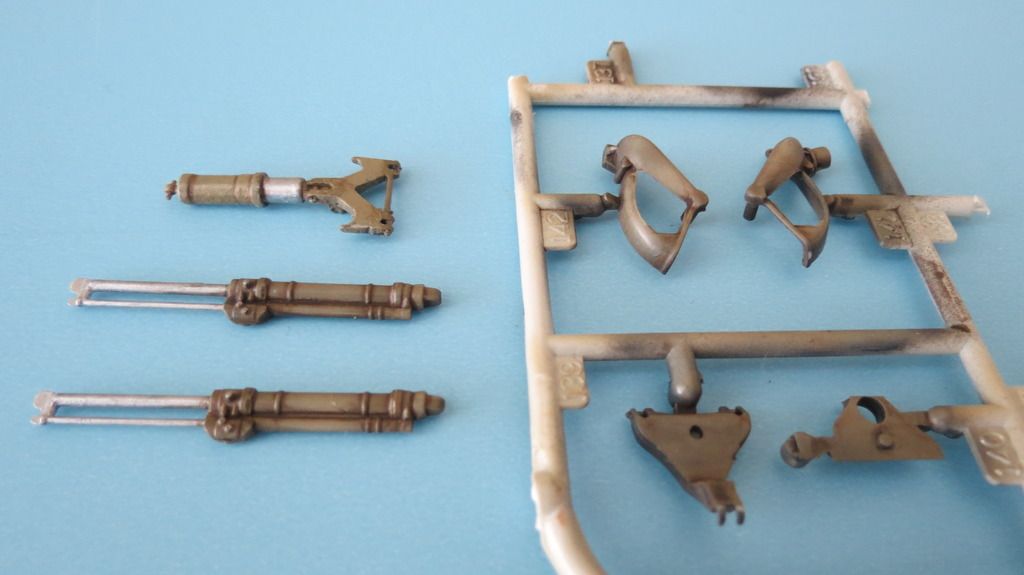
Following that little exercise, I then assembled the actuation cylinders onto the undercarriage assemblies, then fitted the assemblies into their corresponding wheel well locations...
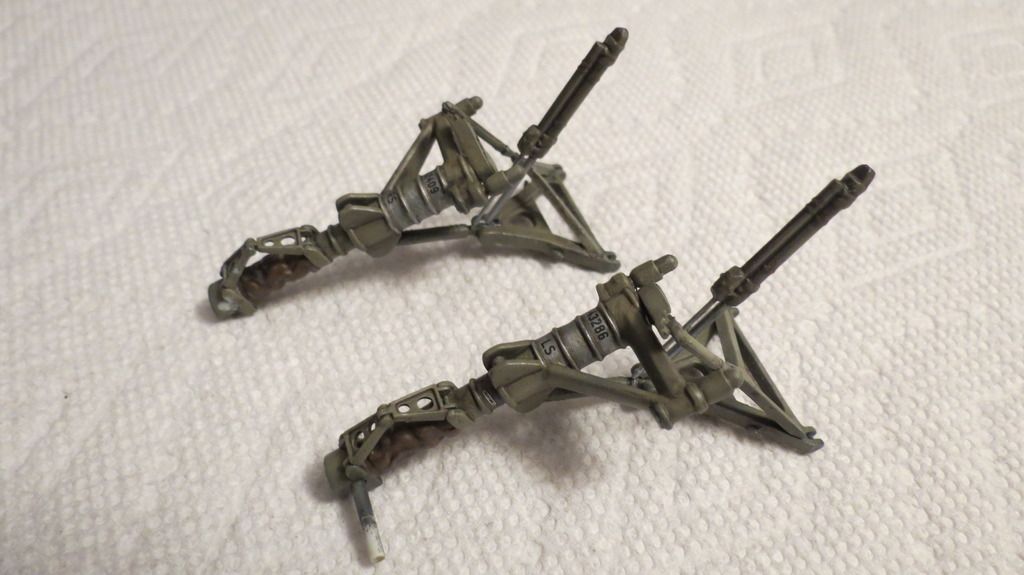
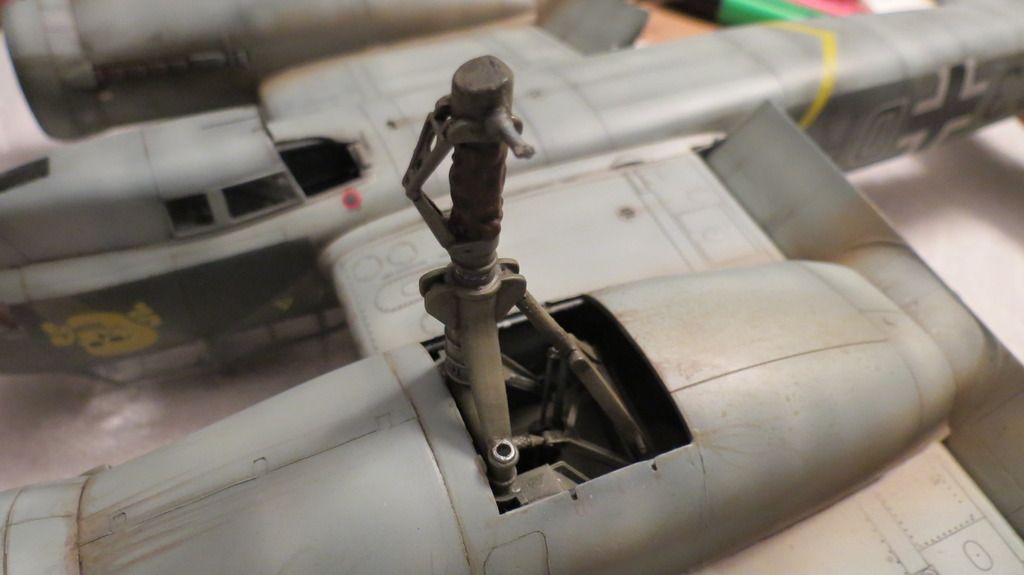
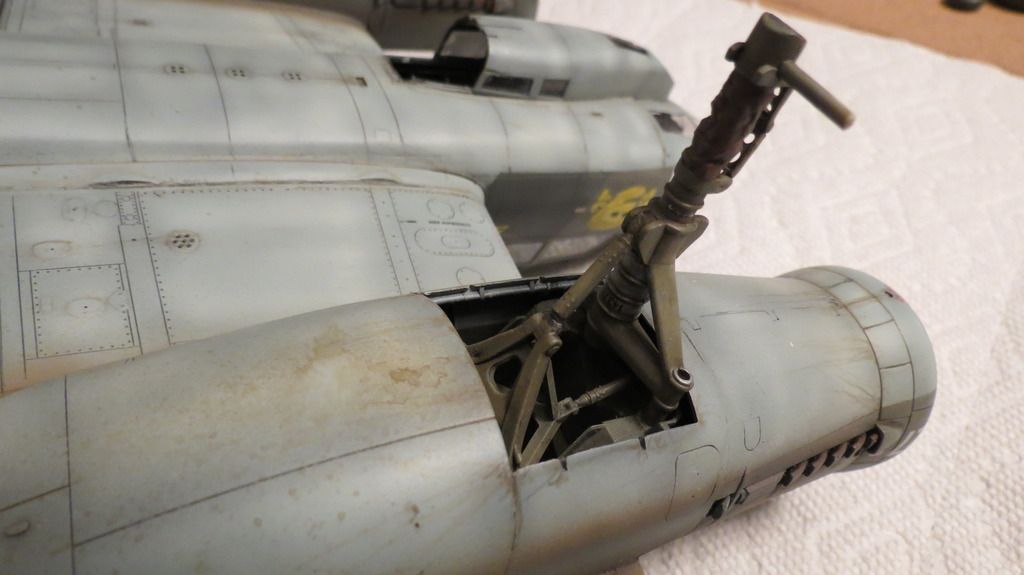
The starboard side wheel was glued onto its new steel axle pin followed by the portside wheel, but again, the portside axle sheared off easily, too. So, again, I drilled the broken axle out of the wheel, drilled a corresponding hole into the wheel strut and fitted a steel pin into the wheel strut. I then slid a Tamiya propeller bushing over the new steel axle and glued that into place. I cut the bushing down the middle so that it was only half as thick. When this had set, I slid the wheel onto the new steel axle and using CA glue fixed it in place, with the Tamiya propeller bushing providing some surface area for the wheel hub to bond to. The other half of the Tamiya propeller bushing was used on the starboard side axle, too....
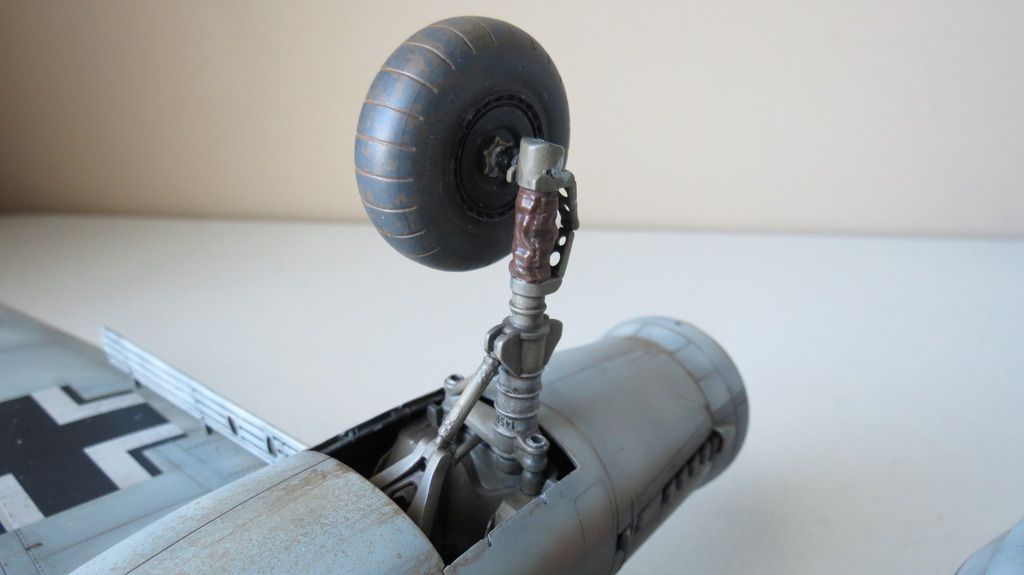
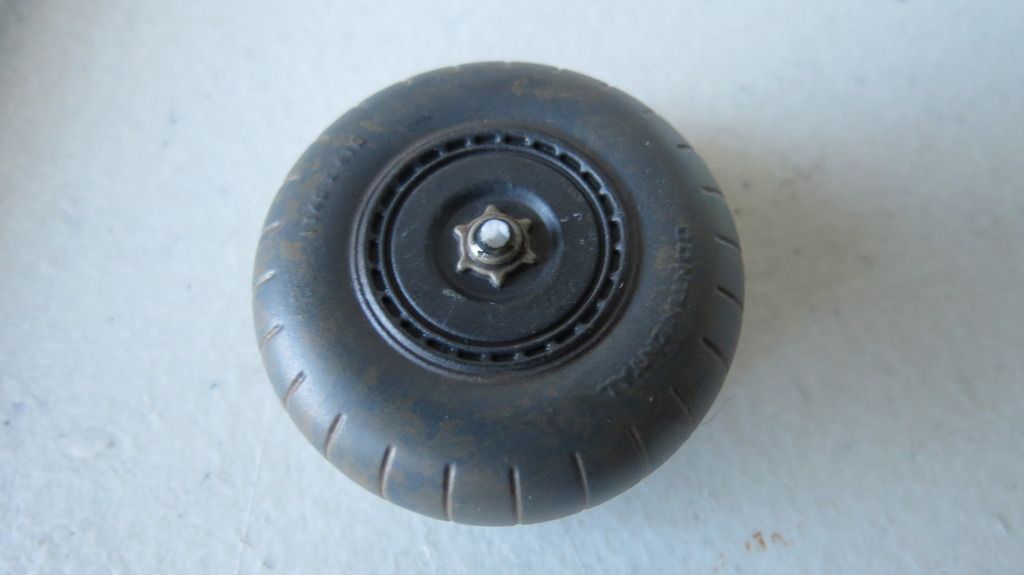
Next, I assembled the components of the rear wheel assembly then glued that into the rear wheel well...
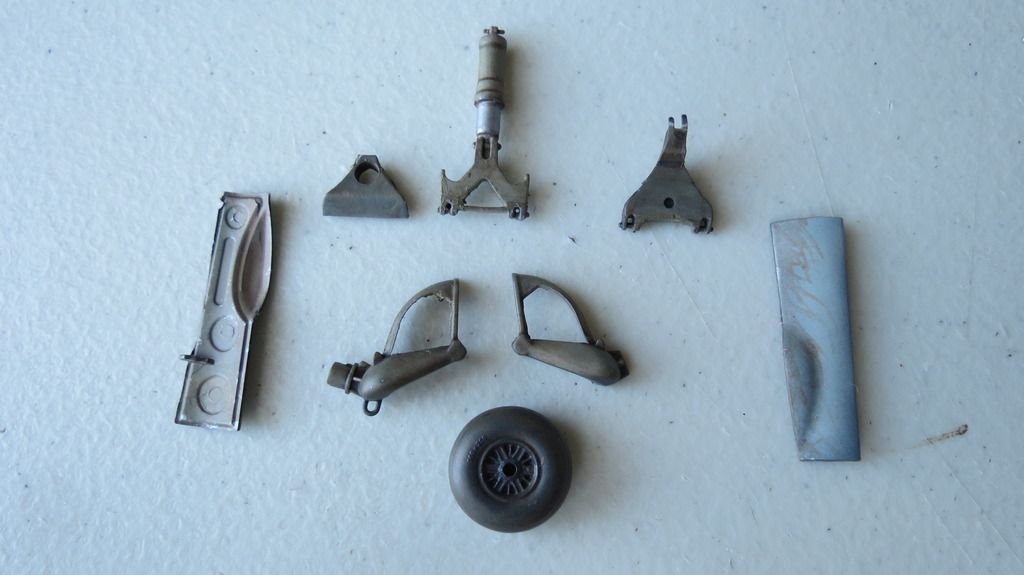
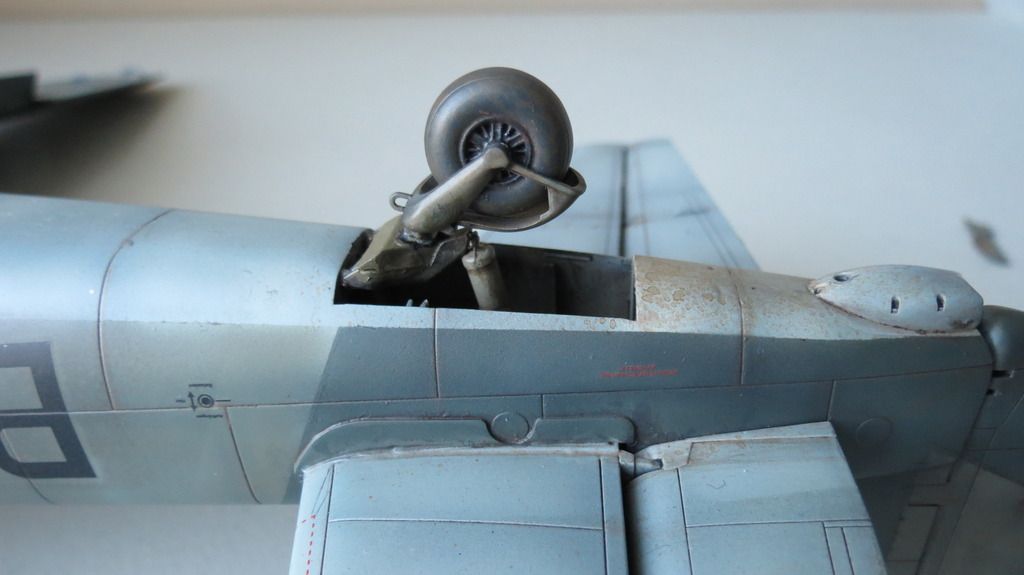
This was followed by gluing the undercarriage bay doors into location using CA glue...
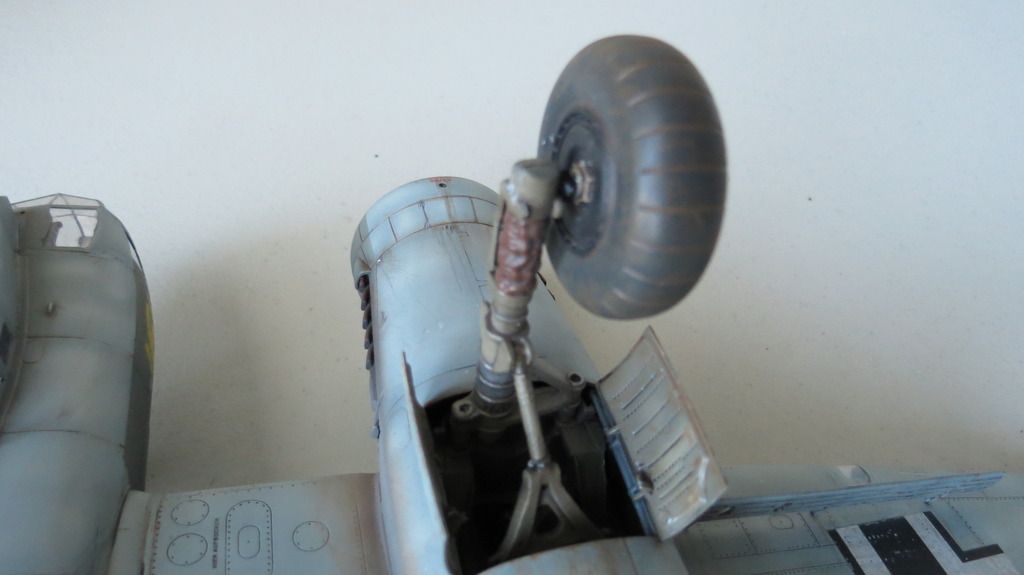
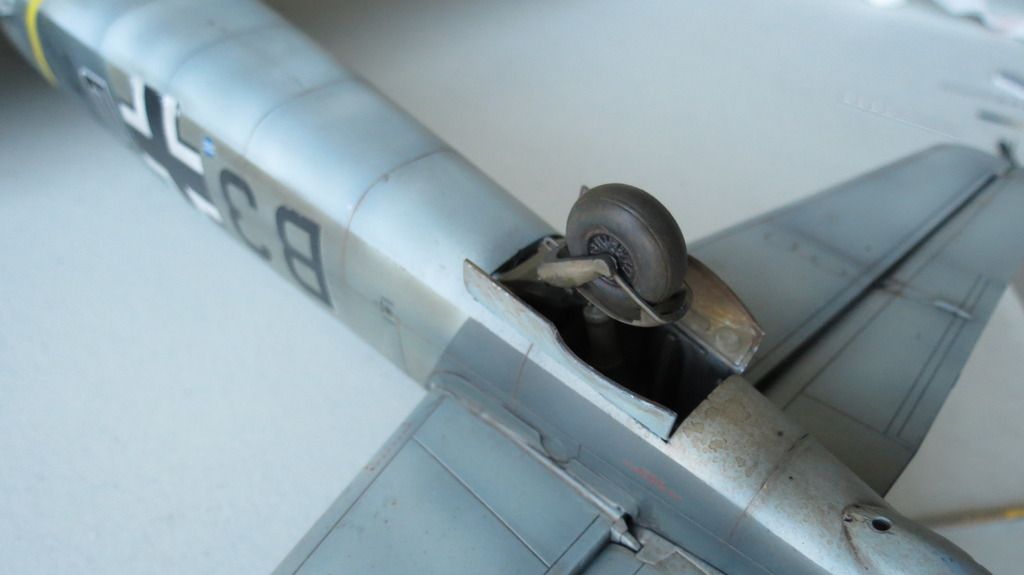
Next, I glued the propellers into place...
I then moved onto assembling the machine guns into their round windows, painting the windows and fitting them into their locations. I started with the upper rear machine gun...
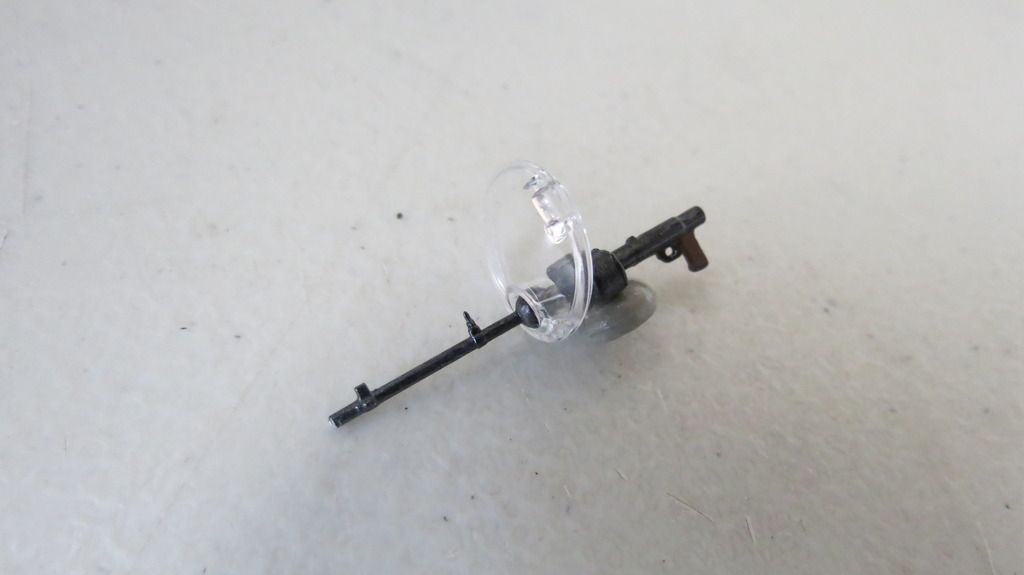
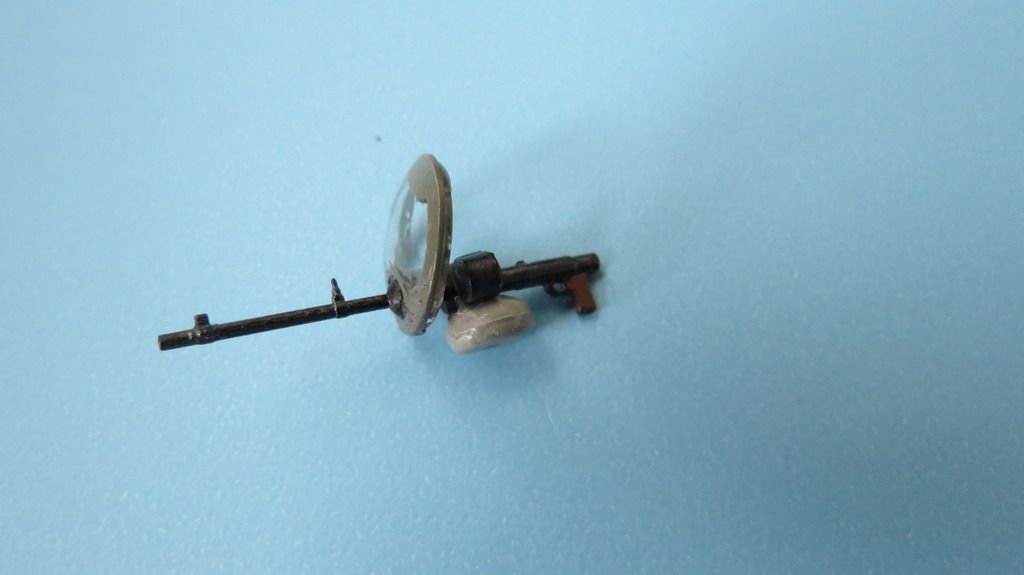
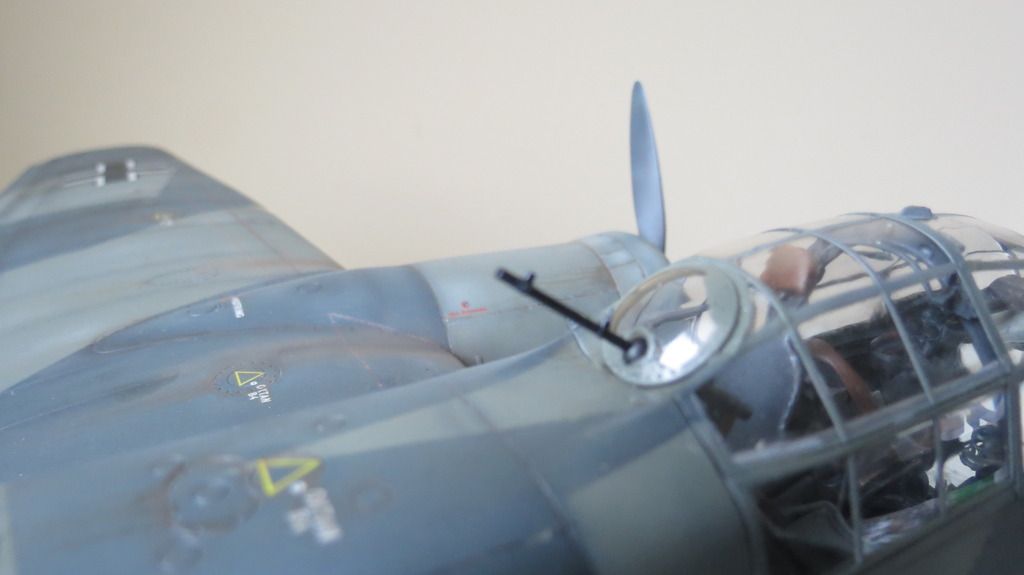
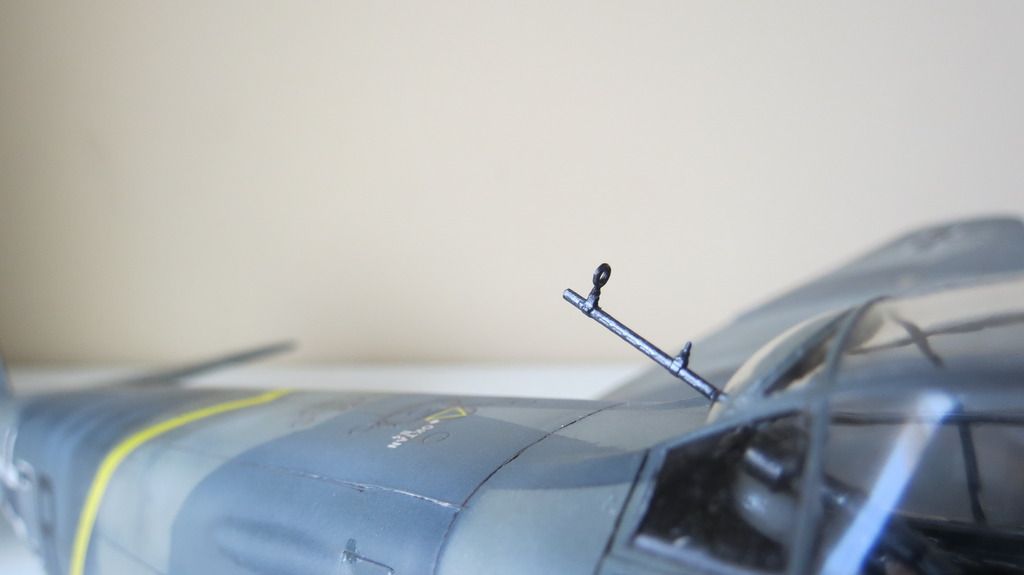
This was followed by the gondola hatch mounted machine gun on the underside of the aircraft and where the air-crew enter and exit the aircraft...
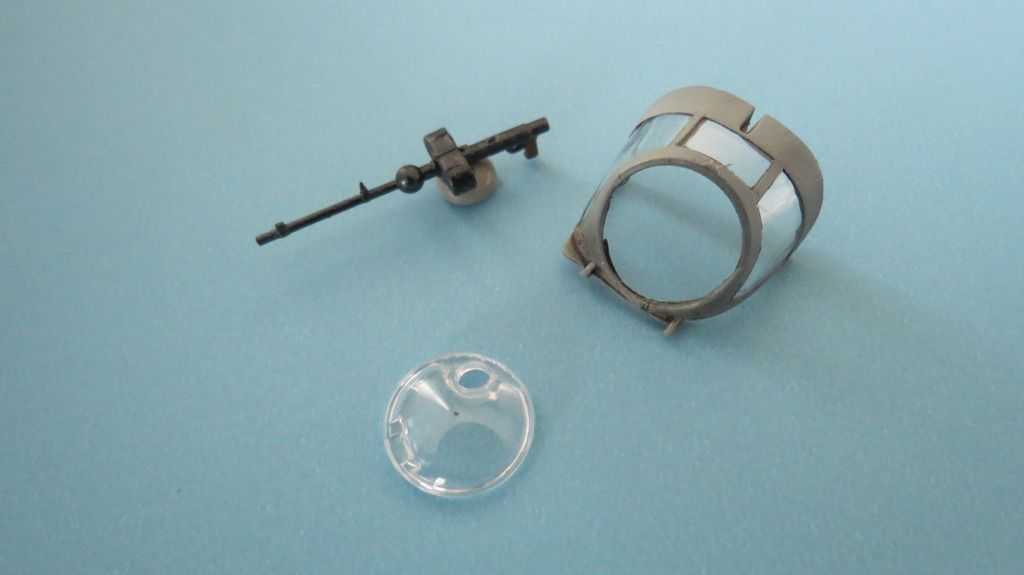
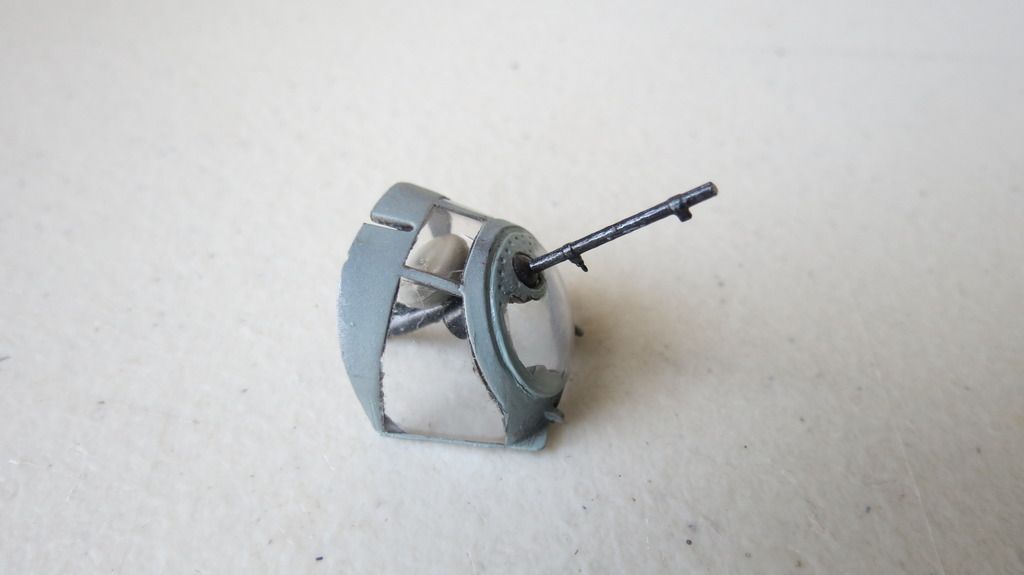
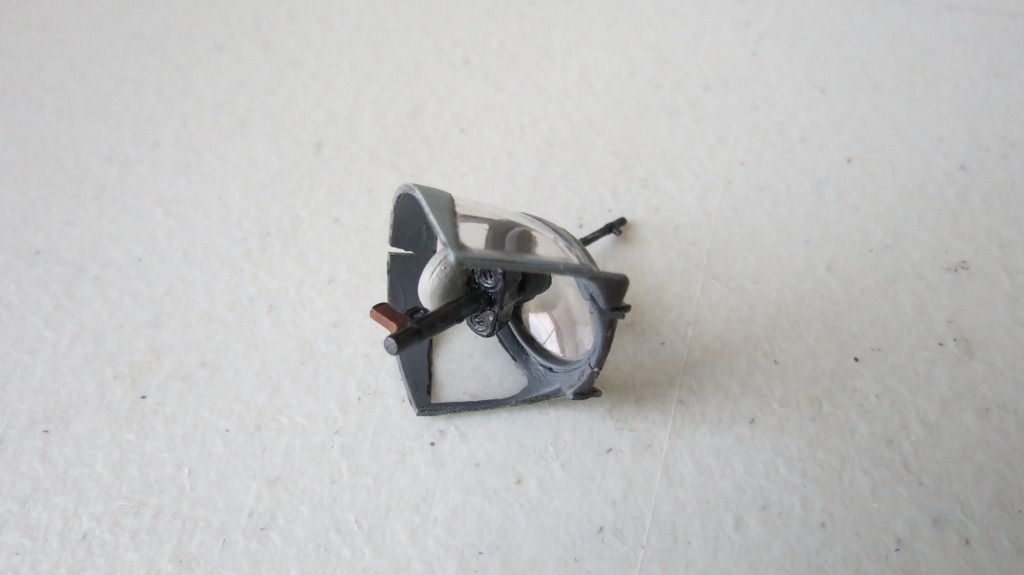
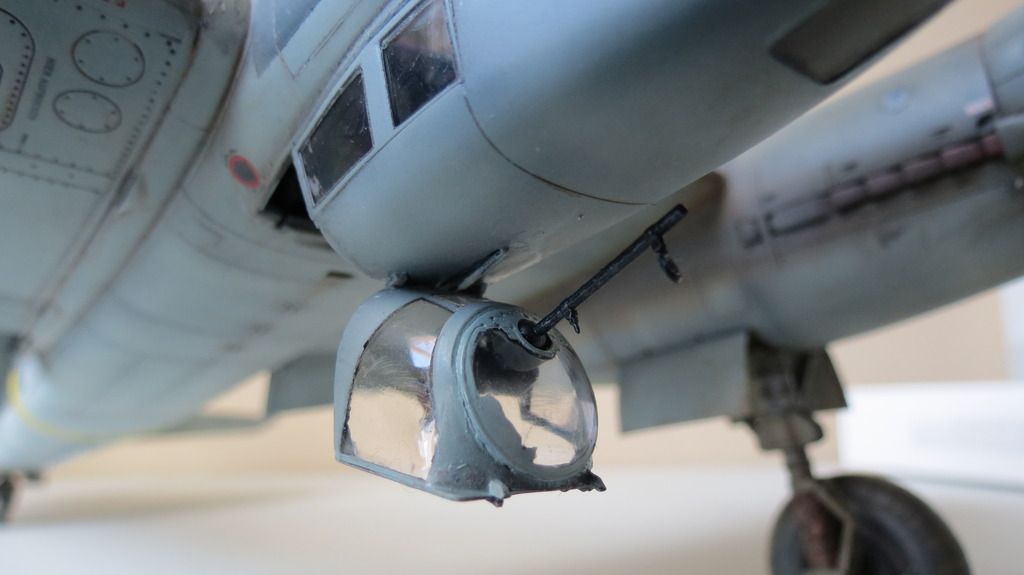
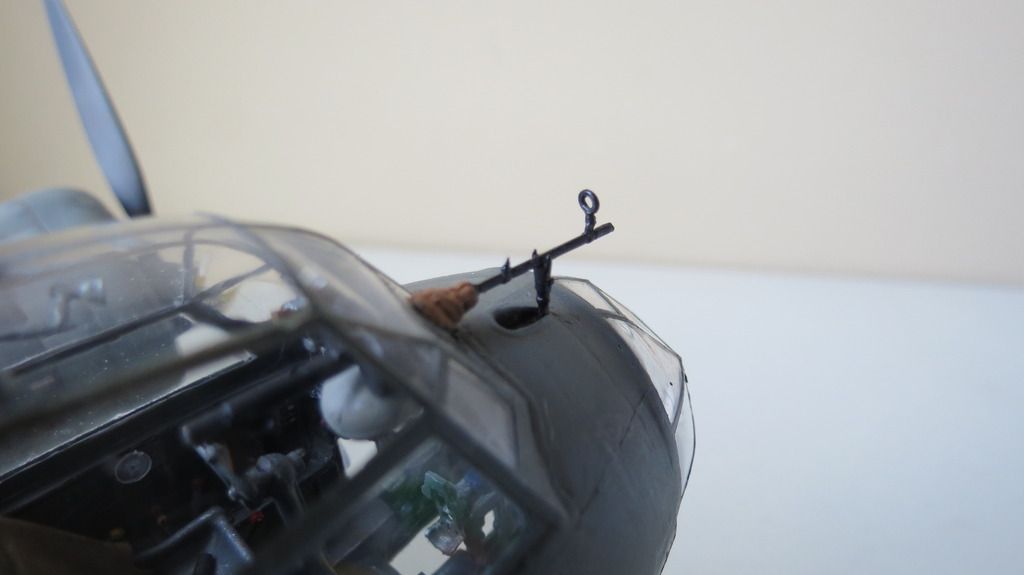
The last gun to be mounted was the forward facing machine gun and resting post...
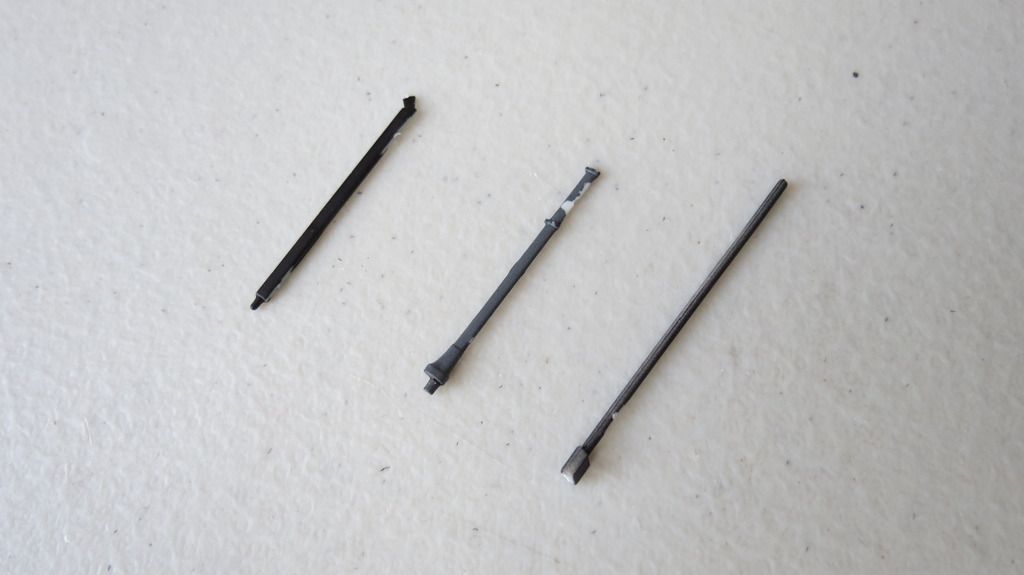
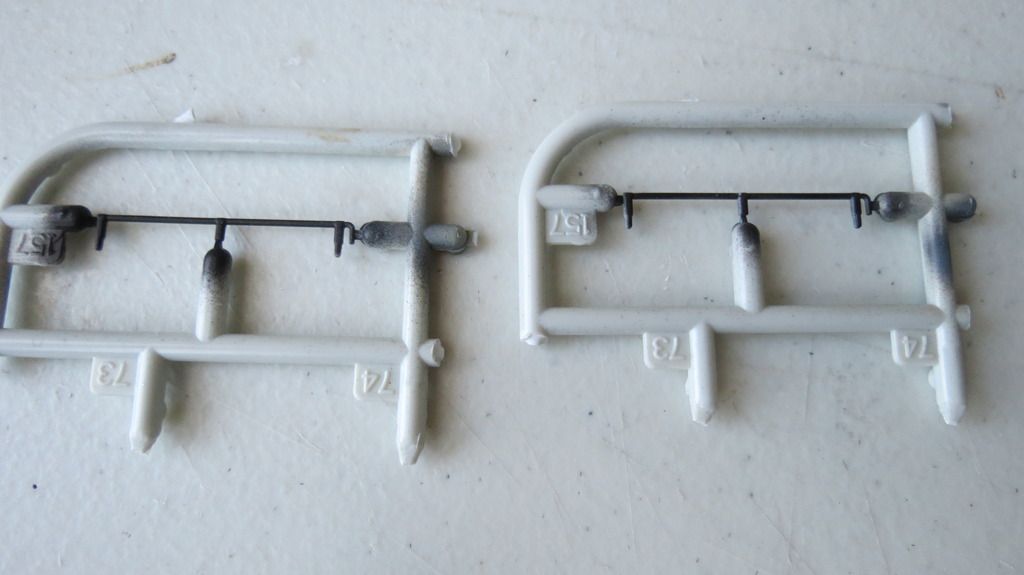
Next, I got together the antenna masts and pitot tube, painted them and fitted them into their corresponding locations. The pitot tube was fitted first, followed by the main antenna mast above the cockpit, then the Fug 10 Antenna mast into the portside antenna cover and the two FuBl 2 masts beneath the central/rear fuselage...
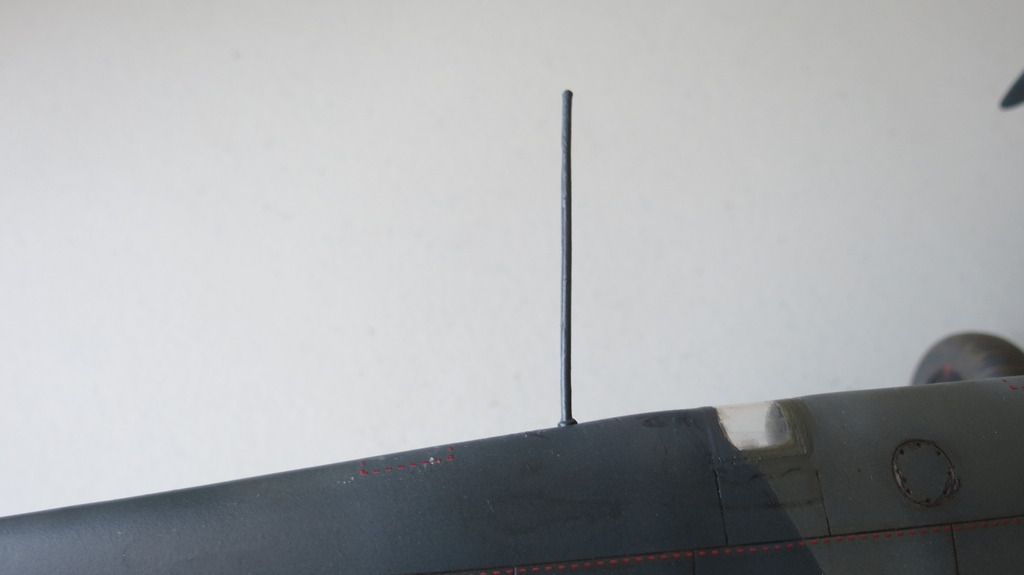
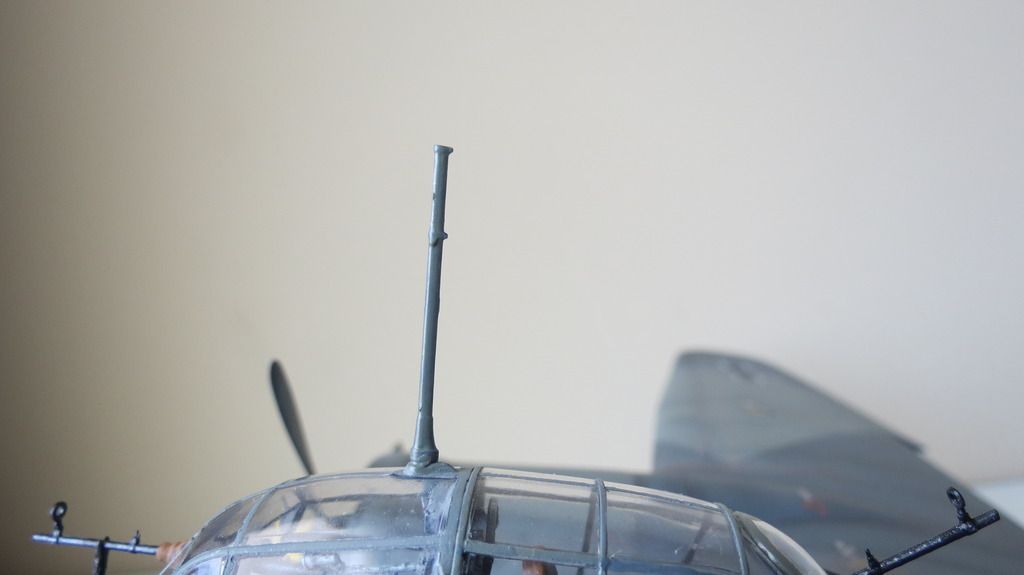
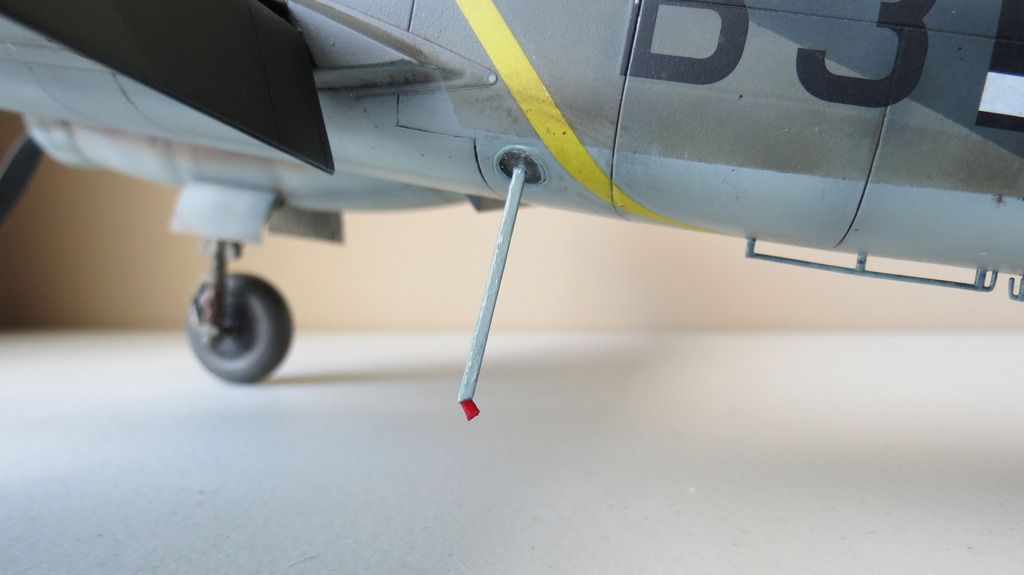
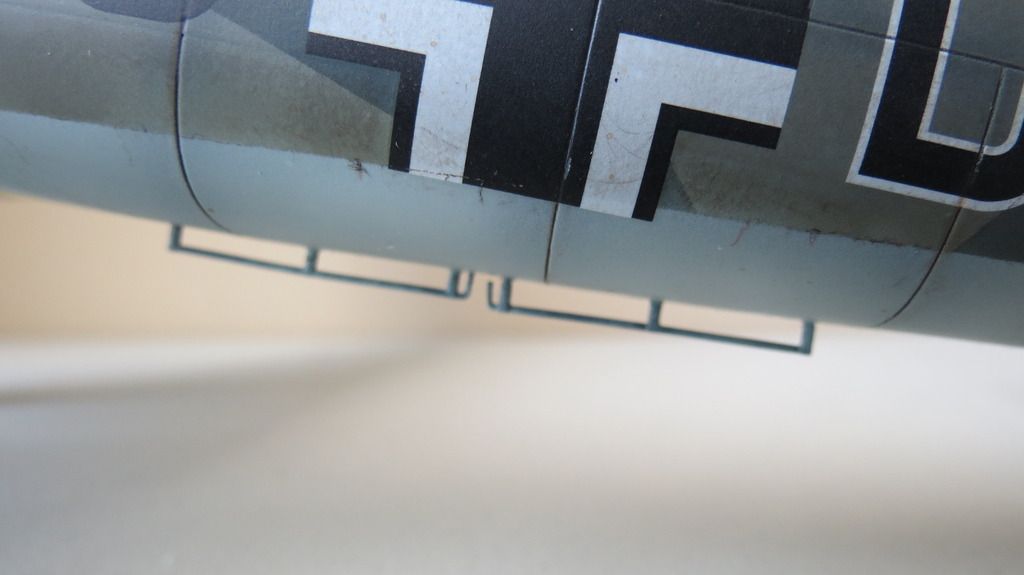
The main antenna mast above the cockpit has a decal on either side of it, and so, I applied a gloss clear coat to the antenna mast before applying the decals...
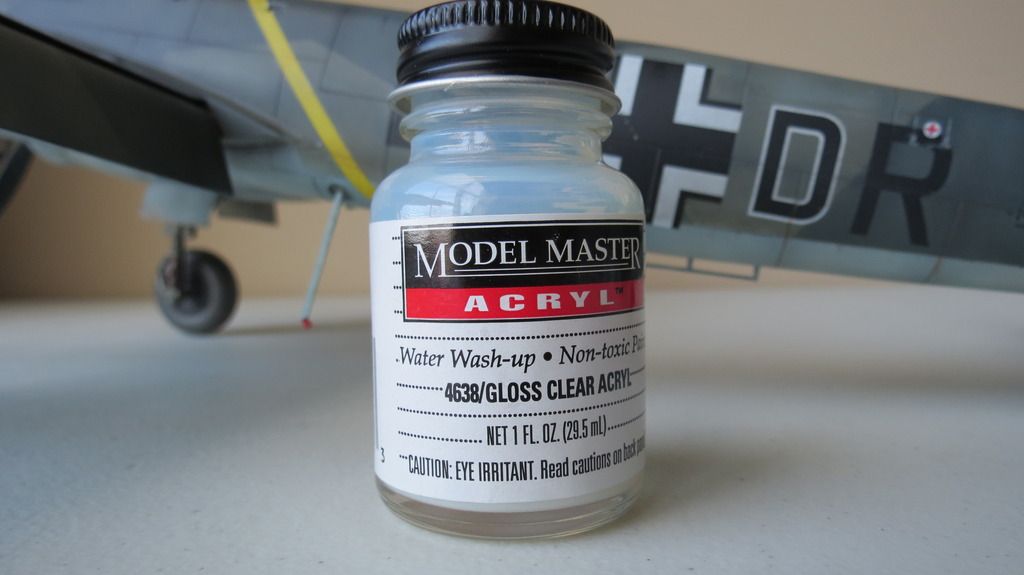
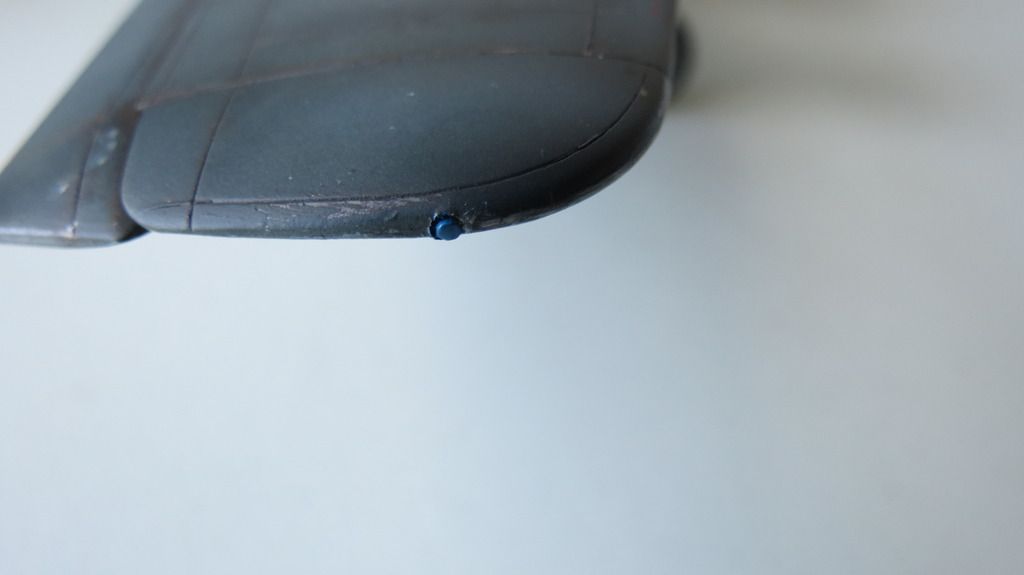
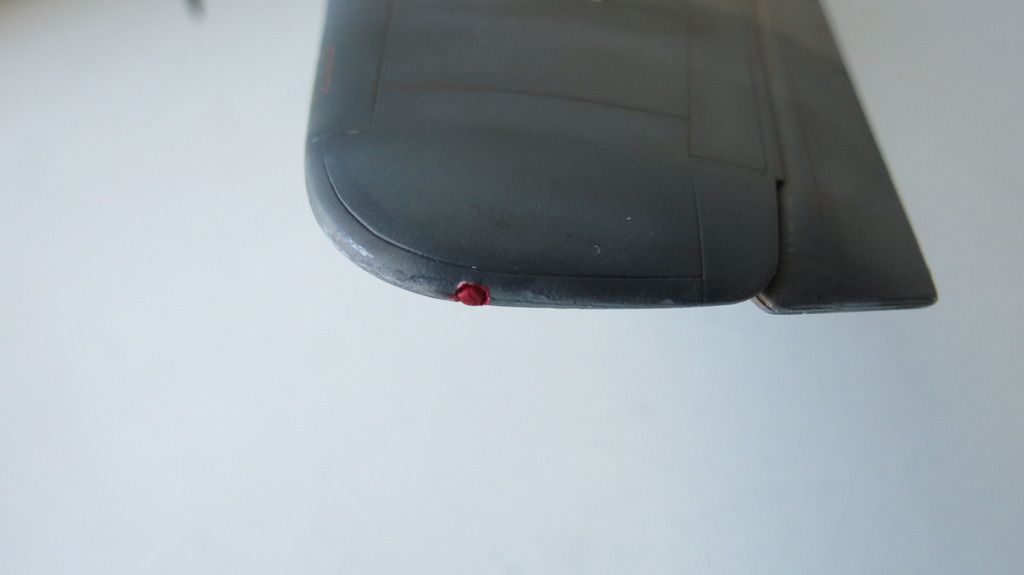
While that clear coat was drying, I fitted the wing tip lights into their locations and painted the starboard side blue and the portside red...
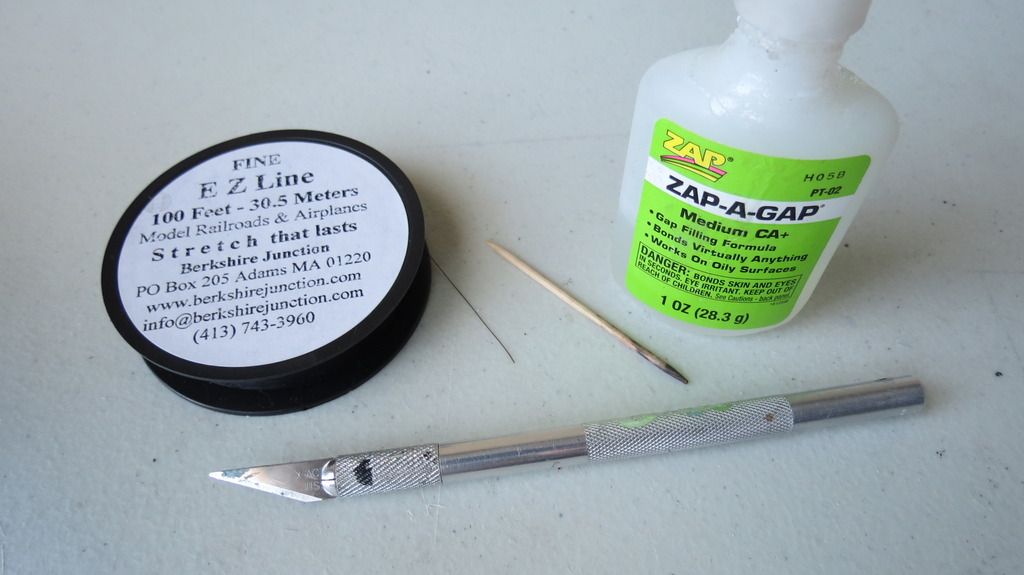
I then drilled a small 0.5mm hole into the front of the vertical stabilizer to create a location point for the antenna cable. I used 1.010" Fine Black EZ-Line and CA glue applied with the end of a toothpick, starting by locating one end into the small hole drilled into the vertical stabilizer and securing with a small drop of the CA glue. When that had set, I put a small drop of CA glue onto the top of the Antenna mast and pulled the loose end of the EZ-Line over it, holding it in place until it was set (about 30 seconds). I then snipped off the overhanging excess length. I then located two pieces of the EZ-Line into the FuG10 and FuG16 antenna covers, fixed them with a small drop of CA glue, then fixed the opposite ends to the main antenna cable above. Again, I snipped off the excess to complete the cabling....
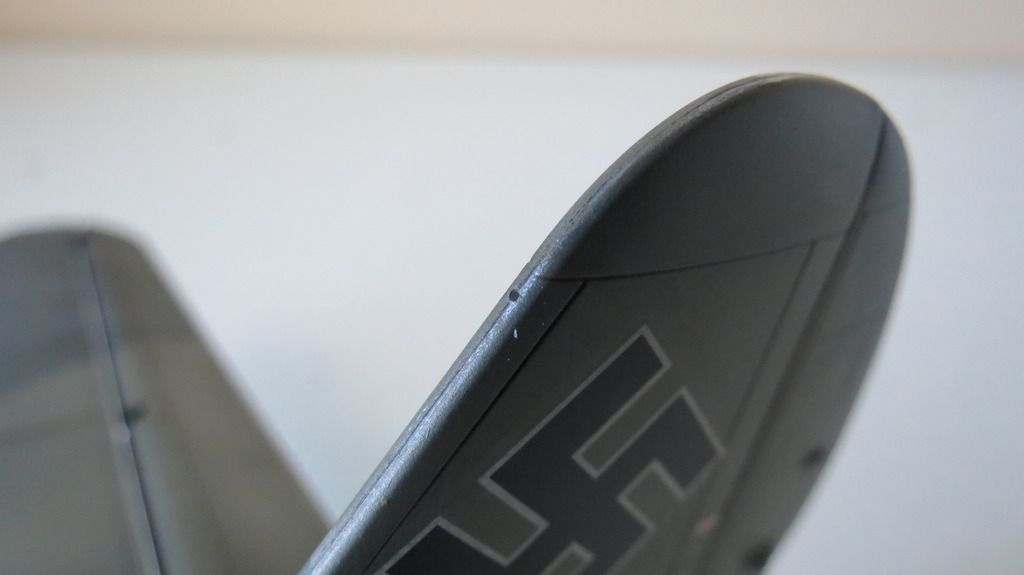
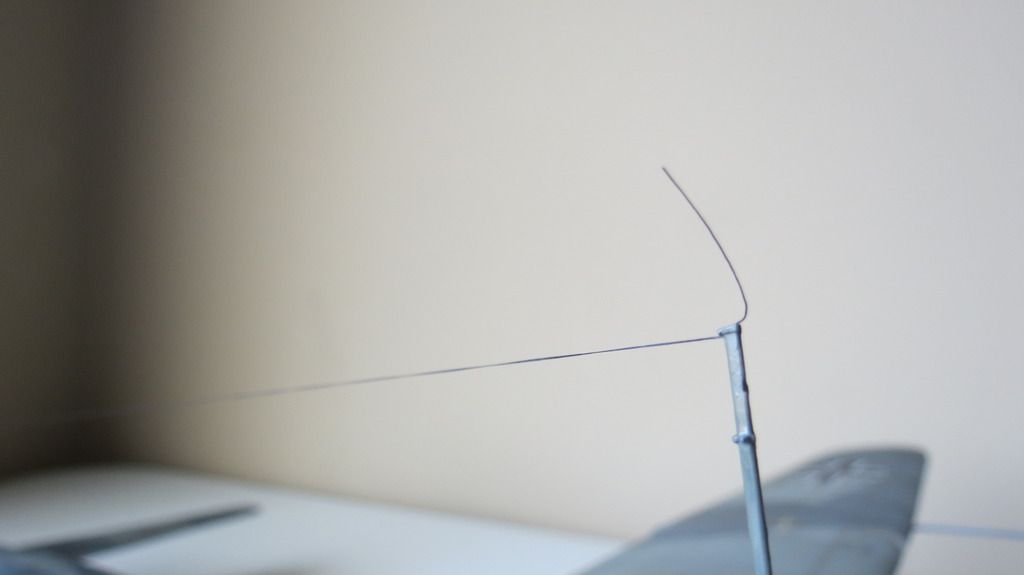
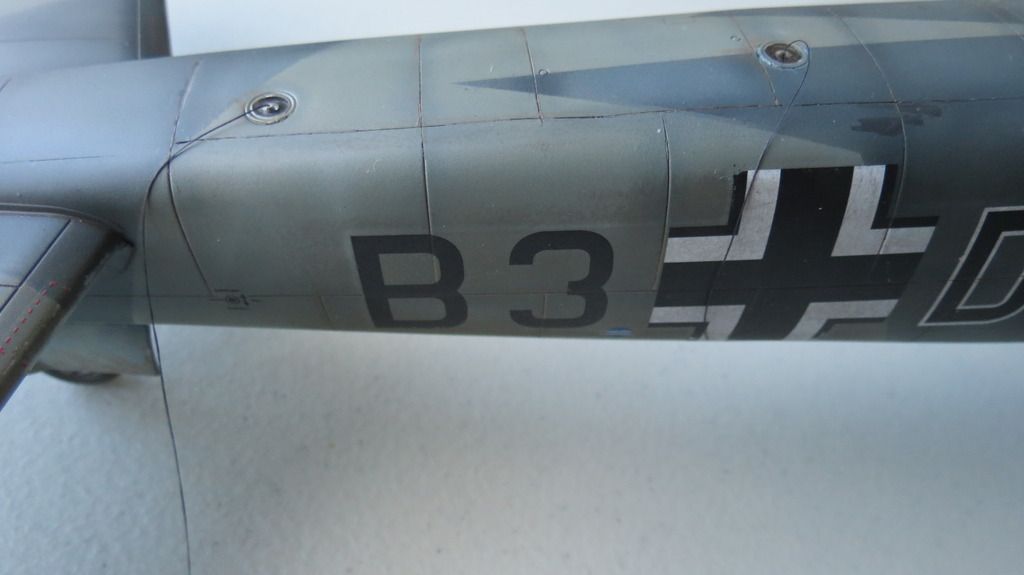
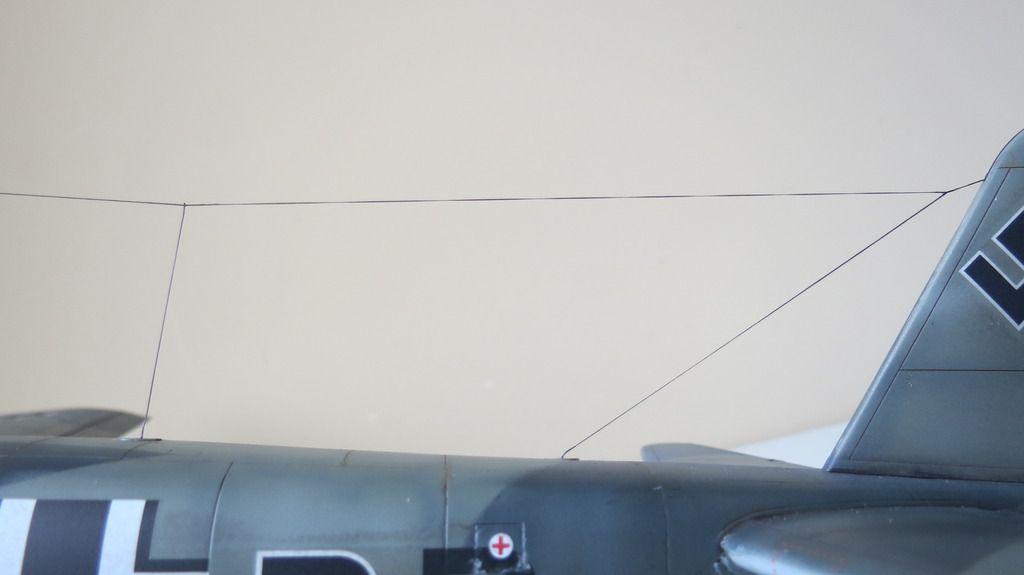
I then applied the decals to the sides of the antenna mast and two decals that went onto the portside and starboard side front windows. I then sealed the antenna mast decals with matt/flat clear coat...
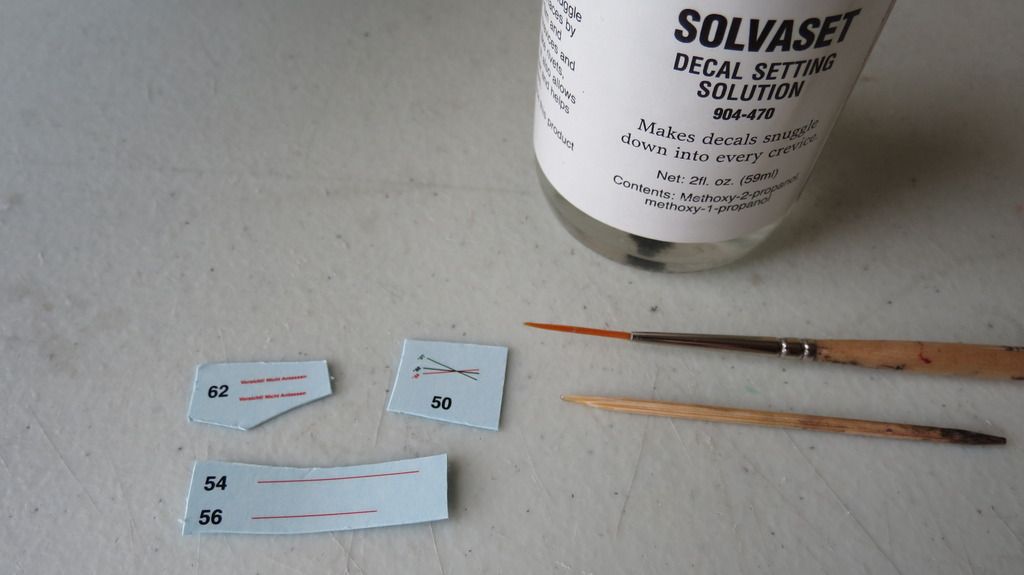
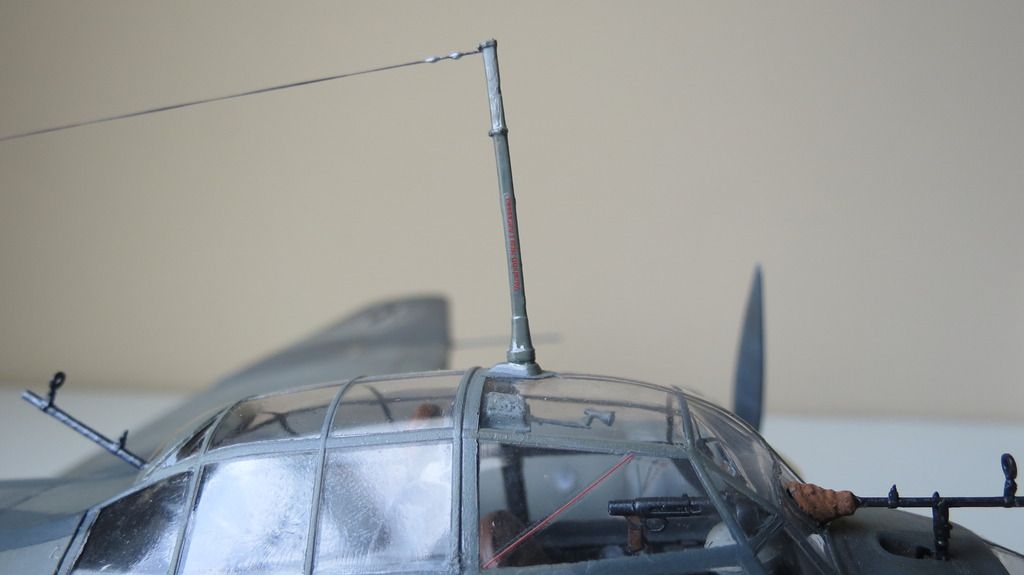
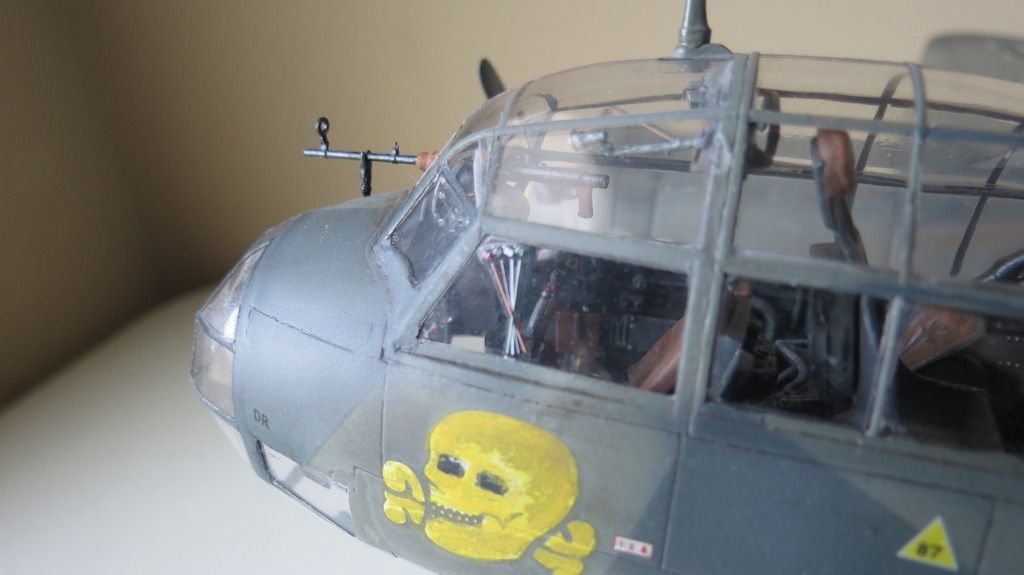
The last thing left for me to do to complete this build was to apply drops of PVA glue to the antenna cable to simulate the tensioners and then paint them aluminum....
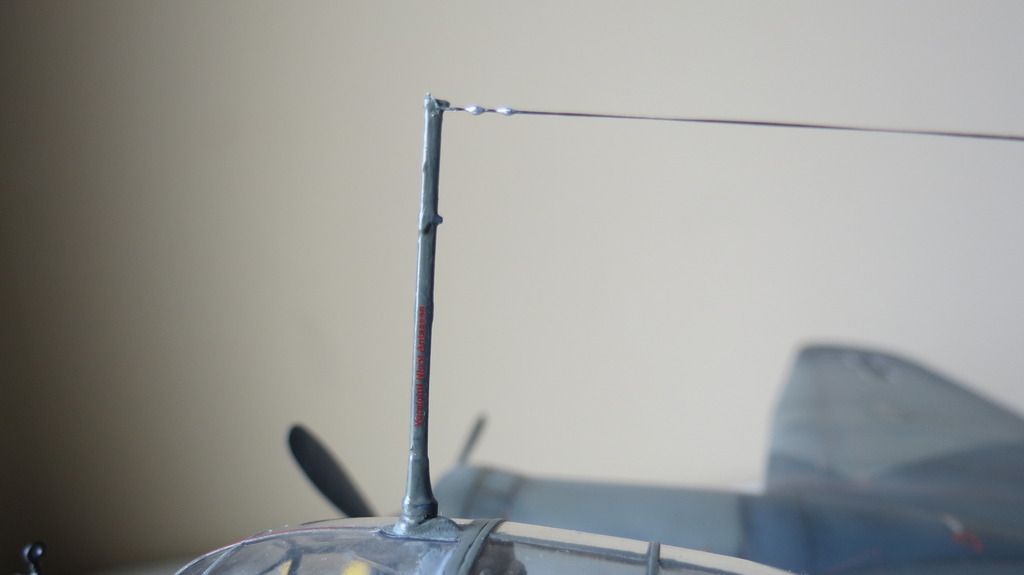
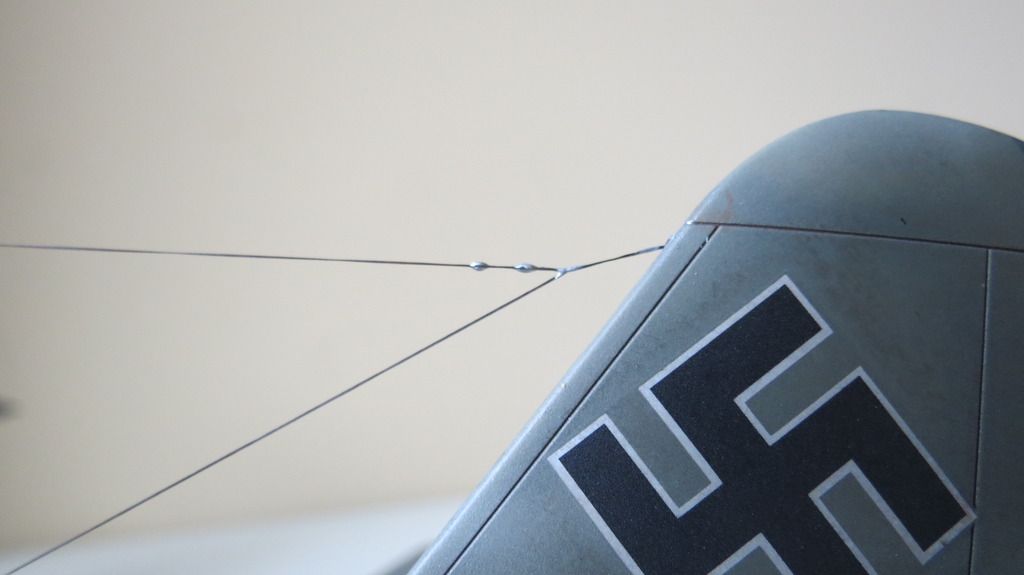
Well, that's it for this final build update! With the model complete, the "Final Reveal" / "Ready for Inspection" will be following later this week.
In the meantime, if you'd like to watch my "Build Update #5" YouTube video, here is the link to that:
https://youtu.be/iSA7MYxwz8o
Thanks to everyone that has followed this build and left comments on this thread and my videos, it is greatly appreciated! 
Until the "Final Reveal", take care and happy modeling! 
Cheers,
Martin