Um.
So I started my lozenge camo, and couldn't seem to line up my first two panels right. Here's a pic:
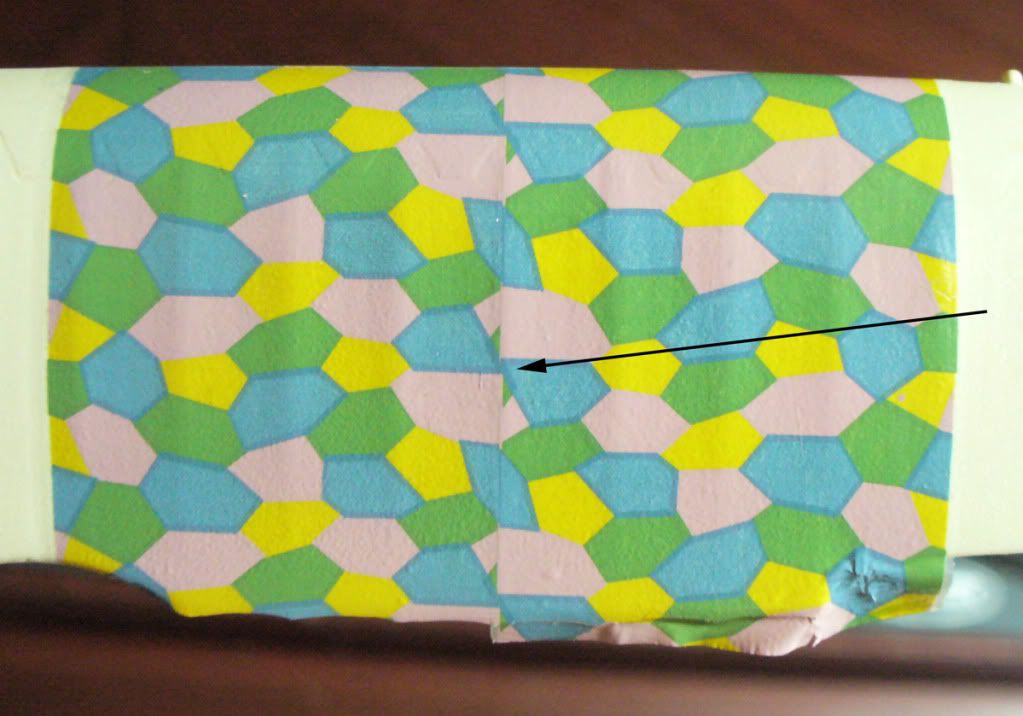
Now, between the two panels, it seems like they'd line up fine, but there are these little... fragments of a darker green color that are in there that I'm just not sure about. What are these things?
Am I just up too late and am missing something obvious? ANyway, here are my first two panels put together. Bad job I say. I've tried putting it on the other side, flipping it around every which way, and there's just no way.
Anyone? What's going on here?