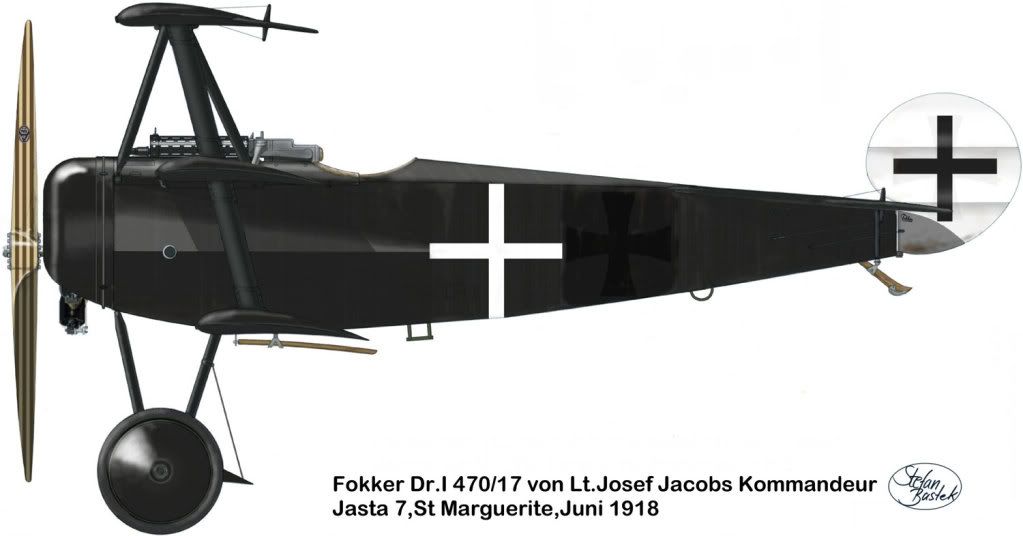
Yes, Stephen, that is exactly the a/c that I want to do. My profile, however, says that this particular aircraft is 470/17 instead of 450/17.
I'm definitely going to go with you on this one!
My big problem now is trying to figure out what was on the tops of the wings. I looked for photos of your model of this a/c, and can't find any on your site (though I did find a bunch of other amazing looking Dr. I's. That white a blue striped one is AWESOME! The little vignette of "Rickenbacker's 22nd victory is a show-stopper!)
Here is what I have, and what I am working with. Do you think that this was what it looked like? Also, were there crosses of any type on the bottom of the lowest wing?
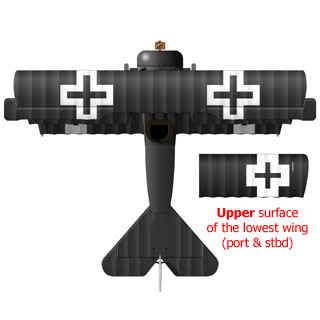
THoughts?