Luftwoller wrote: Luftwoller wrote: |
AND NO IM NOT GETTING OLD!!!! ...Guy |
|
Yeah...keep telling yourself that ![Wink [;)]](/emoticons/icon_smile_wink.gif)
Nice work so far. too bad that tri color is not onthe top of the wing. Kinda like..."Hey you... way over there... guess what... I'm ITALIAN! Fagetaboutit! "
Ludwig-very cool looking busts
Brad-that sure is nice lookin'
Scott. Thanks for thr input. I think I will try to tone to yellow look somewhat.
Progress is painfully slow. Cathing up on the post-winter yard work. Unlike others around here![Whistling [:-^]](/emoticons/icon_smile_whistling.gif) ... I am gettin' old and I draggin' my sorry hind quarters by the end of the day.
... I am gettin' old and I draggin' my sorry hind quarters by the end of the day.
But here is what's happening at the moment. When gluing the front cowl on, the Tenax was running down to my fingers, unbeknownst to me![Angry [:(!]](/emoticons/icon_smile_angry.gif) , that was hold the sides of the fuselage. OI had to file off the access panels because of the gigundo melted in fingerprint and reaplce with some .005 plastic card.
, that was hold the sides of the fuselage. OI had to file off the access panels because of the gigundo melted in fingerprint and reaplce with some .005 plastic card.
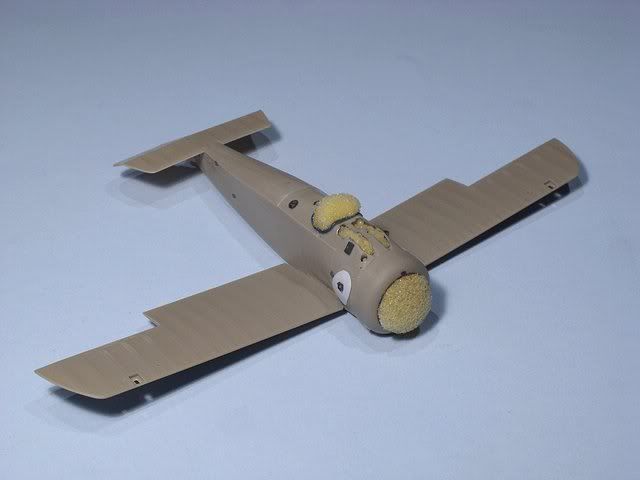
Stuffed
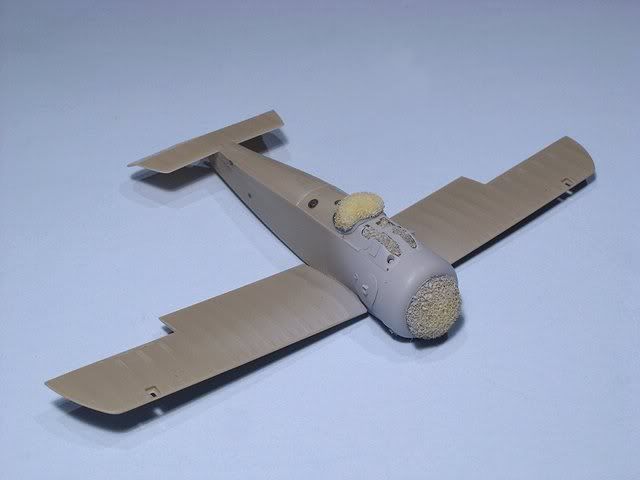
Primed & Polished
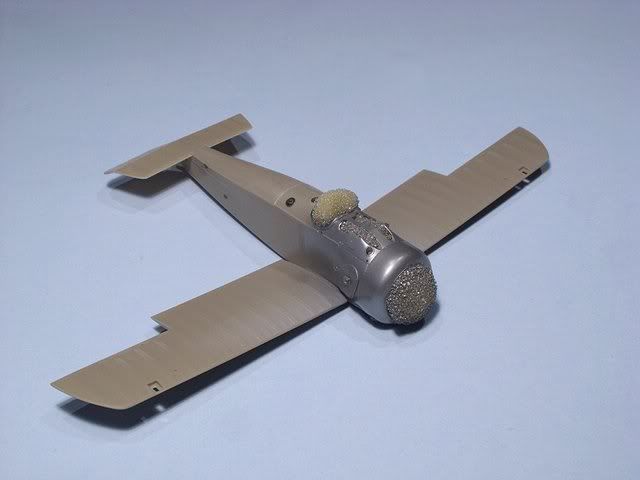
Alclad II
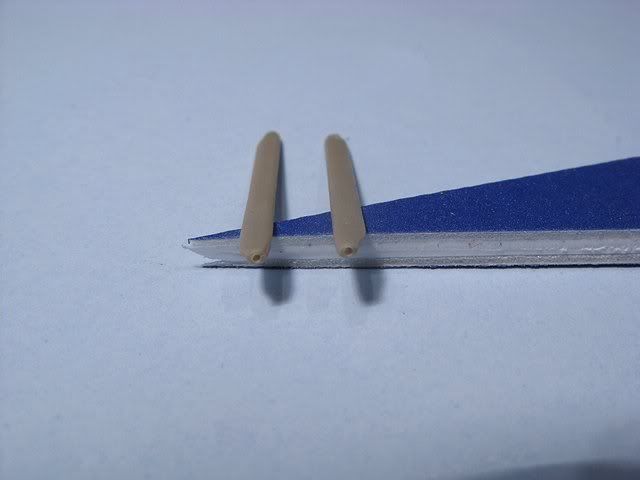
After complaining about how mnay times I broke off the struts on my Camel in KotS I, I am trying Steve's method of drilling all the struts to accept a piece of wire. Being real careful I was able to get down about an 1/8". Me thinks this will work!