SEARCH FINESCALE.COM

Enter keywords or a search phrase below:

Knights of the Sky II- The End

108285 views
1244 replies
1 rating 2 rating 3 rating 4 rating 5 rating
  • Member since
    September 2003
  • From: South Central Wisconsin
Posted by Daywalker on Wednesday, April 8, 2009 5:18 PM

CONGRATULATIONS MARC!!!

A well deserved award judging from the photos of it. (Yes, I do occasionally visit the "Armor" section! Shock [:O])

Glad to see a winged-thingie is on your bench, or else we would have had to take away your username. Sigh [sigh]

Frank 


  • Member since
    February 2006
  • From: Smithers, BC, Canada
Posted by ruddratt on Wednesday, April 8, 2009 10:19 PM

 Daywalker wrote:
(Yes, I do occasionally visit the "Armor" section! Shock [:O])

So do I, buddy, and I occasionally post there too. Sorry I've been absent, but here's why ... Wink [;)] Finished it a few weeks ago -

Mike

 "We have our own ammunition. It's filled with paint. When we fire it, it makes pretty pictures....scares the hell outta people."


  • Member since
    October 2004
  • From: Colorado
Posted by StephenLawson on Wednesday, April 8, 2009 10:25 PM


I had a great exchange of e-mails with Richard Alexander of Wingnutwings.com here is some of the info he shared with me.

". . .Our models are designed and researched by passionate professionals utilising original factory drawings whenever possible, historic and contemporary photos and information supplied by some of the worlds leading experts in their fields. We also work closely with The Vintage Aviator Ltd http://thevintageaviator.co.nz, which gives us access to full size airworthy examples of many of our subject aircraft. We have also had great support from various museums who have given us access to aircraft and engines within their collections. . ."

Their focus is to design models to be a pleasure.  From what I have seen they have a drive to provide accurate, detailed, 1/32 scale WWI aviation models that are ". . .as enjoyable to build for both the experienced and novice modeler alike. . . "  I was told that they are making kitls the way they have always wanted models to be made.    They feel that average modelers are intimidated by WWI aircraft models and have designed tooling and instructions to assist them in every way possible.  They also seem to be drived to get colours accurate when possible.  I asked about the software and  was enlightened even further.

". . .For their time these aircraft represented the cutting edge of technology or in terminology of the day 'that cat's whiskers' . It is not surprising that  we use the latest in 3D Computer Aided Drafting /Computer Aided Machining software and tool making techniques available to us to ensure that modelers receive only the highest quality product. . ."

While this was not mentioned directly the success of the LotR movies has given them such great advance in software we may yet see products we haven't even dreamed of.

". . .We have 6 more releases to follow, and we are well underway with our first two years of scheduled production and tooling for many more kits during this period.  You need to tell people that we are not a market-driven company, but rather a group of passionate individuals. This has taken us up from the "safe and popular" WWI subjects and allowed us to focus on two-seaters and bombers, as well as many yet-to-be-modeled fighters. If we see enough to cover costs, we will keep going!. . ."

Now ask yourself what have we wished in our dream of dreams that we wanted to see.  Let your minds wander.  I know what I would wish for.  How about you?


Stachel...unconfirmed by Armee means unconfirmed!!!!

  • Member since
    September 2003
  • From: South Central Wisconsin
Posted by Daywalker on Thursday, April 9, 2009 8:28 AM
Excellent work Mike!  What scale and kit is that?

Frank 


  • Member since
    February 2006
  • From: Smithers, BC, Canada
Posted by ruddratt on Thursday, April 9, 2009 9:16 AM

Thanks Frank! That's the Dragon T-34 kit in 1/72. My wife thought it was 'cute', so I built it for her. Got one more build to finish up for the local museum up here, and then I'll be back at the Fokker. Thumbs Up [tup]


Mike

 "We have our own ammunition. It's filled with paint. When we fire it, it makes pretty pictures....scares the hell outta people."


  • Member since
    September 2003
  • From: South Central Wisconsin
Posted by Daywalker on Thursday, April 9, 2009 9:22 AM
1/72???
 
Even more impressive in that tiny scale!  Well done, I was certain that was 1/35 scale. Bow [bow]

Frank 


  • Member since
    October 2004
  • From: Colorado
Posted by StephenLawson on Friday, April 10, 2009 5:23 AM

Here is the Eduard Dr.I finished cockpit with additional parts from the spares box.


Stachel...unconfirmed by Armee means unconfirmed!!!!

  • Member since
    October 2004
  • From: Colorado
Posted by StephenLawson on Friday, April 10, 2009 5:43 AM

Here the lower wing for the Camel has been attached.


Stachel...unconfirmed by Armee means unconfirmed!!!!

  • Member since
    January 2009
  • From: London
Posted by Bobs Buckles on Friday, April 10, 2009 3:06 PM

90% complete.
Most of the rigging done.
Rudder and prop has been fitted since this picture was taken.

Happy Days!
Von Buckle Smile [:)]


every man dies, but not every man truly lives... Bobs Buckles Website
  • Member since
    September 2007
  • From: Relocating
Posted by Mobious on Saturday, April 11, 2009 8:42 AM

 Hey ruddratt, Very nice clinckity clanckity thingie. Very nice finish on the T34. Two thumbs up. 

 Bob, The Pfalz looks great. Really like the rigging and the turnbuckles. Very nice work and looking very cool.

"It's a problem of applied physics" Roy Brown

  • Member since
    January 2009
  • From: London
Posted by Bobs Buckles on Monday, April 13, 2009 3:23 PM
Hello all,
Well, here she is. 99% complete.
I'm left with those little bits that we, plastic worshipers fiddle and faffle about with before we can say DONE! Those bits being, clear coat and a 12"square base to sit the old girl on.
I purposely left off some of the decals from Roden as they were poor to say the least. All the crosses were masked and sprayed apart from the fuselage cross. That was laser decal on clear film as were the serial numbers.

I hope you guys like it.
I will post up the final shots when 100% complete.
All the best,
Bob


every man dies, but not every man truly lives... Bobs Buckles Website
  • Member since
    June 2006
  • From: Michigan
Posted by ps1scw on Monday, April 13, 2009 3:31 PM
What paint did you use for that yellow, it looks thin, but has great coverage?
  • Member since
    September 2007
  • From: Relocating
Posted by Mobious on Monday, April 13, 2009 4:24 PM
 Awesome Bob. I like it very much. A great looking Pfalz. Thanks for sharing

"It's a problem of applied physics" Roy Brown

  • Member since
    December 2005
  • From: back seat of your car with duct tape streched out
Posted by soulcrusher on Monday, April 13, 2009 5:50 PM

Bob the rigging on that Pflaz is absolutely stunning. The control cables for the rudder look great also. She loooks like a show winner to me. Great job overall.Thumbs Up [tup]

                                                                                           SoulcrusherPirate [oX)]


  • Member since
    October 2004
  • From: Colorado
Posted by StephenLawson on Tuesday, April 14, 2009 1:42 AM
So far so very good Bob!


Stachel...unconfirmed by Armee means unconfirmed!!!!

  • Member since
    November 2005
  • From: that state up North
Posted by More Power Scotty on Tuesday, April 14, 2009 11:04 AM

Bob,

That is some very fine work on the Pfalz! Bow [bow]  I wish that I could make rigging look half that good!

Scott
  • Member since
    February 2007
  • From: Bournemouth UK
Posted by Luftwoller on Tuesday, April 14, 2009 12:35 PM

Excellent work Bob. Im loving the rigging buckles as well.

...Guy

..'Your an embarrassment to the human genus, makes me ashamed to call myself Homo'.
  • Member since
    February 2007
  • From: Bournemouth UK
Posted by Luftwoller on Tuesday, April 14, 2009 12:46 PM

Hi Frank, my juices are reinvigorated. The Gotha's on hold untill i find some paint references, so im throwing a new build into the fray. Its Italian (Really i hear you shout) and its a Macchi M.5 flying boat from Fly in 1/48.

...Guy

..'Your an embarrassment to the human genus, makes me ashamed to call myself Homo'.
  • Member since
    January 2009
  • From: London
Posted by Bobs Buckles on Tuesday, April 14, 2009 2:32 PM

 ps1scw wrote:
What paint did you use for that yellow, it looks thin, but has great coverage?

Hello Sir,

The yellow used for the Pfalz was from the Gunze Sangyo  range. RLM O4 If my memory serves me right. Thinned with tamiya lacquer thinner.

Thanks goes out for all the great comments. 

Cheers,

Buckle Man Smile [:)]

every man dies, but not every man truly lives... Bobs Buckles Website
  • Member since
    April 2005
  • From: Piscataway, NJ!
Posted by wing_nut on Wednesday, April 15, 2009 12:32 PM

That is looking very sweet Bob.


I finished my t-55 last week but biz has picked up (and just in time to float the sinking shipSmile [:)]) so progress has been painfully slow.  But start I did.  Sure is weird building an airplane againWink [;)]

The eduard instruction sheet color call out for the engine push rods (are they rods or tube like on a WWII radial?) is for copper.  Is that correct?

Marc  

  • Member since
    October 2004
  • From: Colorado
Posted by StephenLawson on Wednesday, April 15, 2009 2:26 PM

wing_nut
  ". . .The eduard instruction sheet color call out for the engine push rods (are they rods or tube like on a WWII radial?) is for copper.  Is that correct?"

Greetings Marc. The push rods are steel.  There is a 150hp Clerget in London Museum of Science.


Stachel...unconfirmed by Armee means unconfirmed!!!!

  • Member since
    April 2005
  • From: Piscataway, NJ!
Posted by wing_nut on Thursday, April 16, 2009 10:32 AM
Really?  Too bad cuz they look really cool in copper.  Oh well  such is life.  I'll paint 'em steel.  Thansk Steve

Marc  

  • Member since
    April 2005
  • From: Piscataway, NJ!
Posted by wing_nut on Sunday, April 19, 2009 8:55 AM

Some real progress... finally.  Gotta take my time since these part don't represent 3 inch thick armor plate and I can't cover a booboo with mudWhistling [:-^]

Motor and inteiror.  Added some coming around the cockpit with lead foil.  Push rods are a bit thick but will have to do.

the Eduard sheet keeps calling out "Sail Color" .  What color is that?  I picked up some Humbrol Doped Linen but is seems very yellow to me. It is next to the fuel tank.


Marc  

  • Member since
    September 2003
  • From: South Central Wisconsin
Posted by Daywalker on Sunday, April 19, 2009 11:46 AM

Guy- Sorry I missed your Macchi M.5!

I added it to page one, now get cracking on it! Big Smile [:D]

Marc- Nicely done!  Your "sail color" looks right to me, and you obviously have not let your workmanship slide after all of those armor builds. Wink [;)]

Frank 


  • Member since
    April 2005
  • From: Piscataway, NJ!
Posted by wing_nut on Sunday, April 19, 2009 7:04 PM
Thanks Frank.  Feel good to work on something... well... flimsyWink [;)]Big Smile [:D]

Marc  

  • Member since
    February 2007
  • From: Bournemouth UK
Posted by Luftwoller on Tuesday, April 21, 2009 10:18 AM

Thx Frank.

Marc, looks like you've fallen back into your true Niche. The engine looks great as does the work on the fuz so far.

Ive had today off so i started on the Macchi. Heres what she looks like if any of you dont know already,


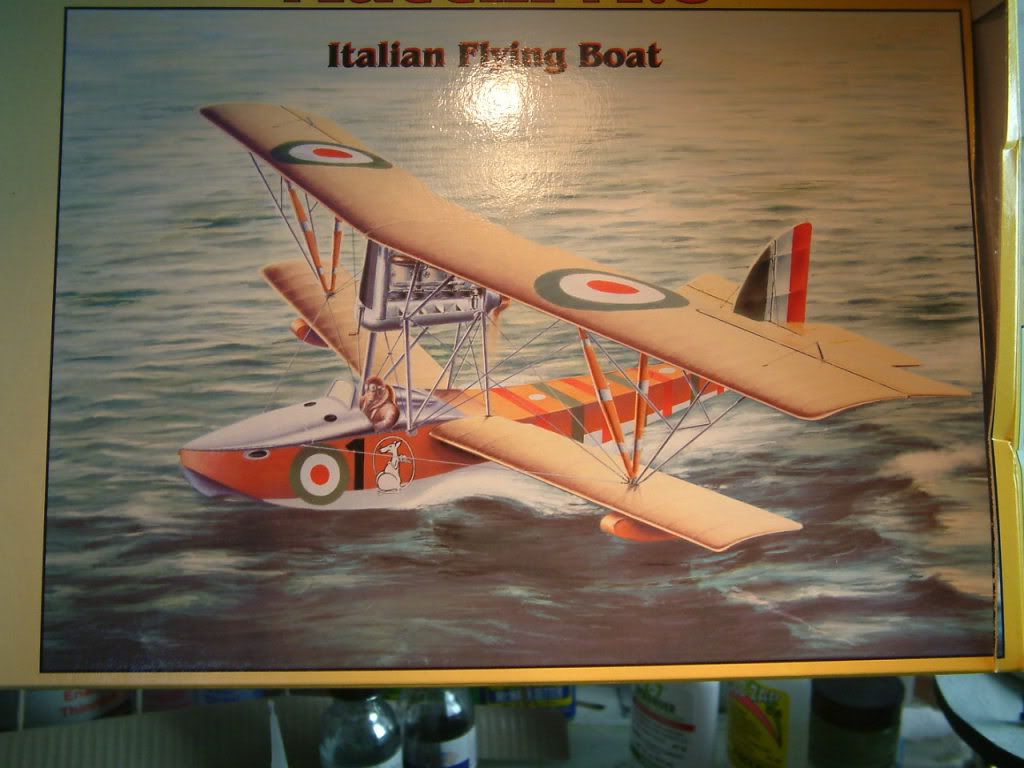
The kit doesnt have that many parts but does come with an impressive array of resin,

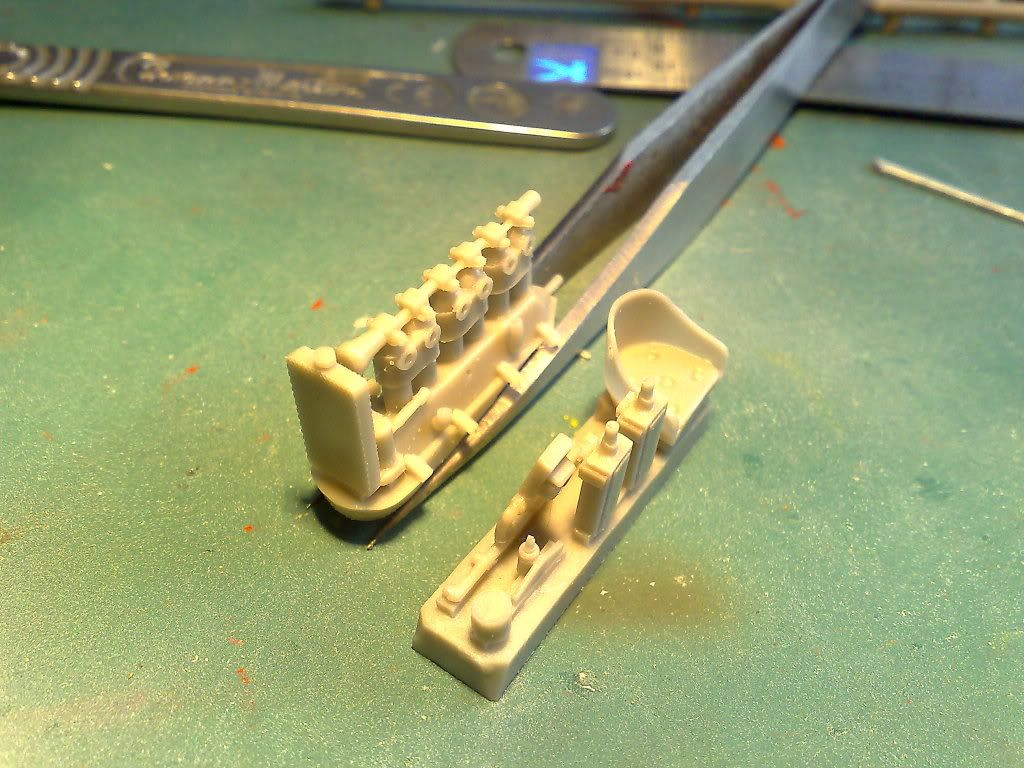
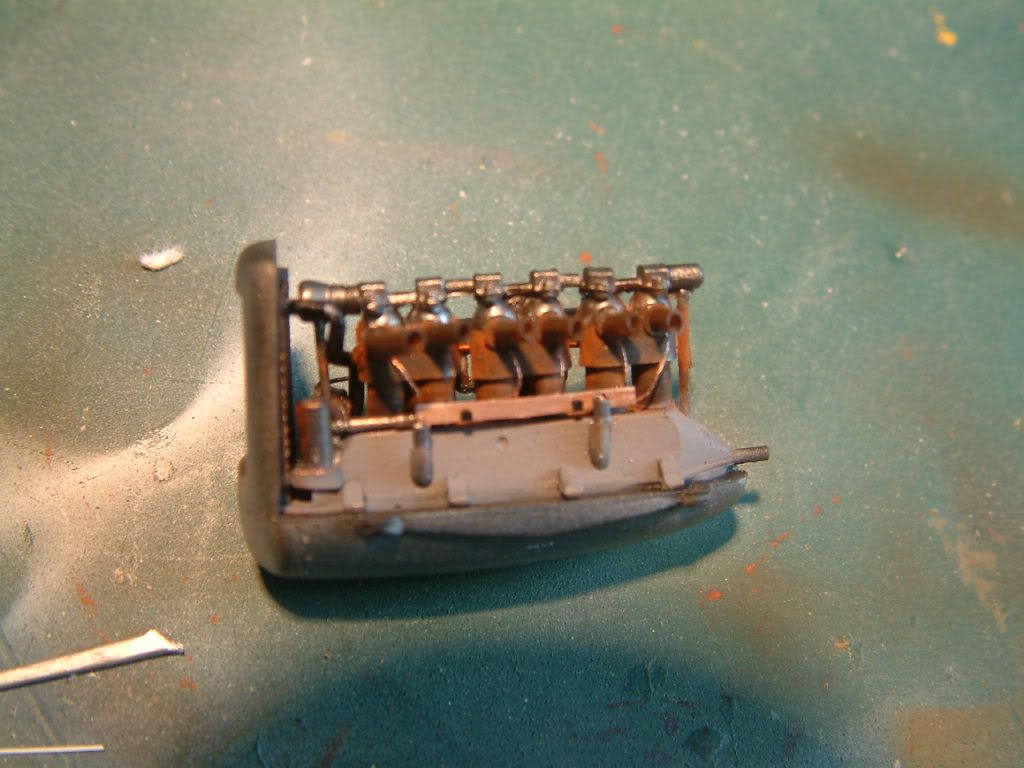
which brings me to my mission of the day, the engine,

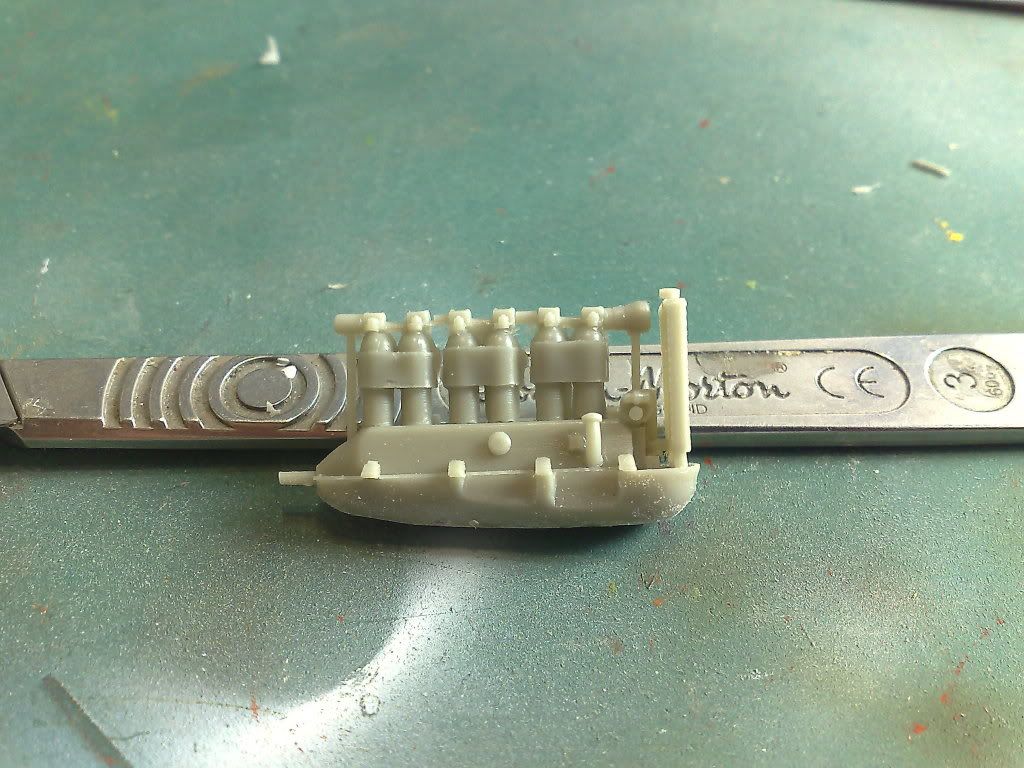
after a coat black, i sprayed the whole thing with alclad steel,

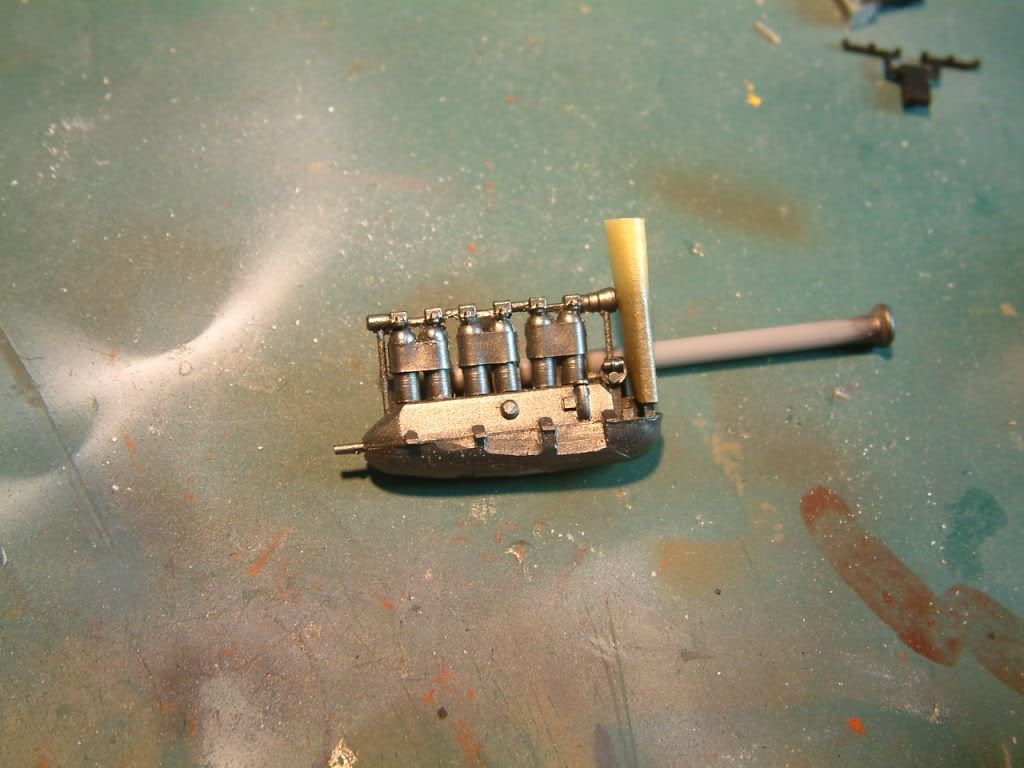
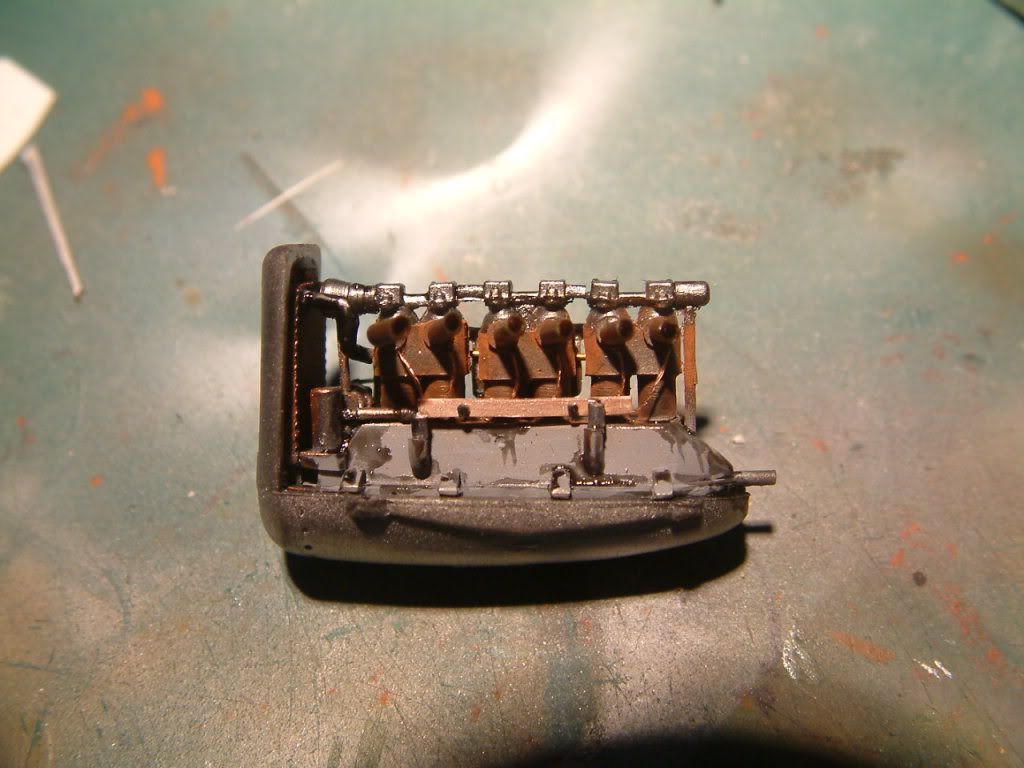
I then detailed it further using sparse references for this engine. I added plug wires, Various pipes, throttle link, rad hoses and maybe some other stuff that escapes me,

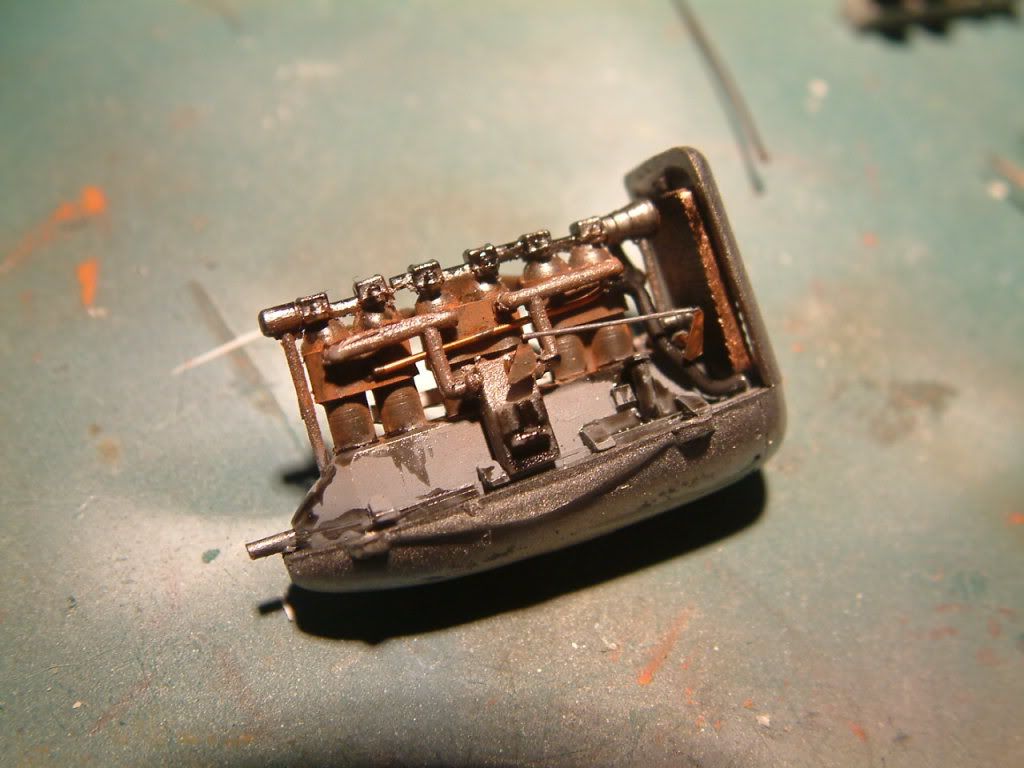
and finally wethered using brown and rusty pastels and tamiya smoke mixed with black for the oil leaks, (All engines leak a bit LOL)

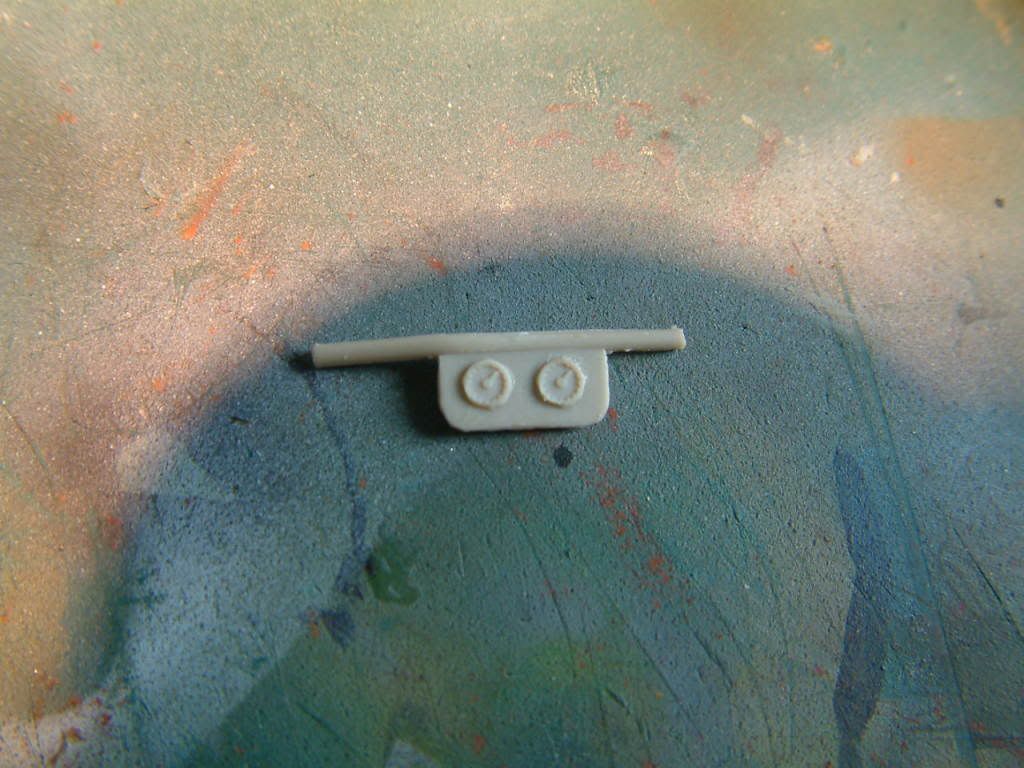
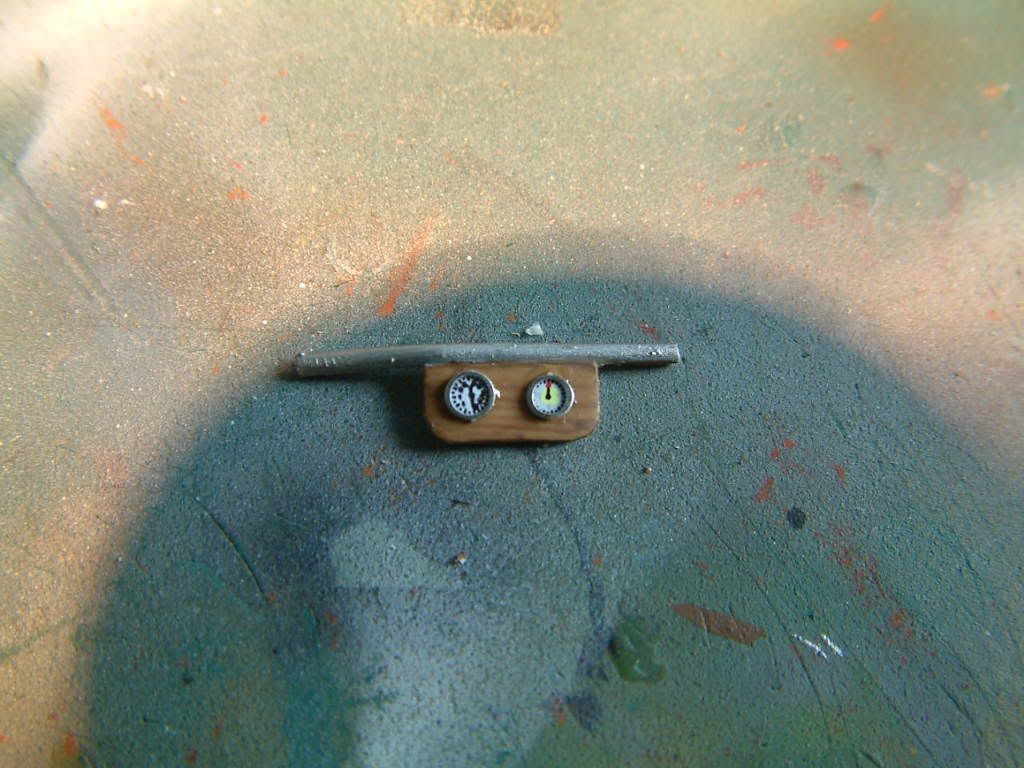
While various bits were drying, i prettyfied the sparse dash panel,

There are other bits that are drying as we speak...err...read...whatever. So ill post them shortly.

...Guy


..'Your an embarrassment to the human genus, makes me ashamed to call myself Homo'.
  • Member since
    September 2003
  • From: South Central Wisconsin
Posted by Daywalker on Tuesday, April 21, 2009 7:22 PM
Sweet looking little Italian bird Guy!  I see you're off to a flying start already. Approve [^]

Frank 


  • Member since
    April 2005
  • From: Piscataway, NJ!
Posted by wing_nut on Wednesday, April 22, 2009 3:36 PM
Guy that looks like a cool little bird.  PLEASE say that you're gonna put that on a base with water.

Marc  

  • Member since
    February 2007
  • From: Bournemouth UK
Posted by Luftwoller on Wednesday, April 22, 2009 3:52 PM

Cheers chums, I reckon this is going to be a fairly quick build. Theres only about 60 pieces.

Ive gotten te fuselage together. There is an insert for the keel and for the top rear decking, both of which require fettling to get them in sweetly. Ive got the Mr surfacer drying as i type. Hopefully ill get a few pics up before work tomorrow.

As for a dio...mmm...sounds like a plan

...Guy

..'Your an embarrassment to the human genus, makes me ashamed to call myself Homo'.
  • Member since
    December 2005
  • From: back seat of your car with duct tape streched out
Posted by soulcrusher on Wednesday, April 22, 2009 5:39 PM

What does quick mean for you Guy? I figure about three days and you will be adding the fiddly bits and calling it done!

                                                                                       SoulcrusherPirate [oX)] 


JOIN OUR COMMUNITY!

Our community is FREE to join. To participate you must either login or register for an account.

SEARCH FORUMS
FREE NEWSLETTER
By signing up you may also receive reader surveys and occasional special offers. We do not sell, rent or trade our email lists. View our Privacy Policy.