Thanks for sharing some memories with us Sean. Hopefully you have many more to share.
Against my better judgement, I've decided to build the AMTech P-40E instead of the Hasegawa kit. Short story-I need to challenge myself while I'm job searching. Althought the Hasegawa kit is somewhat challenging (tail insert and multiple 'plugs'), the AMTech will require a lot more filling & sanding-a lot of bad seams & fits.
First I did a quick dry fit-nothing too bad. The gap between the wing & fuselage should clean up when glued together...and provide the proper wing dihedrial (sometimes my spelling is worse than my modeling....)
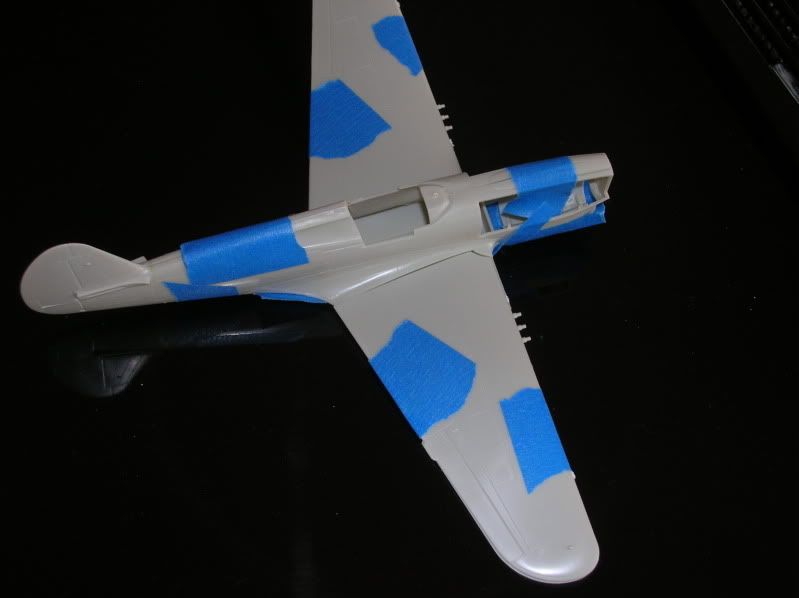
I made the mistake of purchasing the kit on eBay first and then researching. Had I researched first, then I probably would not have purchased it. AMT/Ertil did the same thing as Hasegawa-different tail sections for different models. However, AMT chose to do the assembly in the molds during production. For the initial run, there was a mismatch. Hopefully you will notice it here-
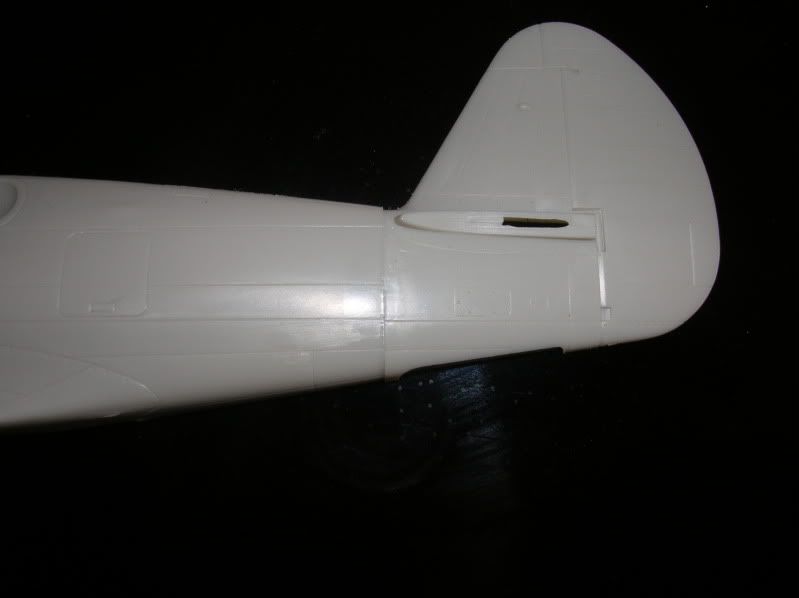
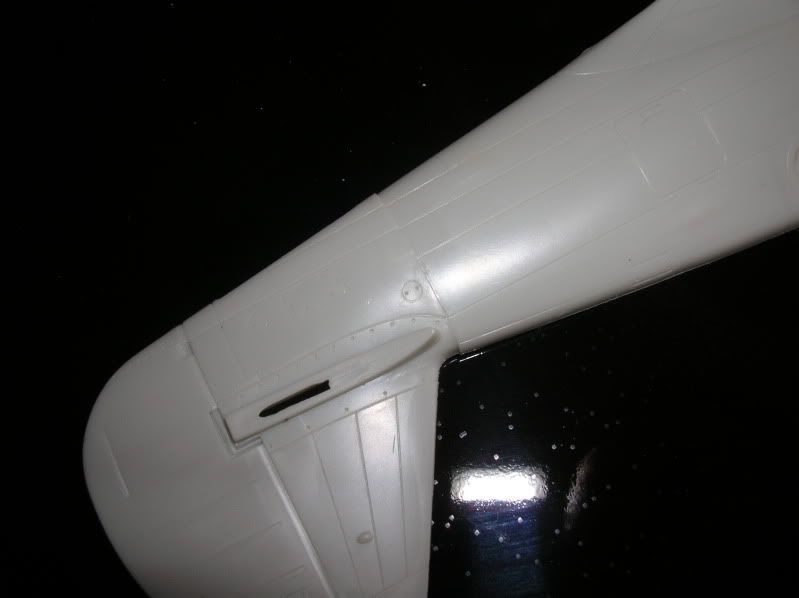
I probably could have gotten by with it, but I would know that it was there. Therefore, I decided to seperate the tail and reattach.
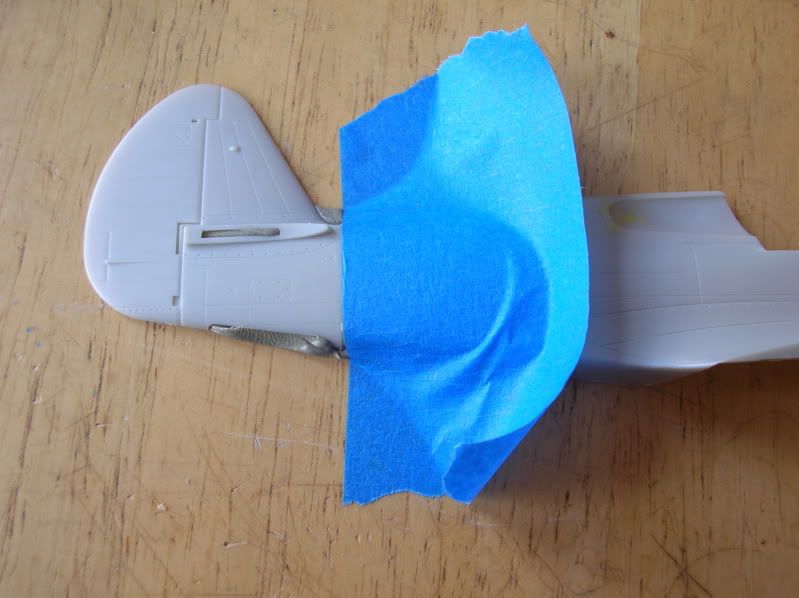
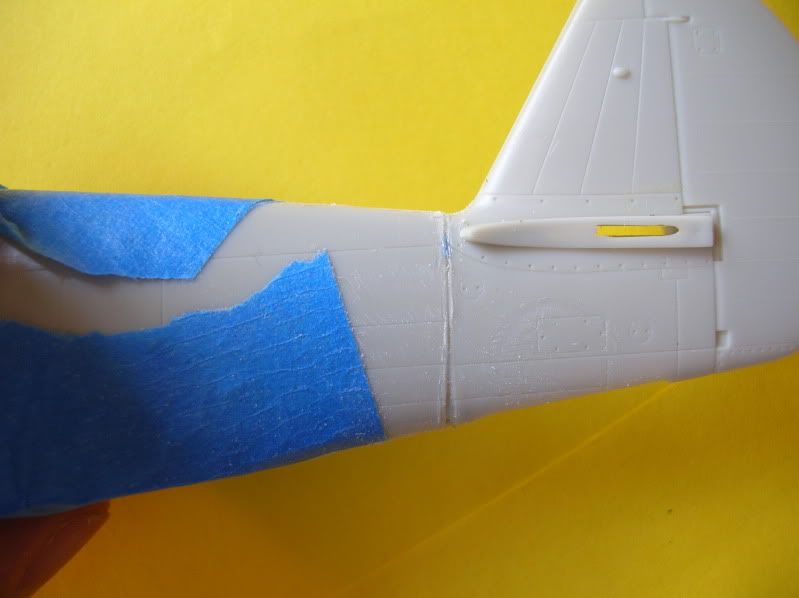
I filled the undersection with SillyPutty for support, taped it down and took the x-acto to it. I probably should have tried the cotton sewing thread technique for a smoother cut. Oh well, live and learn. Here is the fuselage after I attached a strip of support styrene behind the fuselage and reattached the tail. The seam is pretty bad, but nothing that can't be corrected with some Squadron putty & some serious sanding...and a little rescribing..
Ended up putting some styrene in the engine side cover openings...hopefully I can start work on the interior this weekend. Side panels have good detail...seat has molded in belts (to be removed) and does not include the tube frame-I think I can fabricate that from wire or styrene.
If nothing else, it takes my mind off of looking for a job for a few minutes.....![Whistling [:-^]](/emoticons/icon_smile_whistling.gif)