SEARCH FINESCALE.COM

Enter keywords or a search phrase below:

70th Anniversary Battle of Britain GB - 2010

181091 views
819 replies
1 rating 2 rating 3 rating 4 rating 5 rating
  • Member since
    March 2010
  • From: Brisbane
Posted by Julez72 on Monday, October 11, 2010 2:33 AM

WOW. Heaps of action going on in here, gonna have to get a move on with mine i thinkYes


  • Member since
    March 2009
  • From: Wirral. UK
Posted by Spike190 on Monday, October 11, 2010 10:13 AM

Excellent work Karl, your doing a fine job sir Yes,

Gzt your 109 looks splendid, I love those markings,

Andrew bad luck with having to strip the paint, I feel your pain as I had to do the same on my Spitfire. You cleaned it up beautifully and it looks like your back on track,

Checkmate, I did my Spitfire in those same markings only in 1/48, yours looks wonderful,

Dermot nice work on the little Spit and 109, keep up the good work.

Lewbud I look forward to more progress on yours,

Cheers everyone...

Mike  Toast


  • Member since
    July 2004
  • From: Sonora Desert
Posted by stikpusher on Tuesday, October 12, 2010 12:19 AM

Julez72

WOW. Heaps of action going on in here, gonna have to get a move on with mine i thinkYes

Agreed! Today I finally was in a building mood and completed the scratch work for my Spit's wheel wells. Almost time to complete building the wing! Hooray for progress...Propeller


F is for FIRE, That burns down the whole town!

U is for URANIUM... BOMBS!

N is for NO SURVIVORS...

       - Plankton

LSM


  • Member since
    September 2009
  • From: Frisco, TX
Posted by B17Pilot on Tuesday, October 12, 2010 9:16 AM

Very good work going on here!  Can't wait to see them all finished!! YesYes


  • Member since
    July 2004
  • From: Sonora Desert
Posted by stikpusher on Tuesday, October 12, 2010 8:01 PM

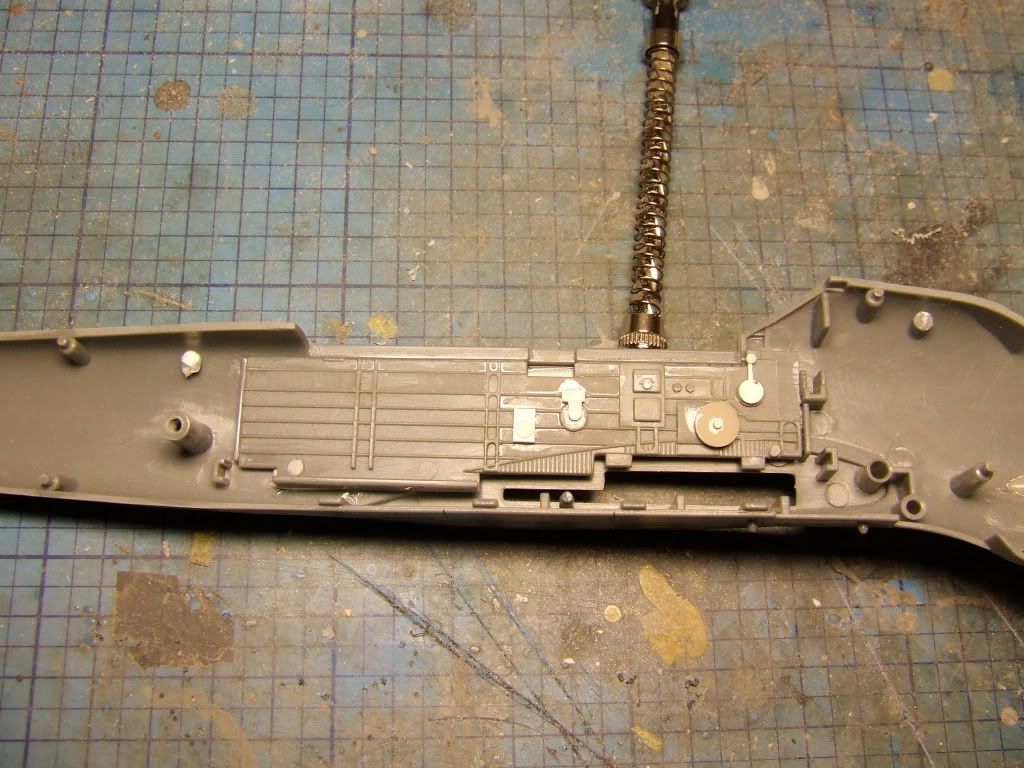
Here is a view of the inside surface of the lower wing. You can see where I added inner walls to the wheel wells and also added some plastic to the inner portion of the aileron wells. There was a large gap needing filling there in each.


F is for FIRE, That burns down the whole town!

U is for URANIUM... BOMBS!

N is for NO SURVIVORS...

       - Plankton

LSM


  • Member since
    June 2008
Posted by lewbud on Wednesday, October 13, 2010 12:14 AM

Mike,

You asked for it, you got it.  Tonight's update.  Gelb on the nose and RLM 65 everywhere else.  Will mask for RLM 02 tomorrow.


Stik, nice work on the Spit looking forward to more.

Julez, get off your butt and join the fun!

Buddy- Those who say there are no stupid questions have never worked in customer service.

  • Member since
    July 2003
  • From: Bicester, England
Posted by KJ200 on Wednesday, October 13, 2010 4:07 PM

Stik, looking like solid progress on the 109.

Is that the old Matchbox kit?

Lew, looking great with the yellow nose.

Progress Update

I've spent much of this week working on improving the pit of the big Stuka.
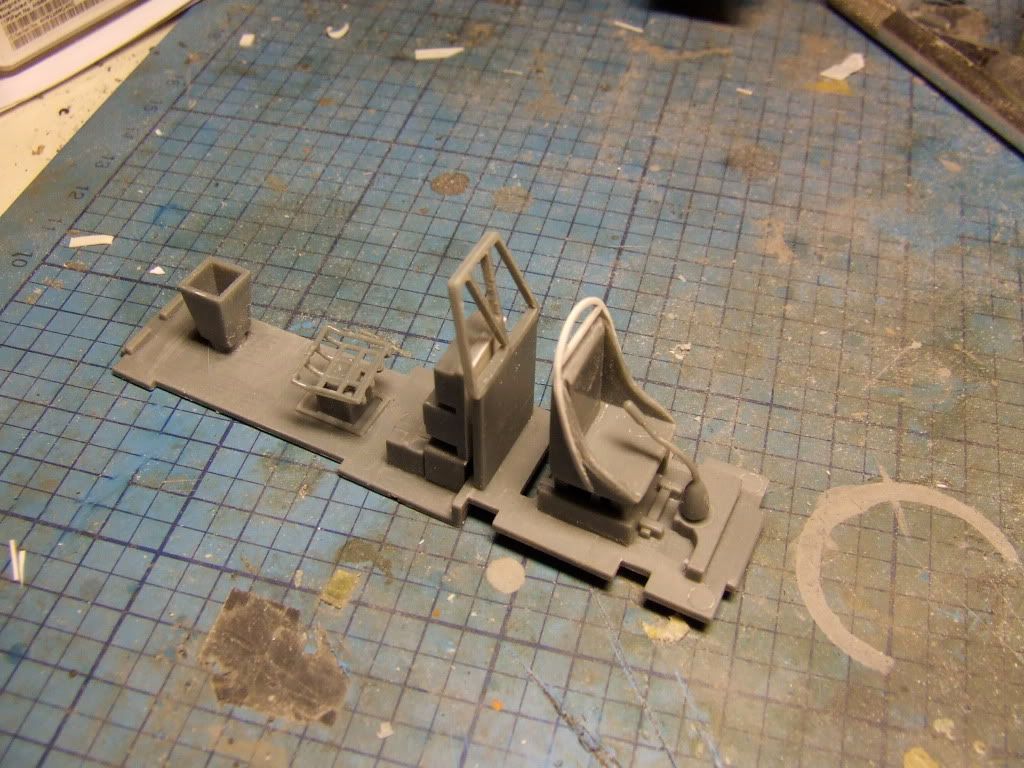
I added the seat hoop from plastic strip, after hacking the seat down to something that more closely resembes a real Stuka seat.
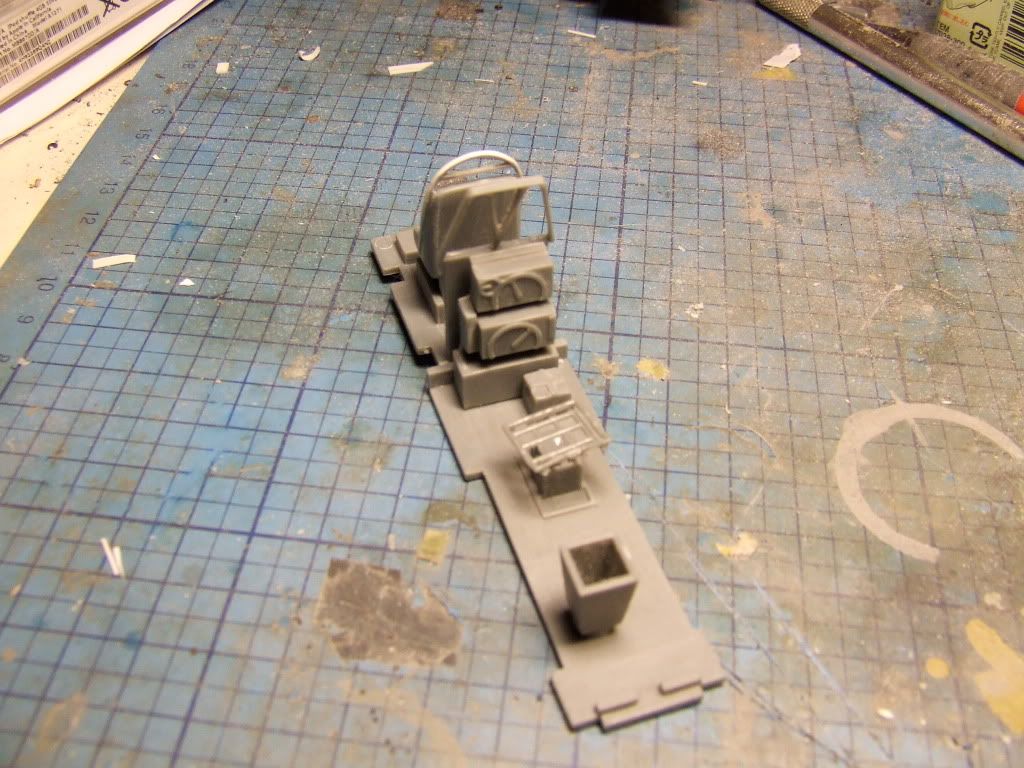
The frame behind the pilot's seat was molded with solid plastic in between the frames, which should not be there, so 15 minutes with a drill and file soon sorted that out.

The sidewalls also got some attention, adding detail, and correcting a few glaring problems.
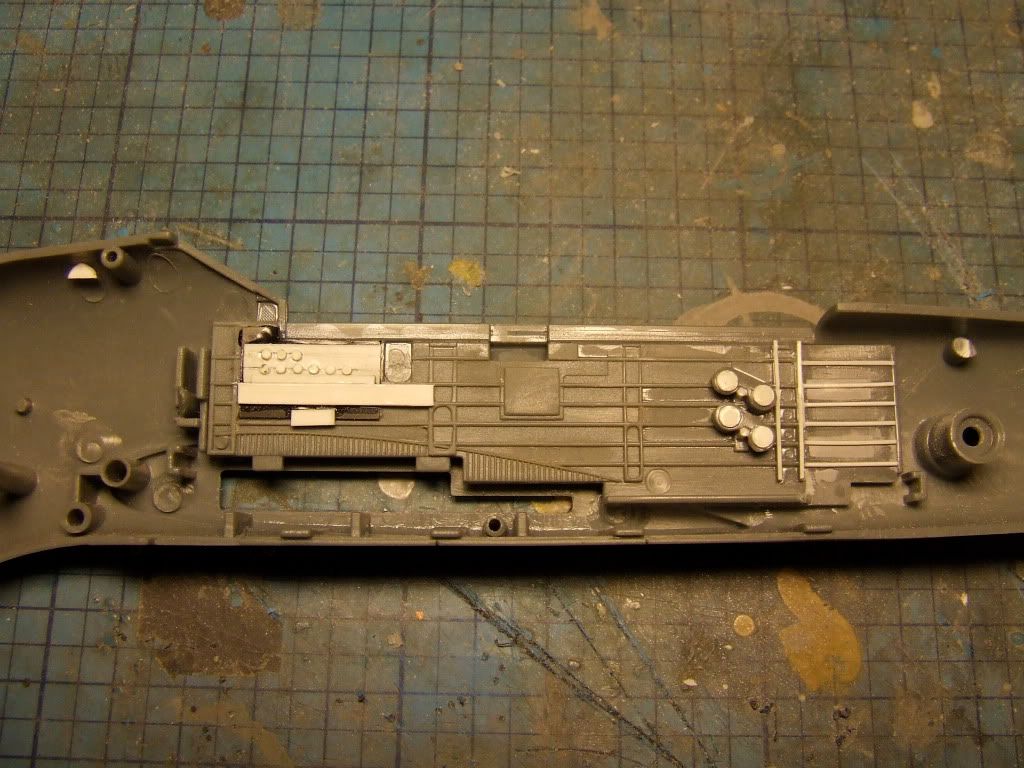
The rebuilt section at the back replaced some completely spurious detail in the kit.

This is what it looked like before.
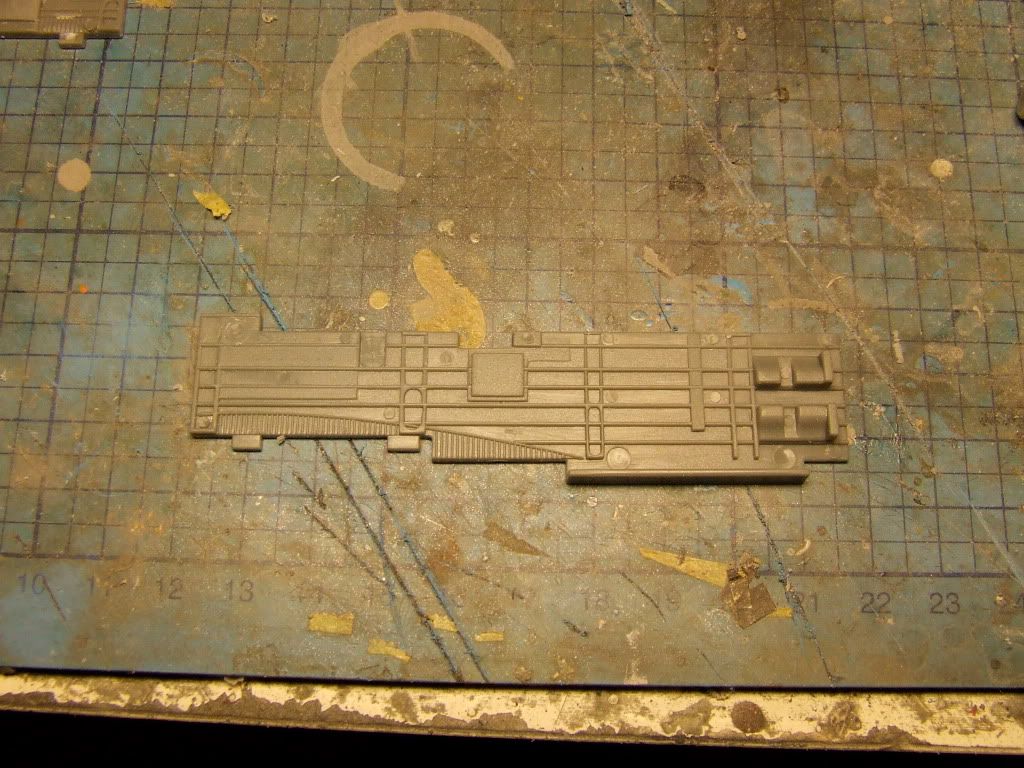
Whereas I only added a few bits to the starboard side of the pit.
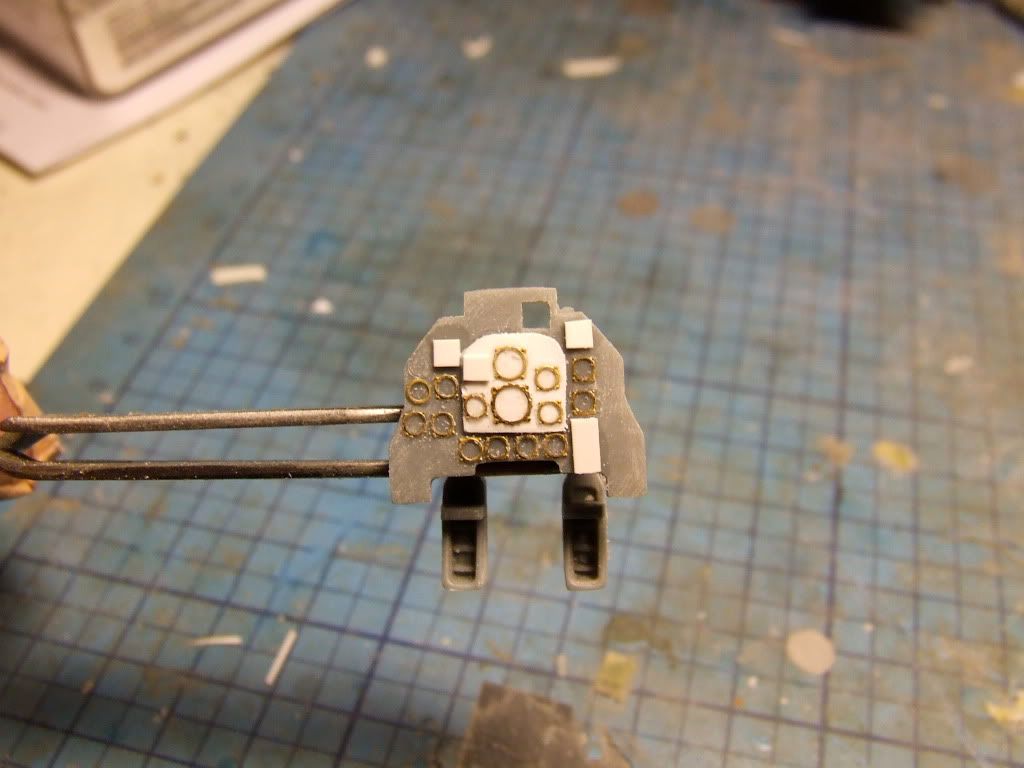
Finally I jazzed up the IP with some plastic card and some MDC PE instrument bezels.
I also invested in some after market..
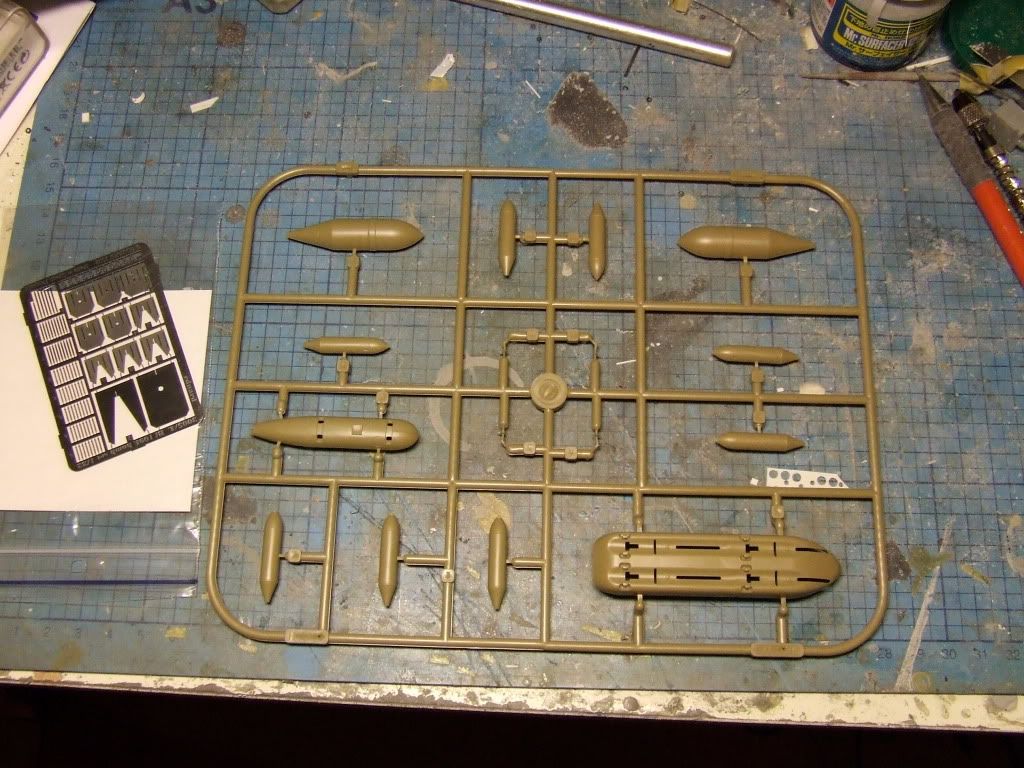
This is Eduards Jabo set for their 1/32 109, which is ideal for this build as it contains an SC250, and 4 SC 50s all with PE fins etc.

This is the MG 15 in the box..
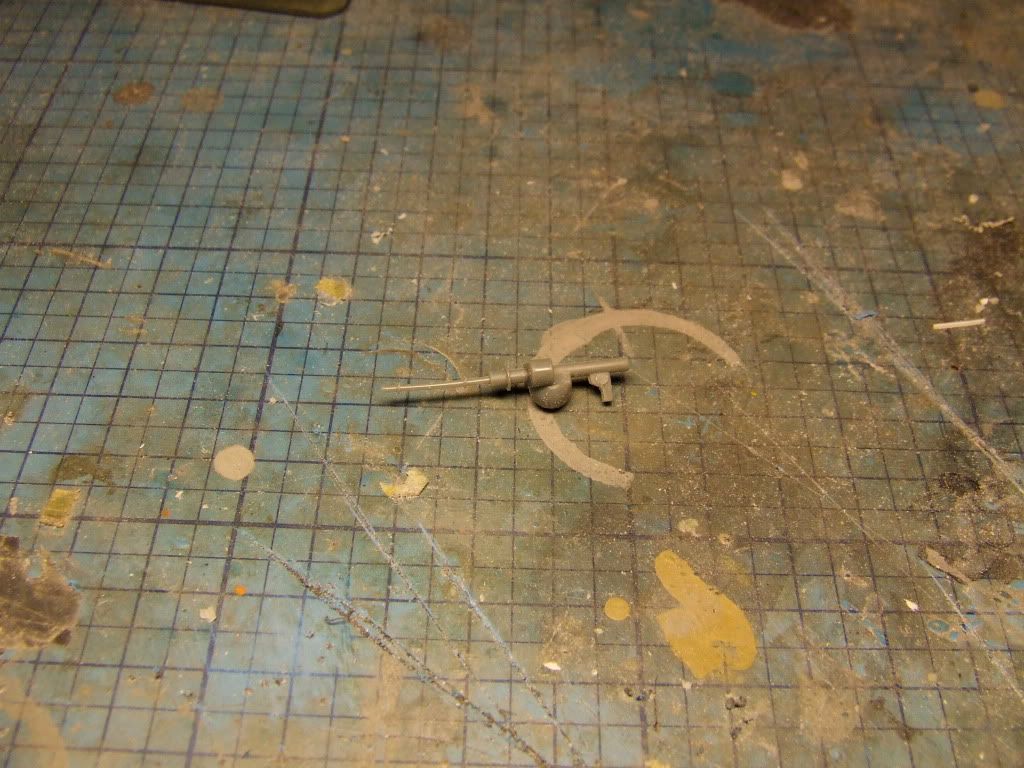
...not exactly overwhelming, so I bought this..
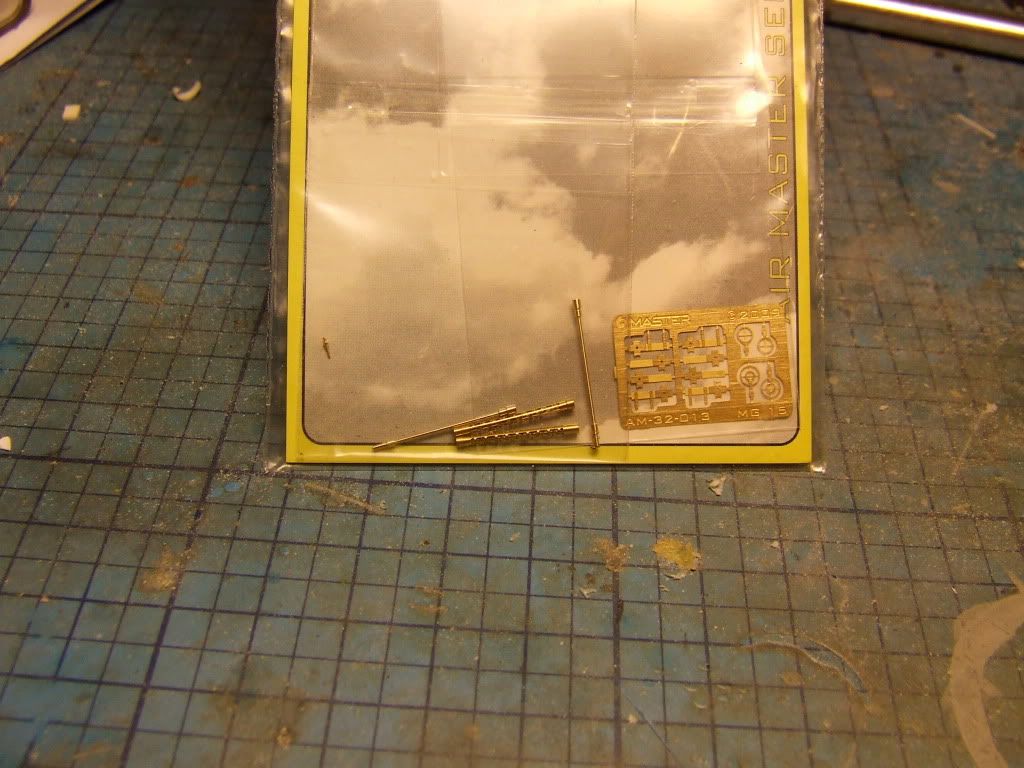
Just check out the perforated barrel sleeve and PE sights!

Next stop painting the pit.

Karl

Currently on the bench: AZ Models 1/72 Mig 17PF

  • Member since
    July 2004
  • From: Sonora Desert
Posted by stikpusher on Wednesday, October 13, 2010 10:27 PM

Karl, I am actually building the old 1960s vintage Revell Spitfire Mk I. And making mods adding detail as I go as you have seen.


F is for FIRE, That burns down the whole town!

U is for URANIUM... BOMBS!

N is for NO SURVIVORS...

       - Plankton

LSM


  • Member since
    July 2003
  • From: Bicester, England
Posted by KJ200 on Thursday, October 14, 2010 1:48 PM

Stik, looking at the colour of the plastic I assumed it was Matchbox.

Karl

Currently on the bench: AZ Models 1/72 Mig 17PF

  • Member since
    June 2008
Posted by lewbud on Friday, October 15, 2010 12:40 PM

Karl, those barrels are Suhweet!  I wish they'd do something like that for us divine (1/72) scale builders.  The painting is for the most part done.  Just got to go back and touch up a few areas and she'll be ready for decals.

Buddy- Those who say there are no stupid questions have never worked in customer service.

  • Member since
    March 2010
  • From: Brisbane
Posted by Julez72 on Friday, October 15, 2010 11:03 PM

Stik, looks like you have your hands full with that Spit, man those molds are older than meYes

Karl, Your big Stuka is coming along nicely, looking forward to some more updates...I've pulled my 110 of the shelf and i'll hopefully get the wings together over the weekend...

Lewbud, Nice looking Emil you have thereYes JG26??? The green stripe in front of the forward section of canopy looks a little thin, is it supposed to be like that??


  • Member since
    June 2008
Posted by lewbud on Saturday, October 16, 2010 2:57 AM

Julez,

Thanks for the compliment.  Not JG26, but JG51.  Regarding the green stripe width on the nose, I have no idea.  I'm just following the paint scheme on the box and that's how it is.  Although looking at the artwork on the front of the box, it is wider than what appears on the back of the box (which is what I'm following).  As I said earlier, German a/c aren't really my thing, just got this for a personal BoB build and this GB happened along.

Buddy- Those who say there are no stupid questions have never worked in customer service.

  • Member since
    March 2010
  • From: Brisbane
Posted by Julez72 on Saturday, October 16, 2010 5:20 AM

Lewbud, Yeah german camo never seems to be uniform does it, i only asked because it looks very similiar to one i did but mine was JG 52....


  • Member since
    September 2009
  • From: Frisco, TX
Posted by B17Pilot on Tuesday, October 19, 2010 8:48 AM

Julez72

Karl, Your big Stuka is coming along nicely, looking forward to some more updates

Ditto looking good so far


  • Member since
    July 2003
  • From: Bicester, England
Posted by KJ200 on Tuesday, October 19, 2010 4:03 PM

Lew, nice paint job on the Emil.Yes

Thanks for the comments guys.

Managed to finish painting the pit at the weekend...

The seat belts are spares from the Trumpy 262, so probably not quite right for a Stuka, but close enough for me.

I added a couple of placard decals to the radio, as all German equipment appears to have them.

The placards came from the MDC PE bezels set, with the dial decals going on nicely to the reworked IP.

And here it is with everything in place...

And then the fuselage went together....

....and as the filler makes clear none too well.

The wings needed a little help too...

...and the slot for the bomb to clip into had to be plugged with plastic card as well.

All the wing gaps were plugged with micro strip soaked in solvent to bed them in.

And now everything is setting up on the bench with another coat of filler.

Karl


Currently on the bench: AZ Models 1/72 Mig 17PF

  • Member since
    May 2009
  • From: Hobart, Tasmania
Posted by Konigwolf13 on Thursday, October 21, 2010 5:29 AM

Angry Well Like it or not thats me finished, my build had an accident with my 3 y/o giving it a rather bad landing and the landing gear into no fewer than 1/2 dozen pieces. What ticks me off most is I was 98% done just about to finish the panel lines.

I'll give a run down of where I was up...

All major painting done a coat of future

Now here things get frustrating...

After woint a day or so after applying the future I start the decals, rather thick, what I would expect from academy not tamiya. Ok I figure a touch of micro sol will sort things right.  WTF, the micro sol is eating right through the future and paint  Huh?

After having enough of the b grade decals dot going down without help from microsol that I cant use I skip the tiny ones to maybe comeback to at the end.

 I give it a coat of Gunze clear flat (acryl) and tend to the weathering. My first ever go at exhaust stains and not to bad a job, add in the machine gun smoke. (photo taken before machine smoke)

 Test a cotton bud with mineral turps on the edge of the wing. Again lifts off under coats that should be ok Hmm, hinky or what. Ok this morning I give a coat of Humbrol Satin Cote, wait six hours second coat. about 5 hours after that my daughter has fun with it :(

But now the really hinky is about 8 hours after the second coat, a cotton bud dipped in methylated spirits (alcohol) brings off the

Satin coat Hmm

Acryl flat - Yes

Future - Yes or no?

Acryl Paint Yes

Humbrol enamel primer undercoat WTF Hmm is wrong here????? alcohol brings off enamel primer with a slight rub????

The is in the serious hinky basket

Oh well that me done I got it completed other that than a wash and I would of been content to leave it a pre-wash stage.

Andrew


  • Member since
    September 2003
  • From: AandF in the Badger State
Posted by checkmateking02 on Thursday, October 21, 2010 5:40 PM

You have a very nice looking Messerschmitt there, Andrew.  It's distressing to hear about the problems, though.  It does seem that there is often something to go wrong, right up to the very last step in completing things.  Nevertheless, your persistence is admirable.


  • Member since
    November 2005
Posted by Dermo on Friday, October 22, 2010 6:30 PM

Nice work there Andrew and you've patience is paying off with a nice build!

Some more updates pics on two other builds I'm tackling for this GB, the Airfix Defiant and Bf110. The Defiant got a replacement nose courtesy of a surplus Revell Hurricane I had but otherwise (!) is OOB. This has been a bear of a build and the fit/accuracy/detail of this kit is a shocker. I'd say i've put two-builds worth of hours into it. Retire it please Airfix!!

The Bf110 is the Airfix new tool and is lovely in comparison. I know the panel lines are heavy but the overall fit is nice and it's light years ahead of the Defiant or any older 110 kits in 1/72.

And both of these "heavy fighters" together..

Just got some paint touch ups, coats of Future, decals and weathering to go - on the home stretch!

Thanks for looking and enjoy your modelling.

Dermot


  • Member since
    September 2003
  • From: AandF in the Badger State
Posted by checkmateking02 on Saturday, October 23, 2010 12:07 PM

Nice looking planes, Dermot.  Great accomplishment especially on the Defiant. 

I'm planning on picking up the1/72  xtradecal sheet for BoB RAF planes, and it includes markings for a Defiant.  I noticed that a company called MPM also produces the plane.  I'm wondering if this is the Airfix reboxed--or is it a different molding?  Hannant's from the UK has it in several configurations.  There doesn't seem to be anything positive to say about the Airfix offering.


  • Member since
    November 2005
Posted by Dermo on Sunday, October 24, 2010 5:11 PM

Thanks for your kind words! To be honest, the Defiant has really tested my abilities and I'm just glad that it's almost over.

Unless you're on a major nostalgia trip, I would give the Airifx Defiant a very, very, VERY wide berth. It's so inaccurate when compared to the plans, you would wonder what they were smoking in the Airfix design studio that day - the nose, tail, rear deck, ailerons, undercarriage are all waaaay off. The canopy and turret seem to be made from chips off the bottom of a beer glass. The interior detail is......zero, apart from two moulding stubs that the pilots' seat rests on.

I've read good things about the MPM kits and it's definitely not the Airfix one re-boxed, trust me! While the MPM kits apparently have some small build issues,  these are minor in comparison to what Airfix offers on this one - the MPM is definitely the way to go if I was to build one again. You can see some of the differences between each kit on the build below.

http://gregers.7.forumer.com/a/posts.php?topic=12780&start=0

The only reason I bought mine was that I'm in an Airfix GB for the Battle of Britain so that ruled out the MPM kit.

Hope this helps!

Best wishes,

Dermot


  • Member since
    September 2003
  • From: AandF in the Badger State
Posted by checkmateking02 on Monday, October 25, 2010 8:18 AM

Thanks for the information.  It was very helpful.  I have the xtradecal sheet on order now, so I'll look to picking up the MPM kit.


  • Member since
    November 2009
  • From: SW Virginia
Posted by Gamera on Monday, October 25, 2010 9:48 AM

Great work guys!

Lewbud: She's coming along nicely, great work on that darn hard to apply ink sploch camo.

Karl: Great work on the Ju-87 too, I esp like all the extra work you put into the cockpit.

Andrew: Great work on your Bf109. Sorry to hear about your problems, I've never seen clear coats get eaten though like that, still I've had something work one way for 99 models and then on number 100 have it go all wrong. No idea other than 'Murphy's Law' why stuff like that happens. Still great looking model!

Dermo: Sharp looking Defiant and Me110. I esp love the Defiant, she looks great even after all the problems you had with the kit.

"I dream in fire but work in clay." -Arthur Machen


  • Member since
    September 2009
  • From: Frisco, TX
Posted by B17Pilot on Monday, October 25, 2010 1:32 PM

Gamera

Dermo: Sharp looking Defiant and Me110. I esp love the Defiant, she looks great even after all the problems you had with the kit.

Ditto


  • Member since
    July 2003
  • From: waynesboro va, via Ireland
Posted by sidure on Monday, October 25, 2010 2:14 PM

Hey Dermot, great looking defiant and 110, you did a great job on both and especially a great job on the defiant. I have built that kit a few times and know what your working with

Steve

  • Member since
    September 2007
  • From: Relocating
Posted by Mobious on Monday, October 25, 2010 9:20 PM

 Dermo, The Defiant IS an unusual subject, and thanks for posting progress shots. Both have very nicely detailed paint work! Looking forward to seeing updates.

 Andrew, A nice Bf109, sorry to read about your trouble with Future and Micro-Sol. I've been using that combination now for a couple of years.

 Darson, my appologies for a late start. I had planned on building the DML 110, but alot has happened this year mostly for the good. I decided to try to get a complete on pg1 by building Tamiya's 109E. I've got paint down and finish coat on. The canopy is a vacu piece that I need to work the fit on abit more to get it tighter, or just use the kit canopy. I tried something alittle different on the finish. I wanted a low sheen rather than flat finish, so I tried buffing the dullcoat just abit to get a dull luster. Here's the results

[View:/themes/fsm/utility/DSC_0038:550:0]

[View:/themes/fsm/utility/DSC_0043:550:0]


 I still have to add the fiddley bits, MG's, set the landing gear(they're not cemeted yet) and fix that canopy.Hope I can count this one when finished as a complete on Pg 1, if not I'll need an Extreme extension in order to complete the DML 110.

 Thanks for looking,

 Mo

"It's a problem of applied physics" Roy Brown

  • Member since
    November 2009
  • From: SW Virginia
Posted by Gamera on Wednesday, October 27, 2010 8:57 AM

Hey wow Mobious she looks beautiful!

All that masking must have been a pain and great job on the ink spot camo. And I really like how you got the slightly faded look on the yellow nose and tail.

"I dream in fire but work in clay." -Arthur Machen


  • Member since
    September 2009
  • From: Frisco, TX
Posted by B17Pilot on Wednesday, October 27, 2010 9:07 AM

Gamera

Hey wow Mobious she looks beautiful!

All that masking must have been a pain and great job on the ink spot camo. And I really like how you got the slightly faded look on the yellow nose and tail.

Ditto  A very good looking 109!


gzt
  • Member since
    May 2007
  • From: Massachusetts
Posted by gzt on Wednesday, October 27, 2010 7:37 PM

Finally I moved a bit my RFoF project.

Sanding is almost done ....


Flying is a thrill #2 known to mankind. Landing is #1.

http://www.rwd-6.org

  • Member since
    September 2007
  • From: Relocating
Posted by Mobious on Wednesday, October 27, 2010 9:25 PM

B17pilot, Gamera Thanks for the comments. I did end up replacing the canopy with the kit parts and they fit much better with no fuss.

 I'll try to get completed pics up this weekend

 Thanks again.

Mo


"It's a problem of applied physics" Roy Brown

gzt
  • Member since
    May 2007
  • From: Massachusetts
Posted by gzt on Wednesday, October 27, 2010 10:30 PM

I just found interesting pictures ...

insignias of 302 Squadron

insignias of 303 Squadron

Flying is a thrill #2 known to mankind. Landing is #1.

http://www.rwd-6.org

JOIN OUR COMMUNITY!

Our community is FREE to join. To participate you must either login or register for an account.

SEARCH FORUMS
FREE NEWSLETTER
By signing up you may also receive reader surveys and occasional special offers. We do not sell, rent or trade our email lists. View our Privacy Policy.