SEARCH FINESCALE.COM

Enter keywords or a search phrase below:

50th Anniversary Vietnam War Group Build

79336 views
896 replies
1 rating 2 rating 3 rating 4 rating 5 rating
  • Member since
    November 2008
  • From: Central Florida
Posted by plasticjunkie on Monday, October 27, 2014 2:37 PM

Thanks Bish

 GIFMaker.org_jy_Ayj_O


Too many models to build, not enough time in a lifetime!!

  • Member since
    January 2011
  • From: Commonwealth of Virginia
Posted by Tal Afar Dave on Monday, October 27, 2014 9:17 PM

Hey PJ,

Everything looks great so far.  I was doing a little research online and found this website:

http://www.a-26legacy.org

Has some good history of the aircraft, unit, and crew memories, plus lots of cool pictures!!

TAD

2022 New Year's Resolution:  Enter 1 group build and COMPLETE a build this year!!  Why Photobucket did you rob me of my one Group Build Badge???  Must be part of the strong anti-Monogram cartel!!!

 ]

  • Member since
    November 2008
  • From: Central Florida
Posted by plasticjunkie on Tuesday, October 28, 2014 6:42 AM

Tad

That's a great site with lots of info. I have it book marked along with www.warbirdinformationexchange.org/.../viewtopic.php


Thanks for posting!

 GIFMaker.org_jy_Ayj_O


Too many models to build, not enough time in a lifetime!!

  • Member since
    December 2002
  • From: Bury St Edmunds, Suffolk, England
Posted by Bish on Tuesday, October 28, 2014 12:54 PM

Interesting link there tad. I bet the WW2 designers never imagined that.

I am a Norfolk man and i glory in being so


On the bench: Airfix 1/72nd Harrier GR.3/Fujimi 1/72nd Ju 87D-3

  • Member since
    January 2011
  • From: Commonwealth of Virginia
Posted by Tal Afar Dave on Tuesday, October 28, 2014 6:35 PM

PJ and Bish,

Glad you liked the site; may be especially useful with the restoration in progress pictures!  You are right, Bish, quite an incredible aircraft that outlived most of its WW2 contemporaries!

TAD

2022 New Year's Resolution:  Enter 1 group build and COMPLETE a build this year!!  Why Photobucket did you rob me of my one Group Build Badge???  Must be part of the strong anti-Monogram cartel!!!

 ]

  • Member since
    January 2014
  • From: Toronto
Posted by Rob S. on Thursday, October 30, 2014 6:32 PM

Looks great thus far plastic!!

______________________________________________________________________________


On the Bench: Nothing on the go ATM

  • Member since
    February 2014
  • From: Michigan
Posted by silentbob33 on Thursday, October 30, 2014 8:30 PM

Looks really good so far Plastic!  I've really enjoyed watching your progress.

I was able to finish up the cockpit of my F-4 tonight.  I'll be putting markings on it for Sugar Foot III, the plane of the commander for the 559 TFS based in Cam Rahn Bay.

On my bench: Academy 1/35 UH-60L Black Hawk

  • Member since
    January 2014
  • From: Toronto
Posted by Rob S. on Thursday, October 30, 2014 8:52 PM

Fantastic pit silentbob...very fine work and detail!

______________________________________________________________________________


On the Bench: Nothing on the go ATM

  • Member since
    February 2014
  • From: Michigan
Posted by silentbob33 on Thursday, October 30, 2014 9:19 PM

Thanks Rob!

On my bench: Academy 1/35 UH-60L Black Hawk

  • Member since
    March 2010
  • From: MN
Posted by Nathan T on Thursday, October 30, 2014 11:34 PM

Nice cockpit and seats Bob. How did you paint the ejection handle's. They look right on. I'd angle them down a bit though if you can.

Stik- I ordered my kit today. Put me down for Trumpeter's 1/48 Hun, C model. Researching the kit now. Seems to be a ball of wax. I might try and fix the tail issues myself, seeing how the AMS correct one is unavailable nowdays...


  • Member since
    February 2014
  • From: Michigan
Posted by silentbob33 on Friday, October 31, 2014 5:18 AM

Thanks Nathan! I tried to angle them down a bit, but it would have been more effort than it was worth with the amount of surgery needed to get them there. I started by painting the ejection handles yellow, then drawing the black stripes on with a fine point felt-tipped pen.

On my bench: Academy 1/35 UH-60L Black Hawk

  • Member since
    November 2008
  • From: Central Florida
Posted by plasticjunkie on Friday, October 31, 2014 6:47 AM

Thanks Rob and Bob. That Phantom pit looks mighty nice.

 GIFMaker.org_jy_Ayj_O


Too many models to build, not enough time in a lifetime!!

  • Member since
    February 2014
  • From: Michigan
Posted by silentbob33 on Friday, October 31, 2014 9:16 AM

Thanks PJ!

On my bench: Academy 1/35 UH-60L Black Hawk

  • Member since
    July 2004
  • From: Sonora Desert
Posted by stikpusher on Friday, October 31, 2014 11:49 AM

PJ, very nice progress on your Invader! I love the simple fix for the wheel well bulkhead seam.

SB, I have seen that same work somewhere.... ;) Keept it up my freind!


F is for FIRE, That burns down the whole town!

U is for URANIUM... BOMBS!

N is for NO SURVIVORS...

       - Plankton

LSM


  • Member since
    February 2014
  • From: Michigan
Posted by silentbob33 on Friday, October 31, 2014 8:06 PM

It's a little eerie when you start seeing the same thing in multiple places Wink

On my bench: Academy 1/35 UH-60L Black Hawk

  • Member since
    November 2008
  • From: Central Florida
Posted by plasticjunkie on Saturday, November 1, 2014 8:54 AM

Thanks stik.

 GIFMaker.org_jy_Ayj_O


Too many models to build, not enough time in a lifetime!!

  • Member since
    July 2004
  • From: Sonora Desert
Posted by stikpusher on Saturday, November 1, 2014 1:49 PM

I finally was able to begin work on my ARVN M113 over the past week or so and finally able to get some photos made yesterday.

So off we go...

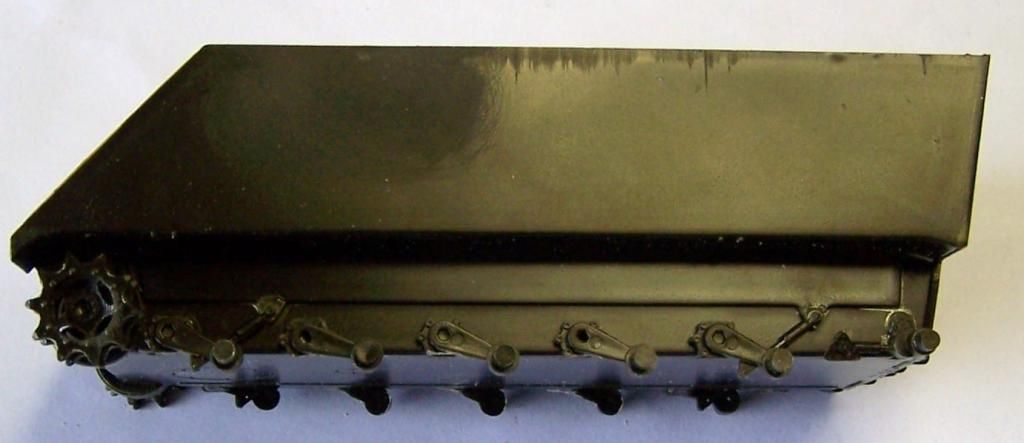
first off I added the suspension- road wheel arms, sprockets, etc.
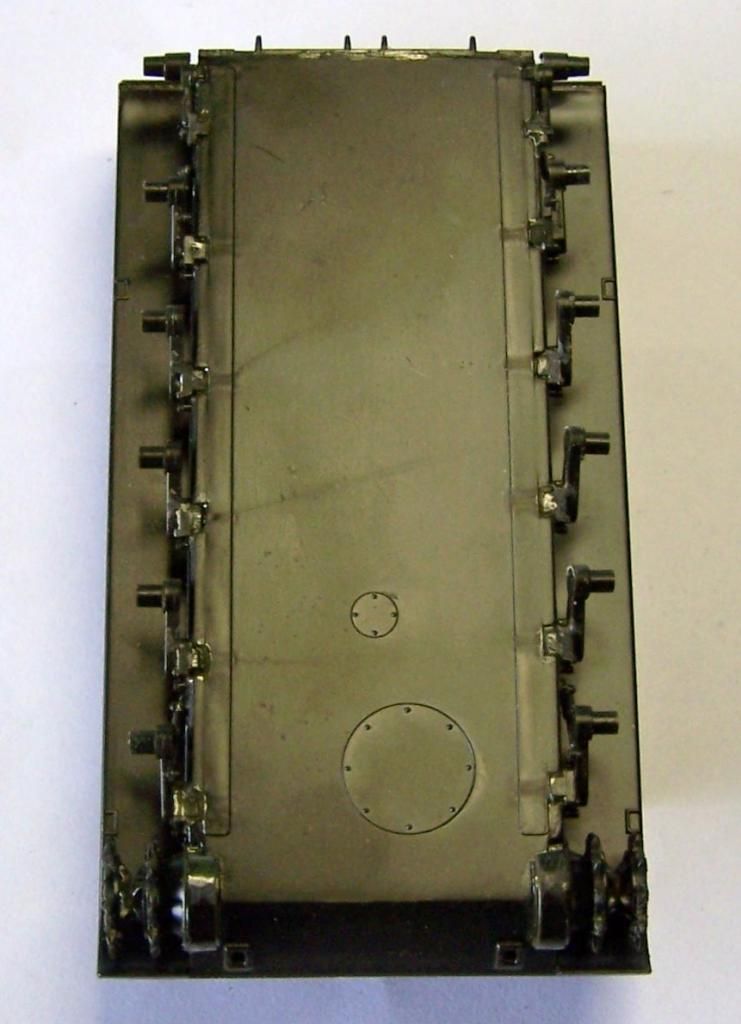
interstingly enough, Italeri/Revell Germany actually molded thiskit without the later M113A2 style suspension and the shock absorber on the 2nd roadwheel arm, like they did on their M901 and M163 kits, so I did not have to modify that.
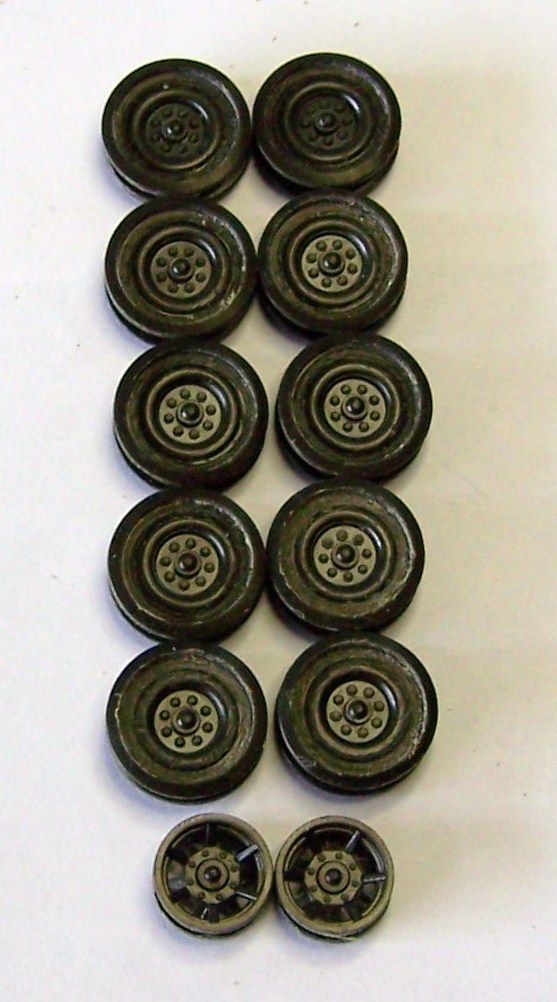
Then I made up the road wheels. The kit has the rivetted type road wheels and the rivets are way oversize, so I used my rotary tool to remove the rivets and change the road wheel to the non rivetted type.
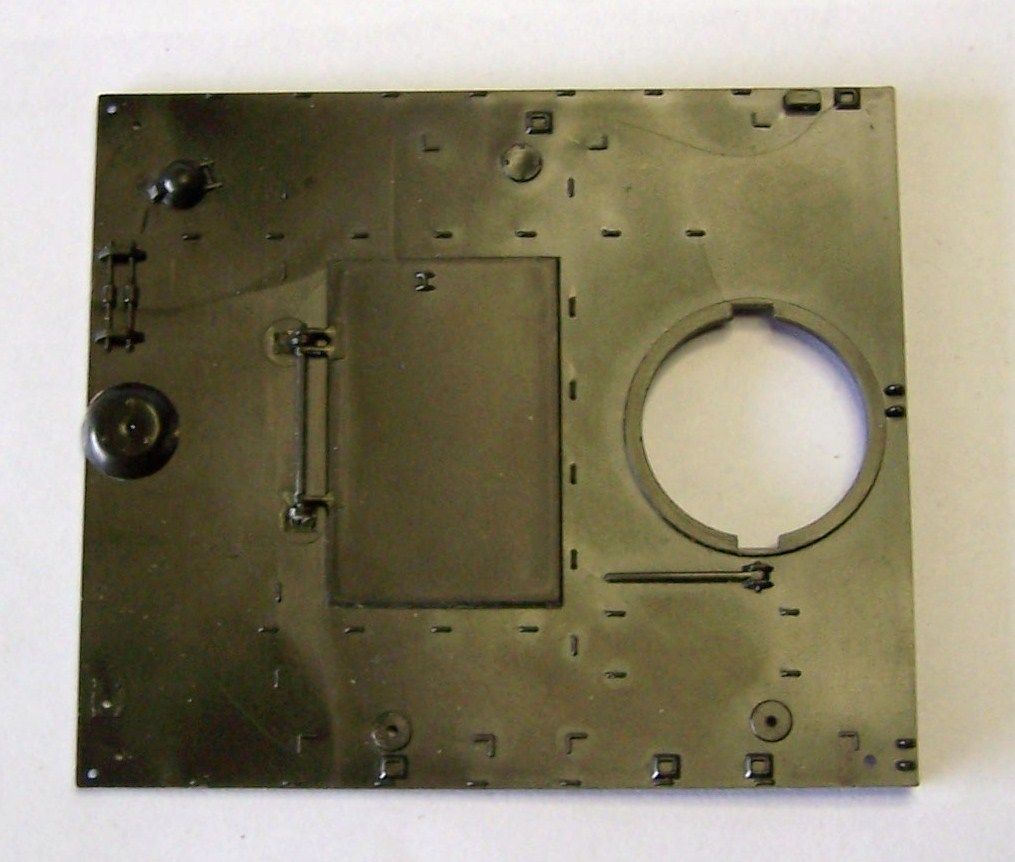
later I added to cargo hatch and ventilator dome to the top deck
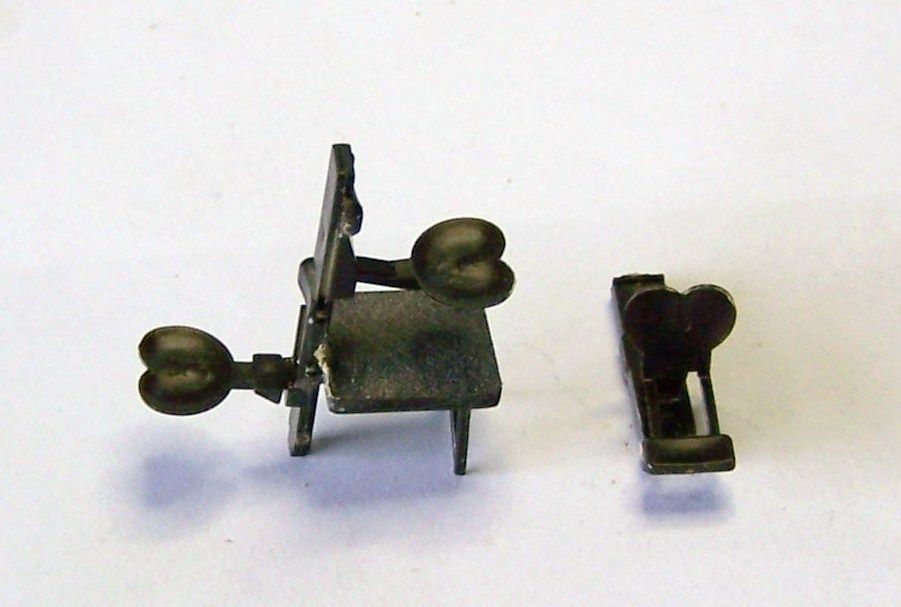
and I made up the driver's, commander's and squad leader's seat... the TC stand had a cross hatch pattern molded on there that is not presesnt on a real 113, (The real vehicles have either grip tape or a rubber mat there) so I sanded that stuff off.
 

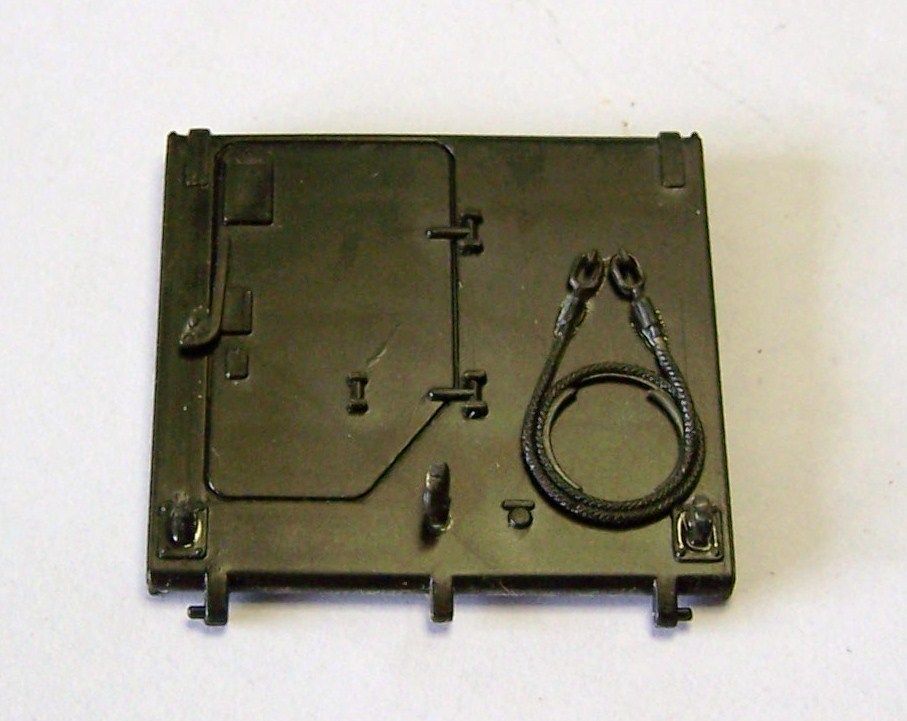
 and I added the fittings to the exterior of the ramp
and I started adding the fittings to the troop compartment interior- the seat backs, battery box and fuel tank
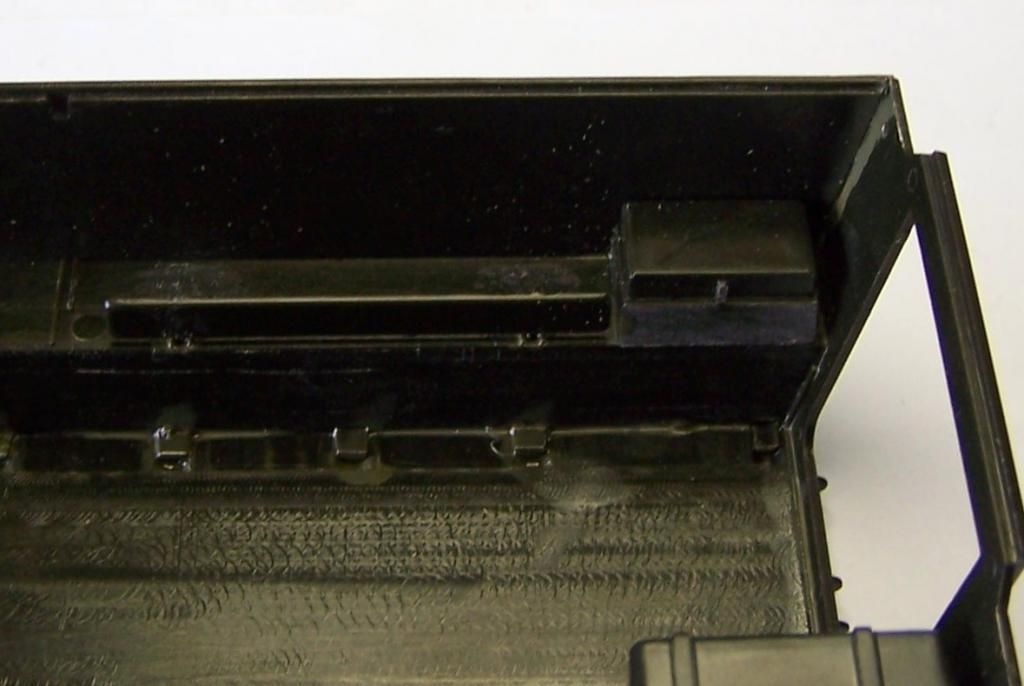
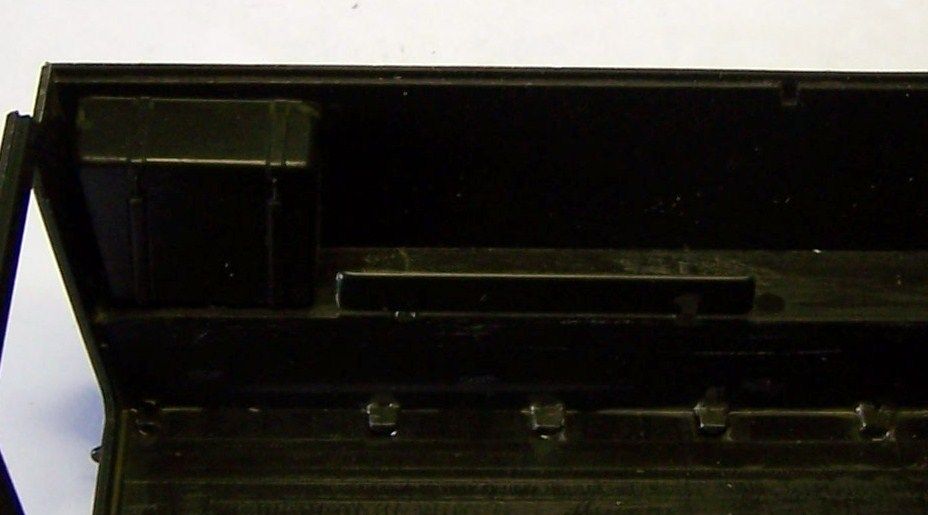
I added the engine compartment firewalls to the interior, troop seat bases, and sanded the floor tread pattern away from where it did not belong in the drivers compartment
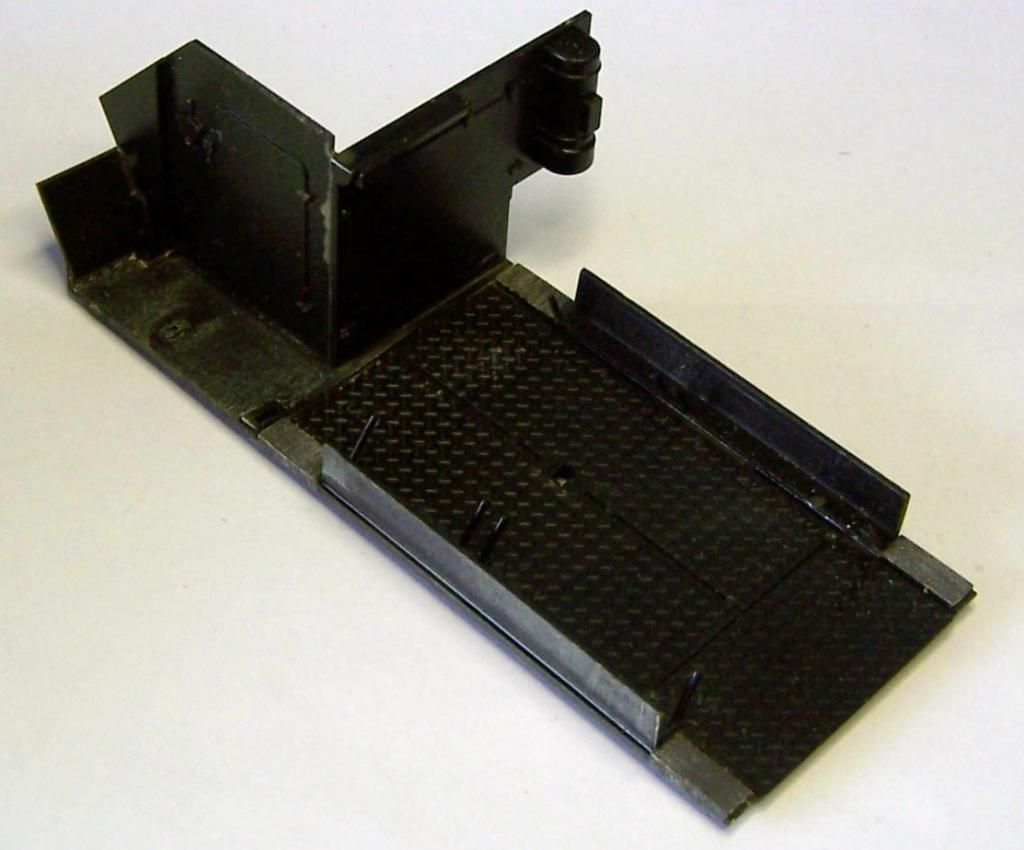
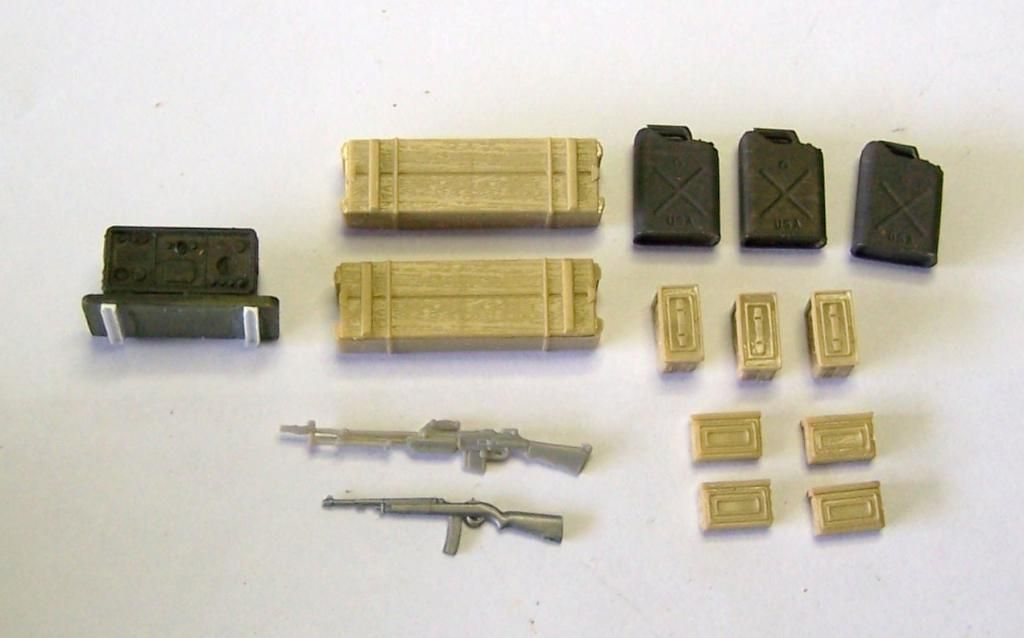
then it was time to start hitting the spares for internal dress up stowage. I found and old radio that looked the part in my spares bin and added some channel strip styrene to teh base for support arms... and since the ARVN was equipped with surplus WWII US gear at the time that I am depicting I grabbed some water cans, ammo cans and weapons on the appropriate type...
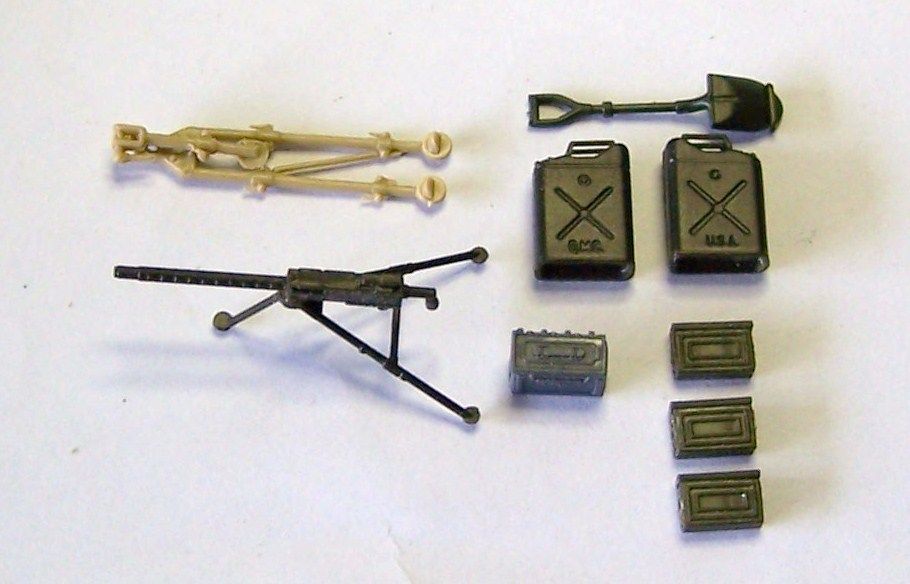
and some similar items for the exterior that the kit was either lacking (jerry cans, .50 tripod, & shovel) as well as a tripod mounted .30 cal. that photos show ARVN 113s often carried to the right of the TC hatch.
more to come once I have have begun painting on my days off next week...


F is for FIRE, That burns down the whole town!

U is for URANIUM... BOMBS!

N is for NO SURVIVORS...

       - Plankton

LSM


  • Member since
    March 2010
  • From: MN
Posted by Nathan T on Saturday, November 1, 2014 4:49 PM

Nice start Stik. Those spare parts are gonna add alot to the build. Can't wait to see you shoot some paint. My Hun is coming next week, along with Some Aires stuff from Lucky Model.


  • Member since
    January 2014
  • From: Toronto
Posted by Rob S. on Saturday, November 1, 2014 4:55 PM

Super start stik...great going on the accuracy fixes!!

______________________________________________________________________________


On the Bench: Nothing on the go ATM

  • Member since
    May 2009
  • From: Poland
Posted by Pawel on Saturday, November 1, 2014 5:28 PM

Hello Stik!

At the beginning of this GB it looked like it will be dominated by 1:35 ground vehicles - that's why I went for the scooter. And now - we're on page 22 for the first mud mixer, ain't that funny?

As for your M113 - thanks a lot for that good info. I plan to build one, too - someday. Your model is looking good so far, good luck with it.

Thanks for sharing and have a nice day

Paweł

All comments and critique welcomed. Thanks for your honest opinions!

www.vietnam.net.pl

  • Member since
    July 2004
  • From: Sonora Desert
Posted by stikpusher on Saturday, November 1, 2014 6:18 PM

Thanks for the feedback guys! Pavel, you are quite correct about the sign ups vs the work seen here so far... lots of air war stuff, but minimal ground war builds... ah well, still lots of time left here...


F is for FIRE, That burns down the whole town!

U is for URANIUM... BOMBS!

N is for NO SURVIVORS...

       - Plankton

LSM


  • Member since
    February 2014
  • From: Michigan
Posted by silentbob33 on Saturday, November 1, 2014 7:33 PM

Great start Stik! That looks like an awesome kit, especially with all the spare parts you're adding to it. I'm looking forward to seeing this come together.

On my bench: Academy 1/35 UH-60L Black Hawk

  • Member since
    July 2004
  • From: Sonora Desert
Posted by stikpusher on Saturday, November 1, 2014 9:26 PM

The kit is ok, not great, but not bad. The old Tamiya kit is better on most areas except the tracks. The more recent Academy kit is quite a bit better. But with a little fine tuning this kit will turn out nicely as well.


F is for FIRE, That burns down the whole town!

U is for URANIUM... BOMBS!

N is for NO SURVIVORS...

       - Plankton

LSM


  • Member since
    November 2008
  • From: Central Florida
Posted by plasticjunkie on Sunday, November 2, 2014 7:28 AM

Looks like a great start stik. Love the old M-2. That sucker spits out that .30 carb ammo like a burp.

 GIFMaker.org_jy_Ayj_O


Too many models to build, not enough time in a lifetime!!

  • Member since
    July 2004
  • From: Sonora Desert
Posted by stikpusher on Sunday, November 2, 2014 12:56 PM

Yeah, I would love to fire an M-2. I own an old M-1 (both types actually), and the Carbine is just such a fun weapon to shoot. That is gonna sit on the sponson  in the drivers compartment (where I used to keep my 203 when I was a track driver) to give a little more visual interest in there.


F is for FIRE, That burns down the whole town!

U is for URANIUM... BOMBS!

N is for NO SURVIVORS...

       - Plankton

LSM


  • Member since
    January 2011
  • From: Commonwealth of Virginia
Posted by Tal Afar Dave on Sunday, November 2, 2014 7:22 PM

Stick,

I can hear your wheels turnin' on this project all the way from the east coast! LOL......How does the Italeri/Revell kit stack up against the Tamiya kit???  Just curious; it's always been one of my favorite kits and I spent a lot of quality time in 113s in Korea....great little APC!!

2022 New Year's Resolution:  Enter 1 group build and COMPLETE a build this year!!  Why Photobucket did you rob me of my one Group Build Badge???  Must be part of the strong anti-Monogram cartel!!!

 ]

  • Member since
    July 2004
  • From: Sonora Desert
Posted by stikpusher on Sunday, November 2, 2014 8:22 PM

The suspension and tracks are better on the Italeri kit, except for perhaps the road wheels. The Italeri link and length tracks have better detail. Tamiya has sharper & better detail in the interior. The rest of the exterior is a toss up with both needing fine tuning. Both need the pioneer tools, Jerry cans and Ma Deuce replaced, mesh grills added to the engine deck, etc. And nobody's 113 kit comes with enough stowage!!! I know you understand what I speak of...


F is for FIRE, That burns down the whole town!

U is for URANIUM... BOMBS!

N is for NO SURVIVORS...

       - Plankton

LSM


  • Member since
    April 2010
Posted by Theuns on Sunday, November 2, 2014 10:12 PM

Hi guys, my 1/48 thud is starting to take shape now.......just those intakes that seem to be the wrong way round!LOL

I try to glue and fit as near to perfect as I can , filling and sanding could remove the delicate detail.

Theuns

  • Member since
    March 2010
  • From: MN
Posted by Nathan T on Sunday, November 2, 2014 11:41 PM

Wow the Thud is a beastie. How was the fit of the fuselage halves? Any trouble getting the back half to fit the front? How about the fit of the separate flaps and spoilers? Have you given any thought to the ordinance loadout? I'm trying to come up with a plan for mine as I want to hang bombs on the centerline. I see I can steal a centerline pylon and a MER from the Revell kit. Otherwise it would be a tough scratch build job.


JOIN OUR COMMUNITY!

Our community is FREE to join. To participate you must either login or register for an account.

SEARCH FORUMS
FREE NEWSLETTER
By signing up you may also receive reader surveys and occasional special offers. We do not sell, rent or trade our email lists. View our Privacy Policy.