Thanks 5. This part is gonna be slow. Once I get this canopy figured out, it'll all pick up quick. =]
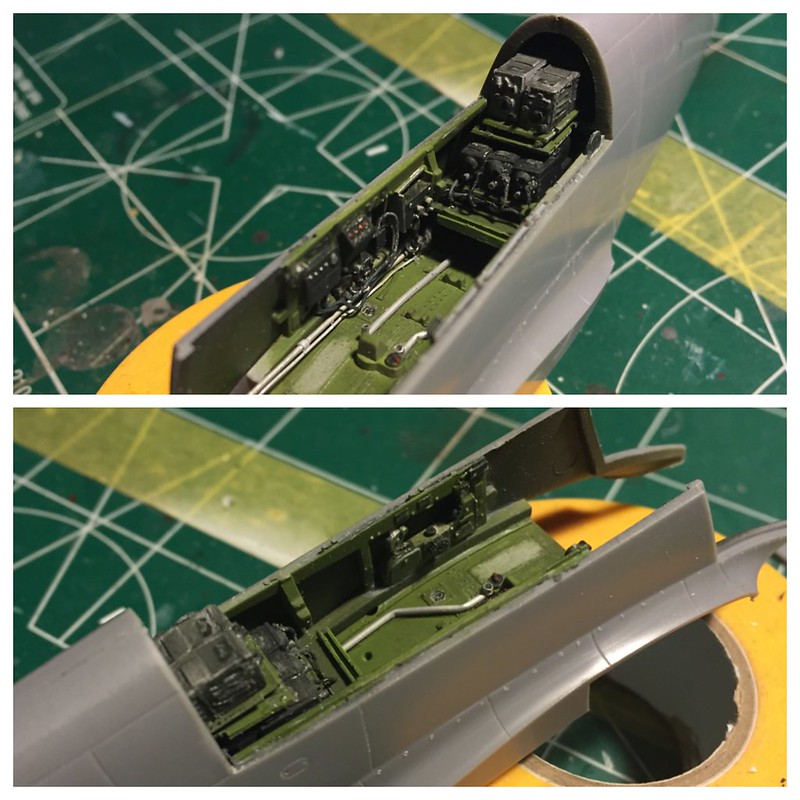
Made a bit more progress tonight. Got everything fitted and closed up. Seams are all sanded and polished smooth. Now I'm just working on getting this Squadron canopy in place. I think it's going to be a real treat if I can get her to settle in like she's supposed to. I wanted to post this part for anyone out there who ventures into this AM piece.
 Untitled by Britt Vallot, on Flickr
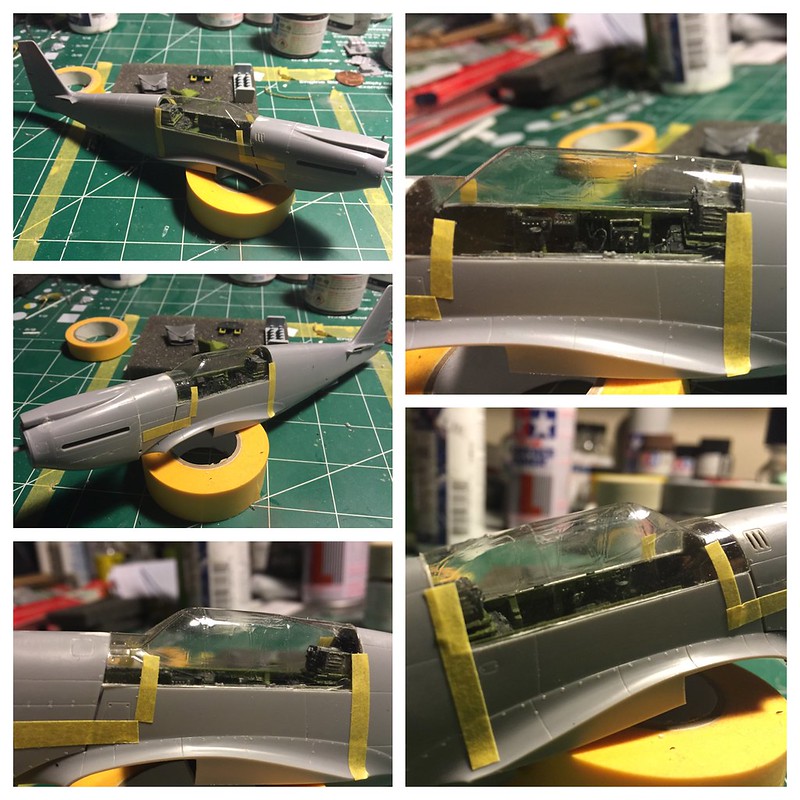
This is mostly already measured and cut to fit. I suppose I should've gone ahead and completely fixed this part up so that I'm not making complicated masking tasks all around my cockpit after the fact to touch up the painting I'll have to tend to, but c'est la vie. So with a little patient tweaking (my razor blade carefully sawing into what needed to be removed) I removed just enough kit plastic to allow the new canopy to settle into place. Here's where I started.
 Untitled by Britt Vallot, on Flickr
I did purposefully leave a little to take off later, that way I'm not having to shim something after the fact and not be able to reach it from the other side. In hindsight, it'll likely cause me some repainting. No matter. It happens. I'd rather it this way where I don't feel rushed, but it's something for the builder to consider. Once I trimmed the back end around the radio compartments down just right, I test fitted the canopy once more and found this....
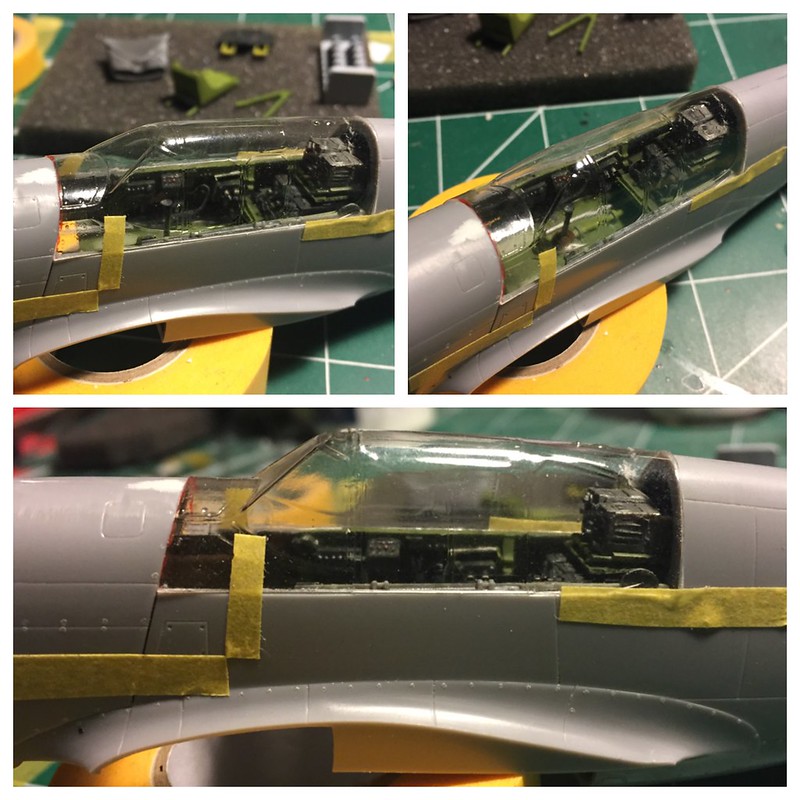
 Untitled by Britt Vallot, on Flickr
I've highlighted the most forward part in a red dry erase maker to see what I'll be trimming off. I may actually try to sand this part down to keep it even since it's such a small length. These are all very tiny steps off the actual kit's lines, but to leave them unfixed would completely throw off what's going on here. I haven't ever tackled a canopy like this before, but I feel pretty good so far. Cross your fingers! =]