SEARCH FINESCALE.COM

Enter keywords or a search phrase below:

Mustang Build

80558 views
1582 replies
1 rating 2 rating 3 rating 4 rating 5 rating
  • Member since
    July 2014
Posted by modelcrazy on Sunday, December 13, 2015 9:32 PM
Here’s the progress on the GT 350. The paint came out far darker than I originally thought, but I like it. Just need to polish it up and assemble it.
 
Steve

Steve

Building a kit from your stash is like cutting a head off a Hydra, two more take it's place.


http://www.spamodeler.com/forum/

  • Member since
    July 2014
Posted by modelcrazy on Sunday, December 13, 2015 10:47 AM
I don't clear coat Alclad myself, but if you do, try it on a practice piece first. Alclad reacts differently to coatings.

Steve

Building a kit from your stash is like cutting a head off a Hydra, two more take it's place.


http://www.spamodeler.com/forum/

  • Member since
    February 2015
  • From: California
Posted by PA24-250Flyer on Sunday, December 13, 2015 8:57 AM

Thanks guys. I am looking forward to seeing it together. I am wondering if I should clear coat and weather or try to leave it bare to keep the metal looking as is. I am leaning toward clear coat for the sealing of the decals and Alclad to protect the surfaces. Opinions are welcome!Big Smile

  • Member since
    August 2014
  • From: Willamette Valley, Oregon
Posted by goldhammer on Saturday, December 12, 2015 11:18 PM

modelcrazy

No, they never sent my any.


OK, no real big issue on my end, the OOB mil-spec office it shall be.

  • Member since
    July 2013
Posted by lzdaily@comcast.net on Saturday, December 12, 2015 10:11 PM

Looks good, George. I hope that my first NMF comes out as nice as yours.

Larry

  • Member since
    July 2014
Posted by modelcrazy on Saturday, December 12, 2015 9:31 PM

Looking good George, Alclad can be a pain at times, but it's worth it.

Steve

Building a kit from your stash is like cutting a head off a Hydra, two more take it's place.


http://www.spamodeler.com/forum/

  • Member since
    February 2015
  • From: California
Posted by PA24-250Flyer on Saturday, December 12, 2015 9:15 PM

Hi Folks,

I just wanted to share some progress. The job and the holidays are keeping things going slowly. I think I mentioned this earlier, but this natural metal finish is my first attempt and using Alclad. I have to say, it is kicking my behind! It has been a lot of mask, spray, touch up peeled off Alclad, re-spray, and on and on. I am sure you can relate Angry. I am confident that in the end it will work out, but man! Anyway the goal is to get this done and off the dining room table by Christmas!Big Smile

Happy Holidays!

George

P.S. Steve, I did "putty" the wings as per factory specs but not sure if it looks good...

  • Member since
    July 2014
Posted by modelcrazy on Saturday, December 12, 2015 2:59 PM

No, they never sent my any.

Steve

Building a kit from your stash is like cutting a head off a Hydra, two more take it's place.


http://www.spamodeler.com/forum/

  • Member since
    August 2014
  • From: Willamette Valley, Oregon
Posted by goldhammer on Saturday, December 12, 2015 2:57 PM

Steve-  Did you ever get sent the pics of the pit on Miss America?  Haven't started on her yet and will have to soon if i want to get done with her in time to start the sub build later.


Thanks,

Art

  • Member since
    July 2013
Posted by lzdaily@comcast.net on Saturday, December 12, 2015 1:08 PM

Well, wrapping up the fall 2015 semster kept me away from my workbench for quite a while, but over the last few days I’ve finally gotten paint on My P-51B. It turned out to be a frustrating experience; I don’t know what I did wrong this time, but I had real problems with paint coming up with the masking tape. I think I have a decent paint job on the plane now. A couple of days to dry, then I’ll spray a coat of Future to provide a base coat for the decals. The plan is to mark this aircraft as Nicholas Megura’s Ill Wind? using a combination of decals from the kit and from Kit's World.

  • Member since
    July 2014
Posted by modelcrazy on Thursday, December 10, 2015 3:48 PM

Welcome kyuzo. There are no restrictions on of many entries you have. Can you  give me a rundown on what you plan on entering so I can get them on the roster?  As long as you complete one of you planned entries you earned yourself and badge. If you don't complete all of your entries that's not a problem. There have been several GB's where I did not finish everything for one reason or another.

Cody, we have another car guy here.

Steve

Steve

Building a kit from your stash is like cutting a head off a Hydra, two more take it's place.


http://www.spamodeler.com/forum/

  • Member since
    December 2015
Posted by Kyuzo on Thursday, December 10, 2015 12:58 PM

Well here I am Crazy. I don't know if there are restrictions on how many entries you can have but I planned on doing at least 6. I currently have 4 of them here & only 1 started. But I'll post the cover images later on today. Thanks again for inviting me & hello everyone. 

  • Member since
    July 2014
Posted by modelcrazy on Monday, December 7, 2015 8:53 PM

That's great Lewbud, I added it to the roster. I was wondering if you wanted to put it in the GB. I've been looking at the 1/48 version of the IDF Mustang to go with my Avia.

Looks good, excited to see it completed.


Steve

Building a kit from your stash is like cutting a head off a Hydra, two more take it's place.


http://www.spamodeler.com/forum/

  • Member since
    June 2008
Posted by lewbud on Monday, December 7, 2015 8:26 PM

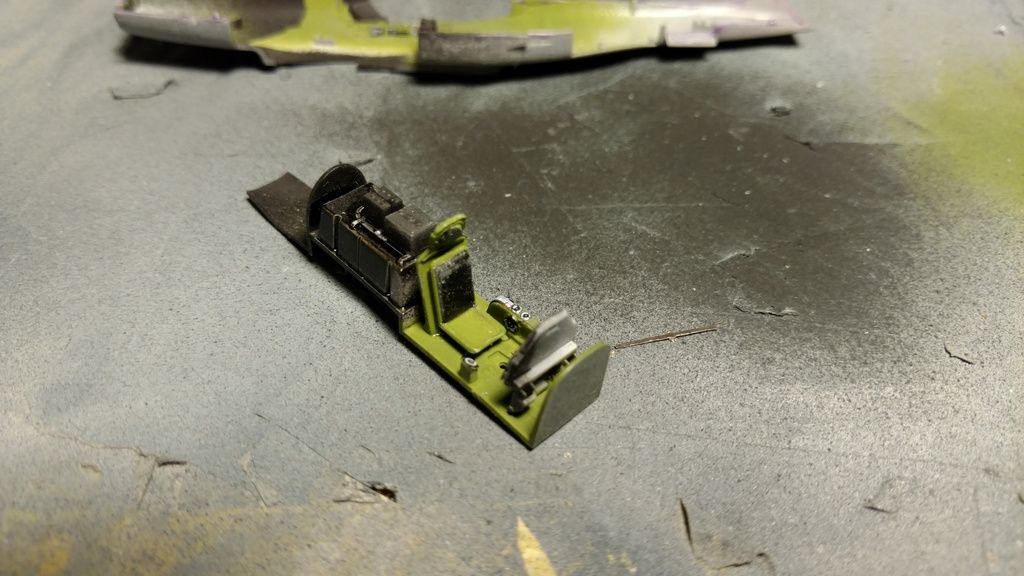
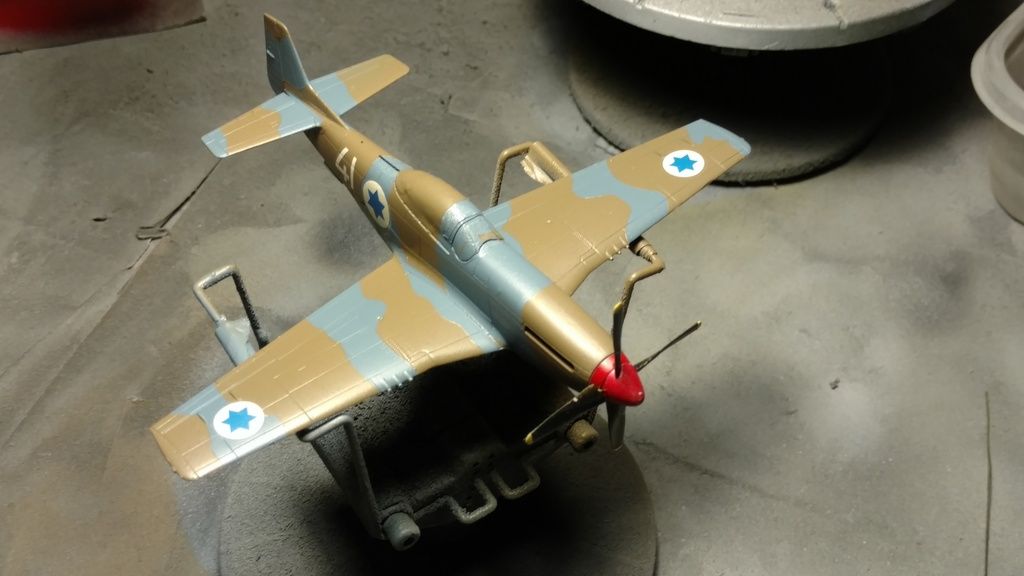
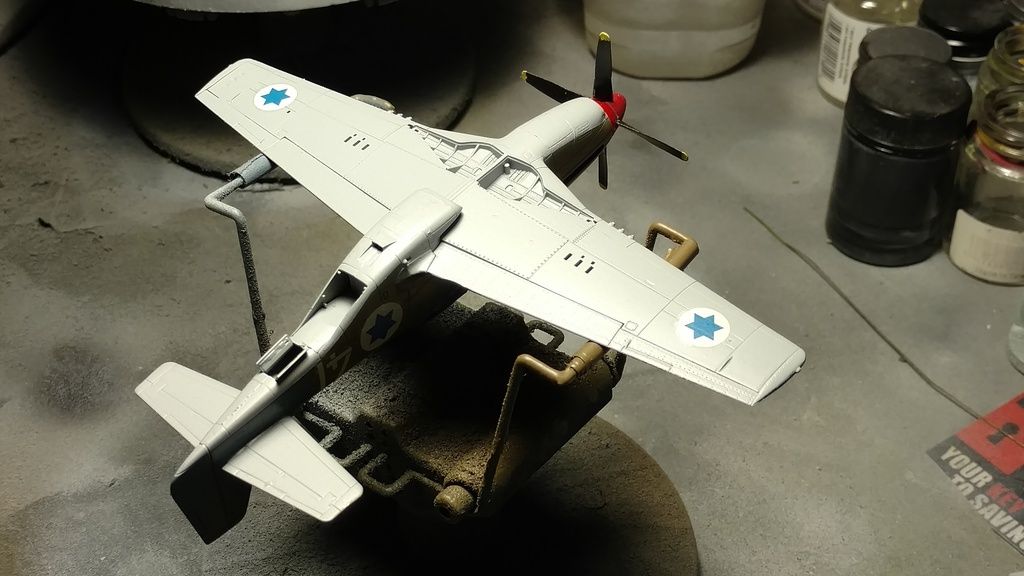
I've been watching this build from afar, and now it's time to jump in the deep end.  For the fourth round of the Weekend Group build, I elected to build the lovely little Tamiya 1/72 P-51D, with Hasegawa decals (if anyone's interested, there's still two weekends left,  it's not too late).  She's in IDF markings for the Big Wing squadron. Per group build protocol, the proof of non starting start shot.
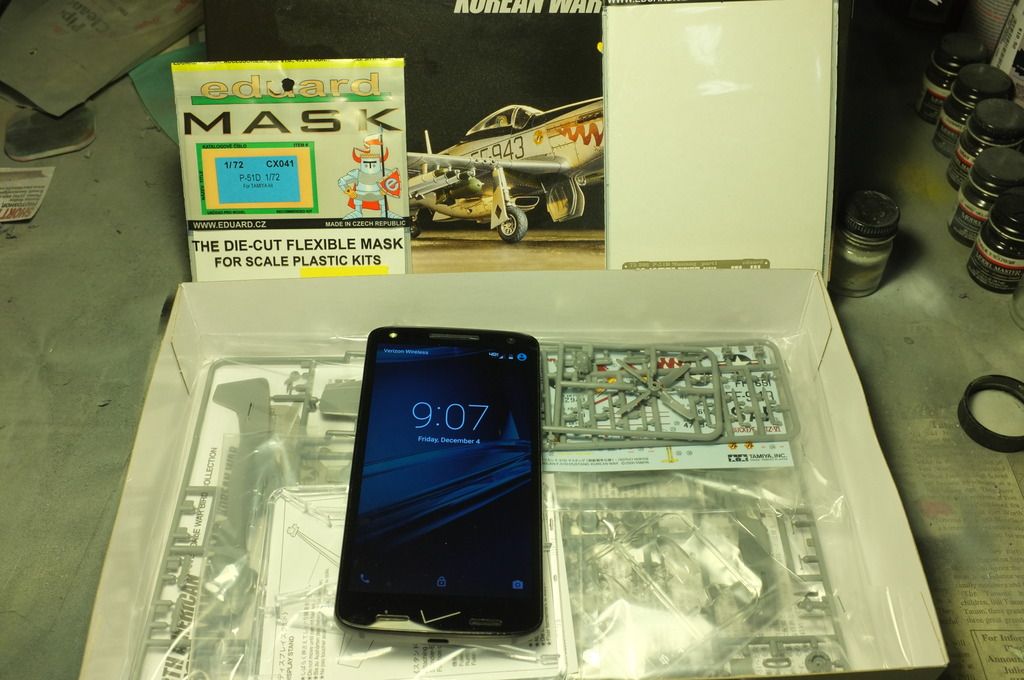


The cockpit walls adorned with Eduard's pe set.  This would be an exercise in futility as the pieces that become the canopy rails would either become an almost sacrifice to the carpet monster, or would lodge itself in the cockpit so tight that destruction would be necessary to free it.  No belts because I thought I pinged one into oblivion, but found it later after I'd closed up the fuselage.
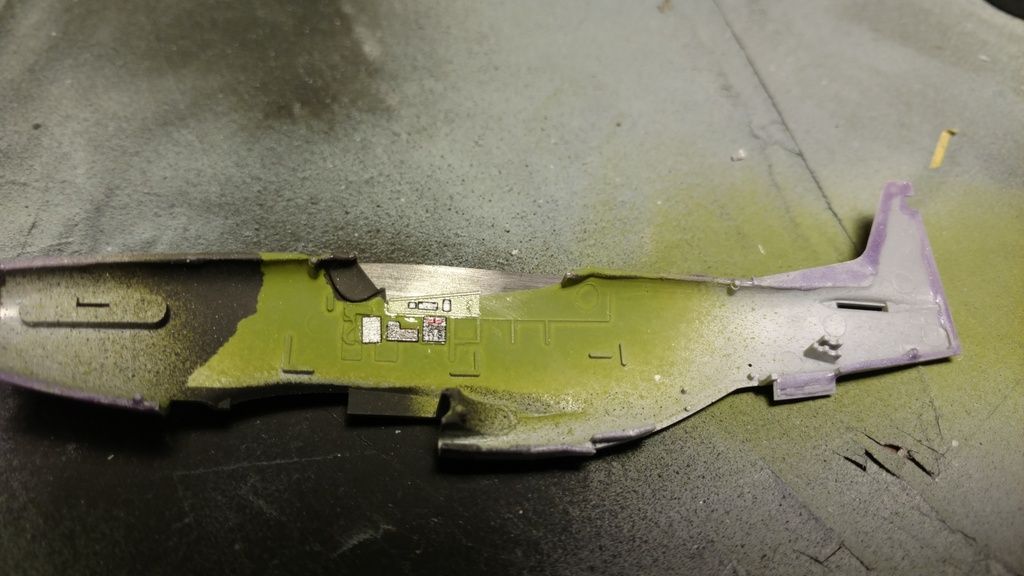
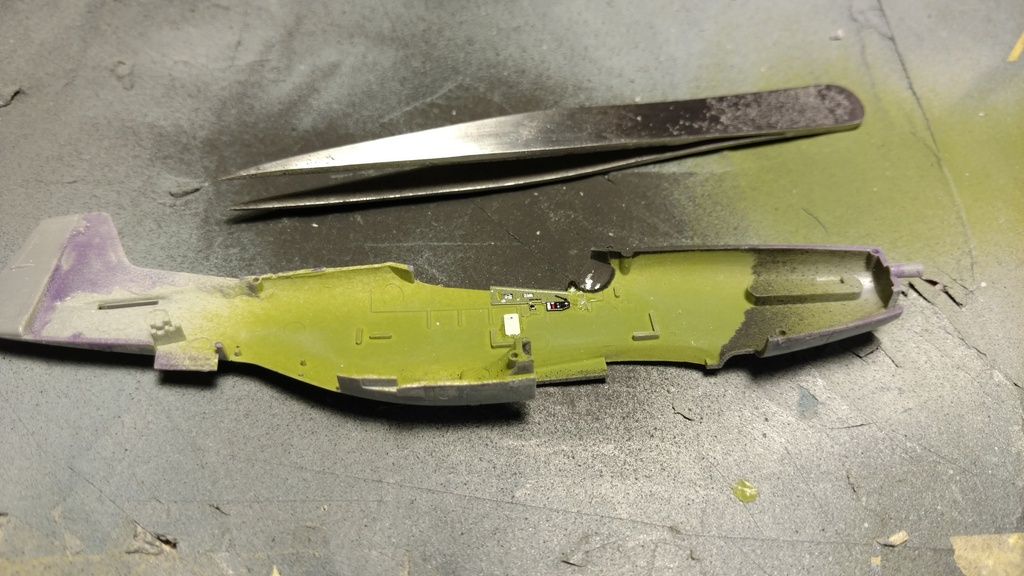
At this point, I'm feeling pretty good.  Go run some errands, eat lunch, go to the MINI club Christmas Party.  Come home, work at the table some more and go to bed with something that looks like an airplane with goop oozing out of it.  Wake up and sand the putty off, and 36 hours in, she looks like this.
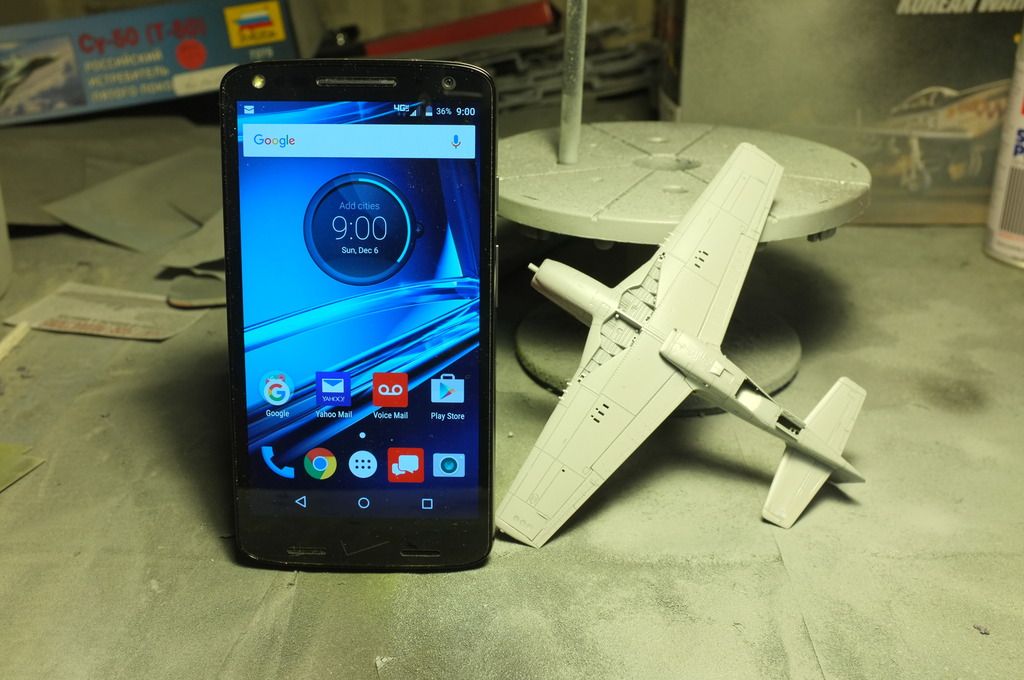
Worked some more, and she looked like this.  Can't tell if it's the final primer coat, or I've just applied the Light Ghost Gray to the bottom.  Since she's inverted, I'm going with the latter.
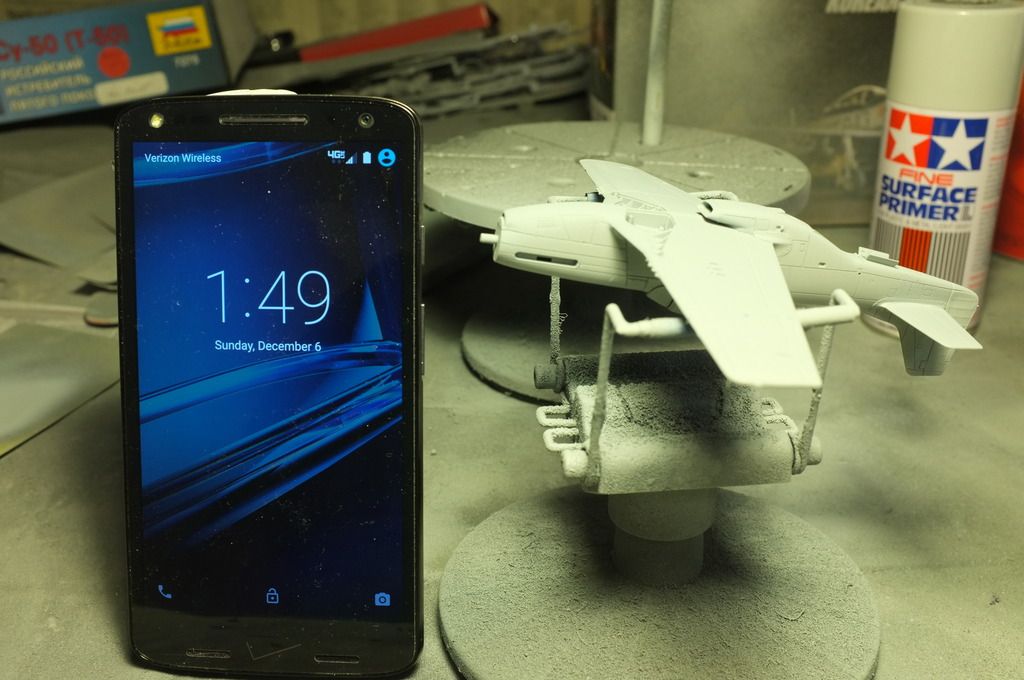
Now the intermediate blue.
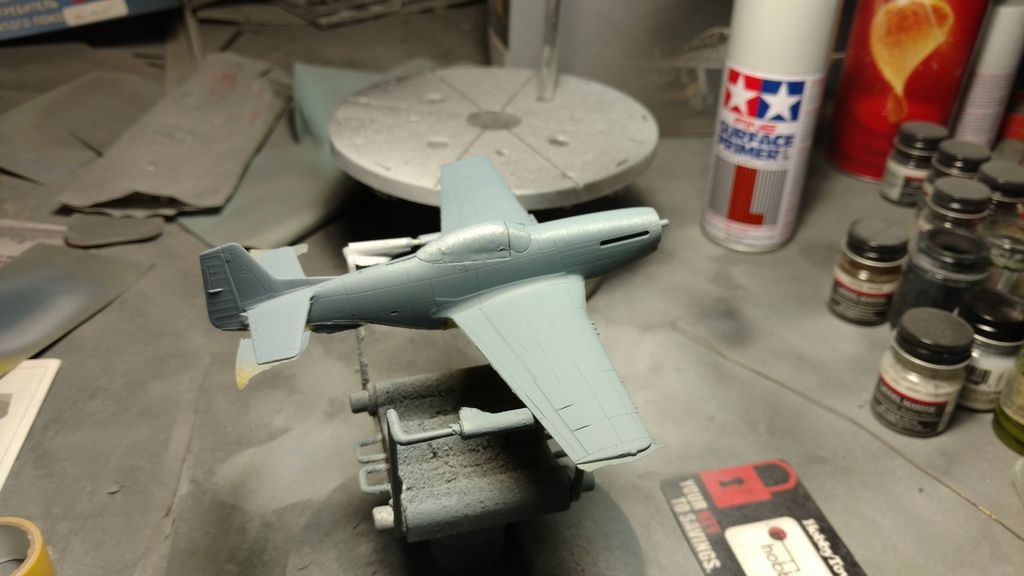
Masks are applied, dark earth is shot, followed by a couple of coats of gloss.  Paint dries, and decals are applied. Also, I'm out of time.
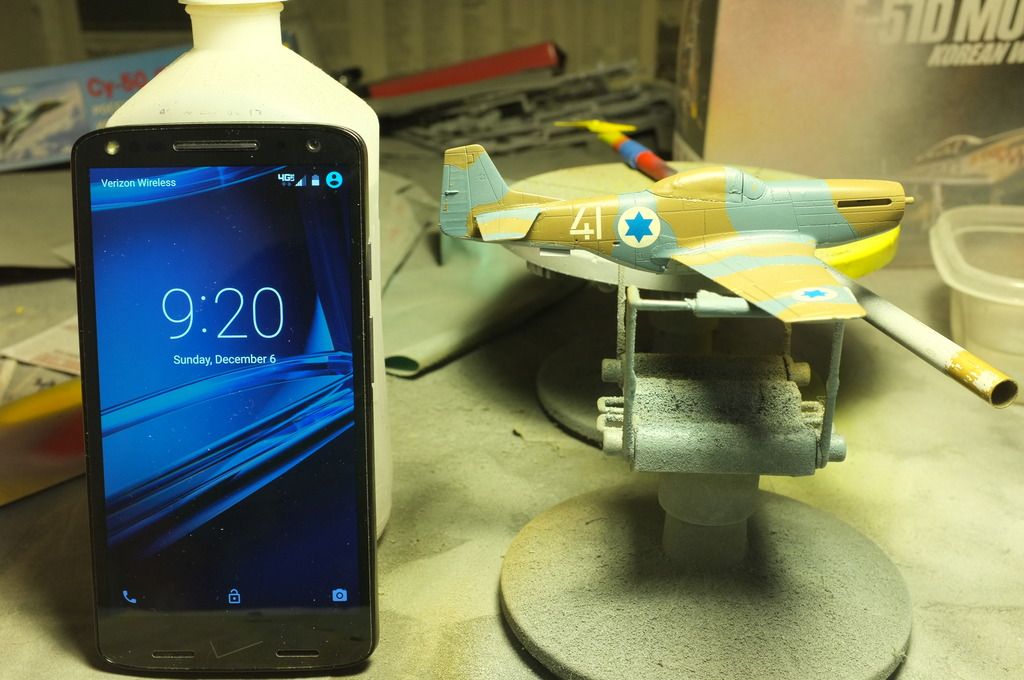
Here she is as of roughly 6:00 pm CST.  All that's left to be painted are the exhaust shrouds, the canopy frame under the bubble, and the gear door actuator actuator arms.  Better time management would have gotten me to the finish line.  She should be on her mains and finished by tomorrow evening.
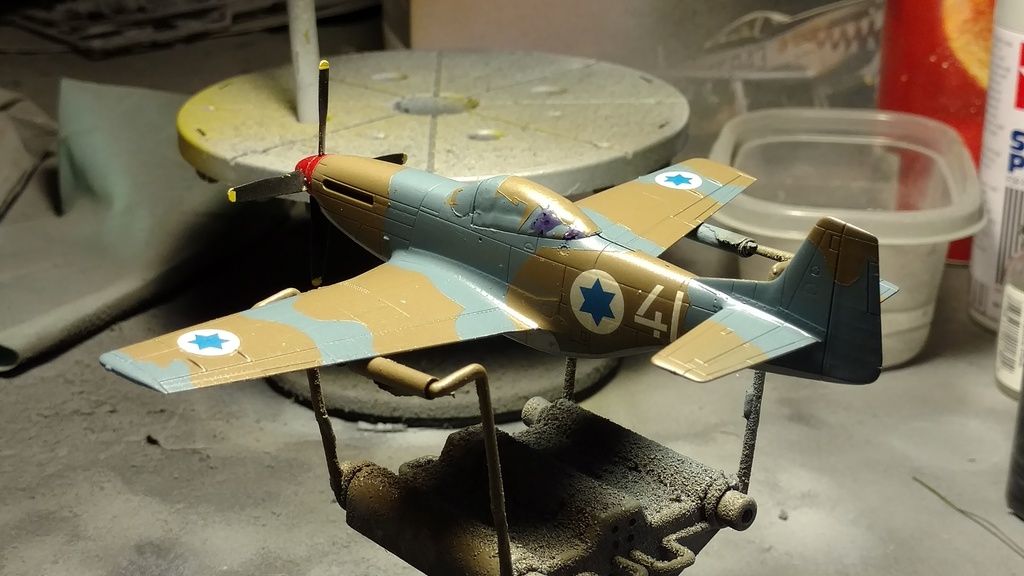
Thanks for looking.  Don't know if the Airfix kit will make the build.  Looks like I've got some time to decide.


Buddy- Those who say there are no stupid questions have never worked in customer service.

  • Member since
    July 2014
Posted by modelcrazy on Monday, December 7, 2015 3:58 PM

I ordered the 1/18 Packard Merlin engine from HpH models in Czechoslovakia for my b-day. I hope it gets here before the build is over, and doesn’t end up in Melbourne Australia. I emailed them right after just to make sure they knew I was in the US. We’ll see. It should be a very cool display once completed. Maybe I should put a geared motor in it to make the prop spin. Huh?

Steve

Building a kit from your stash is like cutting a head off a Hydra, two more take it's place.


http://www.spamodeler.com/forum/

  • Member since
    July 2014
Posted by modelcrazy on Monday, December 7, 2015 1:43 PM

PM replied.

Steve

Building a kit from your stash is like cutting a head off a Hydra, two more take it's place.


http://www.spamodeler.com/forum/

  • Member since
    September 2011
Posted by fightnjoe on Monday, December 7, 2015 1:33 PM

Many thanks for all the kind words.


MC pm coming in.


Joe

Veterans,

Thank You For Your Sacrifices,

Never To Be Forgotten

Where you can find me:

Workbench on FaceBook  Google Plus  YouTube

  • Member since
    July 2014
Posted by modelcrazy on Monday, December 7, 2015 9:20 AM

Really looks good Matt, especially the detail work in the wells. Looking forward to the finished product.

Steve

Building a kit from your stash is like cutting a head off a Hydra, two more take it's place.


http://www.spamodeler.com/forum/

  • Member since
    September 2003
  • From: Northern hemisphere - most of the time-
Posted by blkhwkmatt on Monday, December 7, 2015 12:54 AM

Joe,

Really appreciating all the hard work that goes into turning that out.  Thanks for sharing and good luck on the article publication.

<Matt

Quidquid latine dictum sit, altum videtur!!! - Anything said in Latin sounds profound!


  • Member since
    September 2003
  • From: Northern hemisphere - most of the time-
Posted by blkhwkmatt on Monday, December 7, 2015 12:53 AM

I have been away from this build for a while, due to moving, but the workshop is set up again and I can hope to finish around the end of this month.  I have a few pictures to share, but I have not really progressed much past where these pictures show.

to refresh the memory: this is the Tamiya 1/32nd scale P-51D/K kit built as a D.  I will be finishing it in the markings of LT COL. G.T. Eagleston. 

Next steps are to paint the anti-glare panel, and the yellow on the nose, then gloss coat and decals.

Thanks for looking.

<Matt


Quidquid latine dictum sit, altum videtur!!! - Anything said in Latin sounds profound!


  • Member since
    October 2013
Posted by infofrog on Sunday, December 6, 2015 5:51 AM

fightnjoe

Well here I am.  The build is nearing completion.


I had some big issues with the decals.  I had to spray the tail checkerboard.  I had some other issues.  I am not all that pleased with the decals, they were fragile and very fiddly.  


i am about 95% finished with the kit.  I do have the prop, the antenna wire, the tail wheel doors, and some tiny bits left.  


Pictures.....


This will be the last update from me until the article either gets printed or I get a no go for it.  


All comments, critiques, and comments are encouraged.


Joe


Thats some great work . I wish ,I could see this one in real life

Rick

  • Member since
    July 2014
Posted by modelcrazy on Saturday, December 5, 2015 10:58 PM

I'm going to switch from P-51 for a little bit to build the 67 Shelby GT 350 for my other son-in-law for Christmas. I should have the time to finish it.
So here it is. It will be in metallic red. I'm not the best with cars so we'll see how it turns out.

Steve

Steve

Building a kit from your stash is like cutting a head off a Hydra, two more take it's place.


http://www.spamodeler.com/forum/

  • Member since
    July 2014
Posted by modelcrazy on Saturday, December 5, 2015 8:41 PM

What an outstanding job you have done Joe. Amazing work and detail, surely FSM will publish it. We'll be around when the time is right for you to show off the final product. At this point I am calling your build complete knowing the reason. Grab your badge if you want. You earned it. 

Steve 

Steve

Building a kit from your stash is like cutting a head off a Hydra, two more take it's place.


http://www.spamodeler.com/forum/

  • Member since
    September 2011
Posted by fightnjoe on Saturday, December 5, 2015 5:39 PM

Well here I am.  The build is nearing completion.


I had some big issues with the decals.  I had to spray the tail checkerboard.  I had some other issues.  I am not all that pleased with the decals, they were fragile and very fiddly.  


i am about 95% finished with the kit.  I do have the prop, the antenna wire, the tail wheel doors, and some tiny bits left.  


Pictures.....


This will be the last update from me until the article either gets printed or I get a no go for it.  


All comments, critiques, and comments are encouraged.


Joe

Veterans,

Thank You For Your Sacrifices,

Never To Be Forgotten

Where you can find me:

Workbench on FaceBook  Google Plus  YouTube

  • Member since
    September 2011
Posted by fightnjoe on Thursday, December 3, 2015 3:08 PM

Many thanks.   The scale is 1/32.  Appreciate all the kind words.  


The latest...


 https://youtu.be/V-01WZMXpLA

Hope that works.


Joe

Veterans,

Thank You For Your Sacrifices,

Never To Be Forgotten

Where you can find me:

Workbench on FaceBook  Google Plus  YouTube

  • Member since
    July 2013
Posted by lzdaily@comcast.net on Wednesday, December 2, 2015 7:10 PM

Joe,

Looks great. Can't wait to see the finished project.

Larry

  • Member since
    June 2010
Posted by 5-high on Wednesday, December 2, 2015 10:28 AM

Now thats alot of scratch building  Joe ..looking good . What scale is it .Joe ?

Pete 

  • Member since
    October 2013
Posted by infofrog on Tuesday, December 1, 2015 5:41 AM

CodyJ

Rick-  Great Work !!!  I put one of the pics up.  If you would like to have a different one on the finished wall, let me know and I'll be happy to change it! :)


Joe-  Looks like really tedious!  Great progress!


Thank you

No the thats perfect

thank you again

Rick

  • Member since
    October 2013
Posted by infofrog on Tuesday, December 1, 2015 5:40 AM

fightnjoe

Big progress to update.


The fuselage is closed, the wings are on. 


That is the good news, the bad is I need to repair a ton of stuff as I had to use a major amount of force to be able to get the wing into place.  Blasted thing fought me the whole time.  I ended up removing a couple of parts, breaking some of the stringers off of the cut wing, splitting the fuselage, and assorted small stuff.  I also had a misfire with a clamp that made my one piece tail wheel assembly into a three piece assembly that I had to pin together again.  


Good lord that was a lot of work to get the wing on.  


After all that I commenced to touching up the painting of the fuselage with Gloss Gray and then Alclad Airframe Aluminium.  


So here is where it stood at the beginning of my session today.


Today was spent working on the landing gear and more touch up on the fuselage.  Through the course of the upcoming week I will need to repair the wing and make sure all is good.


All comments, critiques, and criticism are encouraged.


Joe


Looking good

Rick

  • Member since
    December 2013
Posted by CodyJ on Tuesday, December 1, 2015 3:05 AM

Rick-  Great Work !!!  I put one of the pics up.  If you would like to have a different one on the finished wall, let me know and I'll be happy to change it! :)


Joe-  Looks like really tedious!  Great progress!

JOIN OUR COMMUNITY!

Our community is FREE to join. To participate you must either login or register for an account.

SEARCH FORUMS
FREE NEWSLETTER
By signing up you may also receive reader surveys and occasional special offers. We do not sell, rent or trade our email lists. View our Privacy Policy.