Right, time for me to get going. I have had this kit in the stash longer than just about any other. I think a couple of AMT Star Wars kits might have been there longer. So, after sitting there 20 years, its about time this one got built.
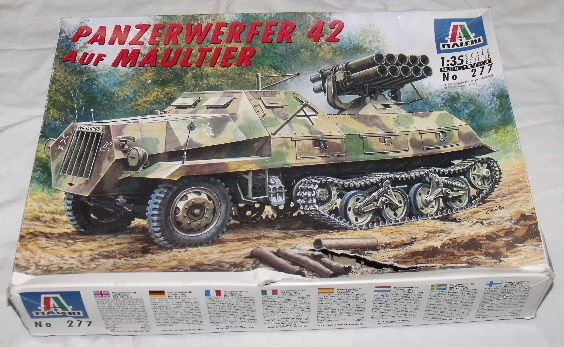
I originally got an Eduard PE set for this. But then i found a set from Royal Model which has PE and plenty of resin.
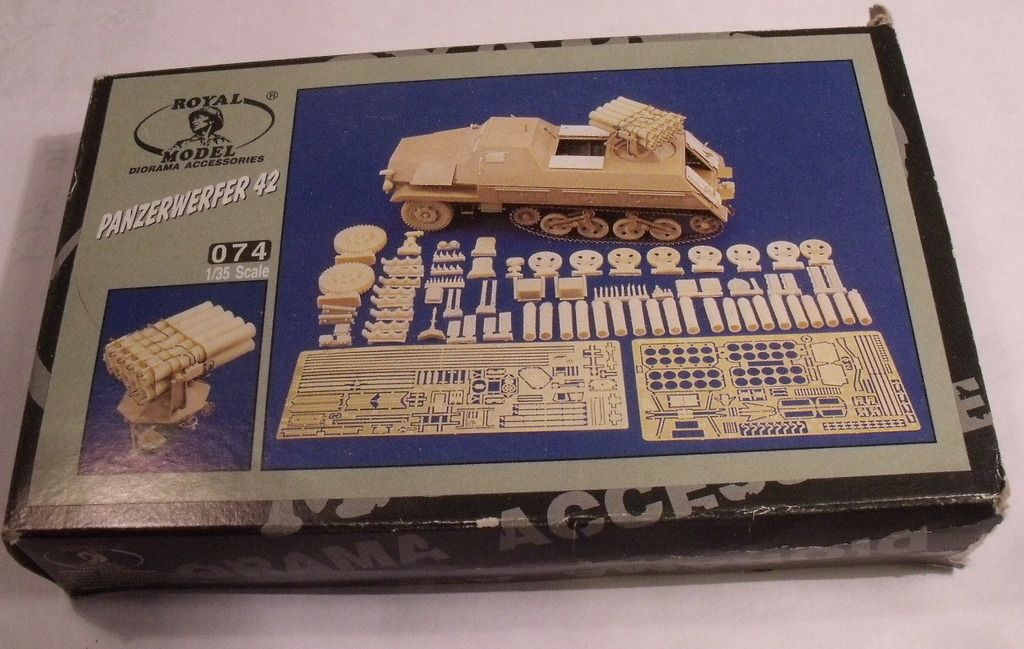
I am still keeping the Eduard set to hand, it has already come in handy.
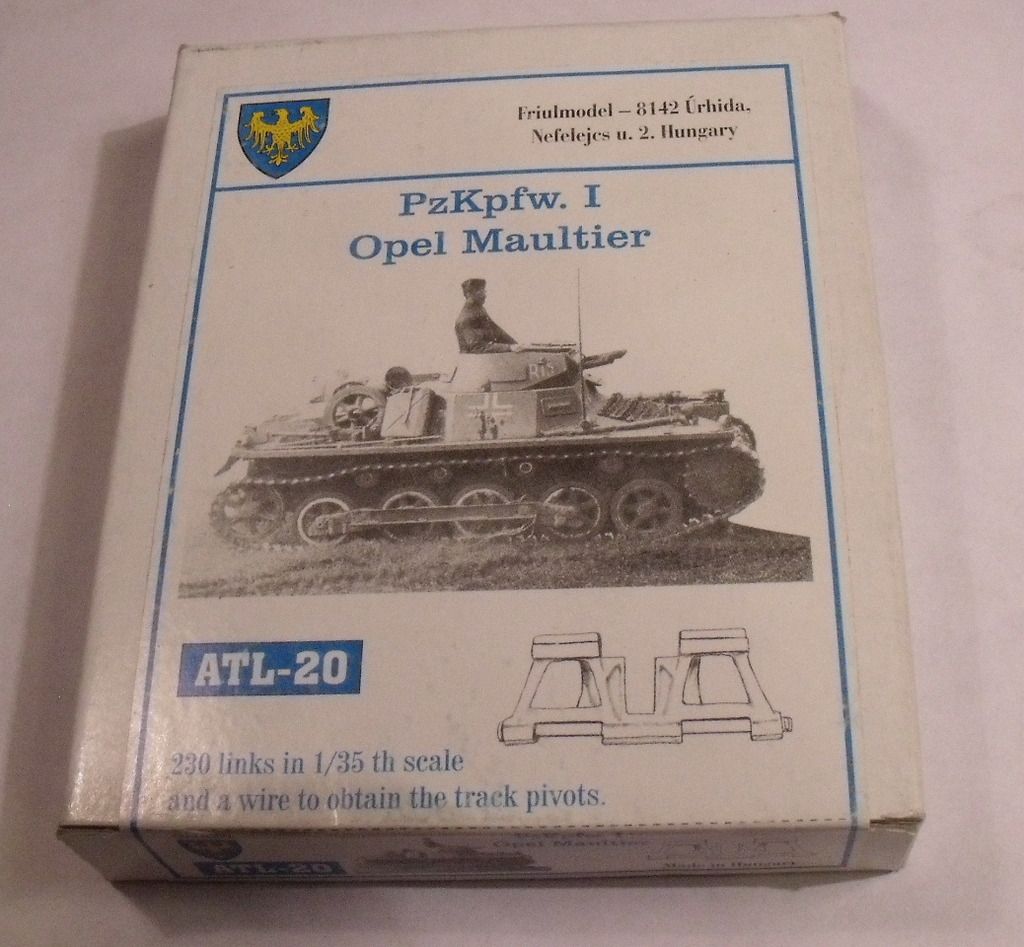
As wel as the RM set, i have a set of fruil tracks.
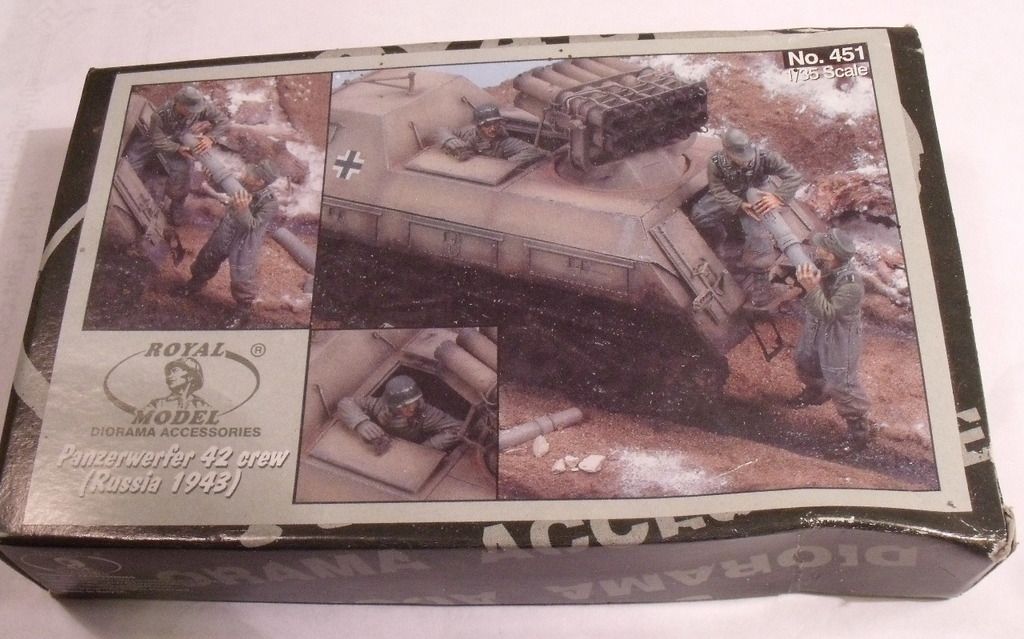
And some RM figures.
I started working on both the interiour lower half and the chassis. First, the inside. This is how it looks before i start removing bits. You can see a sink mark which runs along the sides and rear of the floor.
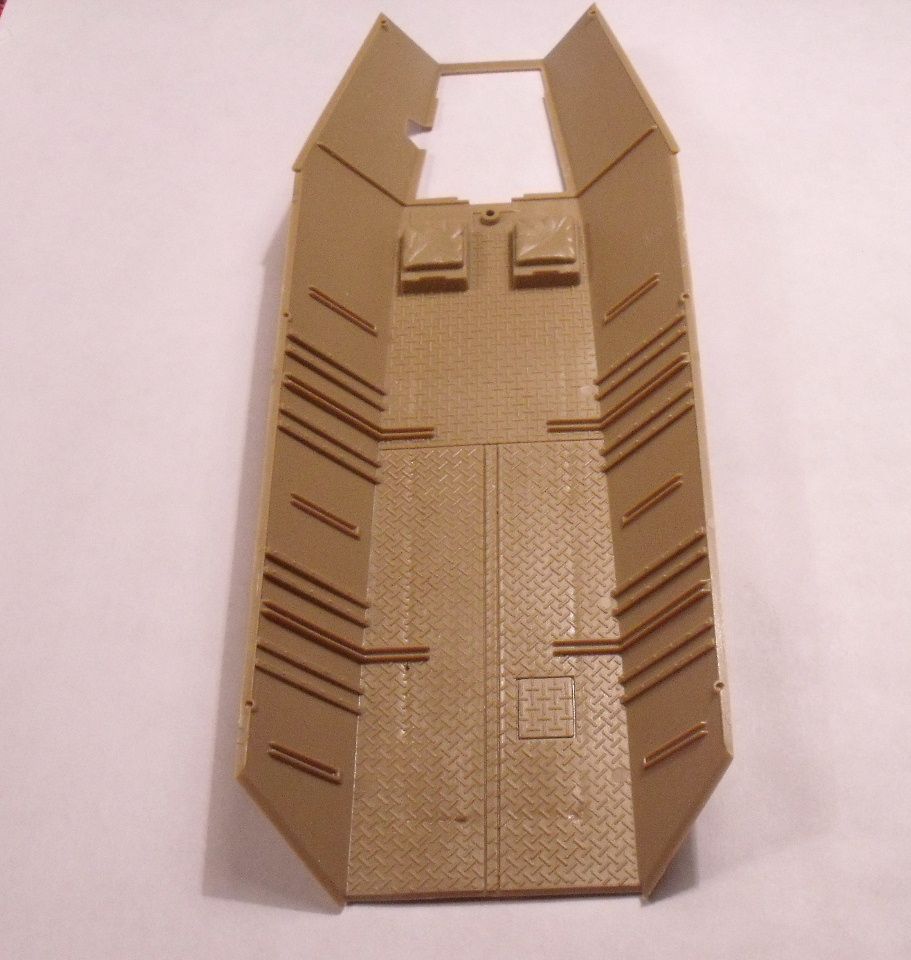
This corresponds with the raised parts to mount the hull to the chassis.
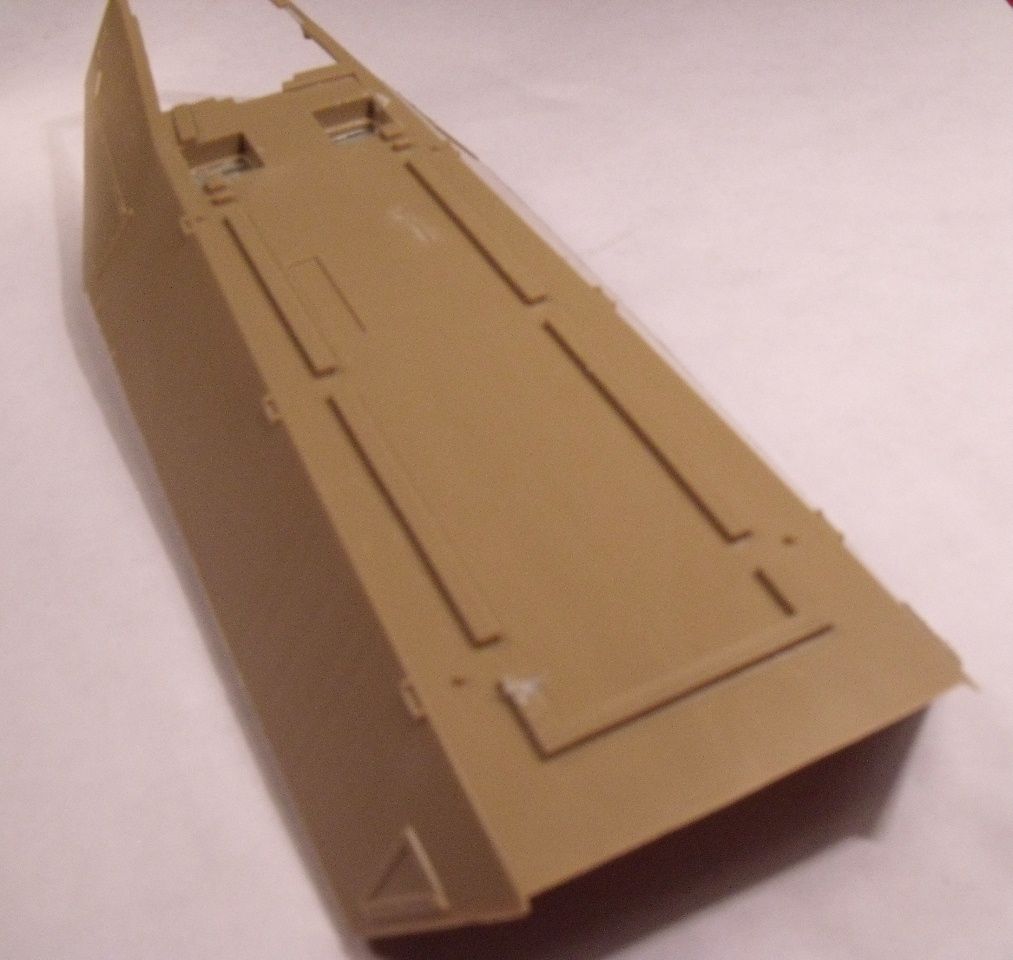
From what i can see of Modelrod's build of the tamiya boxing of this kit, this has been rectified, either by Italeri later on or by Tamiya. RM does make PE floor plating and give the number of the set to use on this. Had i been doing this with the doors open and un-obstructed, i would have used that. But the floor will be covered with rockets waiting to be loaded and the figures will be blocking the hatch's, so i will not worry about that.
I stared by removing the mouldings on the right and adding the AM parts. This way i could use the mouldings on the left as a guide.
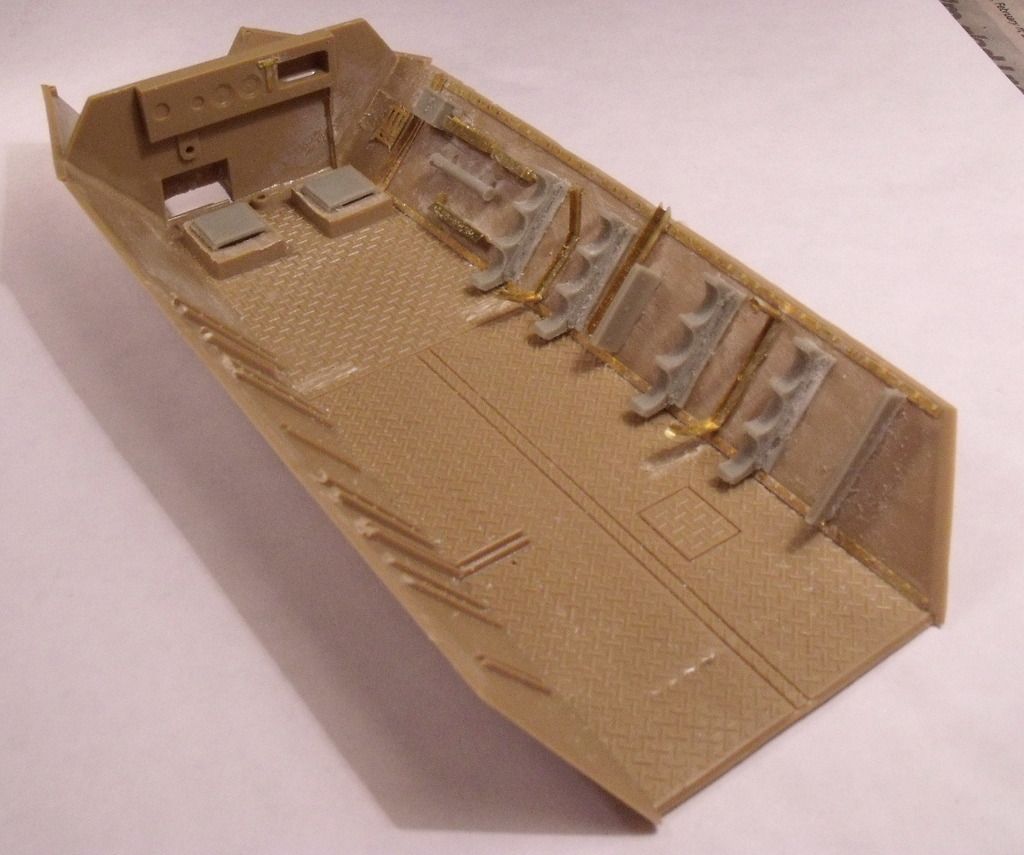
I then repeated for the left and added the parts at the front, including a couple of resin bits.
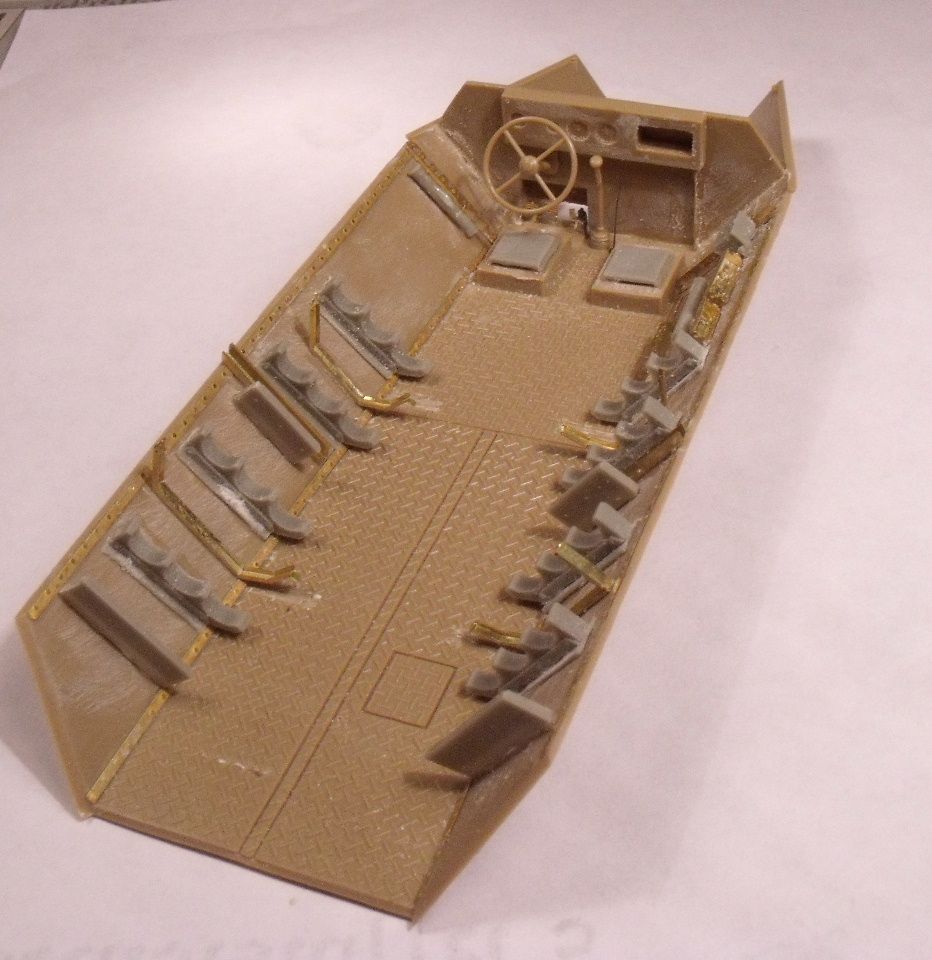
When i opened the RM resin parts at the weekend i found a couple of parts missing. These are the top of the securing brackets that hold the rockets in place. I have contacted RM and they are sending me the parts, great service from them. So apart from those and the frame for the radio, the lower part is done. I have taken a radio from the spares box as neither kit or AM set includes one.
And then the chassis. I am leaving the roadwheels and bogies of for painting, so this went together quickly.
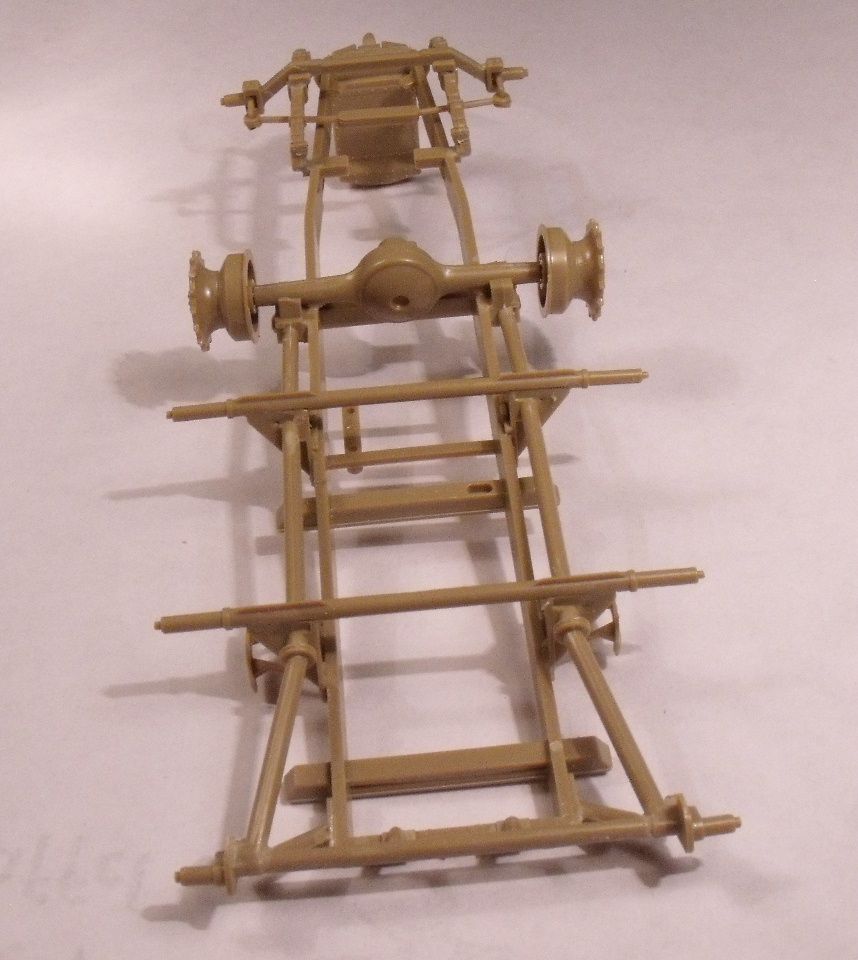
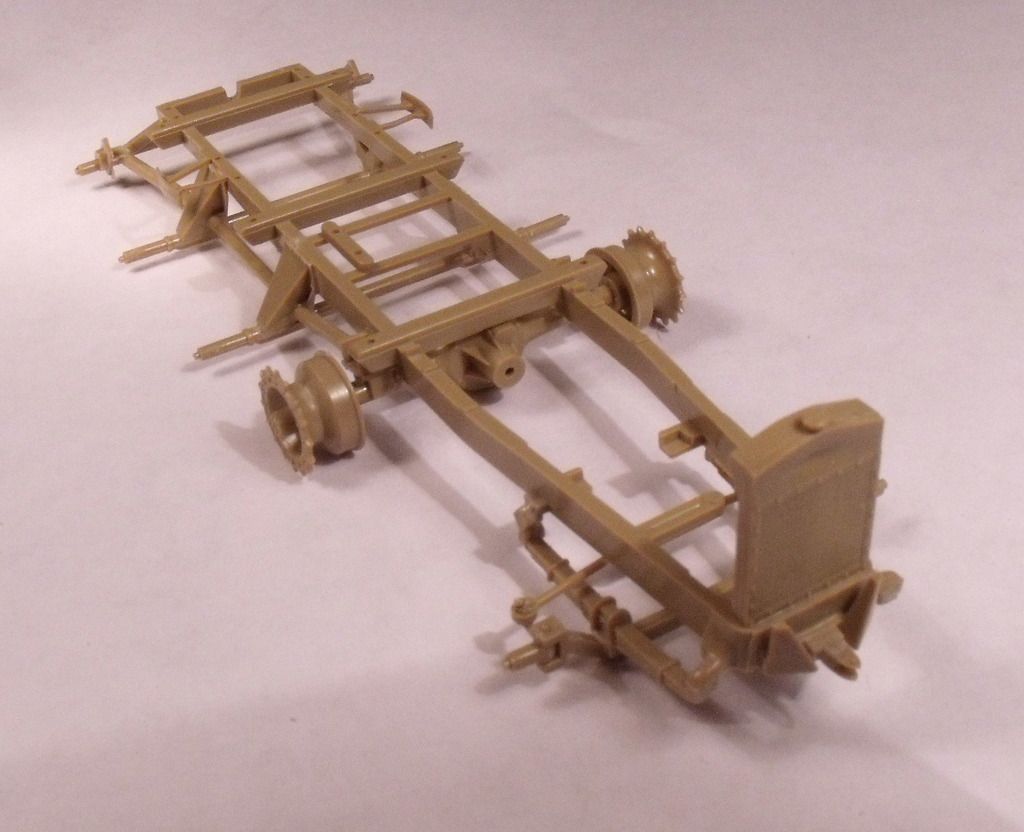
I won't be bothering with the engine which comes with the kit. I do have a litle filling to do, includeing this sink mark on the radiator.
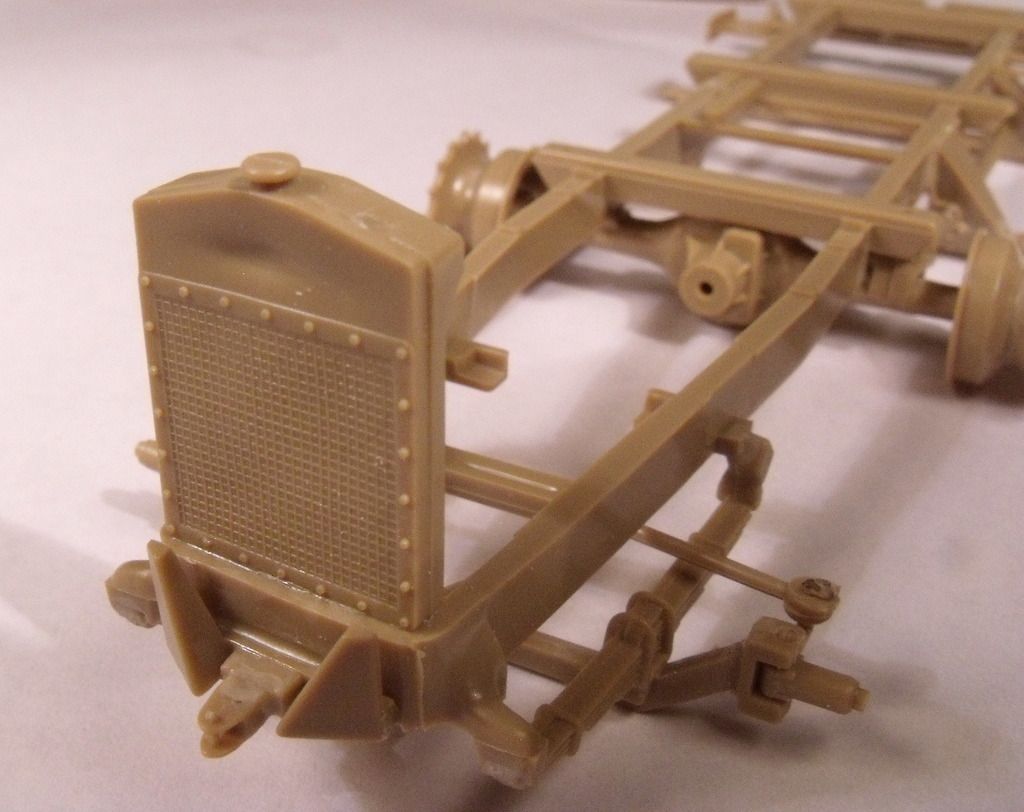
So, next up will be the internal upper half and hopefully the missing parts will be here soon so i can get some paint on.