Ok, confession time. I did start the phantom just over a week ago and yesterday i posted the first update in my WiP thread. Only i completly forgot about posted in the GB i had it entered, you know, the GB i am hosting. OPPPS 
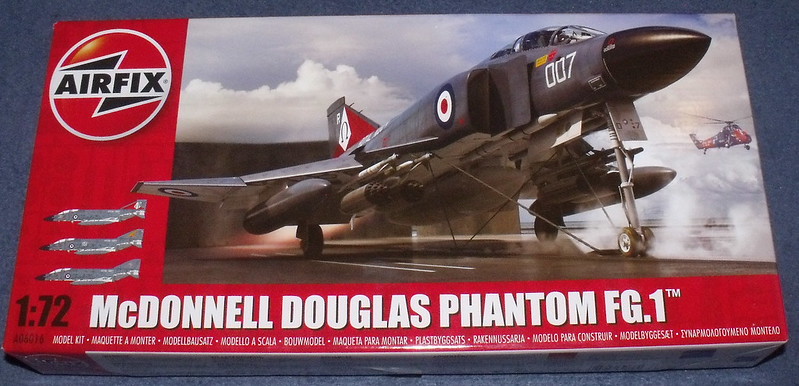
So, best do that now then. To start off, here is the kit, released at the start of this year. Which is my first new tooled Airfix kit.
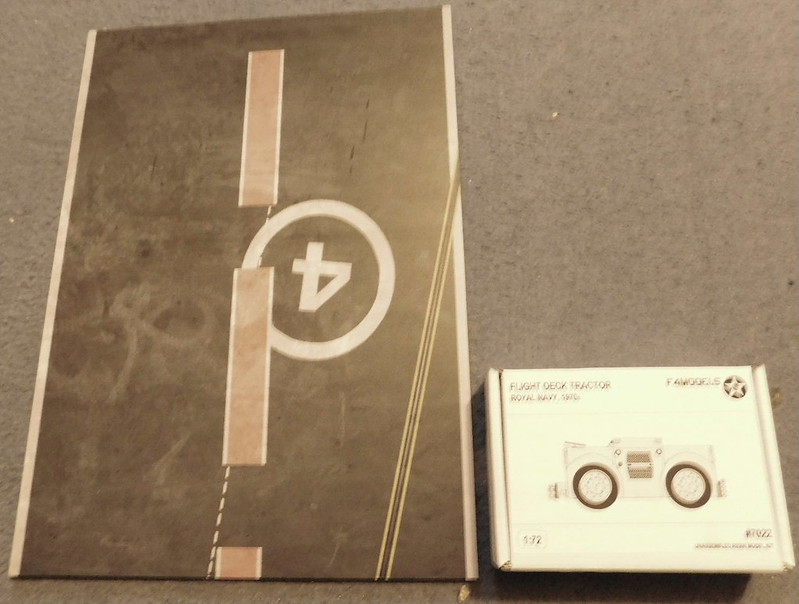
I will be putting it on a base from Coastal kits, which replicates a section of the deck of HMS Ark Royal. I'll also be useing a deck tractor from F4 models.
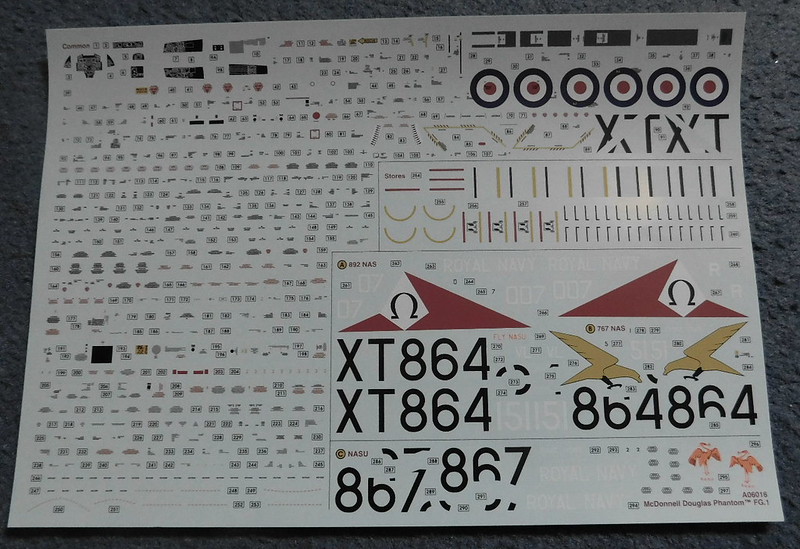
And before the build pics, a couple to show anyone who may be thinking about getting this kit of what they have to look forward to. You can see from the decals that the kit does include one or two stencils.
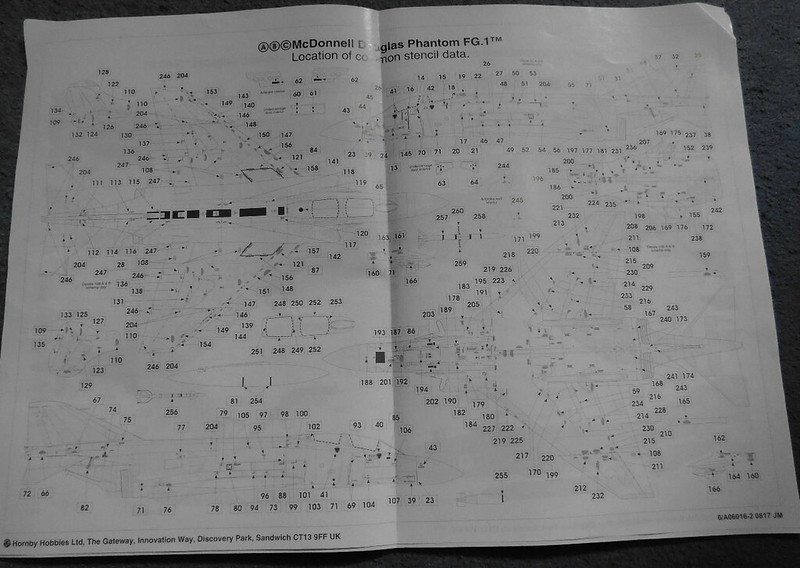
But no problem, there is a nice handy location guide.
Easy peasy.
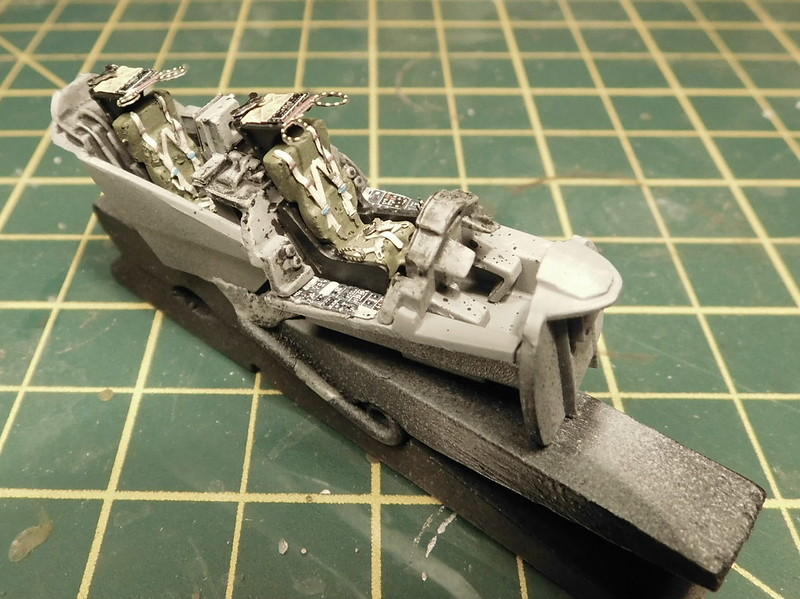
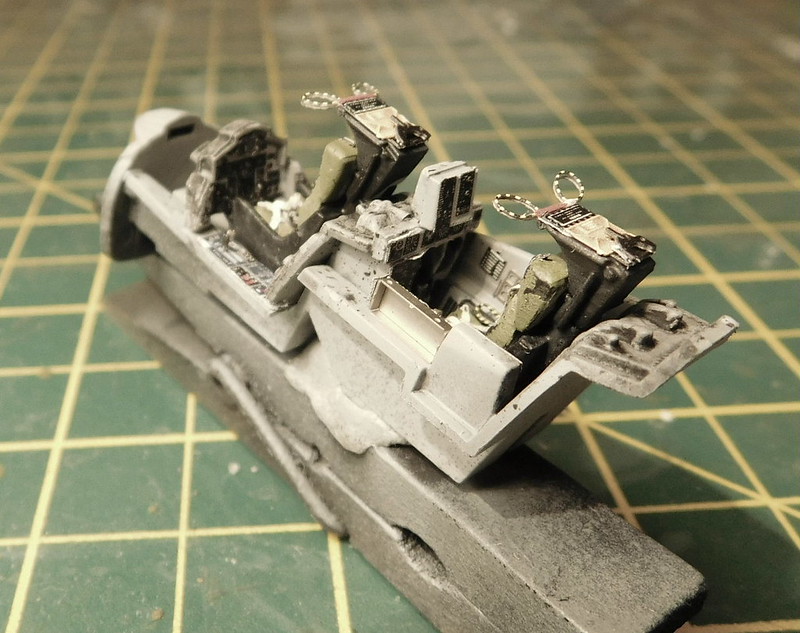
Now for the build, pit first of course. Pit is not bad OOB, with decals for instrument panels. But of course i had to enhance it with some Eduard PE. Unfortunatly i neglected to take builds while putting it together. But one nice feature is that each seat is in 3 parts, one of which is the cushions so these can be painted seperatly before fitting them into the seat.
Also got the air intakes installed into the fuselage halves. One nice touch is the length of the intakes.
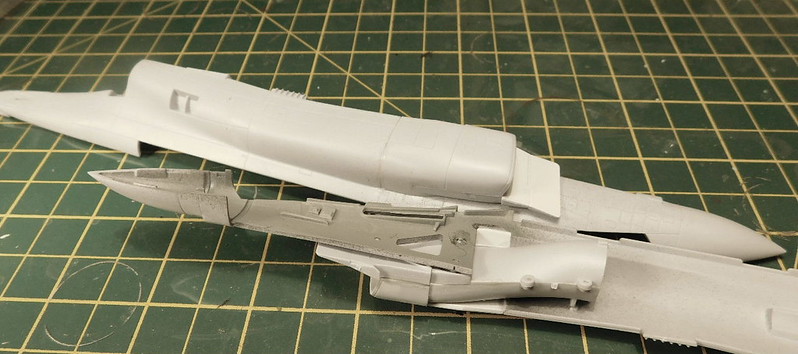
The intake pipes are each made up of 2 pieces with a 3rd being fitted to the outside after the pipes are in. You can see that this pieces joins at some very fine recessed rivet detail. To that end i added this parts earlier than the instructions indicate so i could apply the glue to the inside.
With the cockpit fitted i got the fuselage halves together and these joined up well. But you can see that the fuselage halves do not join up along the top, instead there is a seperate piece which fits in there, i am woundering if this indicates other variants to follow. But the fit of this part was not perfect, it did need to clamping.
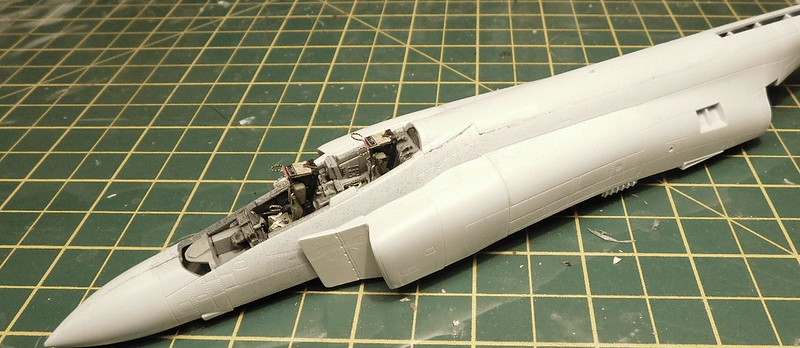
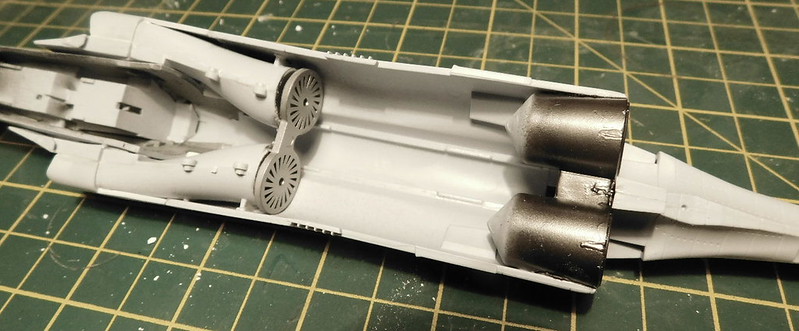
And inside with the induction fans, which here has come away on one side and was fixed after, along the the internal part of the exhausts.
And then to fited the lower portion of the fuselage which includes part of the lower wings. Again, there were fit issues. I always worry when i have a problem with fit woundering if its somthing i have done or the kit, especially when i can't find anyone else with the same issue.But after checking a checking i could see what was stopping the lower portion going into place at the front and this needed clamping as well.
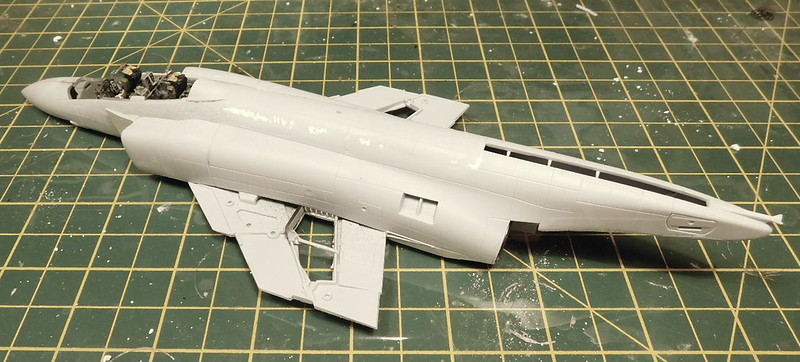
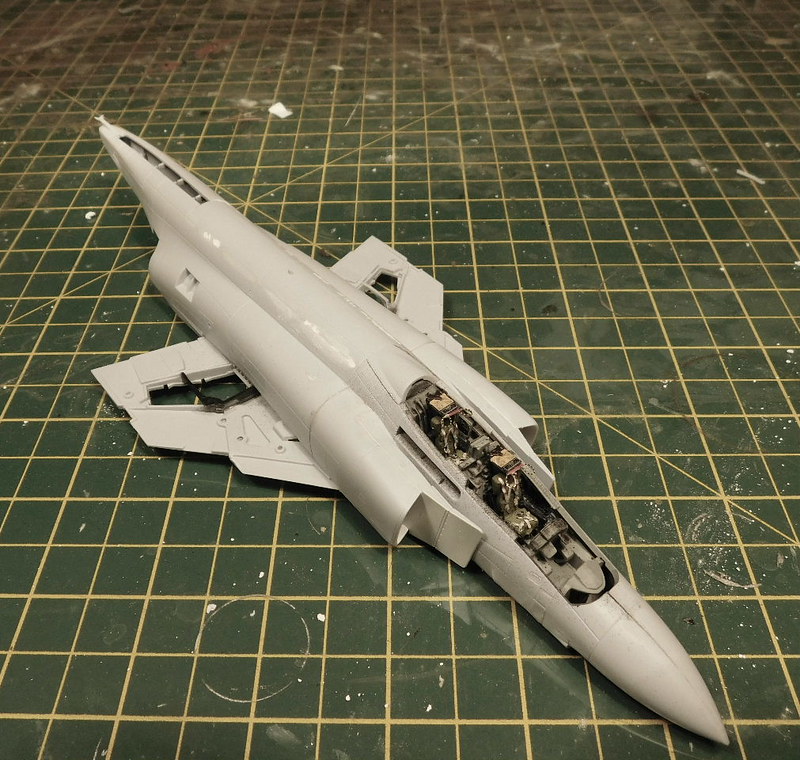
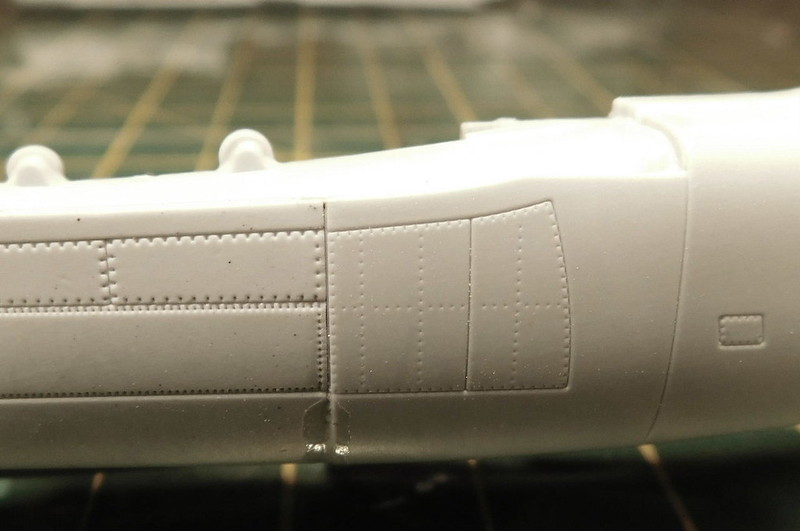
There is a slight step where the lower setion joins just behind the intakes, i thought i had a close up but seem to have deleated it. Again, not sure what the issue is. There is some engraved detail tehre and its not huge, and it is underneath, so i plan to do a bit of sanding without removing the detail and trying not to creat a curve.
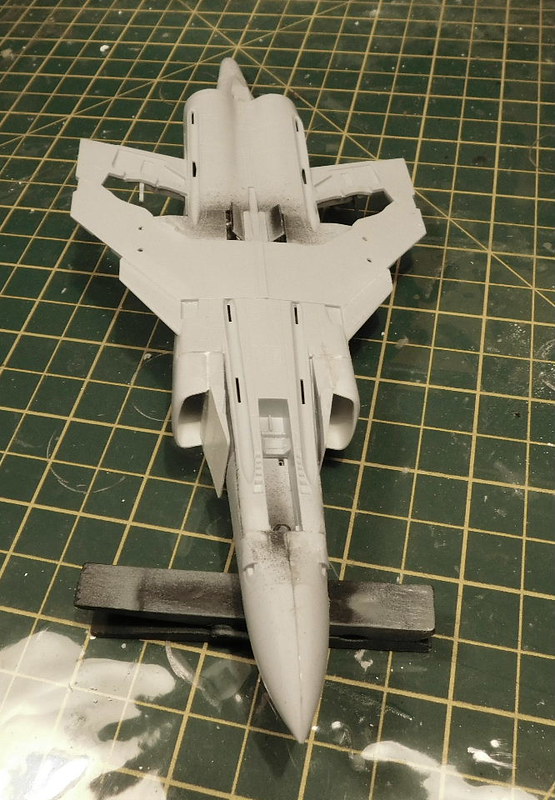
Thats it for now. A bit of sanding and seam sorting to follow.