SEARCH FINESCALE.COM

Enter keywords or a search phrase below:

Aircraft of the Commonwealth GB

44687 views
1113 replies
1 rating 2 rating 3 rating 4 rating 5 rating
  • Member since
    June 2008
Posted by lewbud on Tuesday, March 5, 2019 3:33 AM

Thanks Nick. Yes, they are available 1/48. They do Eastern Canada squadrons as well, they aren't as colorful though.

http://lemdecal.com/P-51%20Mustang%20RCAF%2048.80.html

Buddy- Those who say there are no stupid questions have never worked in customer service.

  • Member since
    August 2015
  • From: the redlands Fl
Posted by crown r n7 on Tuesday, March 5, 2019 2:58 AM

The black primer does the trick with the aluminum and the red trim looks awesome I wonder if those decals are offered in 1/48? Btw thanks for you comments.


 Nick.

  • Member since
    June 2008
Posted by lewbud on Tuesday, March 5, 2019 2:17 AM

Griffin and Crown, 

Nice work on the Hunters! Crown, I really like those roundels.

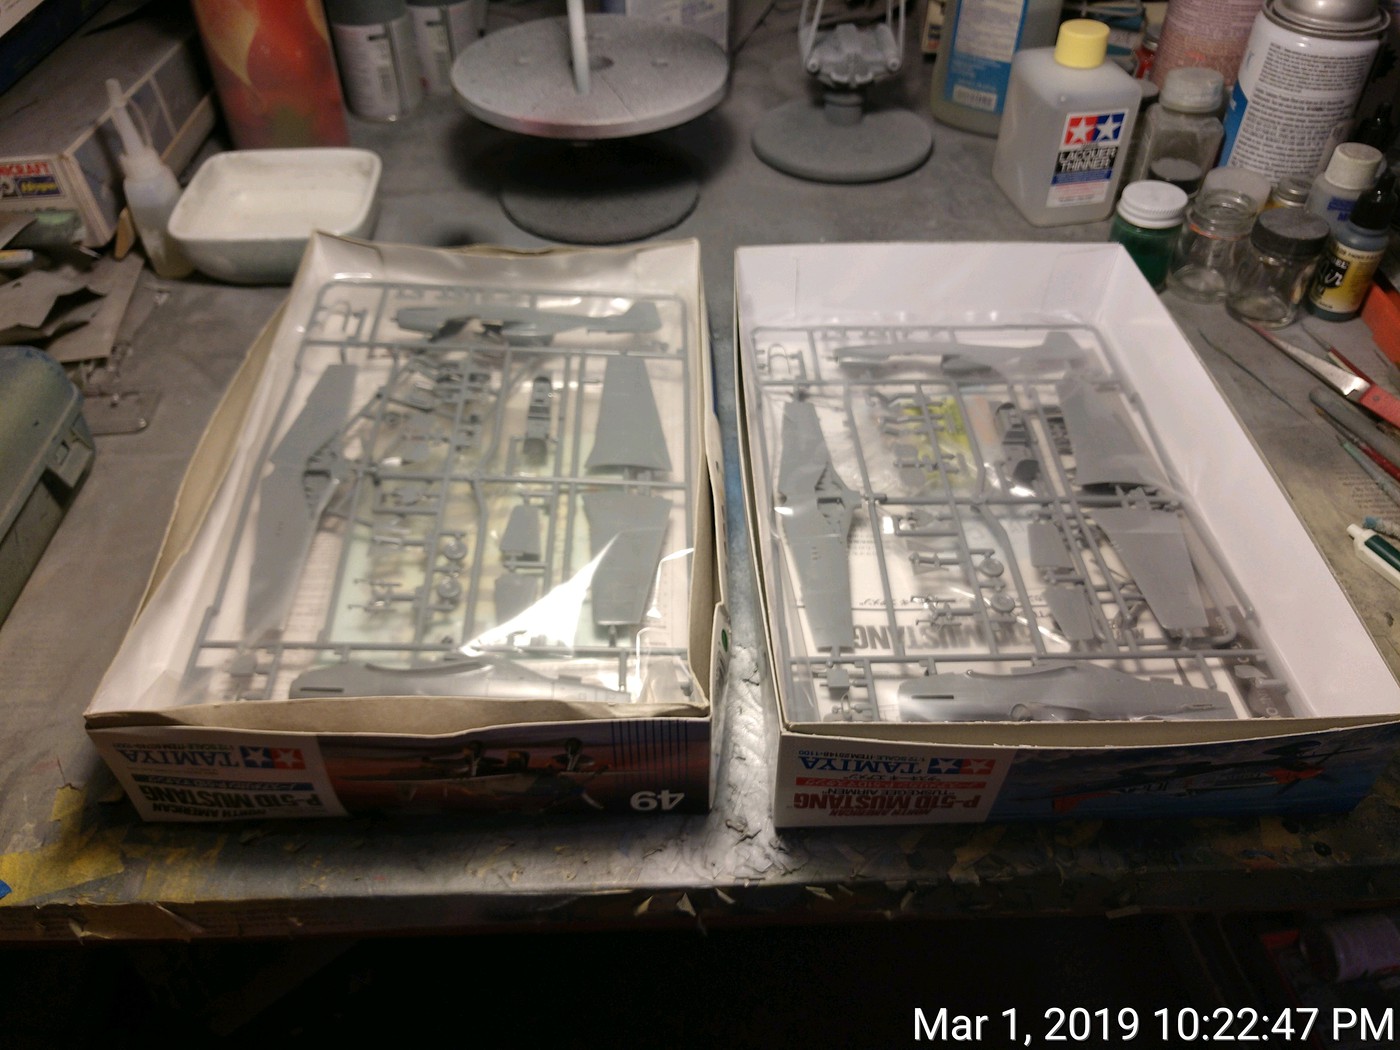
Here's my latest attempt. Tamiya's venerable 1/72 P-51 in Canadian markings.  I started this as part of the last weekend of the Weekend GB (goal is to build AND finish a model in 48 hours). I failed in the attempt. Anyways, on with the adventure.

Proof of unstartedness. Yes, I bit off more than I could chew and tried to do a twofer.
The first complete subassemblies. I know, boring, but at least they are done. 
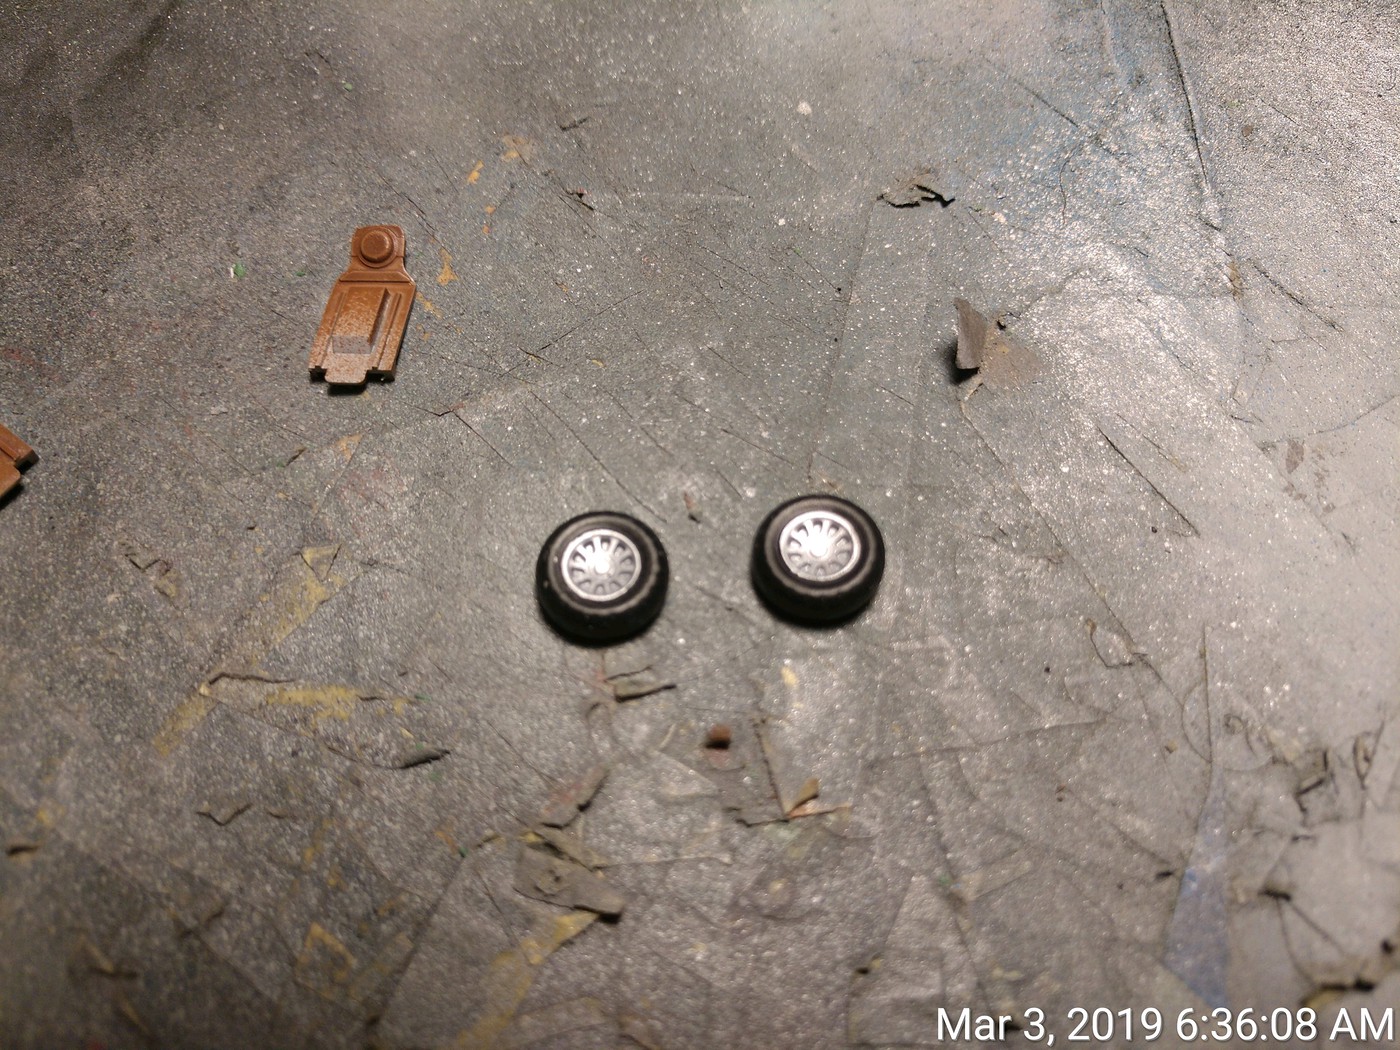
The wings are done.

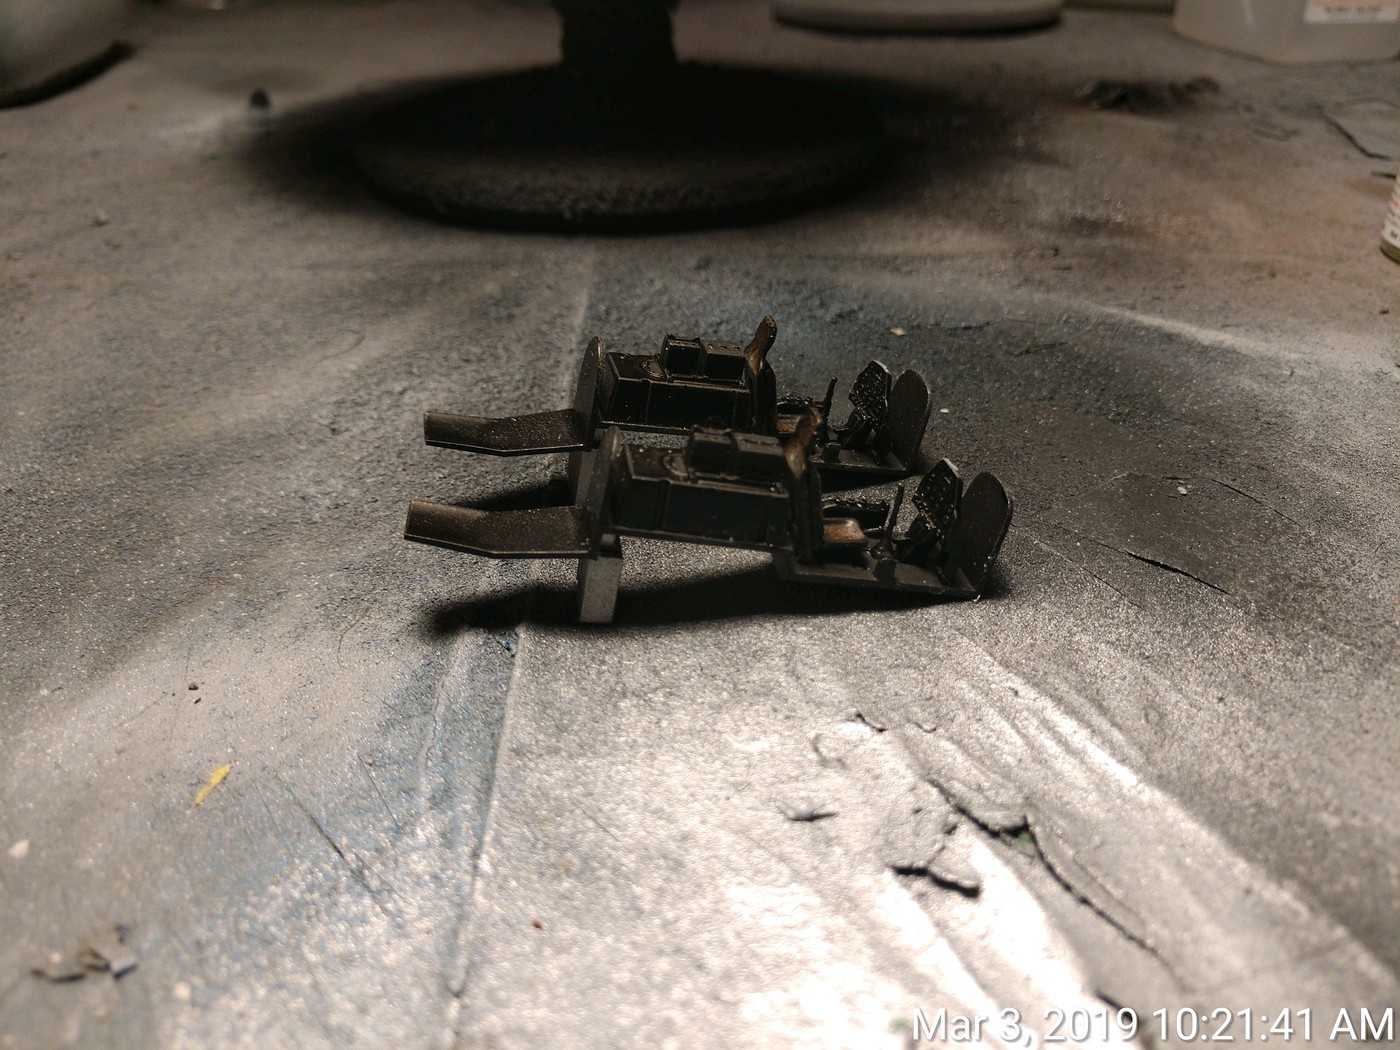
The pits are done. According to the Leading Edge decals, the aircraft I'm building had a black cockpit. The other pit is for a Guatemalan bird. Since Guatemala got some of their Mustangs from Canada, it got a black pit as well.
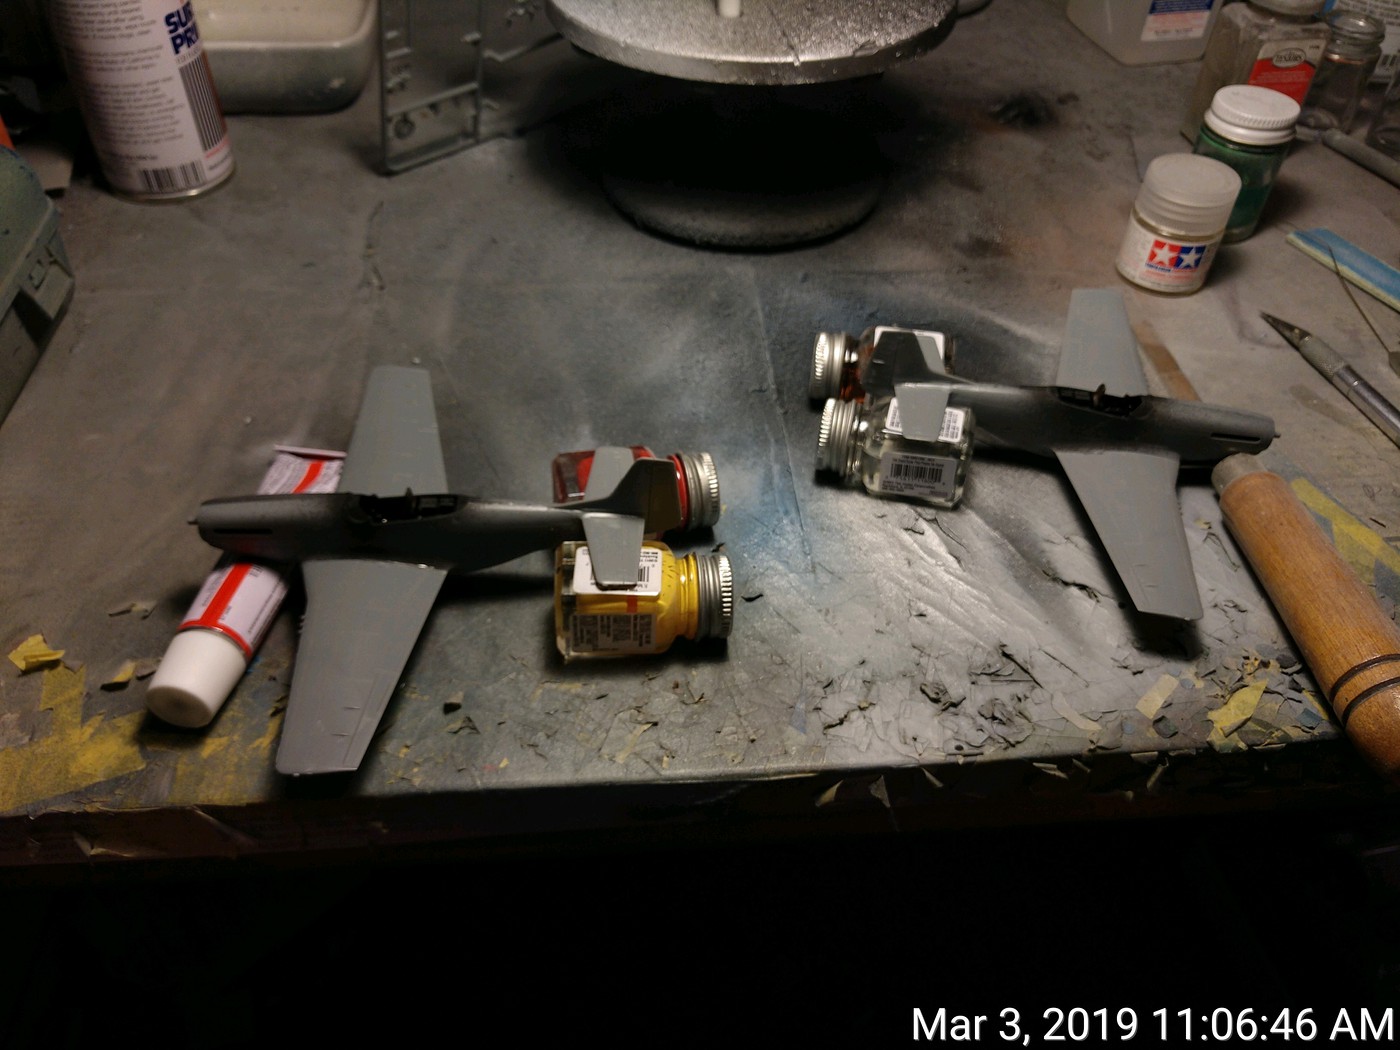
I now have two aircraft. At this point I should have decided to press on with the Guatemalan aircraft because it had the simpler paint scheme. However, I chose to press on with the Canadian bird.
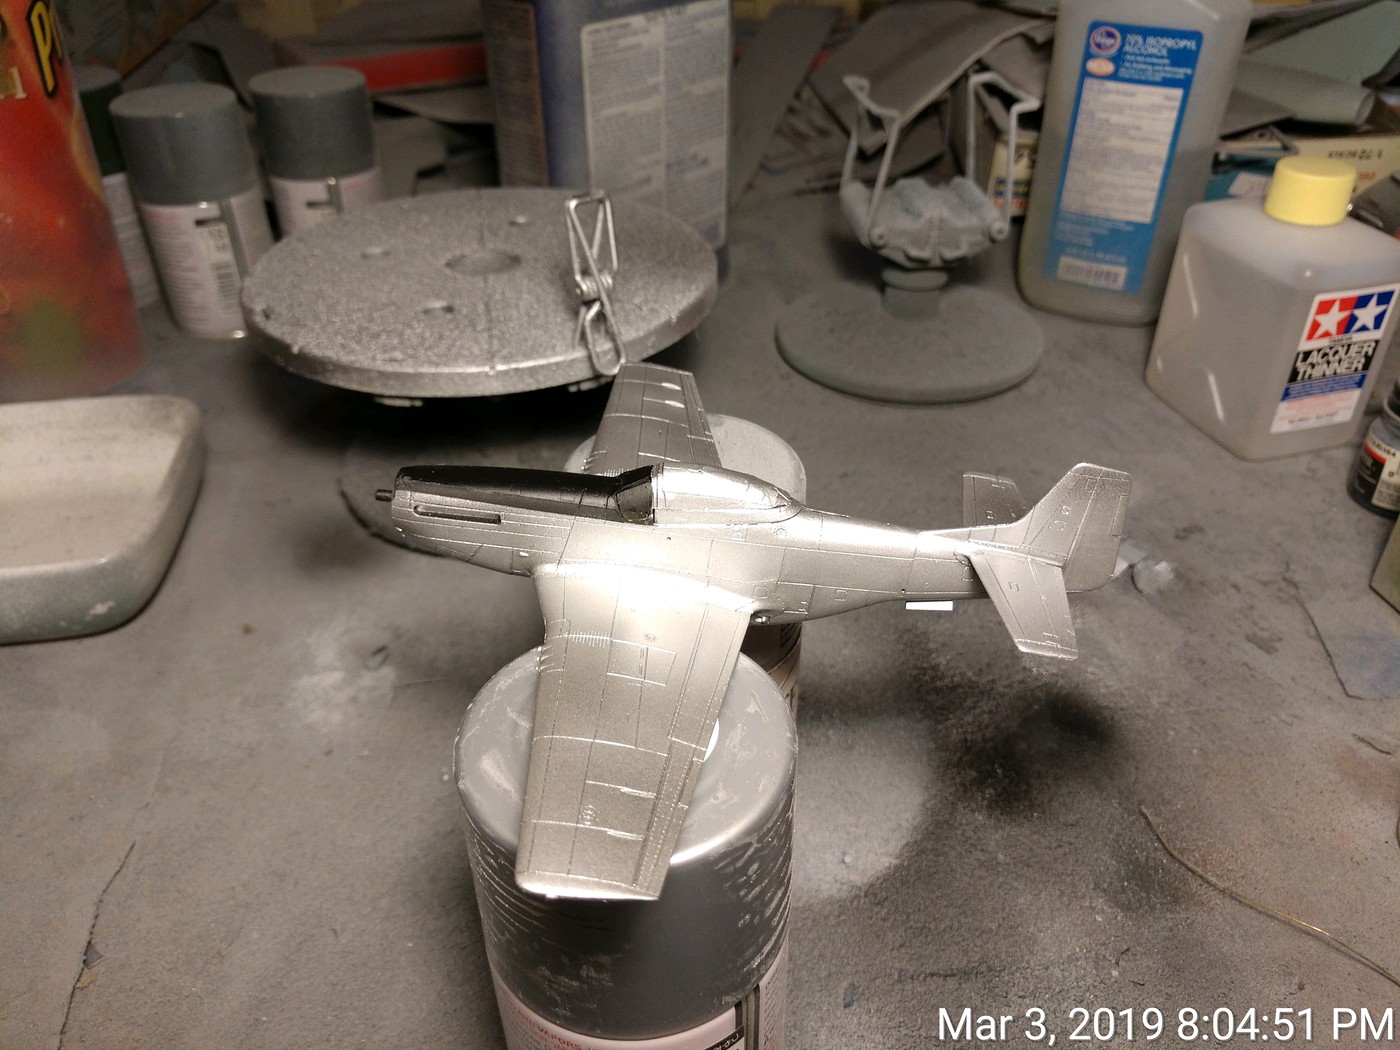
Sometime later, I made the decision to go with one aircraft. Here she is all nice and shiny. Paint is Tamiya's rattle can TS-17 Gloss Aluminum (or should that be Aluminium?). I used Tamiya's Matt Black as a base, which brings out the grain a bit.
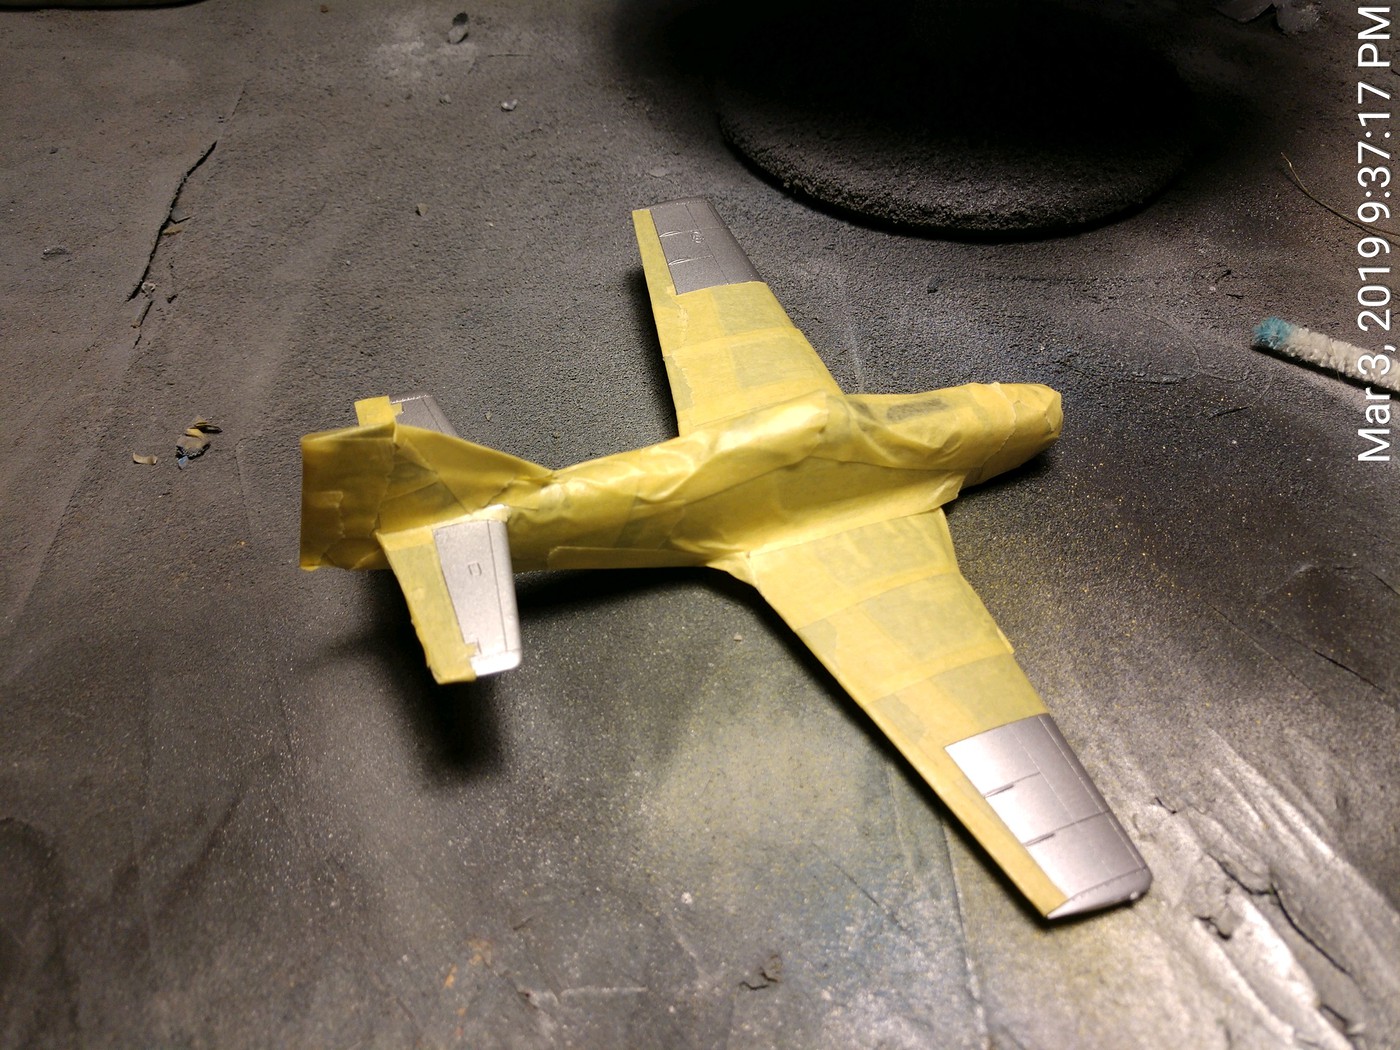
Here she is all masked up for a paint fight.
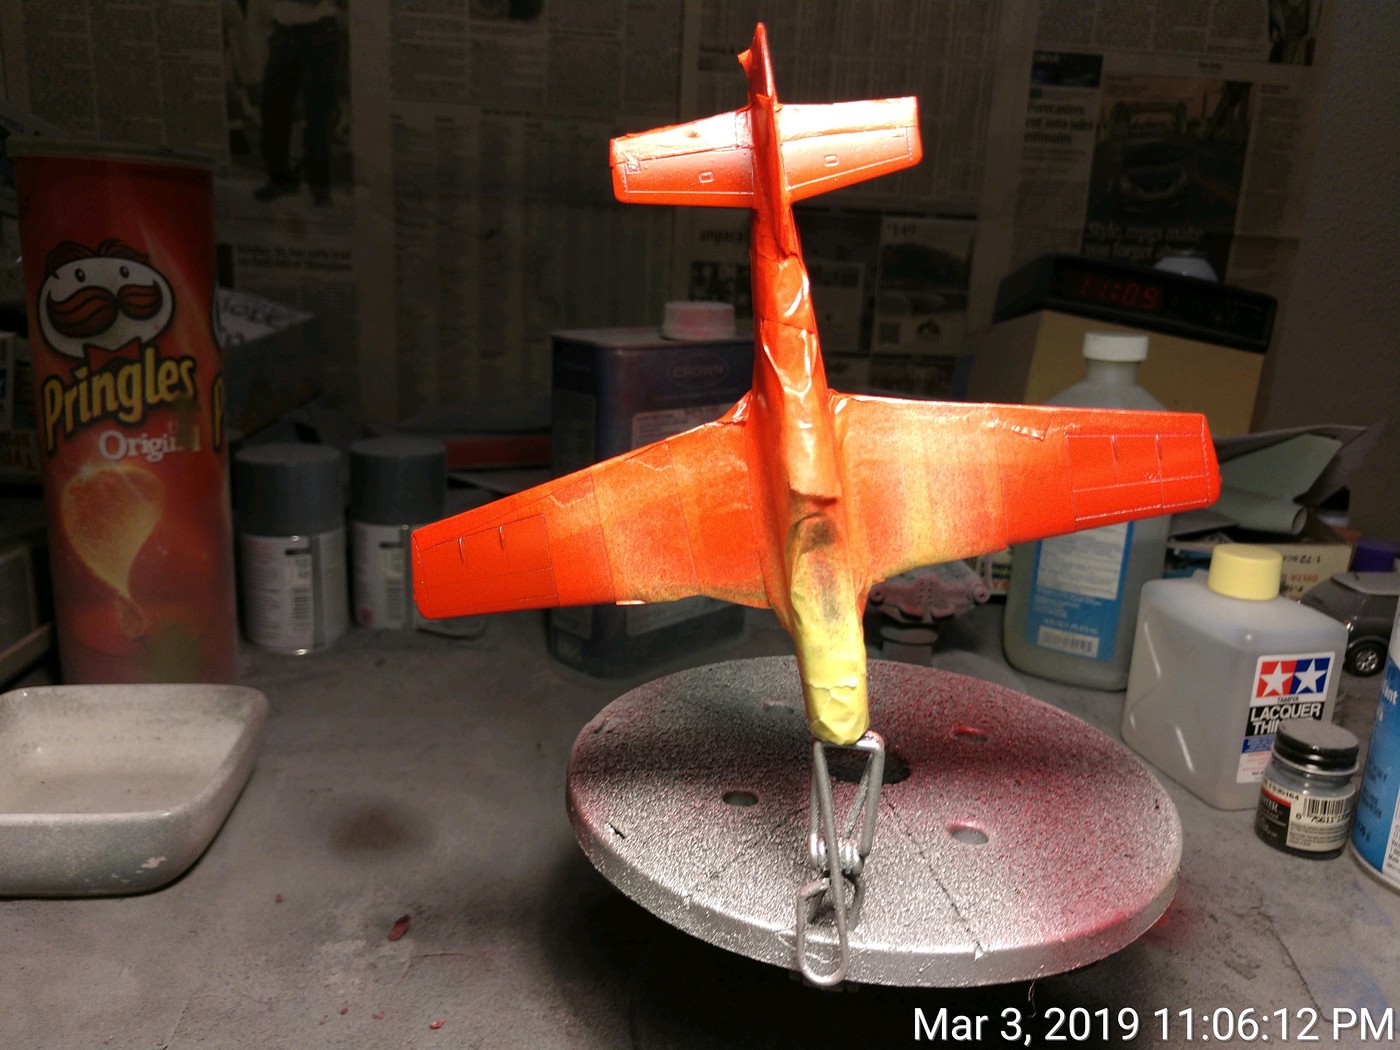
The red is on. I thought I used Tamiya's Bright Red, but I used their Italian Red instead. On the sheet are some markings for a couple of squadrons that had a big red lightning bolt running down the sides of the fuselage. I think the Bright Red will definitely be a better match for those markings when I get to them.
The decalling process has begun.
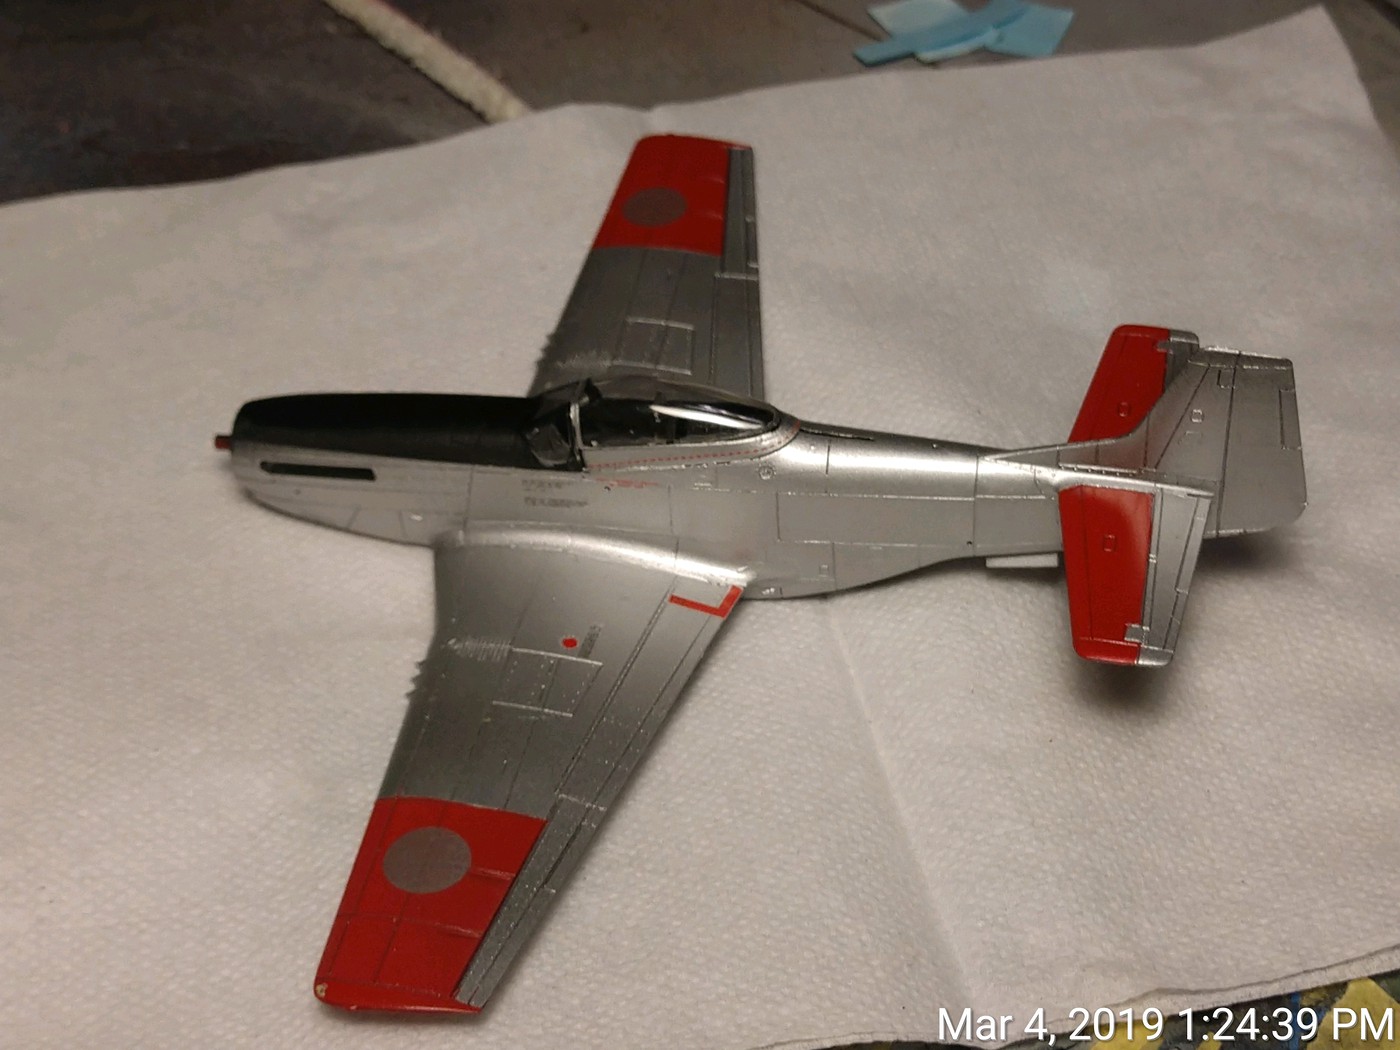
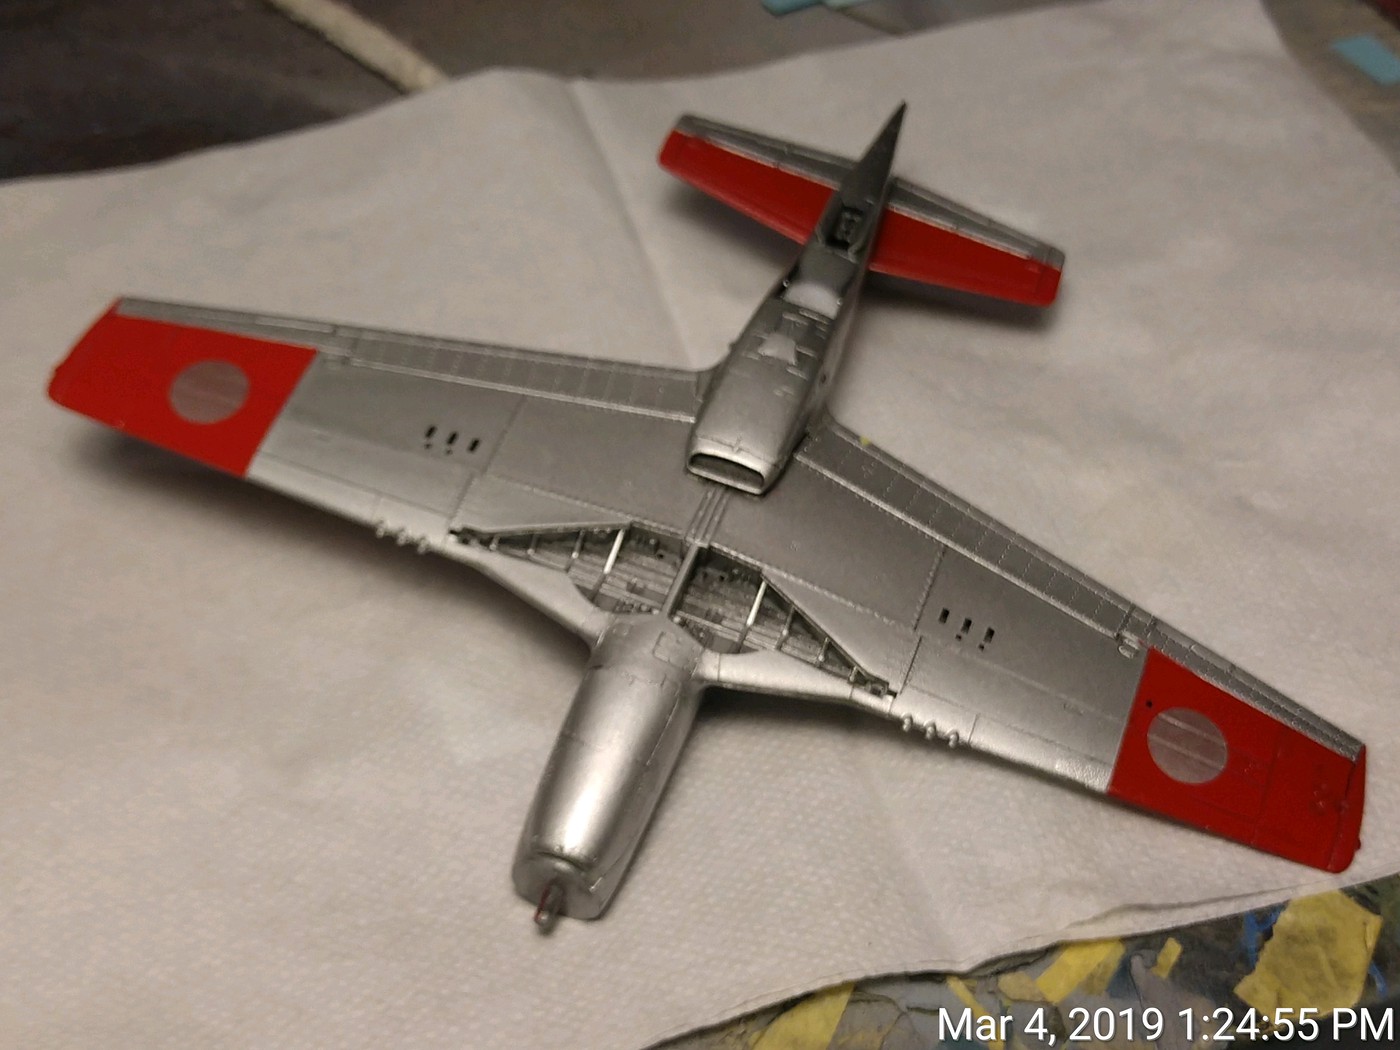
That is where she's at now. Tomorrow I should finish the rest of the stencils and get the blue pinstripes and speedbird on. Hope to have her done by Wednesday.

Buddy- Those who say there are no stupid questions have never worked in customer service.

  • Member since
    August 2015
  • From: the redlands Fl
Posted by crown r n7 on Monday, March 4, 2019 5:12 PM

My lastest pics after oil wash and a light coat of Tamiya flat clear to give a semi gloss look


 Nick.

  • Member since
    May 2015
Posted by Griffin25 on Monday, March 4, 2019 9:18 AM

 Thanks guys! 


Griffin

  • Member since
    April 2006
  • From: ON, Canada
Posted by jgeratic on Sunday, March 3, 2019 10:21 PM

Griffin, a fine study you have made of the Hunter, along with a well balanced scene with the figures and ground work. Yes


--------------------


lewbud

Jack, you're killing me with that biplane of yours, it looks great.


lewbud, thank you - wish I had more updates but had no bench time this past week.

regards,

Jack

  • Member since
    November 2009
  • From: SW Virginia
Posted by Gamera on Sunday, March 3, 2019 9:22 PM

Griffin: Wow! Looks perfect, the Hunter, tarmac, and figures all came out fantastic!!!

Nick: Love your Hunter too, after your paint issues the camo looks perfect now! And I love those Rhodesian insignia.

"I dream in fire but work in clay." -Arthur Machen


  • Member since
    August 2015
  • From: the redlands Fl
Posted by crown r n7 on Sunday, March 3, 2019 3:04 PM

Awesome job on those figures Griffin and in that scale ! I like the lights on the uniforms.


 Nick.

  • Member since
    May 2013
  • From: From the Mit, but live in Mason, O high ho
Posted by hogfanfs on Sunday, March 3, 2019 1:50 PM

Griffin,

Nice finish on the Hunter! 

 Bruce


 On the bench:  1/48 Eduard MiG-21MF

                        1/35 Takom Merkava Mk.I


  • Member since
    May 2015
Posted by Griffin25 on Sunday, March 3, 2019 1:08 PM

Thank you Bish 


Griffin

  • Member since
    December 2002
  • From: Bury St Edmunds, Suffolk, England
Posted by Bish on Sunday, March 3, 2019 12:00 PM

Will do lewbud.

I am a Norfolk man and i glory in being so


On the bench: Airfix 1/72nd Harrier GR.3/Fujimi 1/72nd Ju 87D-3

  • Member since
    June 2008
Posted by lewbud on Sunday, March 3, 2019 11:51 AM

Bish,

Could you add a 1/72 Tamiya P-51D to my list please? I'm building it for the Weekend GB's Last Gasp. She'll be in RCAF post war markings for 443 Squadron "City of New Westminster" British Columbia. I still plan on doing the Sea Hawk.  Lots of good work going on here. Jack, you're killing me with that biplane of yours, it looks great.

Buddy- Those who say there are no stupid questions have never worked in customer service.

  • Member since
    December 2002
  • From: Bury St Edmunds, Suffolk, England
Posted by Bish on Sunday, March 3, 2019 11:21 AM

Historically accurate or not, thats a very nicely turned out Hunter Griffin. I like the final lok and its well presented.

I hate those sink marks on the back of small figures, i am always missing those.

Thanks for taking part and shareing that with us. Front page has been updated.

I am a Norfolk man and i glory in being so


On the bench: Airfix 1/72nd Harrier GR.3/Fujimi 1/72nd Ju 87D-3

  • Member since
    December 2002
  • From: Bury St Edmunds, Suffolk, England
Posted by Bish on Sunday, March 3, 2019 11:17 AM

Nick, that is looking very nice. Never seen those roundels before, ilike those.

I am a Norfolk man and i glory in being so


On the bench: Airfix 1/72nd Harrier GR.3/Fujimi 1/72nd Ju 87D-3

  • Member since
    May 2015
Posted by Griffin25 on Sunday, March 3, 2019 10:56 AM

Nick that paint job is awesome! 

Well I finally finished. I missed a sink mark on the back of the pilot I just noticed. It came out pretty good overall. It's not exactly historically accurate but it's pretty close. Haha. The first photo can be posted on the front page, thanks Bish. 


Griffin

  • Member since
    August 2015
  • From: the redlands Fl
Posted by crown r n7 on Sunday, March 3, 2019 10:06 AM

Gooooood rainy morning form the florida redlands (here is where we grow stuff to eat )

I applied the 50's Rhodesian roundels  and soon the weathering begins ....Im sorry 35 years in the tech world I have to break away form the term Process.


 Nick.

  • Member since
    August 2015
  • From: the redlands Fl
Posted by crown r n7 on Saturday, March 2, 2019 8:20 AM

Gamera Thank you for the tip.I am now using 5 drops of ak to 1 drop of ak thinner @20lbs air and so far so good!!

Jack Thank you the worm method works well to get the basic shape of camo but with out masking run the risk of bleed over and thats not a big deal if your patient and not in a rush( thats just me)

I warpped up the camo I have tamiya on the under side and ak on top side need to clear coat then decals and weather.


 Nick.

  • Member since
    April 2006
  • From: ON, Canada
Posted by jgeratic on Thursday, February 28, 2019 5:05 PM

Nick, thanks for that.

I like the colours you've got going on that camou.  One of these days I've got to try the 'worm' method.

regards,

Jack

  • Member since
    November 2009
  • From: SW Virginia
Posted by Gamera on Thursday, February 28, 2019 2:35 PM

Nick: I've used the AK Interactive paint but never had any issues here. I normally use only a few drops of windshield water fluid or their own thinner to the colour cup on my airbrush. It always dried quick and perfectly for me.

The camo looks good, looking forward to more. 

"I dream in fire but work in clay." -Arthur Machen


  • Member since
    August 2015
  • From: the redlands Fl
Posted by crown r n7 on Thursday, February 28, 2019 1:56 PM

Jack very nice detailing !!

Griffen your hunter looks great and that tarmac stunning.

I started on the camo on my hunter using ak interactive air. im having problems with it bad idea I like to thin my paint little more then normal but its too thin well my inexperience with ak and its glossy and tacky we will see how it goes.


 Nick.

  • Member since
    November 2009
  • From: SW Virginia
Posted by Gamera on Monday, February 25, 2019 11:22 AM

Jack: Ohhhhhh, cool! Neat anniversary bird! 

"I dream in fire but work in clay." -Arthur Machen


  • Member since
    December 2002
  • From: Bury St Edmunds, Suffolk, England
Posted by Bish on Monday, February 25, 2019 2:01 AM

That would be nice if you can jack. And don't forget you can keep posting here even once the GB has closed.

I am a Norfolk man and i glory in being so


On the bench: Airfix 1/72nd Harrier GR.3/Fujimi 1/72nd Ju 87D-3

  • Member since
    April 2006
  • From: ON, Canada
Posted by jgeratic on Sunday, February 24, 2019 11:26 PM

Thank you Colin and Bish.

Yeah there's some detail I could have avoided by building a later Sisken as it appeared in the 1930's.  The armament and associated equipement seems to have eventually been eliminted, chutes skinned over and possibly the gun troughs too - which is how the original Matchbox kit was presented.  

I'm going for a 1929 airframe, which was part of a trio doing airshows.  That year was also the 10th anniversary of the first nonstop flight across Atlantic.  To mark the occasion, two of three Siskens had the pilot's names christened on the sides of the cockpit.  Airframe no.59 was dedicated to the pilot John Alcock:

While airframe no.20 displayed the navigator's name, Arthur Brown:

Going by the details of the close up and combining the word length/spacing, was able to come up with a fairly accurate inscription:

 Hopeful can get this done before the 100th anniversay in June of this year...

regards,

Jack


  • Member since
    December 2002
  • From: Bury St Edmunds, Suffolk, England
Posted by Bish on Sunday, February 24, 2019 1:12 PM

Looks good Griffin, nice work on that base. I did not realise they did those. Can't wait to see the Hunter parked up.

I am a Norfolk man and i glory in being so


On the bench: Airfix 1/72nd Harrier GR.3/Fujimi 1/72nd Ju 87D-3

  • Member since
    December 2002
  • From: Bury St Edmunds, Suffolk, England
Posted by Bish on Sunday, February 24, 2019 1:11 PM

Colin, could agree more. But then i don't think we could expect anything less. As always jack, amazing. Theres things there i would not have even thought of doing.

I am a Norfolk man and i glory in being so


On the bench: Airfix 1/72nd Harrier GR.3/Fujimi 1/72nd Ju 87D-3

  • Member since
    January 2012
  • From: Barrie, Ontario
Posted by Cdn Colin on Sunday, February 24, 2019 11:47 AM

The effort, skill, and attention to detail on that Siskin is absolutely incredible.

I build 1/48 scale WW2 fighters.

Have fun.

  • Member since
    April 2006
  • From: ON, Canada
Posted by jgeratic on Saturday, February 23, 2019 9:21 PM

Thank you Clif.

Grif, thanks and I like how yours is coming along.  Good idea that corner section of grass, breaks up the base into a more interesting shape.


regards,

Jack

  • Member since
    November 2009
  • From: SW Virginia
Posted by Gamera on Saturday, February 23, 2019 5:22 PM

Jack: She looks awesome, love all the extra detail you've added.

Griffin: Yours looks great too, fantastic to see you that close to finishing.

"I dream in fire but work in clay." -Arthur Machen


  • Member since
    May 2015
Posted by Griffin25 on Saturday, February 23, 2019 11:46 AM

LA: Sweet looking paint scheme. I'm glad there are a few of us still working on projects in this build. 

Jack: Your custom detail work is beyond great. Wow! Impressive stuff.

Well I am getting close to finishing. The Hunter is 95% done. I have painted the base. It's from reality in scale. It came almost ready to use out of the bag but it needed to be shaded and weathered. I am also painting 2 Hasagawa air force personnel and the access ladder to make a vignette out of it all. 


Griffin

  • Member since
    April 2006
  • From: ON, Canada
Posted by jgeratic on Friday, February 22, 2019 11:26 AM

Update on my Siskin, I've noted the work directly on the photos.  The only thing not mentioned is the extension of the separate cowl piece, it's the area in light green putty.  The same width was removed from the fuselage directly behind that - if you can follow that?  I also made a pair of 7.7mm machine guns from brass tubes, but will add those after everything is painted.

regards,

Jack

JOIN OUR COMMUNITY!

Our community is FREE to join. To participate you must either login or register for an account.

SEARCH FORUMS
FREE NEWSLETTER
By signing up you may also receive reader surveys and occasional special offers. We do not sell, rent or trade our email lists. View our Privacy Policy.