SEARCH FINESCALE.COM

Enter keywords or a search phrase below:

The Airfix Welcome Back GB from Jan 07 to Dec 07

33858 views
228 replies
1 rating 2 rating 3 rating 4 rating 5 rating
  • Member since
    December 2002
  • From: Northern California
Posted by jeaton01 on Thursday, March 22, 2007 3:04 AM

I'm making progress on the TSR.2 now.  The cockpit is all done except for a few areas that need touching up which I didn't see until I had the photos up.  I added some PE seat belts which is a first for me,  I sort of hate putting them in but they do add interest.  I have the World Air Power Journal with an article on the TSR.2 and there is plumbing that I could add, but I am going to pass on that because I doubt I could do it well enough yet.  I had to trim the rear IP on top and remove some lugs on the cockpit tub that were on the parts but not on the instructions where that panel fit on the tub.  Also I removed some of the ribs in the top of the fuselage and reformed one side on top between the two cockpits, and now the fit of the hatches is pretty good, which it was not before.  I think the ribs pulled the top of the fuselage down as they cooled.  The ribs were to locate the bulkheads between the two cockpits and were unnecessary anyway.

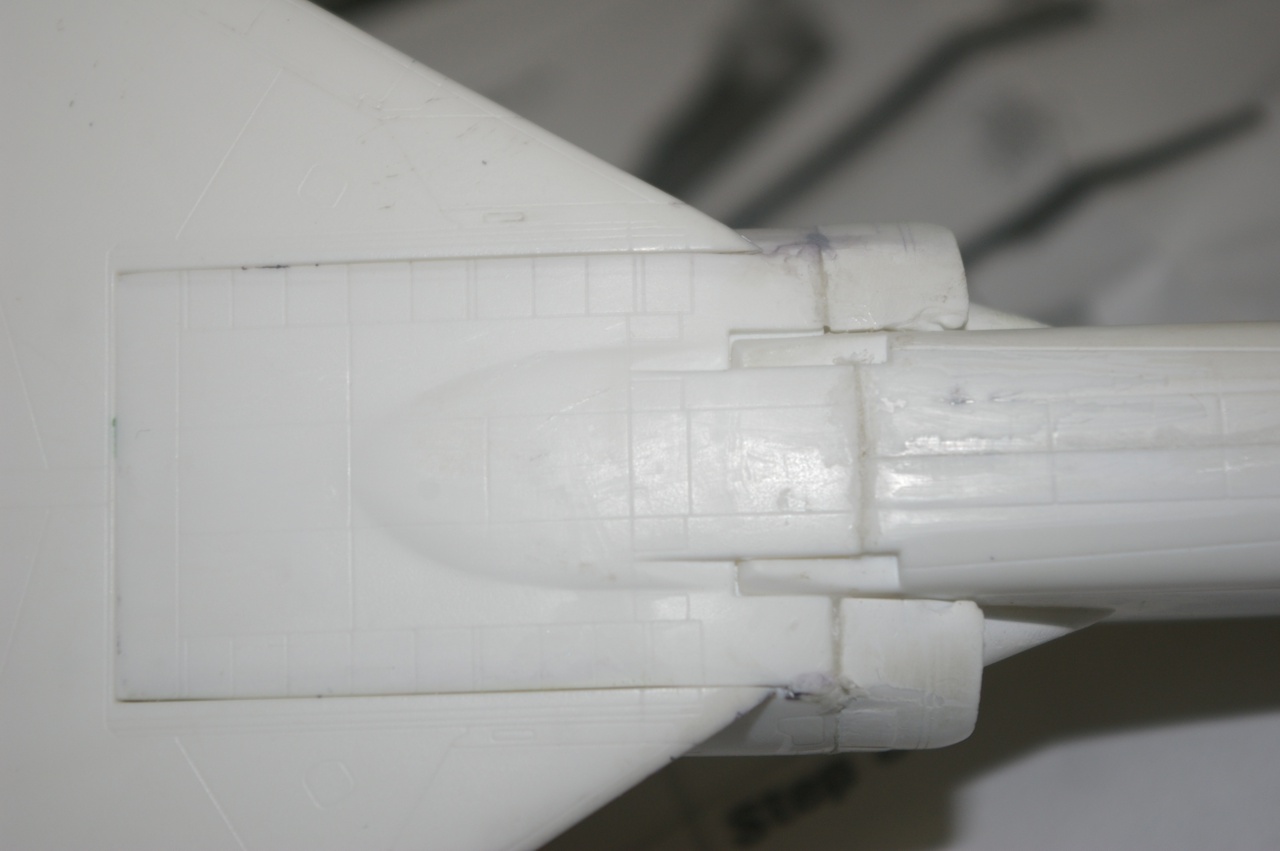
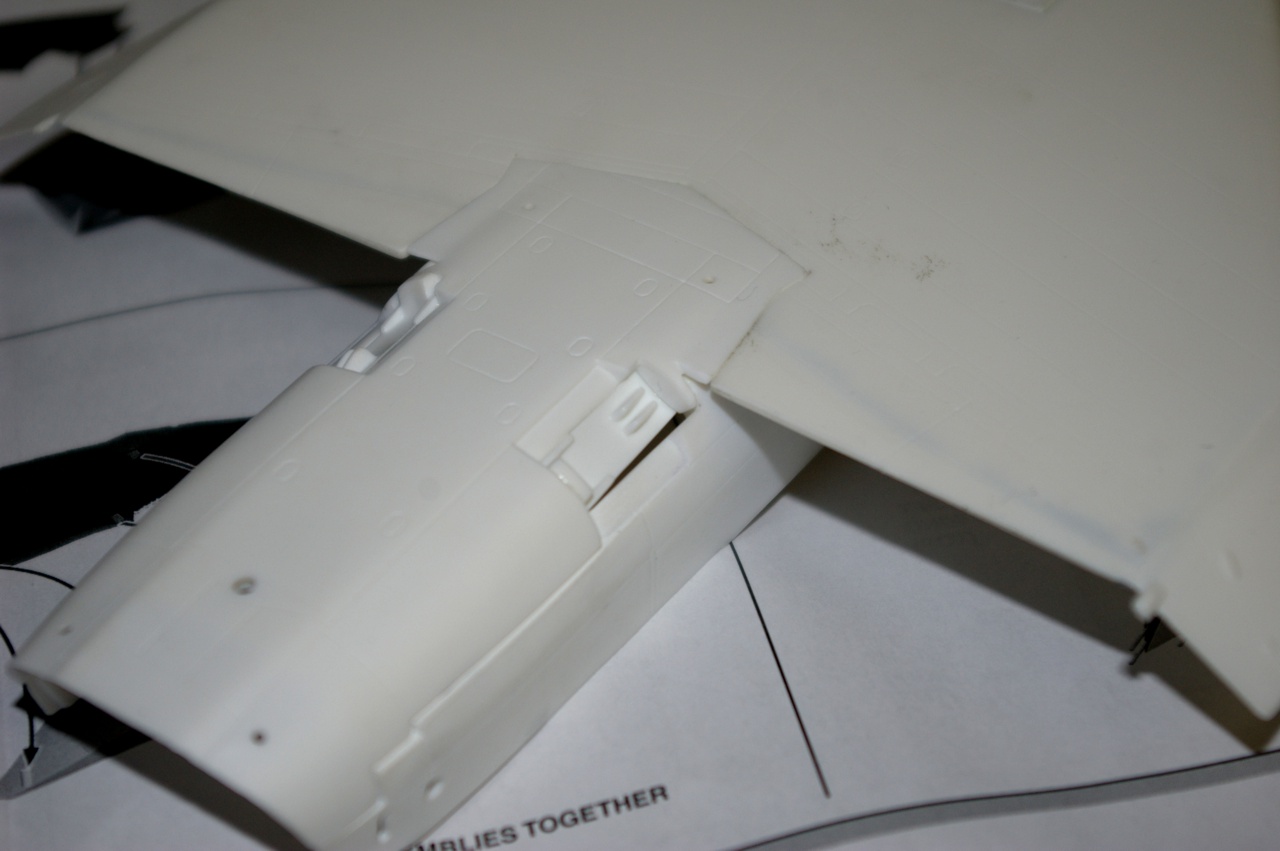
This last photo shows where the filler is needed on the lower wing surfaces, both sides need it.  A little more work is needed but little or no surface detail should be lost.

John

To see build logs for my models:  http://goldeneramodel.com/mymodels/mymodels.html


  • Member since
    December 2005
  • From: Germany
Posted by jeff on Friday, March 23, 2007 9:26 AM
Very nice!  Can't wait to see it finished.  I'm hoping Airfix Mk.2 rereleases the TSR.2 again for those of us who didn't get one first time around and aren't willing to pay crazy ebay prices.  I've put my Lightning on hold temporarily.  I painted the top half Med. Sea Grey (Xtracolor) and the bottom half Barley grey per my references, but the Sea Grey is way too light compared to photos.  I'll respray soon, but trying to finish another GB first.
"Congratulations, gentlemen! You're everything we've come to expect from years of government training." Zed (Men in Black) [IMG]
  • Member since
    December 2002
  • From: Northern California
Posted by jeaton01 on Friday, March 23, 2007 11:03 PM

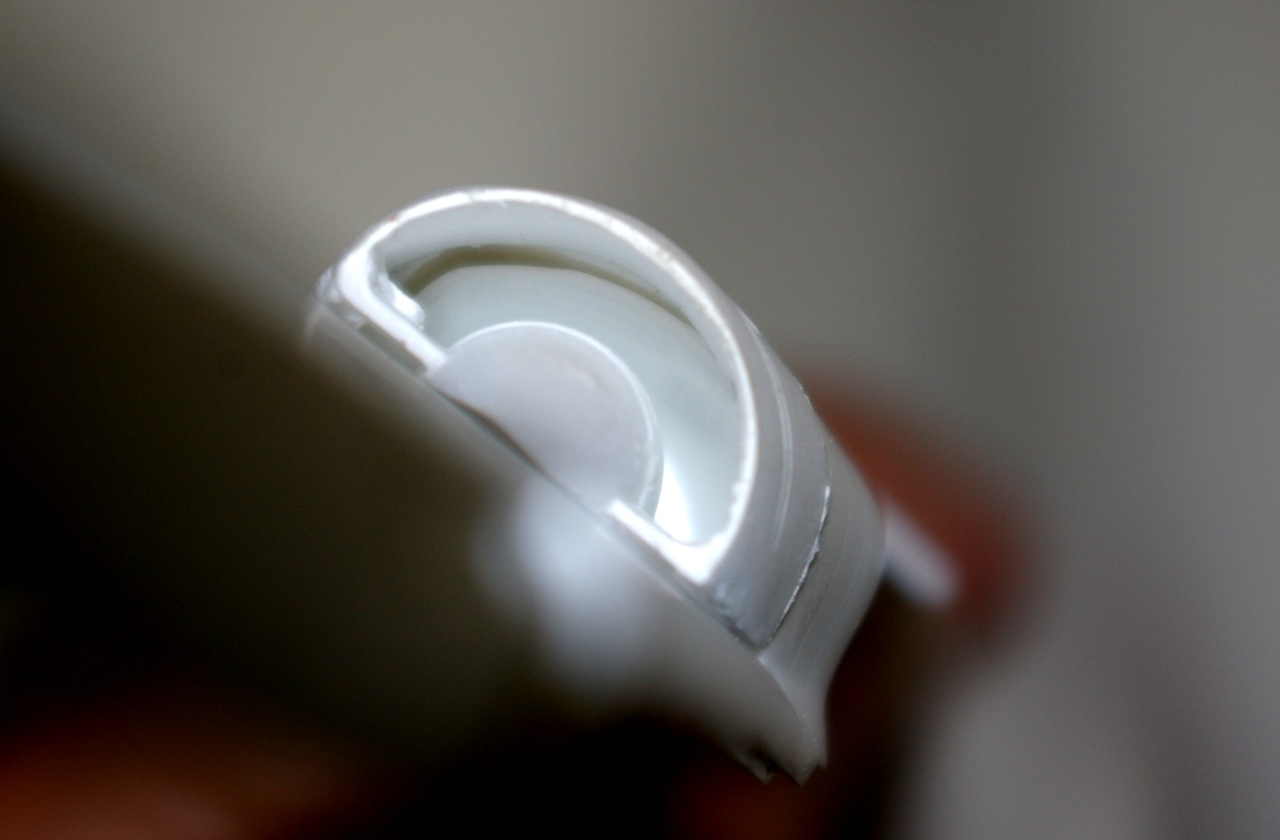
More TSR.2 progress.  I spent more than 4 hours on the air inlets yesterday and finally just put them together like Airfix designed it, after thinning the front edge of the rear duct.  The problem is the rear duct just doesn't fit, and the fuselage interferes with the duct's fit.  Without really major surgery there isn't any way I can see to fix it.  I don't have any pictures down the throat of the inlet so I am not sure if air was allowed to bypass, but I am pretty sure that the parts in the Airfix box are not very much like what is in the real TSR.2.  Anyone able to get that picture for me?  It is FOD cover time.  Considering how well most of the kit is engineered, it looks to me like the Airfix people were still working on the inlet problem when somebody shot the engineers and put the kit into production. 

The first photo shows part of the inlet problem but not all of it.  On a positive note (and I am having fun with this kit) the wing fits very well, after just the slightest bit of work.  Pictures of that also.  I'm using Vol. 4 of Wings of Fame as a reference, it is very good with a ton of color photos.  On the real TSR.2 the wing was mounted to the fuselage so that it could move a small amount fore and aft and up and down in flexible mounts, and the kit represents this very well.  This was done to allow flexing of the wing and fuselage in high speed low level flight.  There is a little filling to do up near the intakes on top, but not bad.  Just a little superglue.  I'm working aft of the wing now and there is a gap to work with on the speed brake wells.  Strangely enough on most of the photos of XR219 flying the speedbrakes are hanging just slightly open, sometimes also on the ground. 
John

To see build logs for my models:  http://goldeneramodel.com/mymodels/mymodels.html


  • Member since
    March 2007
  • From: Carmel, CA
Posted by bondoman on Saturday, March 24, 2007 1:55 AM

John- here's how I cleaned up my intakes.

I've got a TSR.2 in the stash, to add to the Vulcan/Victor/Valiant(not built) collection. Your advice will be valuable.

Bondoman

  • Member since
    December 2002
  • From: Northern California
Posted by jeaton01 on Saturday, March 24, 2007 11:47 AM
 bondoman wrote:

John- here's how I cleaned up my intakes.

I've got a TSR.2 in the stash, to add to the Vulcan/Victor/Valiant(not built) collection. Your advice will be valuable.

Bondoman

None of my grandkids are that small anymore.Sigh [sigh]  Was that photo taken at Beale?


John

To see build logs for my models:  http://goldeneramodel.com/mymodels/mymodels.html


  • Member since
    March 2007
  • From: Carmel, CA
Posted by bondoman on Sunday, March 25, 2007 12:30 AM

Hi John- here's a link to the photos, not mine.

http://www.clubhyper.com/reference/u2sdwa_2.htm

If you are interested, there is another great GB doing strategic air command.

Bondoman

  • Member since
    December 2002
  • From: Northern California
Posted by jeaton01 on Sunday, March 25, 2007 3:52 AM
Thanks for the link, Bondo.  I have kits of several of the U-2 types and those photos will be nice to look at when I get to one of them.  I'm loaded on group builds right now, but I do look in on that one now and then.

John

To see build logs for my models:  http://goldeneramodel.com/mymodels/mymodels.html


  • Member since
    December 2004
  • From: 288921 E, 5659868 N UTMz12, NAD83
Posted by jboutin on Wednesday, March 28, 2007 11:36 PM

Bondoman, that pic of you cleaning the intake is hilarious! 

Jeanton01, looking good!  I have my Airfix Tornado Gr.4 sitting patiently in its box, I have two 1:72 Bf-109s on the go but in the meantime I've been doing renos in my basement which has totally cramped my style and prevented me from finishing them, or any other model for that matter.

JAY - fighting evil since 2:15pm, July 8,1976 -
  • Member since
    July 2003
  • From: waynesboro va, via Ireland
Posted by sidure on Thursday, March 29, 2007 6:14 PM

Looks good Jeaton, keep up the good work

Steve

  • Member since
    April 2003
  • From: Edgware, London
Posted by osher on Friday, April 6, 2007 9:05 PM

Hey all!  Sorry been away so long, but I'm still on contract in the Caribbean (spent last week in Tobago, well worth the trip, even if just for business!).  Of course, being out here makes it difficult to model (can you just imagine explaining 5 knives, blades etc to a security guard at the airport?  As for the air compressor...)

Wow, things are really moving along here!  I've updated the front sheet with all the details. That TSR.2 looks good, but it takes a brave man to build one.  Well done all!

  • Member since
    November 2005
Posted by Anonymous on Tuesday, April 10, 2007 12:44 AM

a 1980 Airfix-Japan 1:72 Series-4, B-26B Marauder... let's hope the pictures in the instructions tell the whole story...i have no kanji skills...the plastic seems brittle, some parts are loose, the decals are slightly yellowed... it's looking like a party...not bad really for a 27 year old... pic to follow...

glad Airfix is back. didn't know they left...

Now - will it be the "Dee-Feater" or "Mild and Bitter"???

 r.

  • Member since
    November 2005
Posted by Anonymous on Tuesday, April 10, 2007 7:24 AM

here's the goods from northeast asia...

looking forward to this GB getting me out of my model building impasse...


  • Member since
    December 2004
  • From: 288921 E, 5659868 N UTMz12, NAD83
Posted by jboutin on Tuesday, April 10, 2007 11:19 AM

Polymer, Welcome to the sanitarium!, er... I mean , the forum!Smile,Wink, & Grin [swg]

I hope the gang provides lots of help.  And if there is anything you need to ask, don't heistate as we have all been there and know how hard it can be to get past certain issues.  Looking forward to seeing some pics of your B-26.

JAY - fighting evil since 2:15pm, July 8,1976 -
  • Member since
    March 2007
  • From: Carmel, CA
Posted by bondoman on Wednesday, April 11, 2007 9:52 PM

Welcome Polymer!! Nice to see a B-26 and the decals will be ok after 2 weeks in a sunny window.


Bondoman

  • Member since
    November 2005
Posted by Anonymous on Thursday, April 12, 2007 1:08 AM
 bondoman wrote:

Welcome Polymer!! Nice to see a B-26 and the decals will be ok after 2 weeks in a sunny window.


Bondoman

 B-man,

why would direct sunlight benefit the decals? that's not one i would have guessed... now share the kuh-nowledge...

 r.

  • Member since
    December 2004
  • From: 288921 E, 5659868 N UTMz12, NAD83
Posted by jboutin on Thursday, April 12, 2007 11:28 AM
Bondoman is referring the sun bleaching out the yellow in the decals.  In the pic you posted you can see the squadron codes have yellowed carrier film.  It works! I've done it to some old airfix/heller kits I have.
JAY - fighting evil since 2:15pm, July 8,1976 -
  • Member since
    March 2007
  • From: Carmel, CA
Posted by bondoman on Friday, April 13, 2007 12:14 PM

The decals turn white again in about two weeks. It lasts for a while too, but you need to use them. One warning, tape them up in a window that doesn't get condensation, otherwise they'll come off on the glass. Now, lets hope they stay together when they get used. If not there are some tricks...


Bondoman


Starting the trimotor tonite!

  • Member since
    February 2003
  • From: Towradgi, near the beach!
Posted by traveller on Saturday, April 14, 2007 8:29 PM
Hi to all, been a while since I've been here. I have finished my Super Etendard, but the canopy is too short!!!! I have a gap between the front and rear section like you would not believe!! I will try and see what I can do about it. I have almost finished my Sea Harrier, I have found soe old Hasegawa Sidewinders that look better than the kits!! I will get some photo's going soon.Tongue [:P]
  • Member since
    March 2007
  • From: Carmel, CA
Posted by bondoman on Sunday, April 15, 2007 2:33 AM

Update from Bondoman-

I have spent a day on the Trimotor. This is the second Airfix kit I've built. The first was a Vulcan that went together without any problems:

This Trimotor is not like that. There were HUGE ejector pins everywhere. Most annoying, most of the parts were not numbered. If this is a typical older kit from Airfix, God help the amateur.

I glued the baggage doors under the wings closed.

But it's looking ok.

Bondoman

in the Airfix stash-

Canberra B.2 in 1/72 (maybe later in this GB)

TSR.2

EE Lightning F.2-3 w/ lots of aftermarket goodies. Much later.

  • Member since
    July 2013
Posted by DURR on Sunday, April 15, 2007 11:07 AM

may i join

i cant start until on or about may 22

and i have about a dozen helos  i will pick two in about a week or so

  • Member since
    June 2003
  • From: Rowland Heights, California
Posted by Duke Maddog on Sunday, April 15, 2007 12:30 PM

Bondoman, that Vulcan looks spectacular! Now I GOTTA find mine and get it started! And that Trimotor is looking great! That's sweet that you have an interior for it; my old  Revell Trimotor had no interior at all. Looking great! Keep up the great work.

I also started another Airfix kit for this Group Build. I'll get pics posted when I can.

  • Member since
    December 2002
  • From: Northern California
Posted by jeaton01 on Tuesday, April 17, 2007 9:43 PM

The TSR.2 is at a point where it has to rest in the display case for awhile.  White paint, you know, and also I am not sure whether I want to try a clear coat over the white, but if I do it will be thinned Future.  The other thing I am considering is weathering, some of the pictures of XR219 look pretty worn, especially around the access covers.  Not ready to try that yet.  Maybe never.  The decals went on very well, they really sat down on the Tamiya white which had 2 or 3 days of drying, and then was rubbed down with dry paper towels.  I mixed half and half flat and gloss Tamiya white for the last white coat, under that was 2 or more coats of flat white.  The canopies are just sitting there, I was not impressed with how Airfix had the attachments for the canopies in the open position, it was just too frail.  If anyone wants to see the cockpits the great big hand in the sky will lift the lids for them!  Maybe later when I am grown up I will try making wire supports, drilled into the back of the hatches.  It looks like a TSR.2, and I like it.  I am glad I have gotten this far with it, but I need a little rest from it right now.  The last picture is with the Airfix Westland Whirlwind that I did for the Airfix farewell group build.


John

To see build logs for my models:  http://goldeneramodel.com/mymodels/mymodels.html


  • Member since
    September 2004
  • From: Vernon, BC, Canada
Posted by razordws on Tuesday, April 17, 2007 11:26 PM
That looks totally awesome jeaton! Thumbs Up [tup]Thumbs Up [tup]  I wish I could get my white paint jobs to look that nice.  I guess I'll have to try your technique with the half and hlaf mix next time.

Dave

  • Member since
    March 2007
  • From: Carmel, CA
Posted by bondoman on Wednesday, April 18, 2007 1:13 AM

TSR2- That is a beautiful warbird!! I would not do the Future. In my opinion, for what that is worth, 1/72 is a blended in or muted light scale.

My father was an aeronautical engineer at UAL from 1952 to 1998, assigned to BAC, and I grew up in Bristol in the summers. He was evaluating the Avon/ Olympus engines. I saw many Lightnings at RAF bases; take offs and landings. At least equal to the F-4 in drama.

The trimotor progresses. The fuselage is a four piece, four sided box, and the underside does not have any curve!!!

Bondoman

  • Member since
    December 2002
  • From: Northern California
Posted by jeaton01 on Friday, April 20, 2007 1:35 PM

Thanks for the nice comments on my TSR.2, guys.  It rests happily in the display case.

For those who haven't seen it, Airfix has a sort of web site up.  You can register your name with them to get updates from them, but that is all for now.  Here's the link,

www.airfix.com 

might be good to register and give the folks some encouragement.

John

To see build logs for my models:  http://goldeneramodel.com/mymodels/mymodels.html


  • Member since
    September 2004
  • From: Vernon, BC, Canada
Posted by razordws on Friday, April 20, 2007 2:58 PM
Done, Thumbs Up [tup] Thanks for the link John!

Dave

  • Member since
    March 2007
  • From: Carmel, CA
Posted by bondoman on Friday, April 20, 2007 7:09 PM

Jeaton- could you describe your photo lighting and camere set up? Very impressive level of brightness.

 Bondoman

  • Member since
    June 2003
  • From: Rowland Heights, California
Posted by Duke Maddog on Saturday, April 21, 2007 1:46 PM

Jeaton, fantastic job on that TSR.2. I am hoping to get one soon. Nice work! I'll probably do mine in an operational color scheme though, just for fun.

I started an old Airfix GR.2 Harrier Jet for this Group Build. It is the one with the movable jet exhaust nozzles. I'll post pics up when I can for it.

  • Member since
    December 2005
  • From: Germany
Posted by jeff on Saturday, April 21, 2007 3:09 PM

John, great job on the TSR.2.  It turned out really well.  I hope to get my hands on one of these someday if the new Airfix ever gets around to it.

"Congratulations, gentlemen! You're everything we've come to expect from years of government training." Zed (Men in Black) [IMG]
  • Member since
    December 2002
  • From: Northern California
Posted by jeaton01 on Saturday, April 21, 2007 4:00 PM
 bondoman wrote:

Jeaton- could you describe your photo lighting and camere set up? Very impressive level of brightness.

 Bondoman

Nothing very high tech about it, I spread a white piece of paper out on the picnic table in the back yard under a tree, used the built in flash for fill lighting on a Pentax K100D with the lense set at 55mm and the electronics did the rest.  Natural light is a great way to take pictures, I can't seem to get anywhere near as pleasing photos indoors.  It was a partly cloudy day when I took the pictures and that helped too, I think.  I have had the K100D digital body for a month or so now and I really like it.

John

To see build logs for my models:  http://goldeneramodel.com/mymodels/mymodels.html


JOIN OUR COMMUNITY!

Our community is FREE to join. To participate you must either login or register for an account.

SEARCH FORUMS
FREE NEWSLETTER
By signing up you may also receive reader surveys and occasional special offers. We do not sell, rent or trade our email lists. View our Privacy Policy.