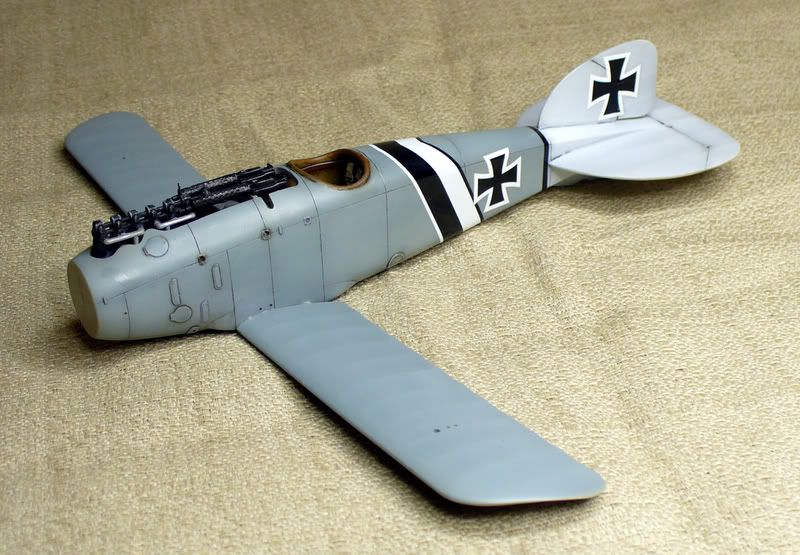
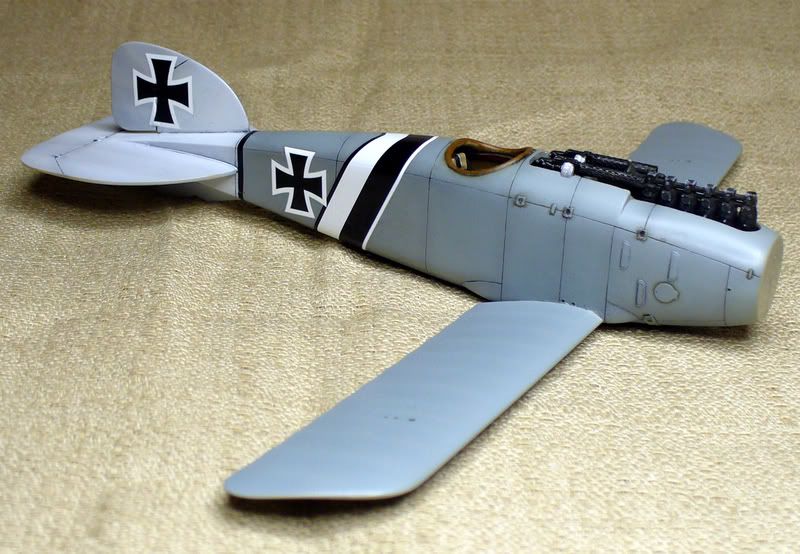
Well, I went ahead and took a shot with a decal, knowing that I could pull it off if it didn't work out. Luckily I had some old Microscale Normandy invasion stripes laying around, and plenty of long, black strips! It took me just one try to get it to fit, and the thing was so thin and nice, that it went right down with no problems!!
Here are a couple of shots of the fuselage with decals added- unfortunately I couldn't get the black and white sash to fit right, so it's a little too far back on the fuselage, and the cross a little too far forward. Oh well. Maybe next time?


One other big stupid issue! I just didn't think about this at all. Notice the crosses on the tail are outlined in white--on a white tail. I don't know if I'm ever going to be able to get the white on the crosses to look like the white on the tail. Bummer. May have to find some all black crosses for the tail or something, and pull these off.
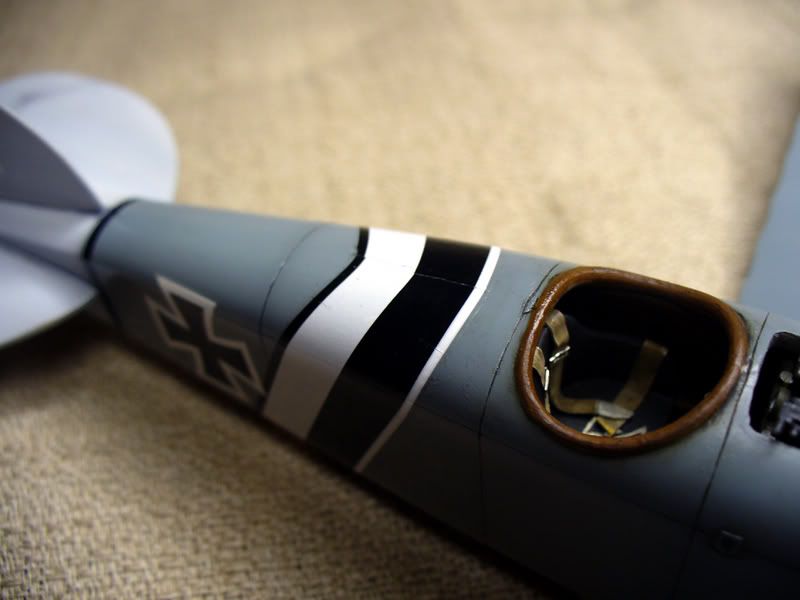
Also, here's a shot of an issue that popped up when I was fitting the sash around the fuselage- EEK! The decals split a little, and some of the white from underneath is showing through. I've used Sharpie in the past to touch up black decals-(it's funny-it looks purple at first, but when you flatcoat it, it comes out nice and black!) but do you guys have any other methods? I'm going to have to do a little magic to make this look right. I'm not good at working with decals like this, I guess. (Yes, I noticed the ugly little spot right behind the coaming on the cockpit, too. More to fix! ![Clown [:o)]](/emoticons/icon_smile_clown.gif) )
)

Also- sorry to be so long-winded!!