Finally got some time at the bench and tackled the wheels, sprockets, and idlers for the Panther.
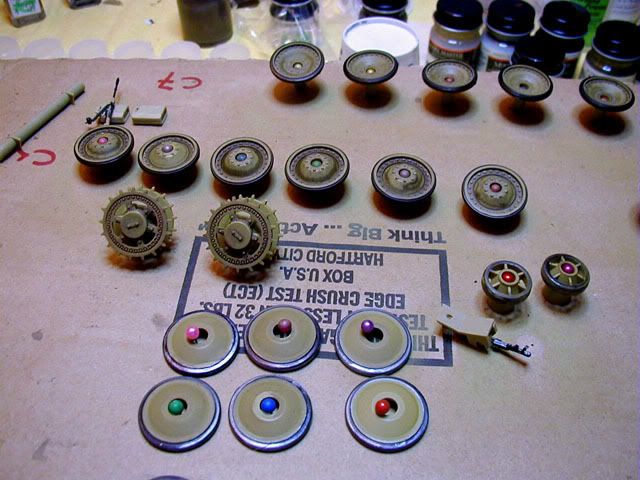
I really like the way the road wheels came out. I stuck them onto a bit for my Dremel, spun them up, and brushed them with thinned steel acrylic paint. I put down a nice, uneven coat of paint which matches a couple of reference pics I have.
Should get some serious time on the bench on New Years Day. Need to paint the small bits that go on the hull )tow cables, tools, finish gluing up the upper hull, and get the base coat down.