I have made a lot of progress on the tank's turret and gun details, and the tiger looks like well...a Tiger!
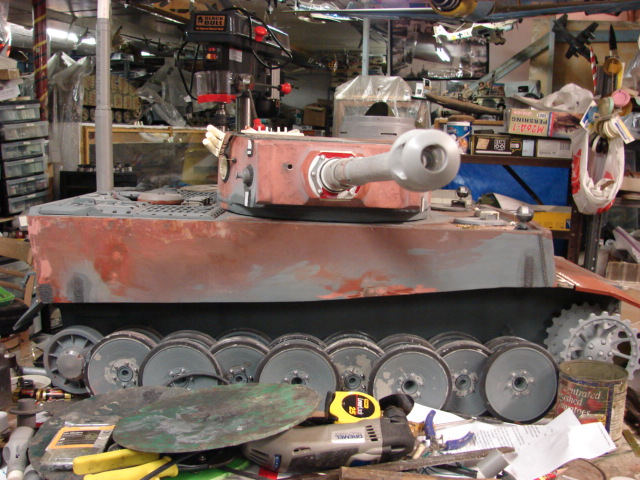
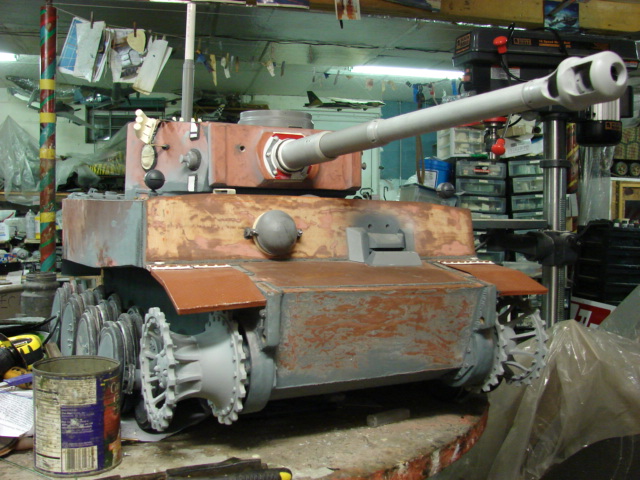
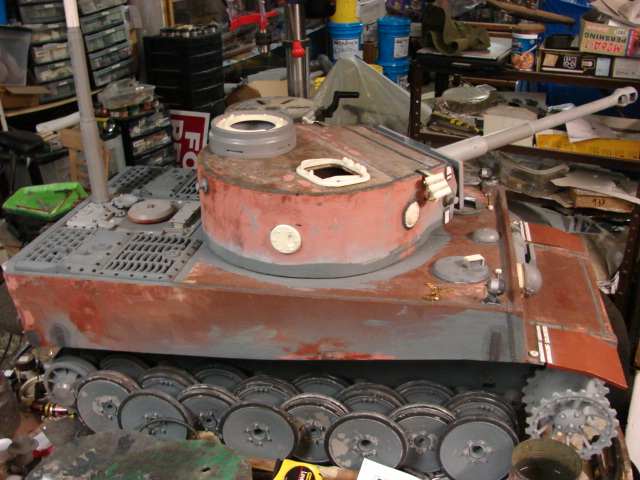
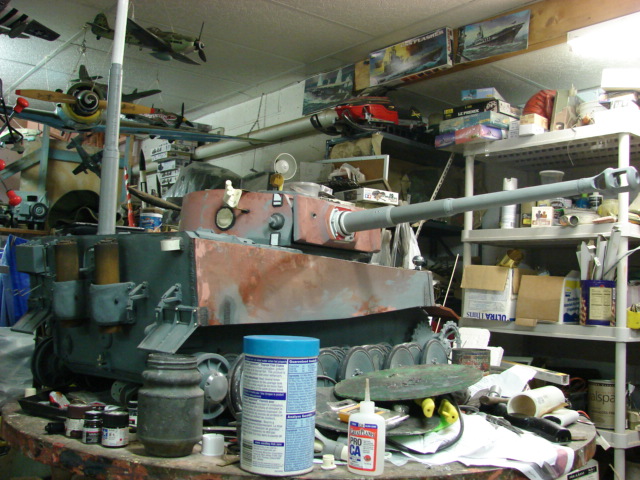
The turret's body work, side detailing, mantlet mounts and welds have been added
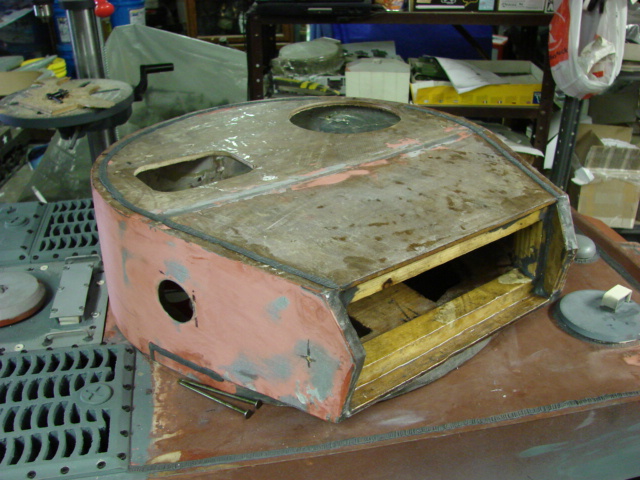
The cutouts for the side visors and pistol ports were cut into the sheet metal turret sides, Because this model is being built as an initial production vehicle the turret receives two pistol ports on either turret side.
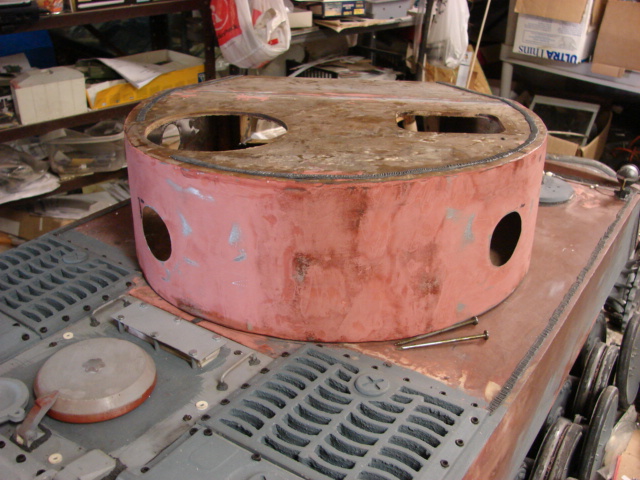
When the Tiger was first developed this was the configuration that the designers had in mind, This feature was only prevalent on the first production batch of tiger I. After this batch the loaders side pistol port was deleted and a large escape hatch was was mounted in it's place.
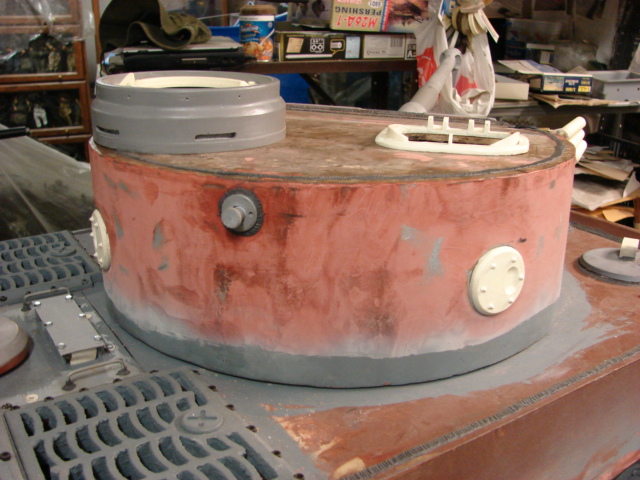
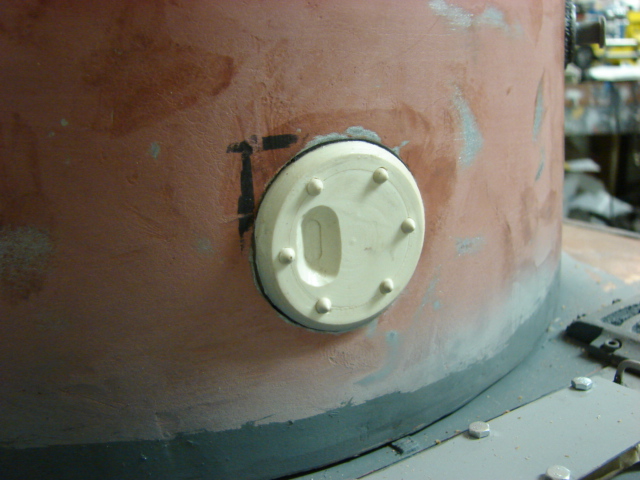
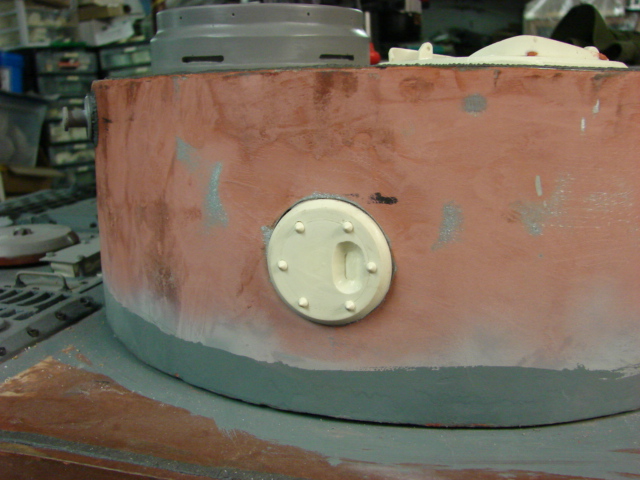
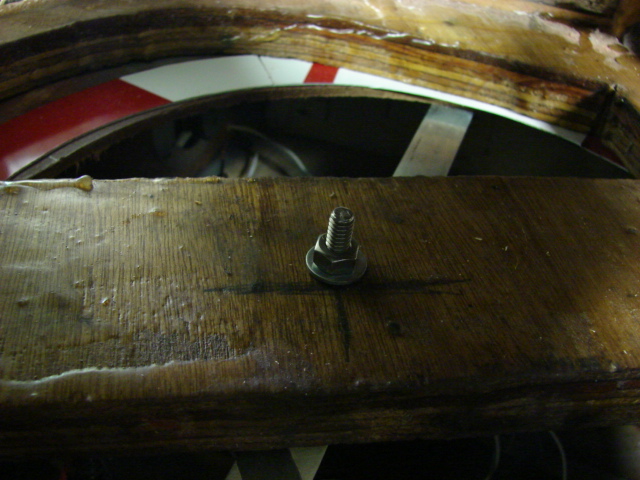
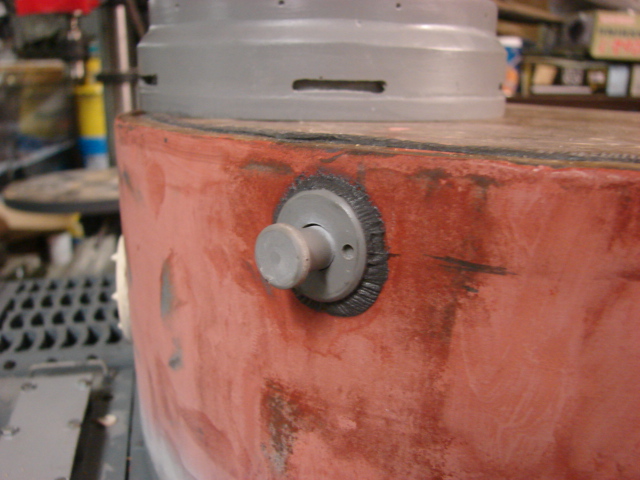
The turret's retaining bolt was also added. The bolt allows the turret to trun freely, but keeps it retained to the hull.
On the turret's front the mantlet mounts were refined and thickener blocks were added to the turret cheeks. Similar to what was added to the hull These blocks give the proper armor thickness, and the illusion that the entire turret is as thick as these portions.
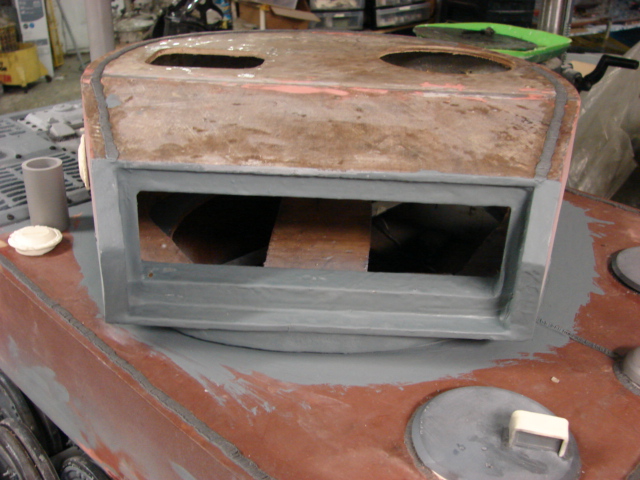
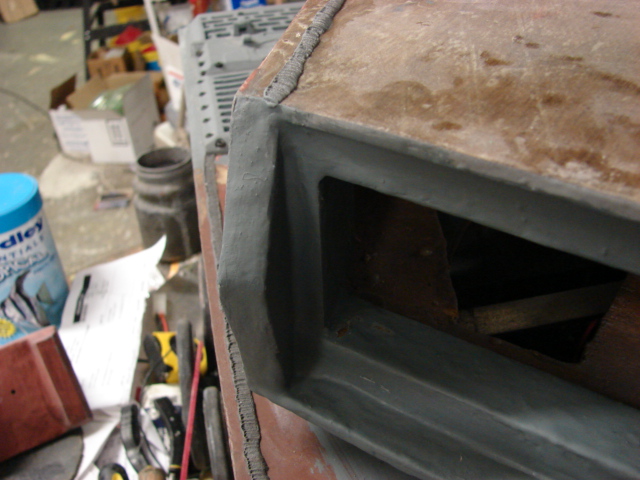
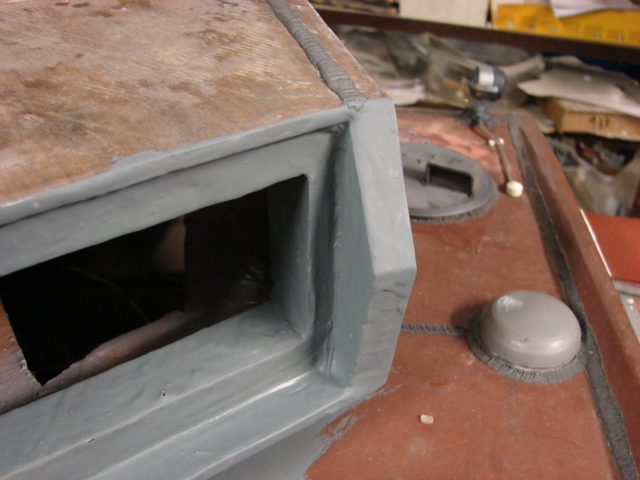
The tank's mantlet was also reworked before it was able to be mounted.
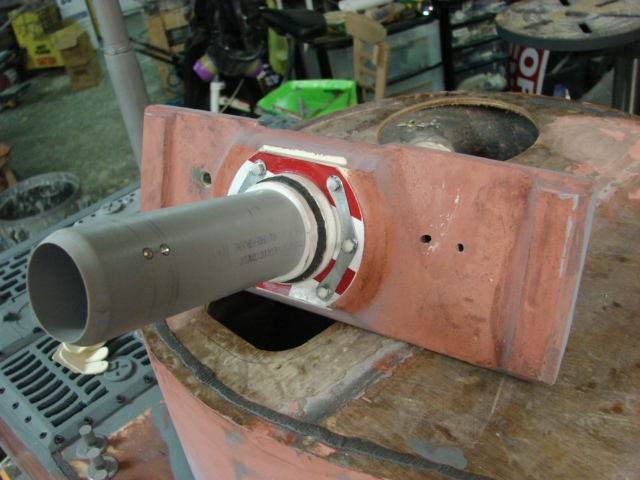
For the mantlet I used our the old resin mantlet that was designed to be used on this tank when they were first developed back in 2001. The old mantlet had the correct proportions, but had to be reworked because the original mantlet has the integral gunner's scope armor molded in. For the type of tank that I'm building the integral armor was not developed yet, so the molded in block was deleted via a mill. The molded in face plate, bolt were also deleted and were replaced. The mantlet itself was cleaned up a bit and new smoother casting was added.
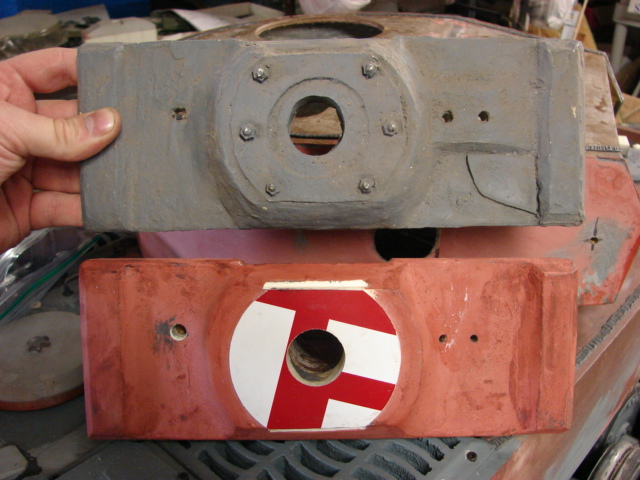
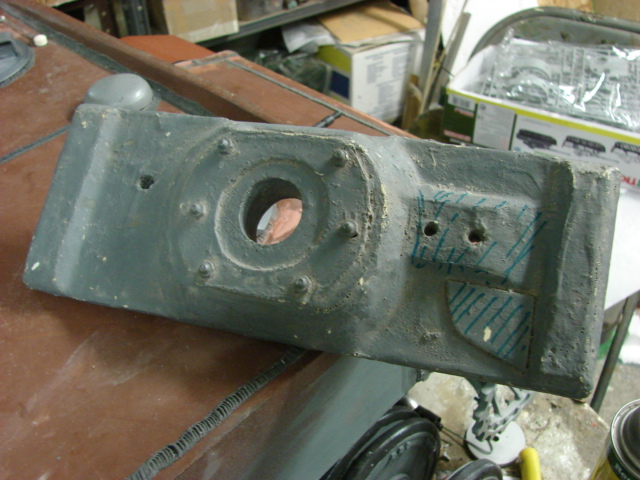
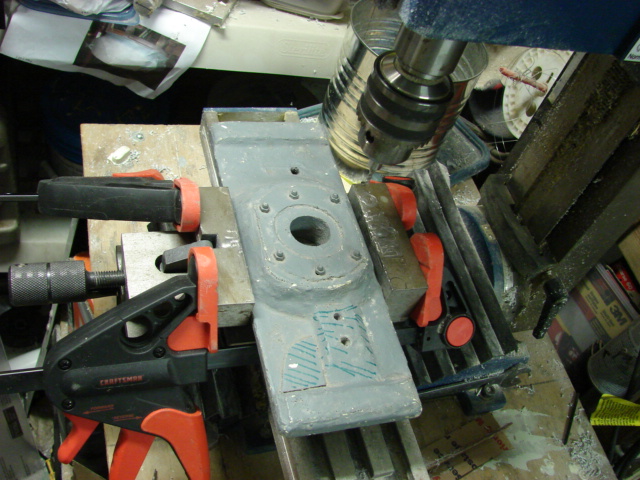
Besides the mantlet's front portion being cleaned up, I had to fabricate the rear portion of the mantlet's rotor. Wood was used for the fabrication, which was then coated with fiberglass resin the same way as the hull.
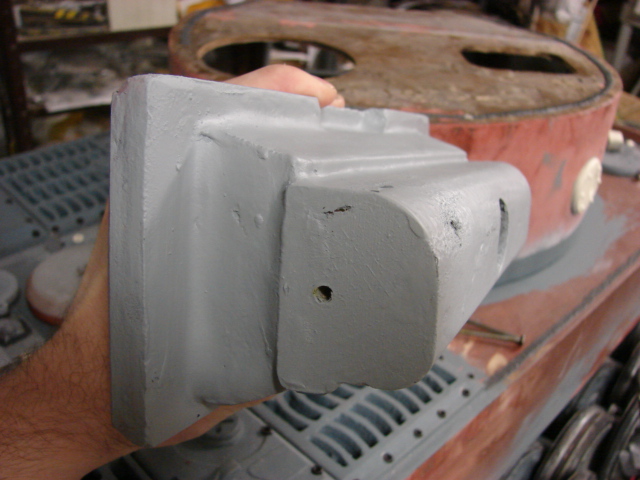
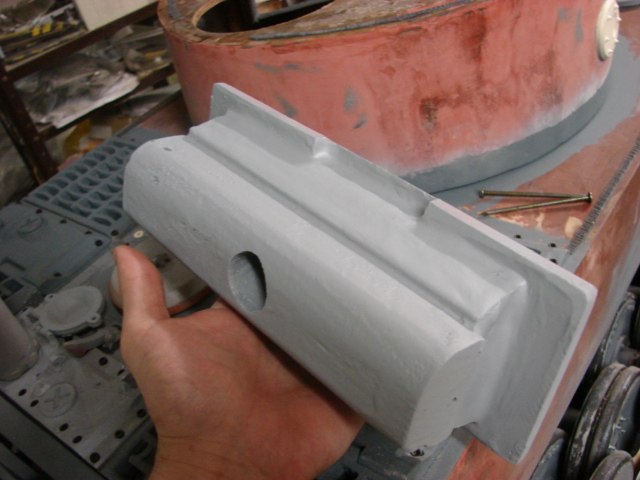
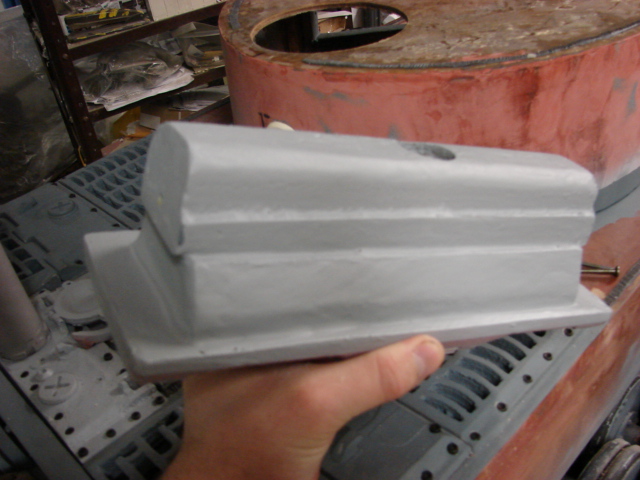
All of the mantlet's front details (main recoil tube, faceplate cone bolts, and bolt lock plates) were added prior to assembling the tank's 88mm.

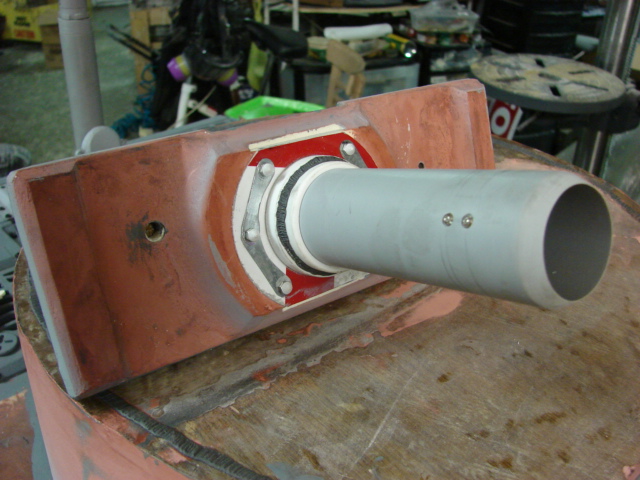
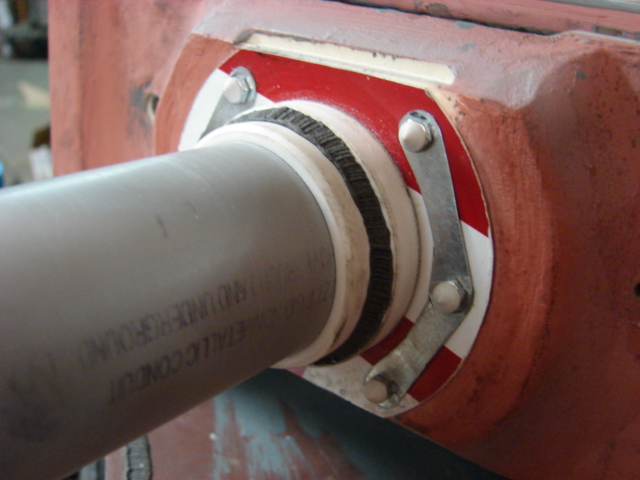
The recoil tube itself is all machined out of PVC, and features the counter sunk O ring screws.
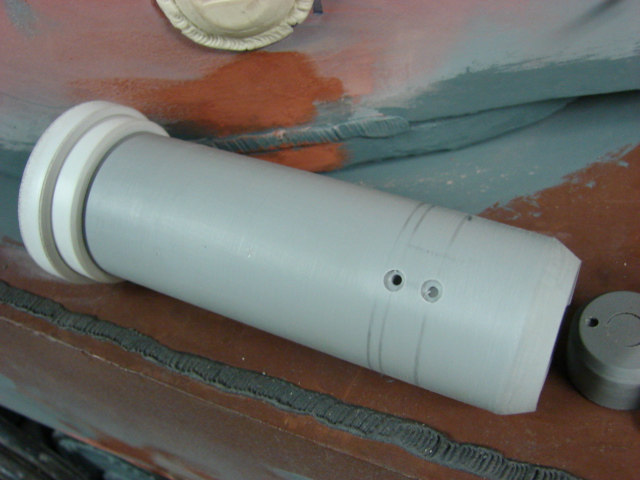
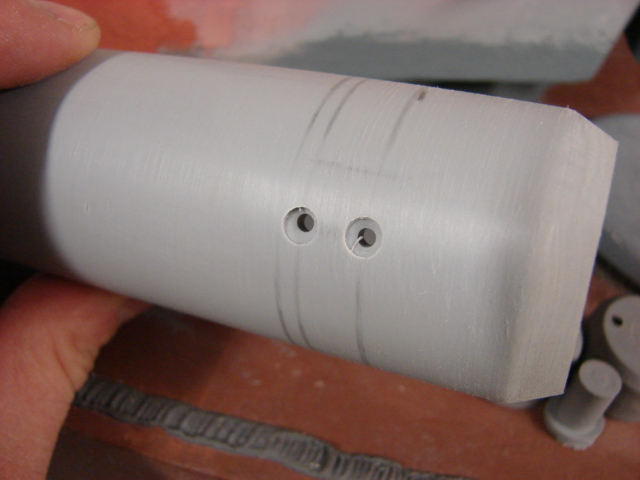
These slot screws are positioned around the tube in three locations, to on the top sides, and one set directly on the bottom.
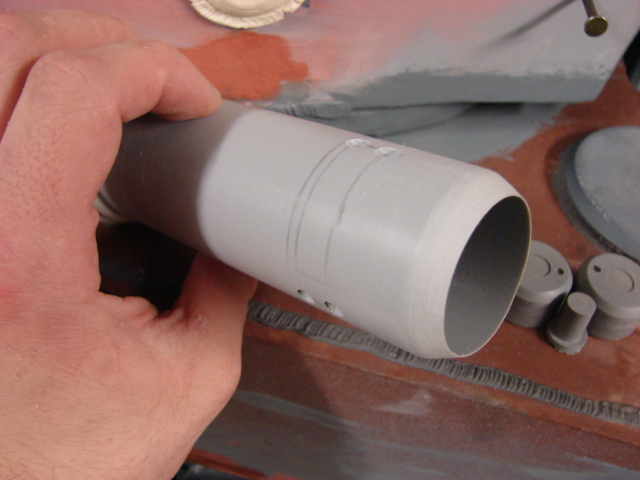
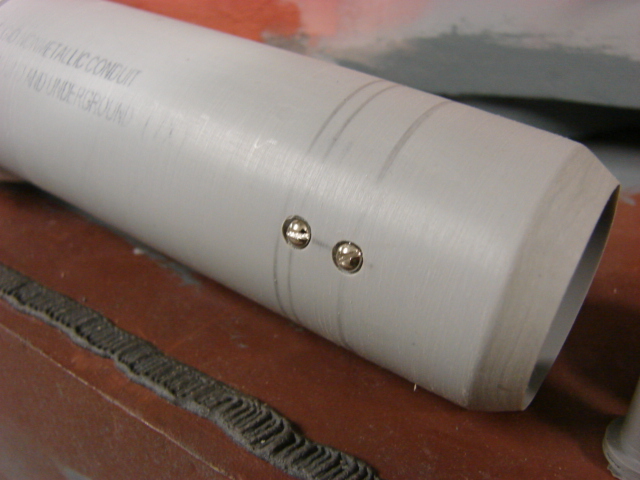
Once this was assembled I was then able to fabricate the gun.
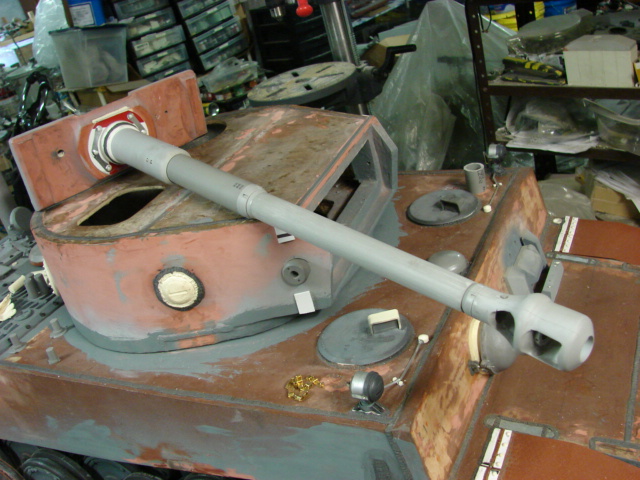
The gun itself is also made from lengths of PVC tubing.
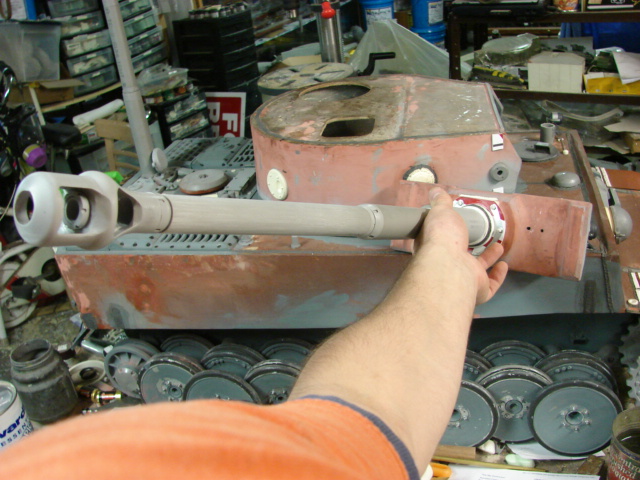
While working on the gun I developed and added two new additions to the parts listings page http://www.eastcoastarmory.com/tiger.htm.
Resin Tiger I 88mm barrel adapter ring plug.
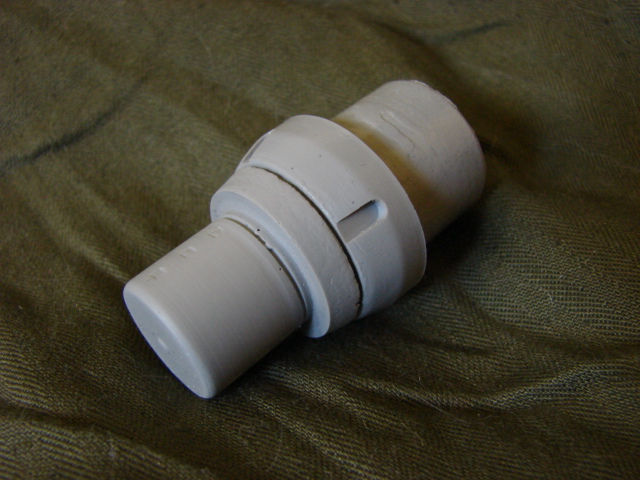
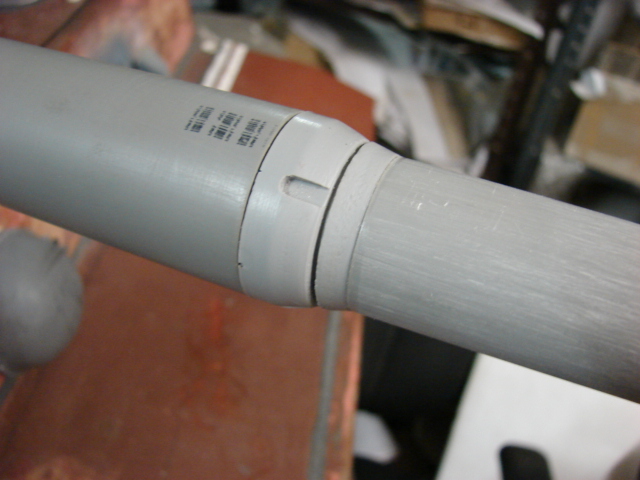
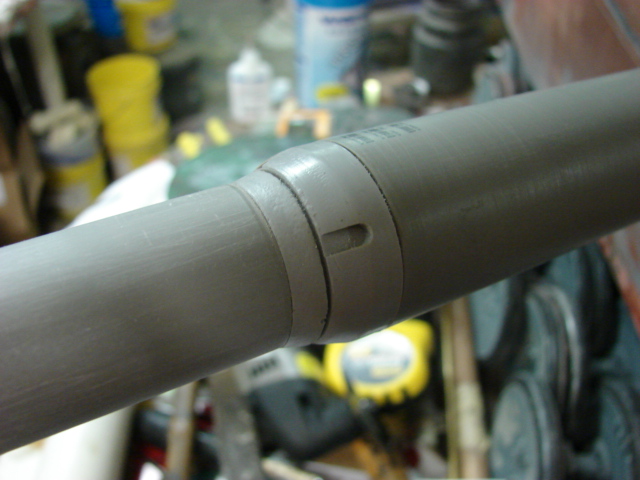
Resin early production Tiger I 88mm KwK 36 L/56 gun Muzzle brake. The later tiger used a smaller profile muzzle brake than the earlier versions.
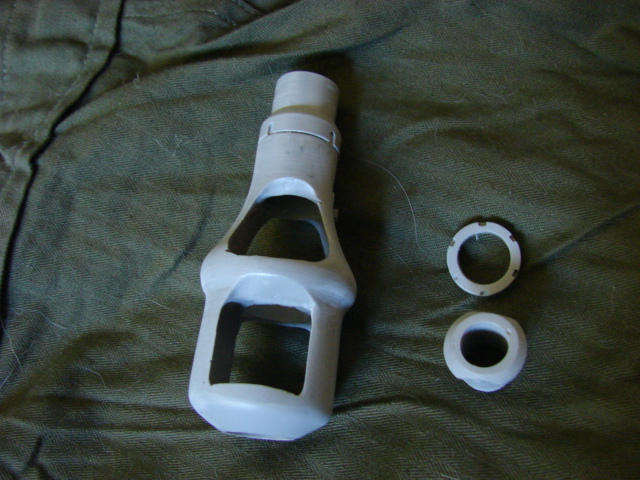
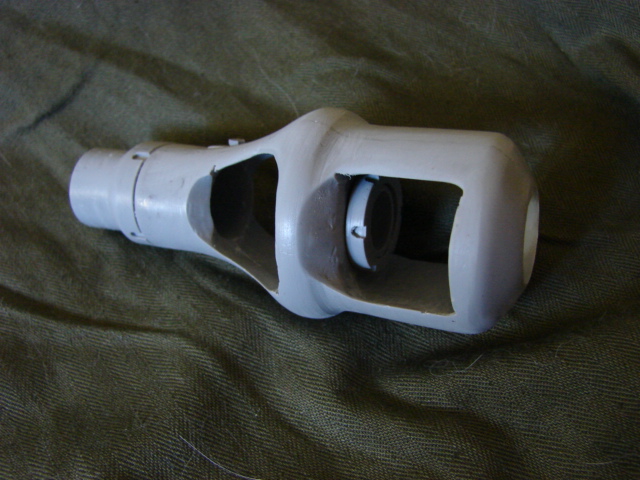
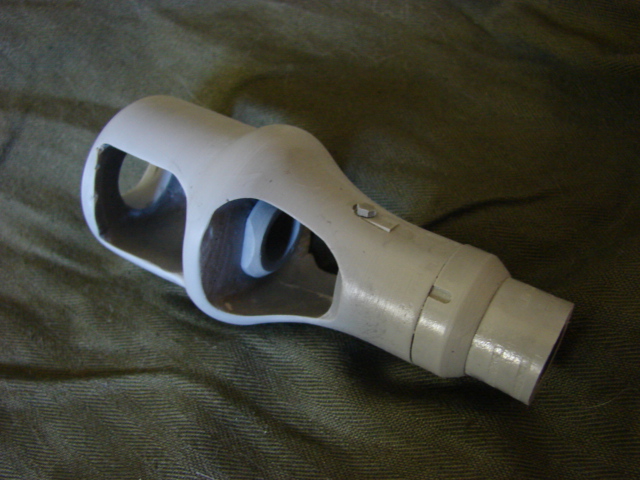
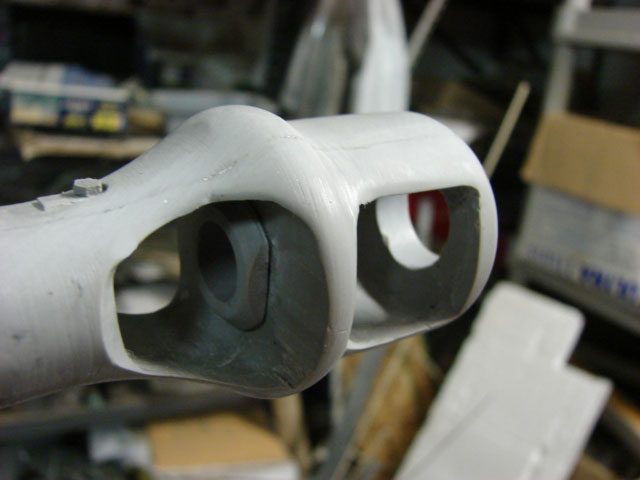
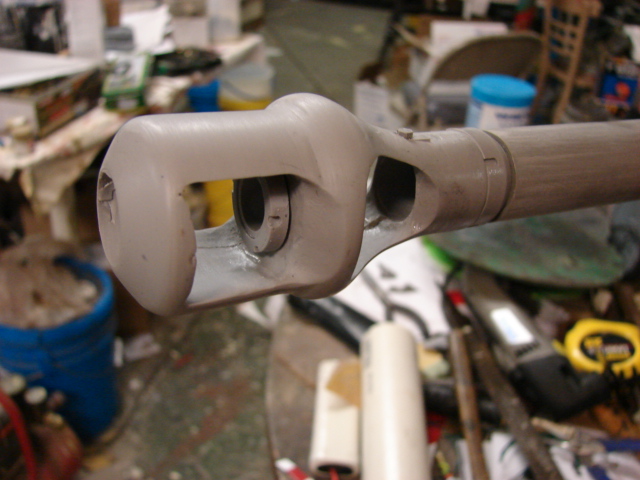
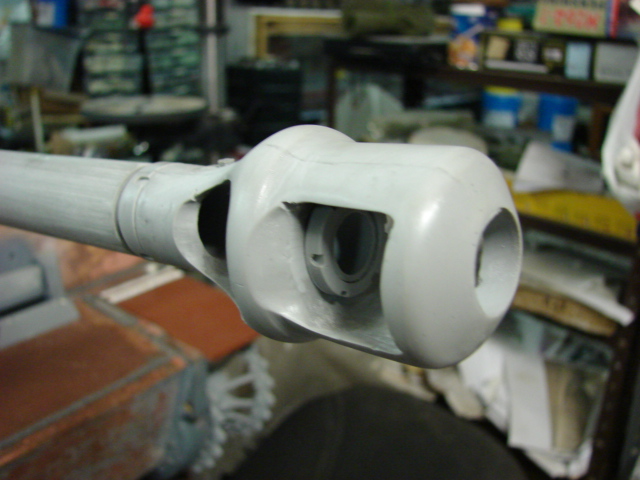
to lock the barrel to the mantlet a retaining ring was machined and mounted to the barrel assembly. Because the Tiger I has a long barrel, and a muzzle brake a spring system was added To prevent the gun barrel from drooping. The springs mount to eyelets mounted on the turret's interior.
![]()
Once added the whole assembly is then ready to be mounted to the turret.
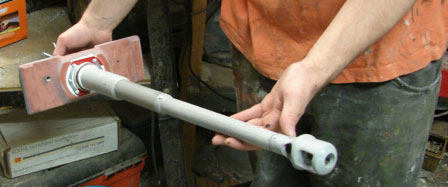
To mount the matlet to the turret I use two deck nails that connect to the rotor through the turret sides. The nail itself is concealed by the resin turret lift ring boss.
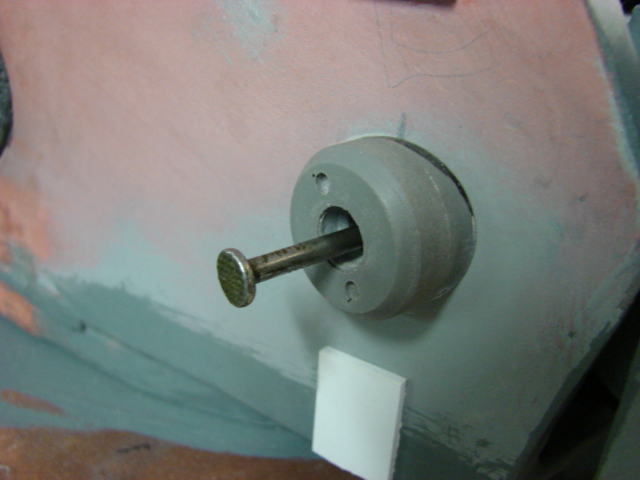
Once the detail cap is added the nail is covered up and is held in place via the lift boss. The Tiger used three lift bosses to lift the turret off the hull. Two were mounted on either turret side, and one was mounted in the center portion of the turret rear.
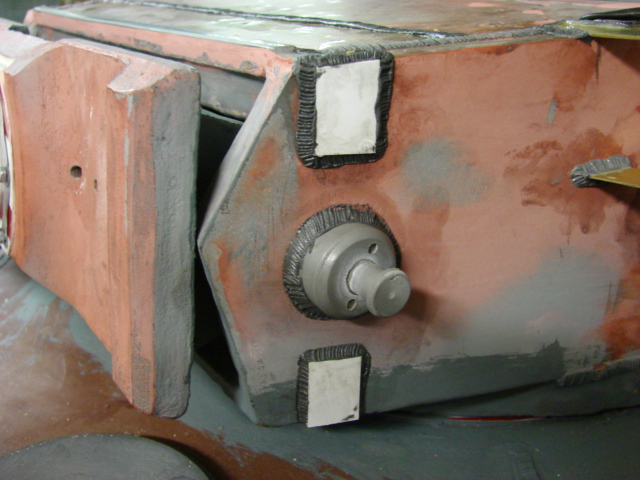
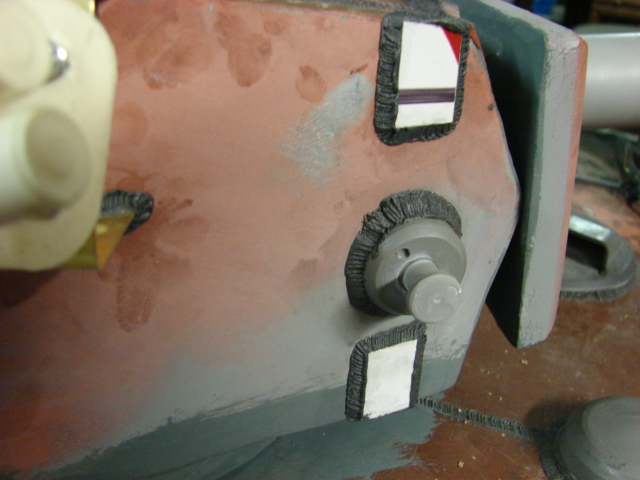

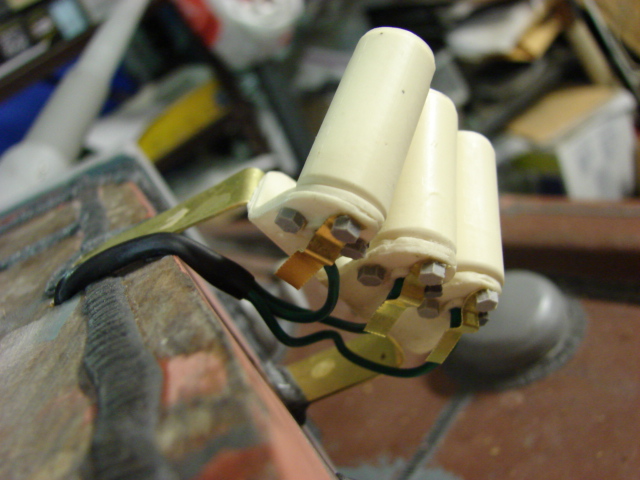
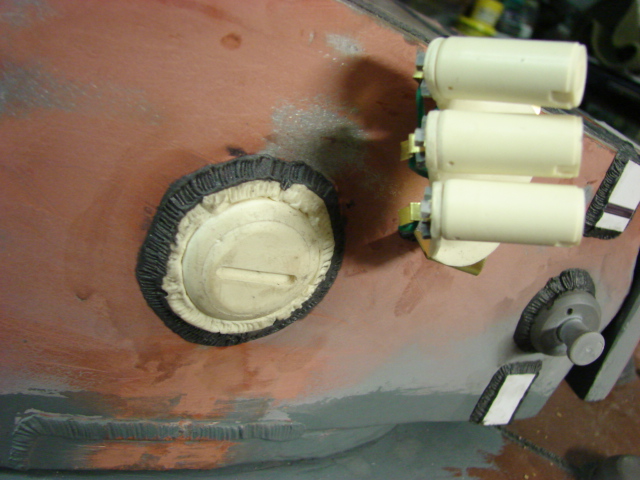
The tank's smoke grenade launchers and visors were added aswell.
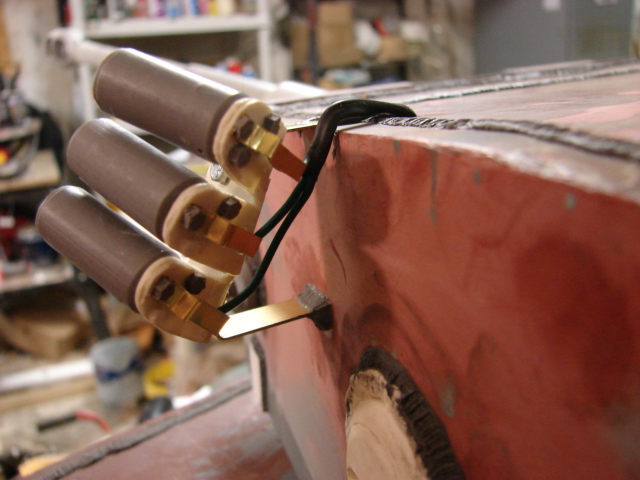
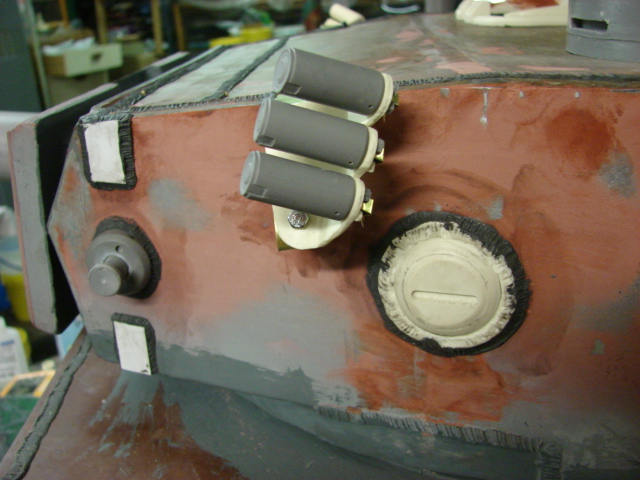
I made two youtube videos which showcase the work that was recently made to the model.
http://youtu.be/XnA-ubF_Eg4
http://youtu.be/VUFwG39b5sw
I will now be focusing on the turret's top details like the Copula, loaders hatch, air cleaner, and bustle bins. Once done the turret will be complete!