Manny--thanks for the suggestions. I've already painted the muzzle brake to match the gun tube; maybe I"ll go back to DY; I haven't made up my mind yet, but I think that the idea Bill proposed is sound. If you have any definite evidence, let's have it; it would help!
Anyhoo......I've got a painting/filtering update.
I started out by applying an overall filter of "Gray for Dark Yellow", just to fade the red a bit. Then I started in here with "Faded Dark Yellow" which is actually a funny orangey color, and also Primer Red, with some Buff, which is a nice, neutral tan. I added them in small diluted dots, adding them from the wet brush, NOT with a toothpick! NOTE--they are not "full strength"< but diluted with "Thinner for Washes" somewhat.
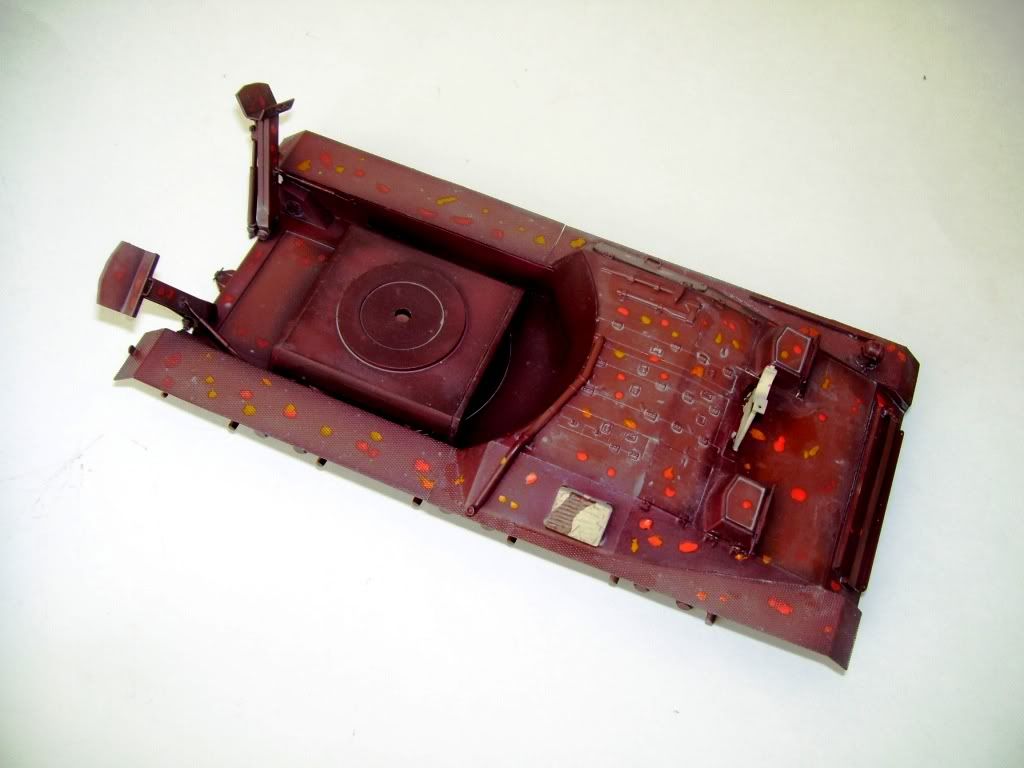
With a large, soft brush, I start to work them in to the paint...

Next, I take some Buff and add it to the model with a small brush.

Then with a DIFFERENT, flat brush, I pull the color out, blending it into the fender to simulate dust build-up.

This technique was then used with various color oils in dark browns, lighter browns, and all kinds of shades and variations/mixes in between, on the fenders and hull tops and sides. Streaks were added by pulling down the colors with a DRY brush after putting the colors on and massaging them into the base with a slightly WET brush.
Here I'm going back to the primer red color in order to bring some of the reddishness back into the paint coat. You can see the results of the oils and filters on the rest of the model. The method that I use in the next series of photos is the same that I used for all the colors, so pay attention!
First, select the diluted, thinned color; in this case, primer red:
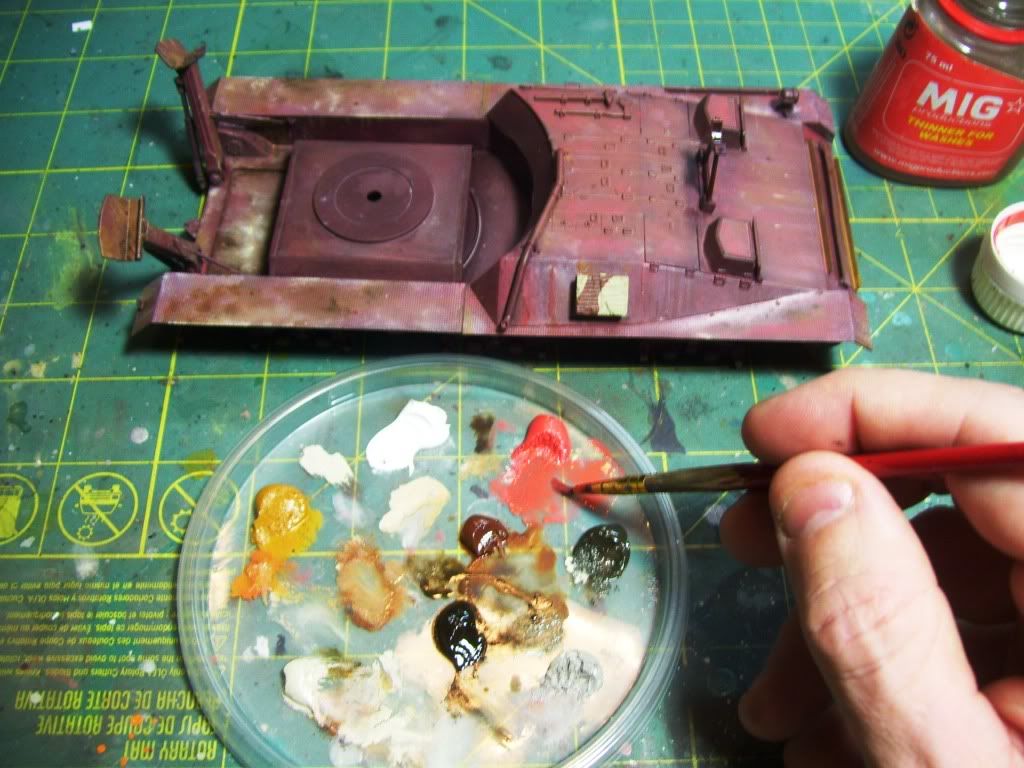
add it to the model:
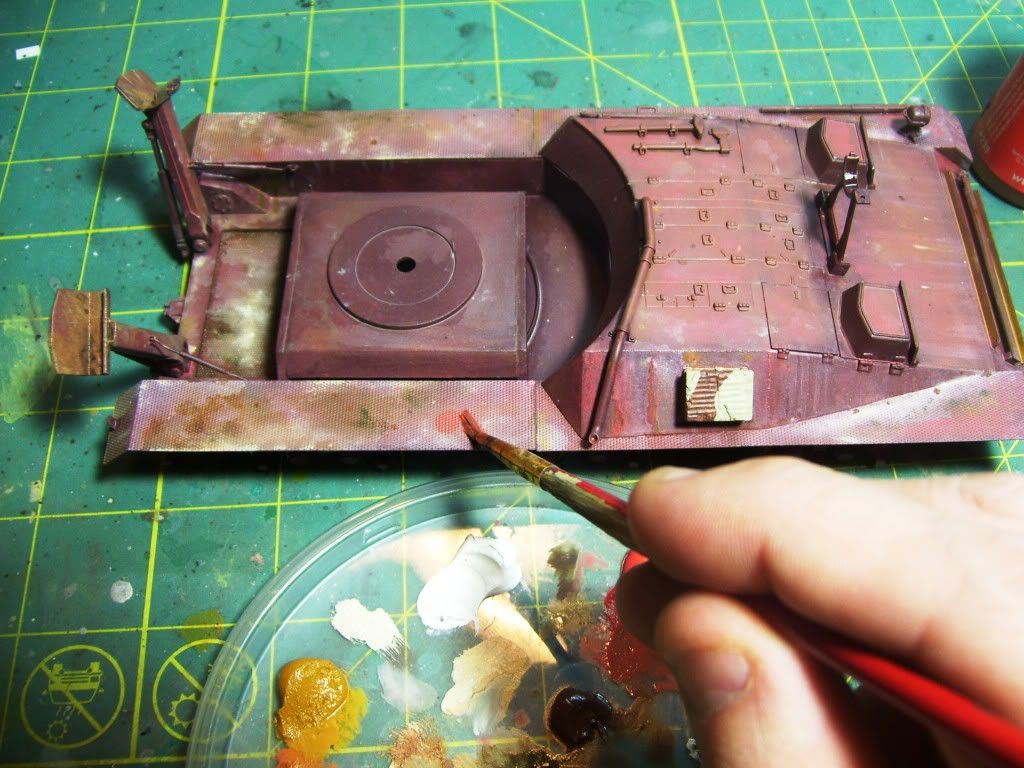
Now I use a DIFFERENT, DRY brush to massage the color into the paint. Flat, dry brushes work well for blending.
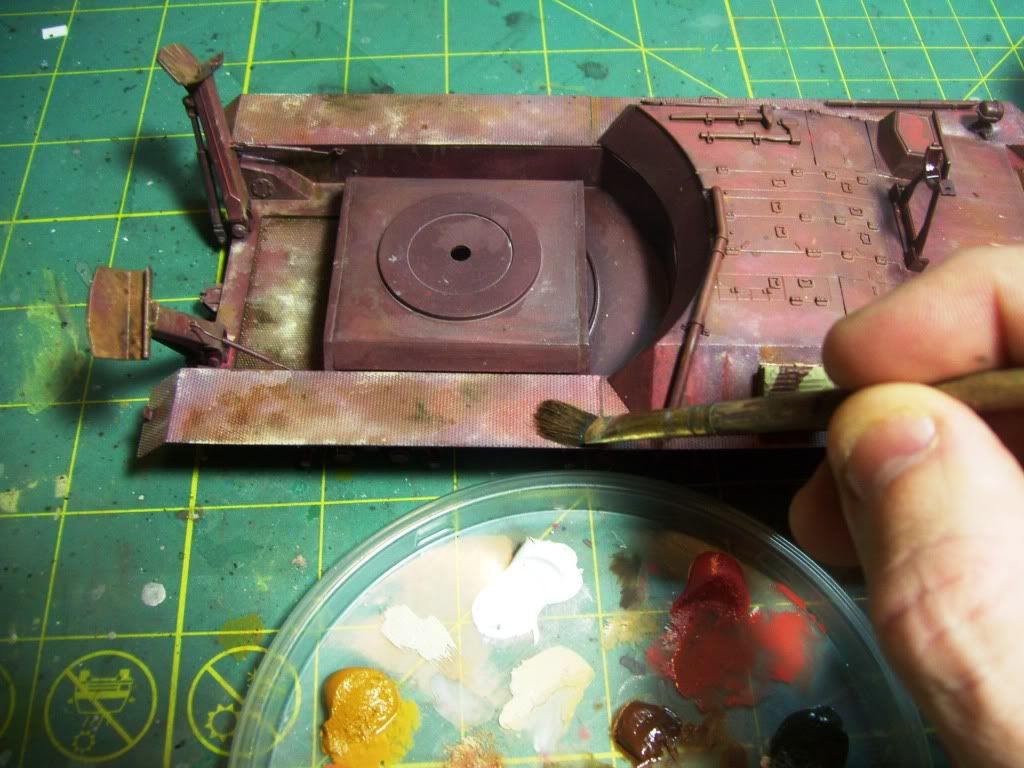
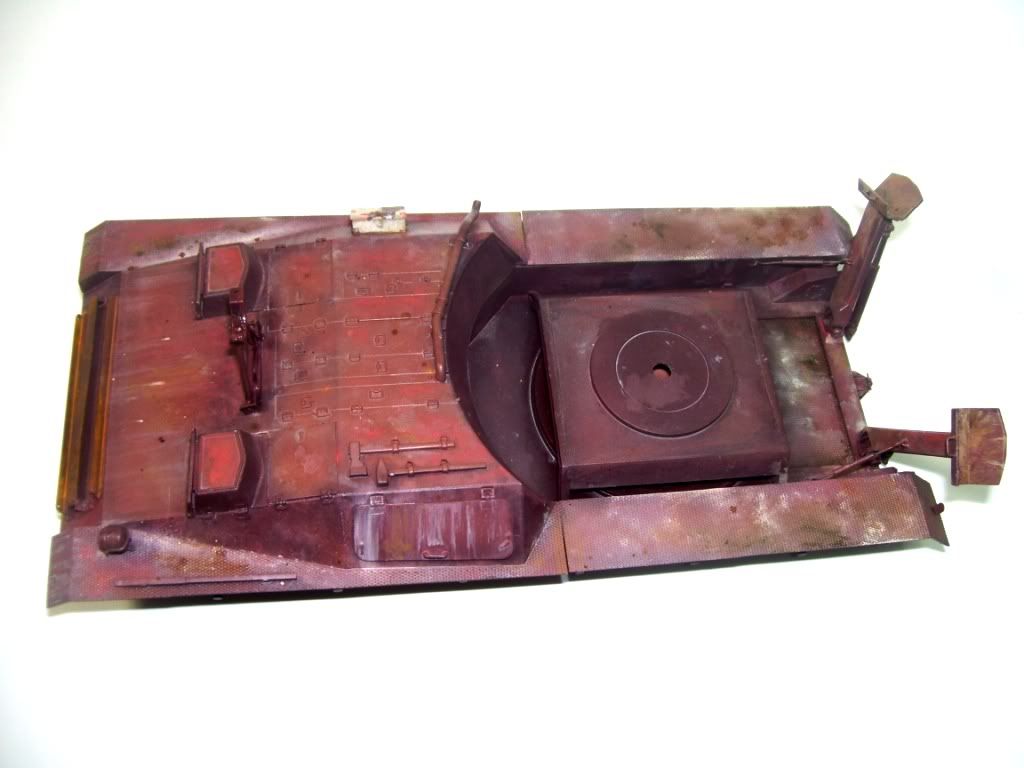
Here's the results SO FAR. More will be done once this dries well. The spare tracks rack was a field mod and will be rusty, as it was bare metal--still to be painted as such.
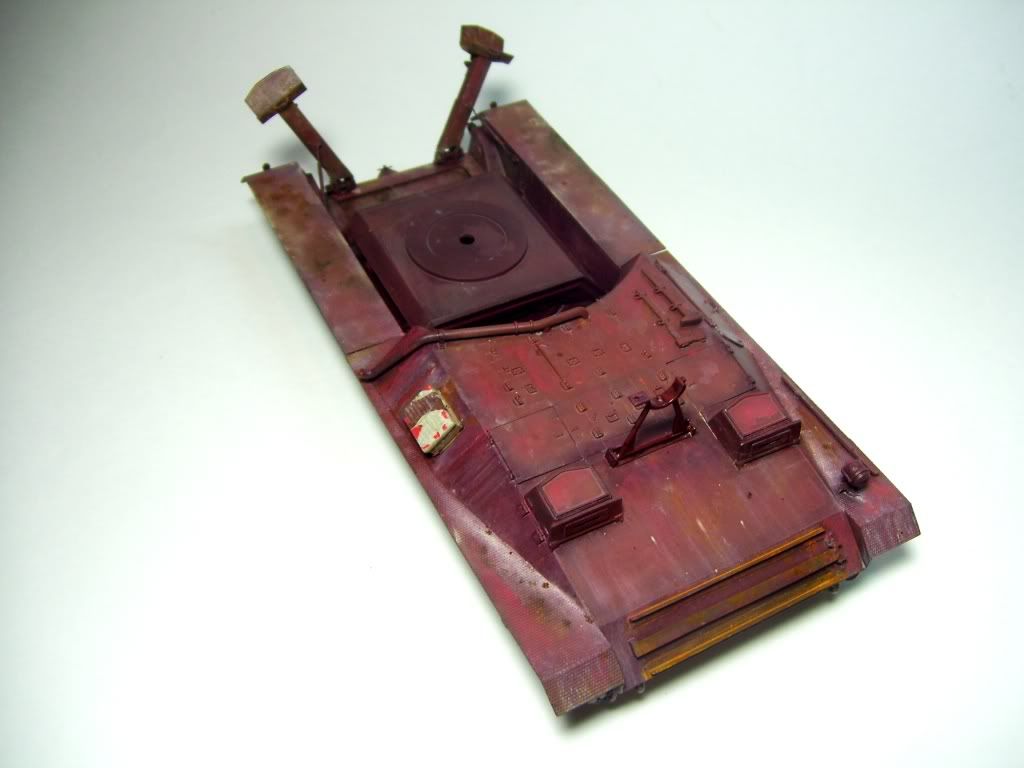
Note the subtle color gradients: the storage box is only starting to get worked on.
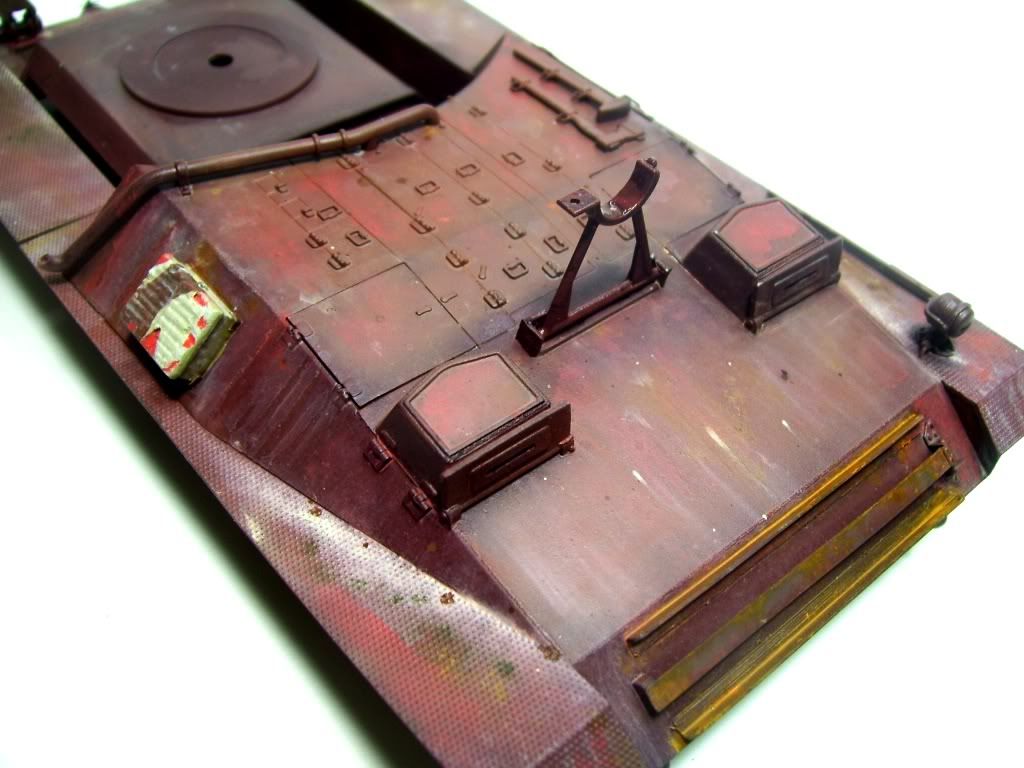
The first layer of weathering in the rear, Note the fenders, where the crew would stand, transferring a lot of dirt. Remember; I still have pigments to apply! 
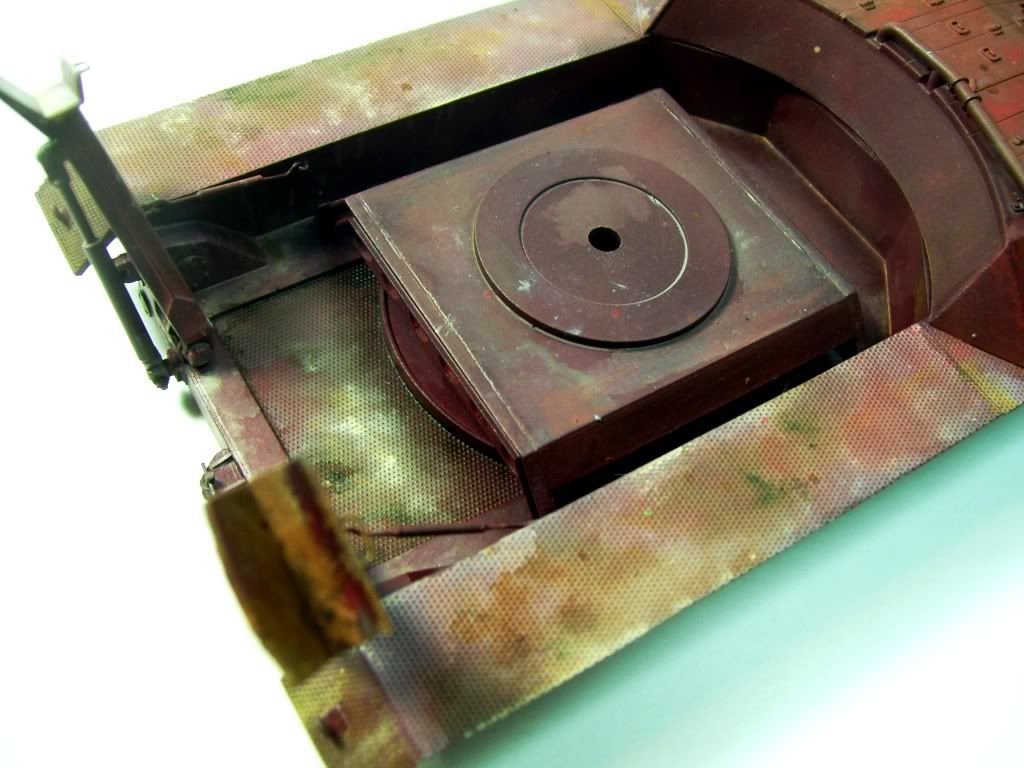
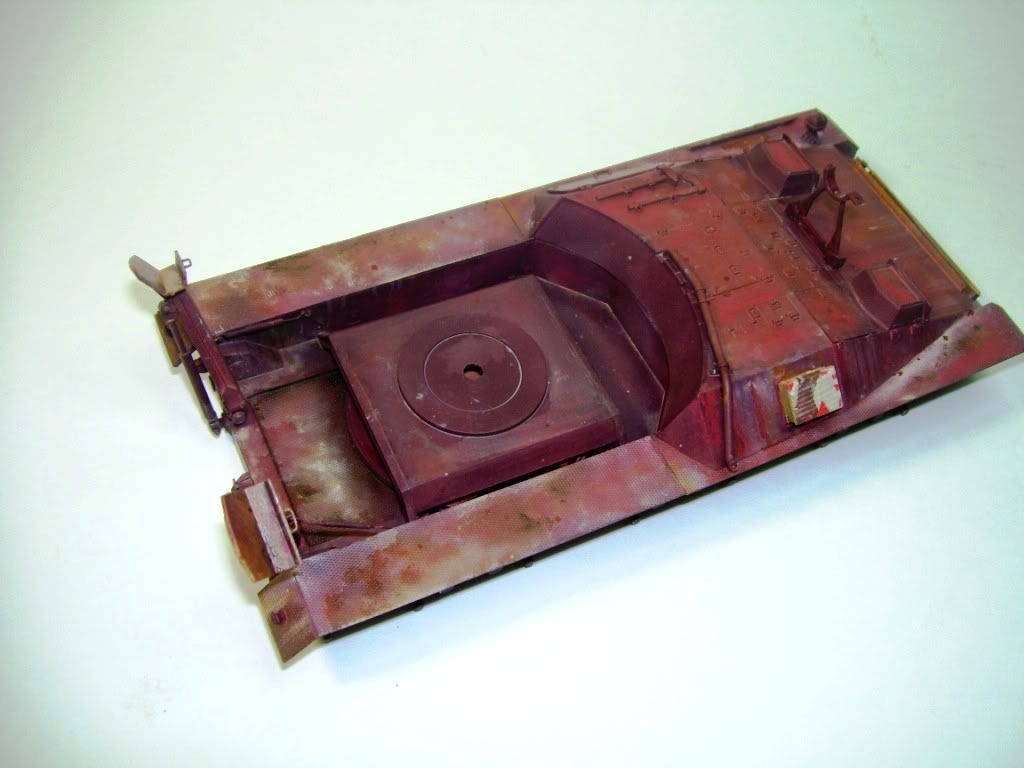
With flash: the cleaner upper hull and clearer "red" color is evident here:
Now I'm going to show you a cool trick to use on wheels:
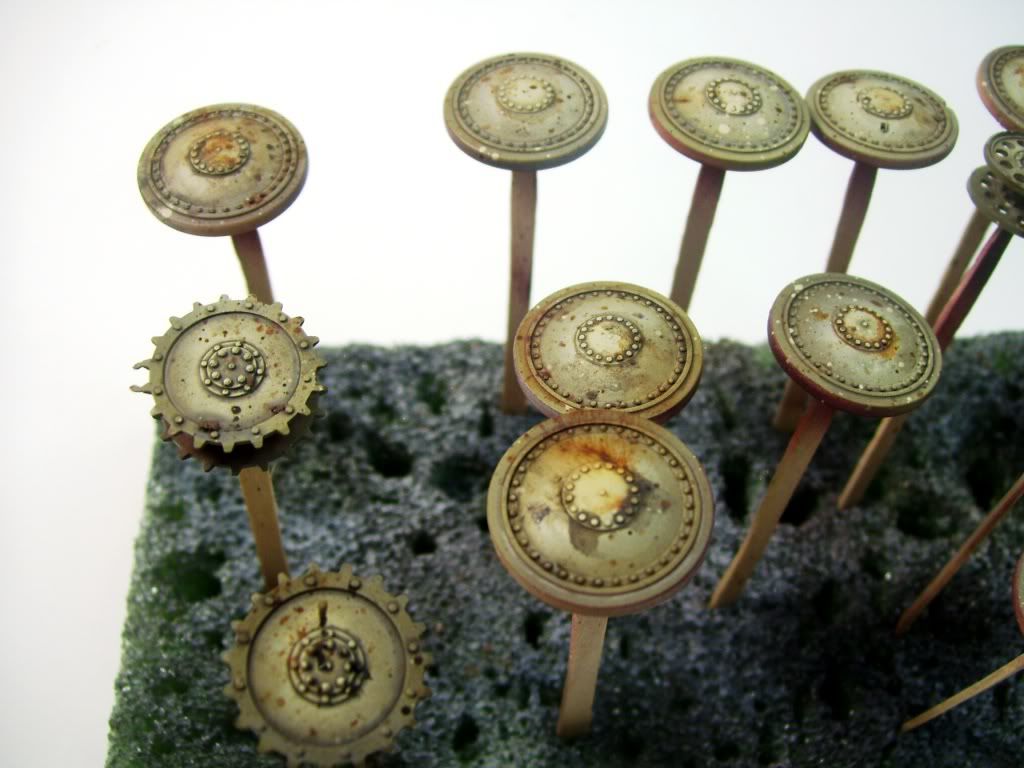
The wheels were weathered by simply adding filters of various colors--grey, Buff, etc, and a bit of raw umber. Then I wanted to add some random spots and discoloration. I did this by thinning some color. in this case "Shadow Brown"...I load up a brush with it. Practice this technique against some cardboard before you try it on the model...
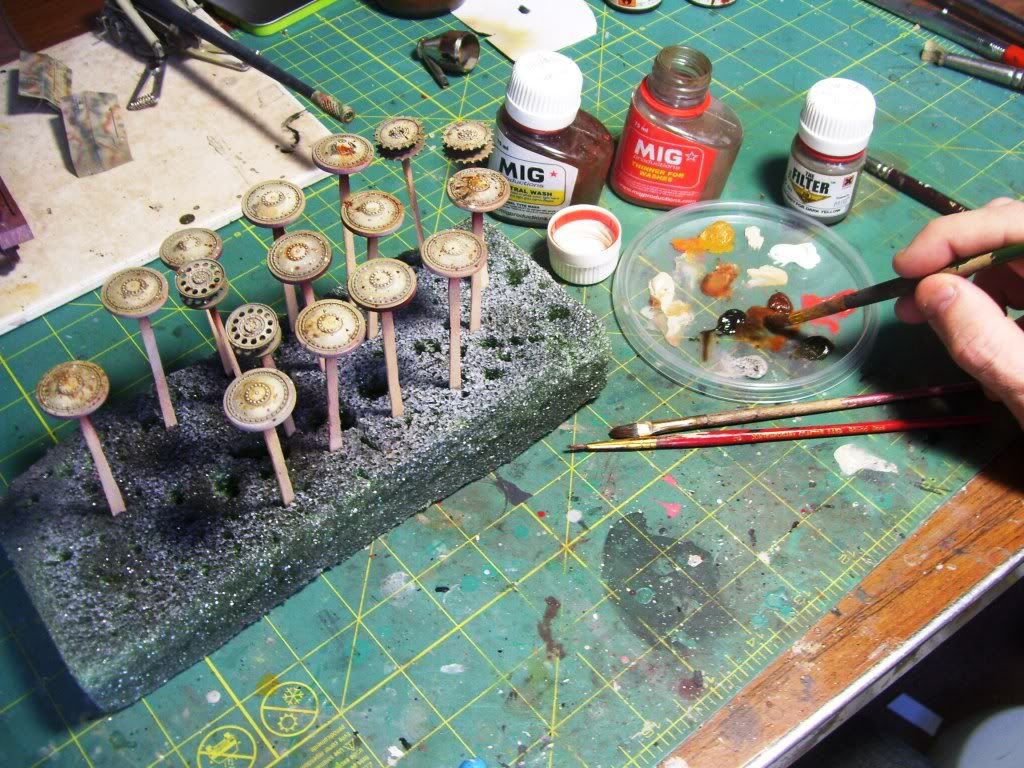
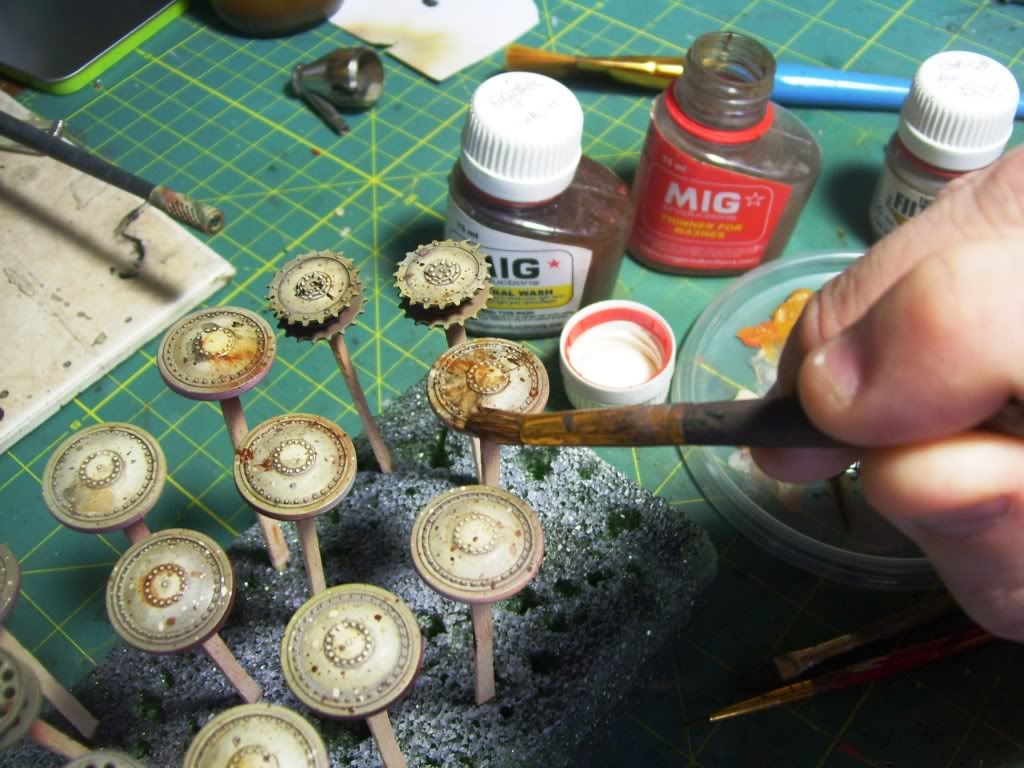
Next, get a large brush handle, or a similar implement to use, and smack the loaded brush against it like you're a drummer counting a song off--the oil color on the smaller brush will spatter onto the wheels (or model) leaving random spots.

You can then use another brush to mediate the color--draw it outward for streaks, or move the brush around the inside circumference of the wheel to "clean it up" a bit. You can see that I"m doing this with different colors as well, for variety. And I will still be adding some pigments after this, most likely....note that the rubber parts have not been painted yet.
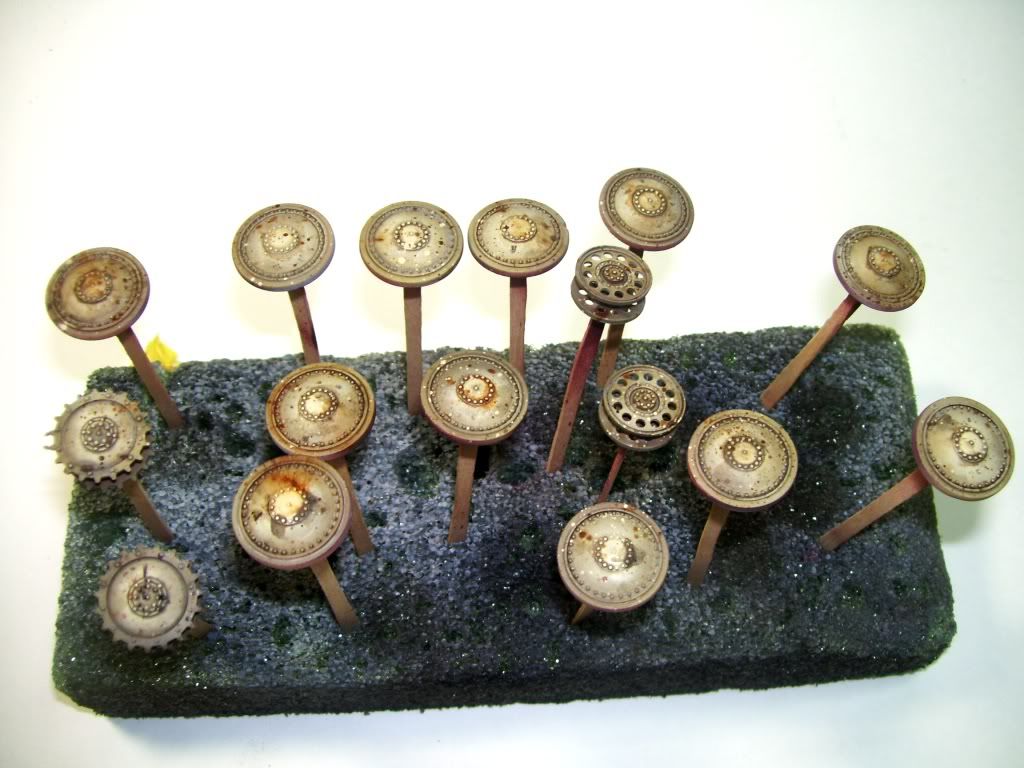
The wheels so far: I'll be adding to these with some grease runs and whatnot.
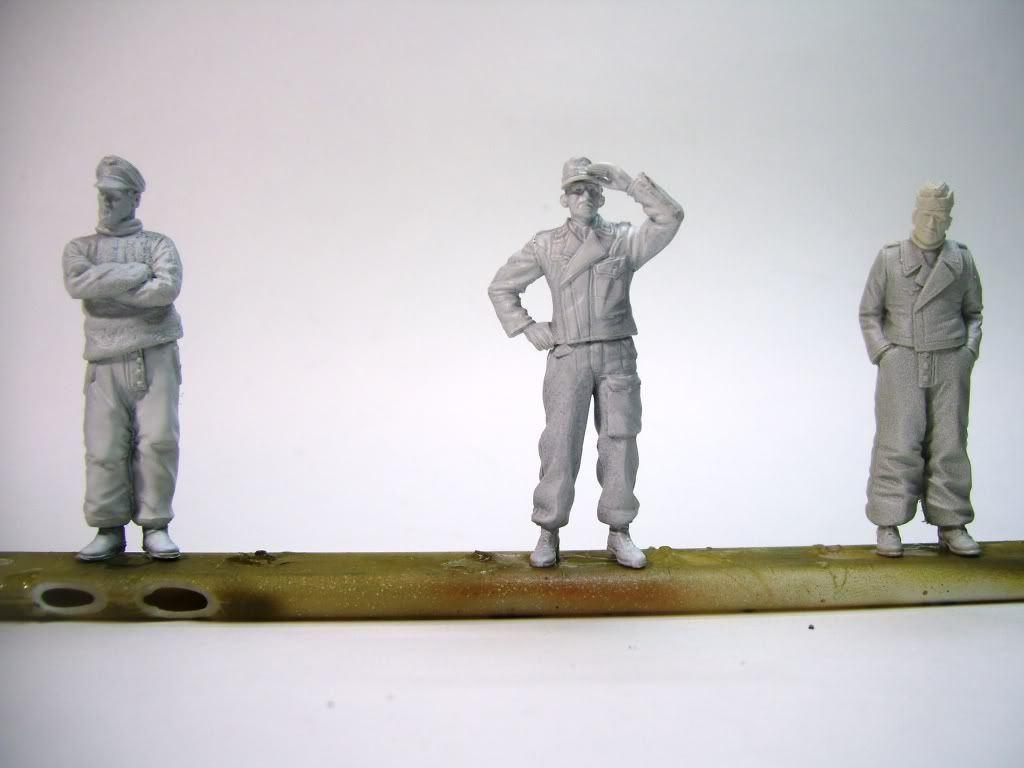
I do have figures too...the one in the middle will be put on my Tiger Coelian; the outside ones will crew this beast...
Well that's it for now! I hope you get some ideas out of this little toot! Comments, questions, and suggestions always welcomed! 