Today was the end game for the Bradley itself. I still have to create the display base. A lot of odds and ends and a couple of heart stoppers, and some not-so-acute concerns.
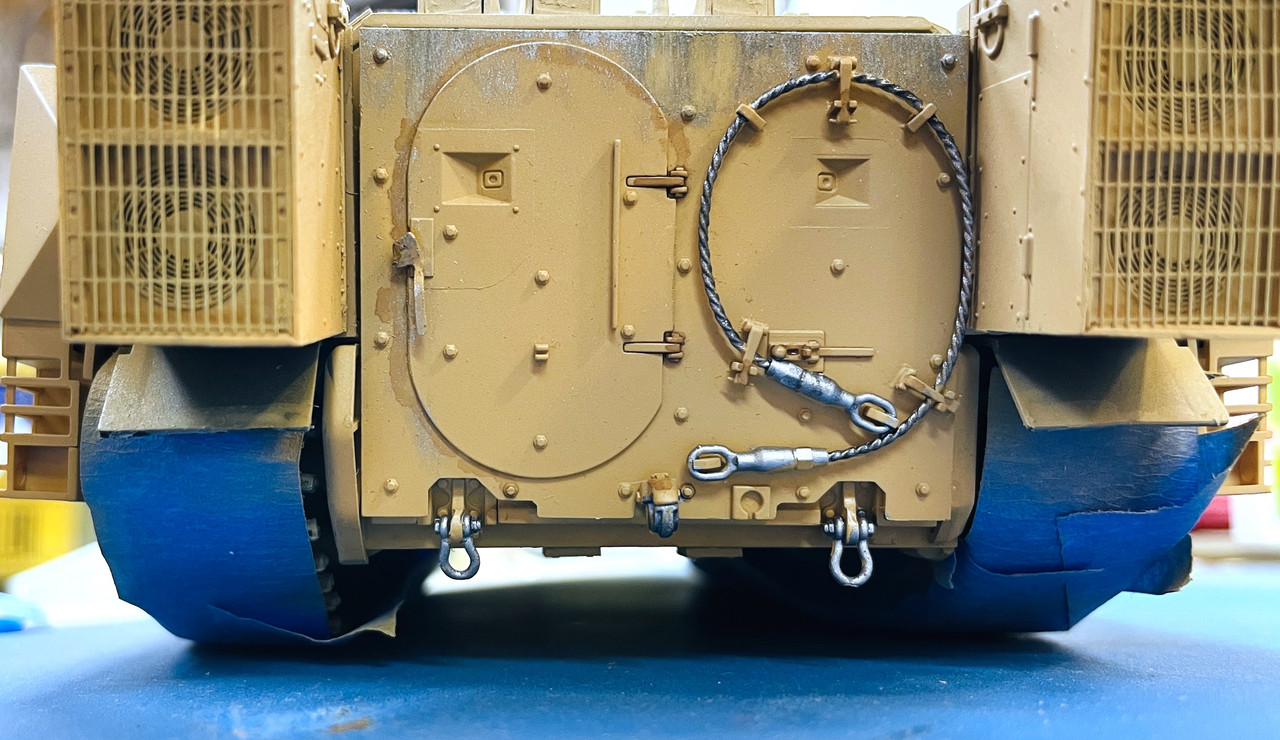
First up; detail painting the back of the lift gate. Unfortunately, all this beauty will be hard to view since I'm posing it with the gate dropped, but we all know it's there. Notice, I repositioned the door handle so it's in the correct downward position. I also made some bare metal where it would be rubbing on the ground. Painted the cable and liked how it worked out. Painted the towing clevises with my "galvanized steel" color which is a flat aluminum and gun metal mix.
I went over the entire vehicle with Tamiya Brown Panel Accent. I put in in the upper ERA seams, and the granular surface (anti-slip?) on the upper and front blocks, various seams, bolts and hinges, and any other thing that I thought needed accenting. After it dried a bit I removed the excess with Q-tips dampened with low-odor mineral spirits. The effect is subtle, not bold.
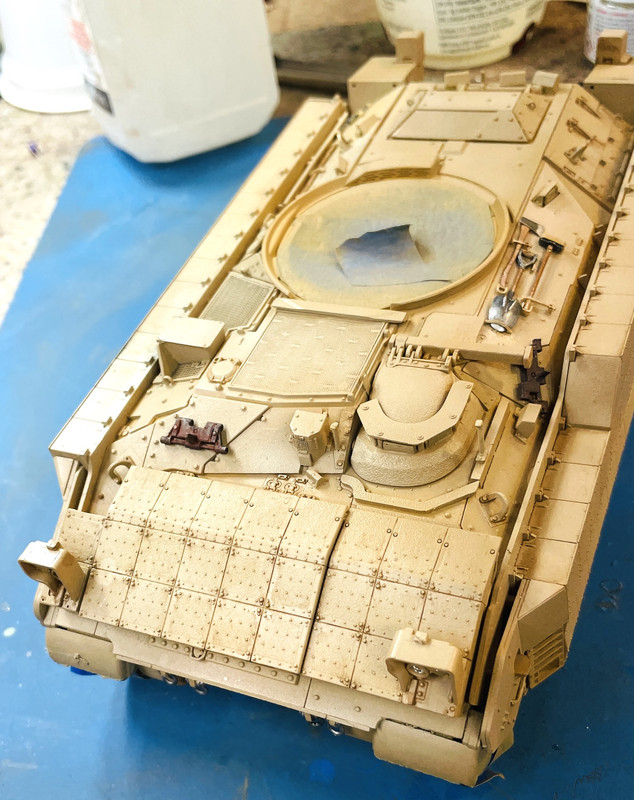
I added the "PINCHPOINT" decals the reside at the upper and lower side ERA joint. There are 15 on each side. Meng inlcuded 2 extra. You will need them.

The decals silvered a bit even with the Tamiya clear gloss coating.
I opened the drop gate to prepare the exposed upper surface. I glued the hinges into the open position, but they were not holding and were, in fact, breaking. After doing the surface treatment off the vehicle, I drilled and pinned the hinges with 0.022" phos-bronze. Much more secure. I took the pictue before pushing them all the way home. I used med CA on the pins as I inserted them. The drop gate is no longer positionable, but considering how frail the kit hinges were, it really never was.
The lift gate was treated with various pastel powders, brown panel accent and very light coat of AK Interactive Real Metal.

Through all the handling, the vertical thingamabob left of the driver's hatch (Gino, what is that?) kept bending over and was in the process of breaking. I removed it and attempted to drill it with the small 0.011" drill for the guitar string, but the hole was not centering and broke out of the side. I substituted some styrene rod and it worked. I then cut off the tiny flat piece from the original and glued it to the new one.
And then the outer shell of one of the drive sprockets fell off. This was potentially more troublesome since access was severaly limited with the ERA skirts and mud flaps now blocking most of the area. And the sprocket face has a key slot that needs to align with the other half. I use Testor's tube cement, and worked it under all the obstacles and amazingly got it to settle in correctly.
I had trouble installing the light glazing. Instead of breaking anything I chose to use Bondic on the headlights. I was able to put in the turnsignal/breaklights, but they didn't snuggle into the housing as they should. I used Testor's Canopy Cement.
The model was ready for the final coat of Tamiya Clear Flat which I applied.
I had a lot of trouble removing the Molotow Liquid Mask. The stuff just wouldn't pull off in a sheet. It came off in little bits and required lots of fussing, not much better than the Microscale. Next time I do periscopes I'm using masking tape or bare metal foil. I put a coat of Pledge with Future on all the periscopes to give a bit more luster after all the scraping.
I saw that the top hatch also had a rubber seal raised area and thought it should be black. I attempted... poorly... to color it with a black Sharpie and made a big mess. It required a repaint. Actually, I had never painted the underside thinking the kit's yellow might work for an underexposed area. I masked the opening and used the Badger Fine Line airbrush. No harm no foul!

With that last task... oh... and I put some gloss Tamiya Clear Smoke around the fuel filler caps. Not a lot of spillage, just a little bit... It was time to make the turret to the hull. Got it together without breaking anything. Miracle!
I painted the aft end of the Bushmaster barrel with Gun Metal, used some Testor's Tube Cement and install the gun. I then finish painting it on the tank. I highlight the muzzle wit the metal paste since pictures show that firings polish that area a bit.
And the model IS DONE! Here are some beauty shots. I found that right out of the phone's camera, the finish was too yellow... much more than appeared to my eyes. I messed with the post-processing controls: Exposure, Temperature, Contrast, Highlights and Shadows and got it a little better. But when I reduced the Saturation, it finally looked like it did in the flesh.
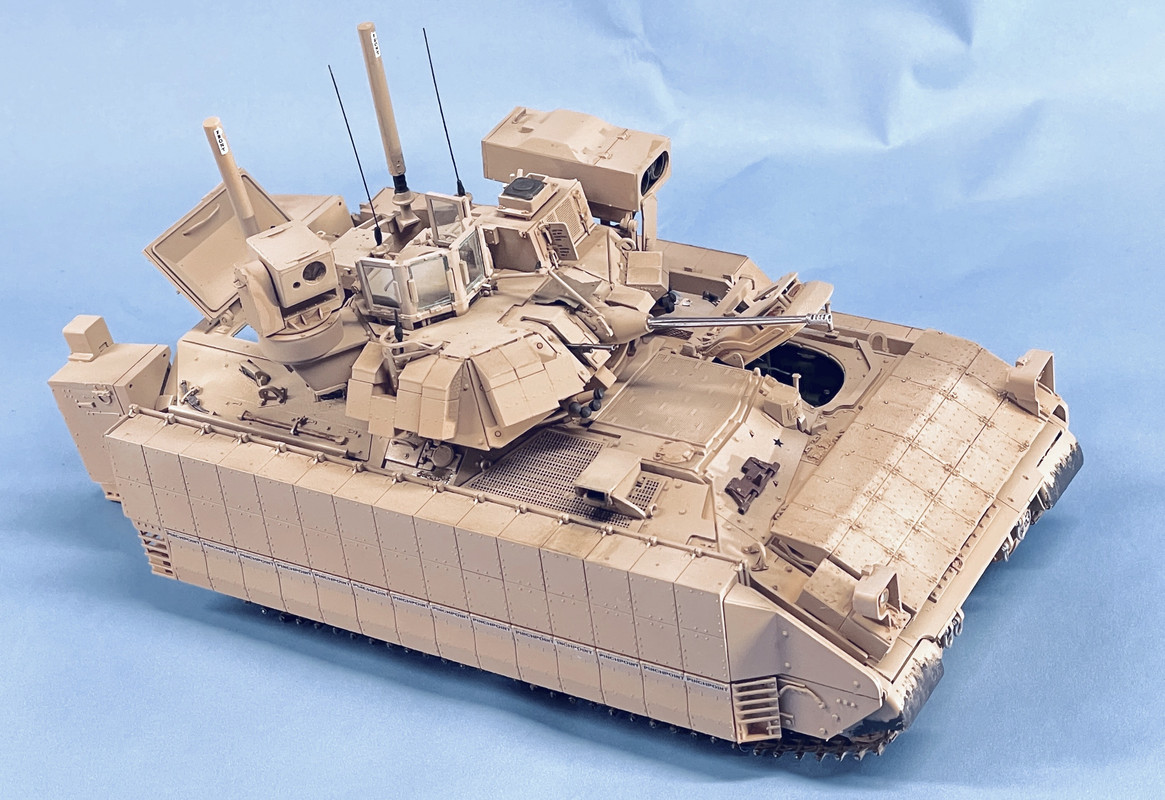
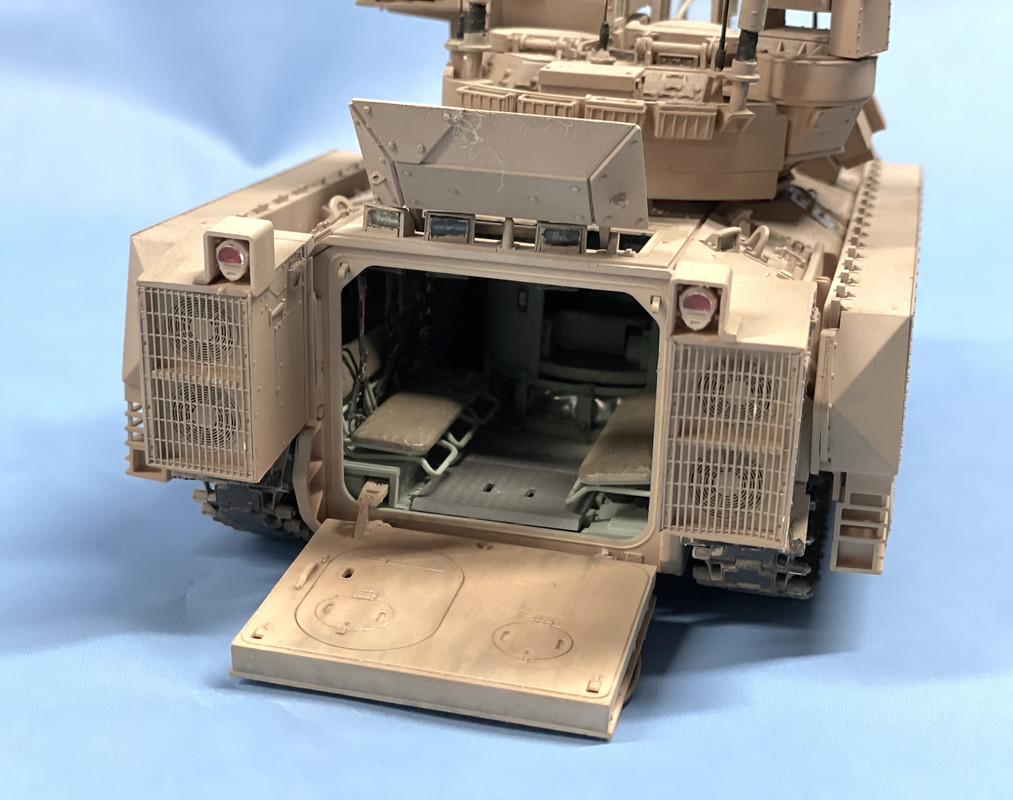
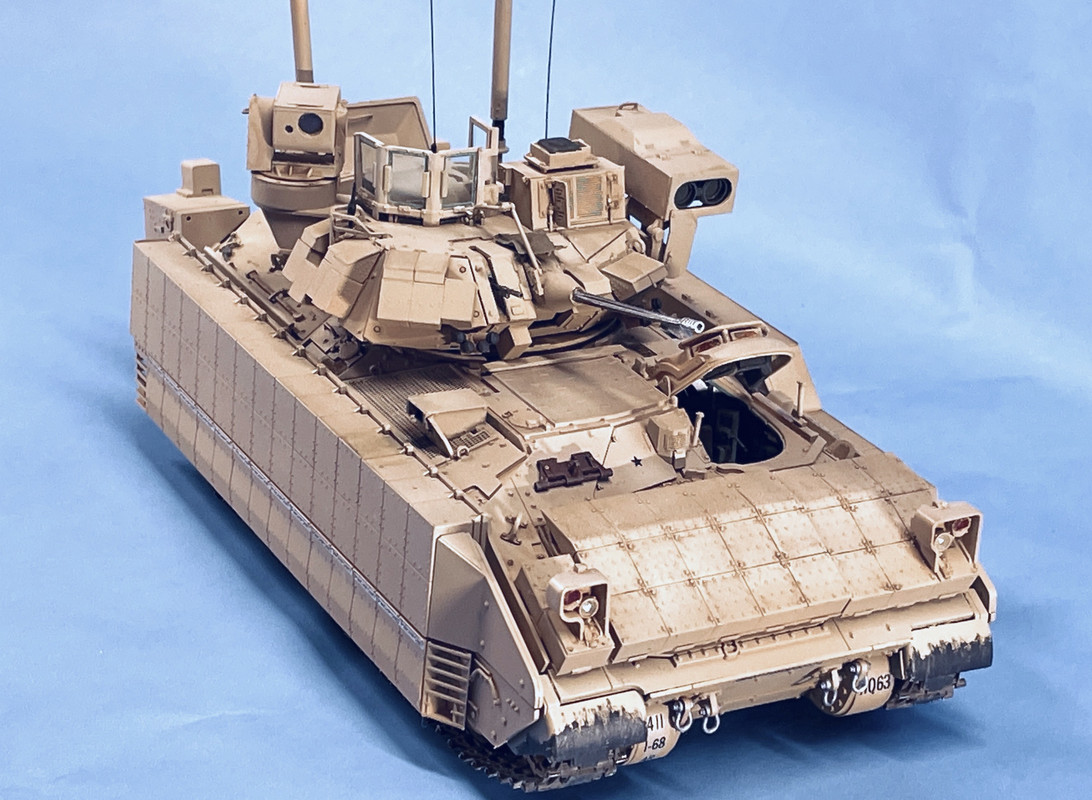

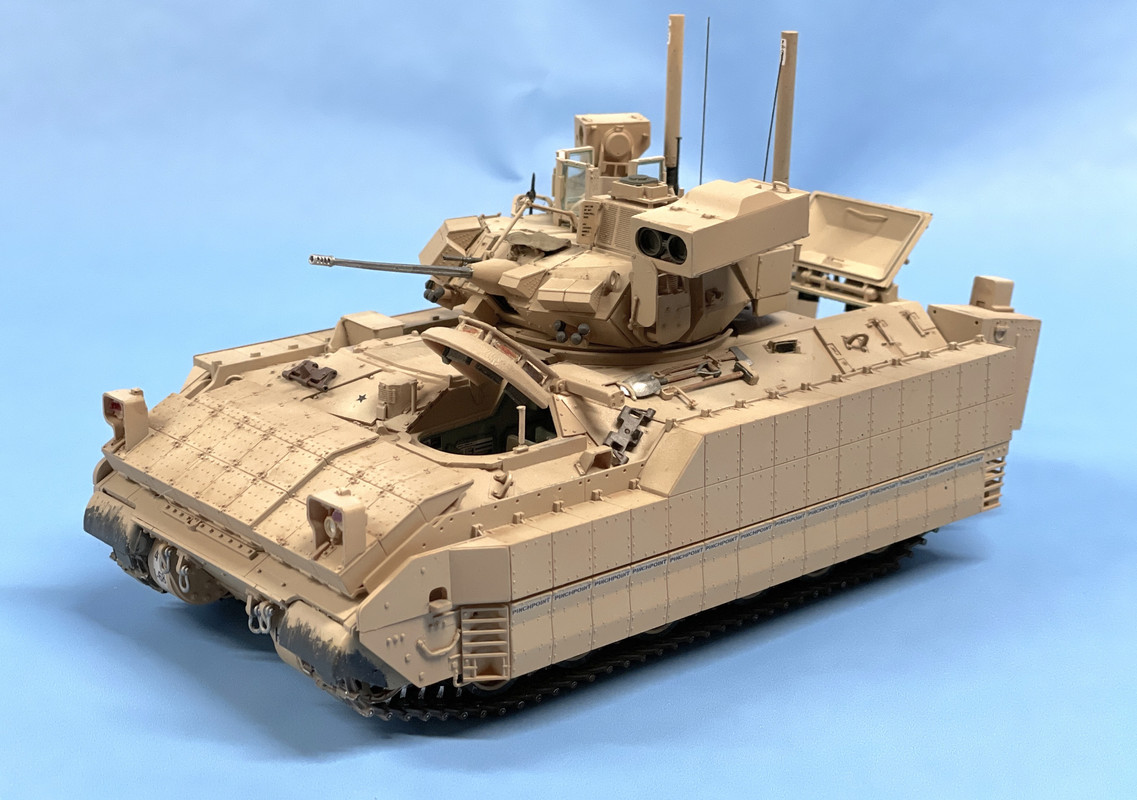
I still have to build the base and will do that next week. Since the machine is going to be sitting with all its opening open, I'm going to situate in an area that looks like motor pool. That means a concrete pad, and not a desert road. I'll be posting that too. I got the hood open, put the metal lift piston rods in place and reinstalled the hold-open latch and then took these pictures.
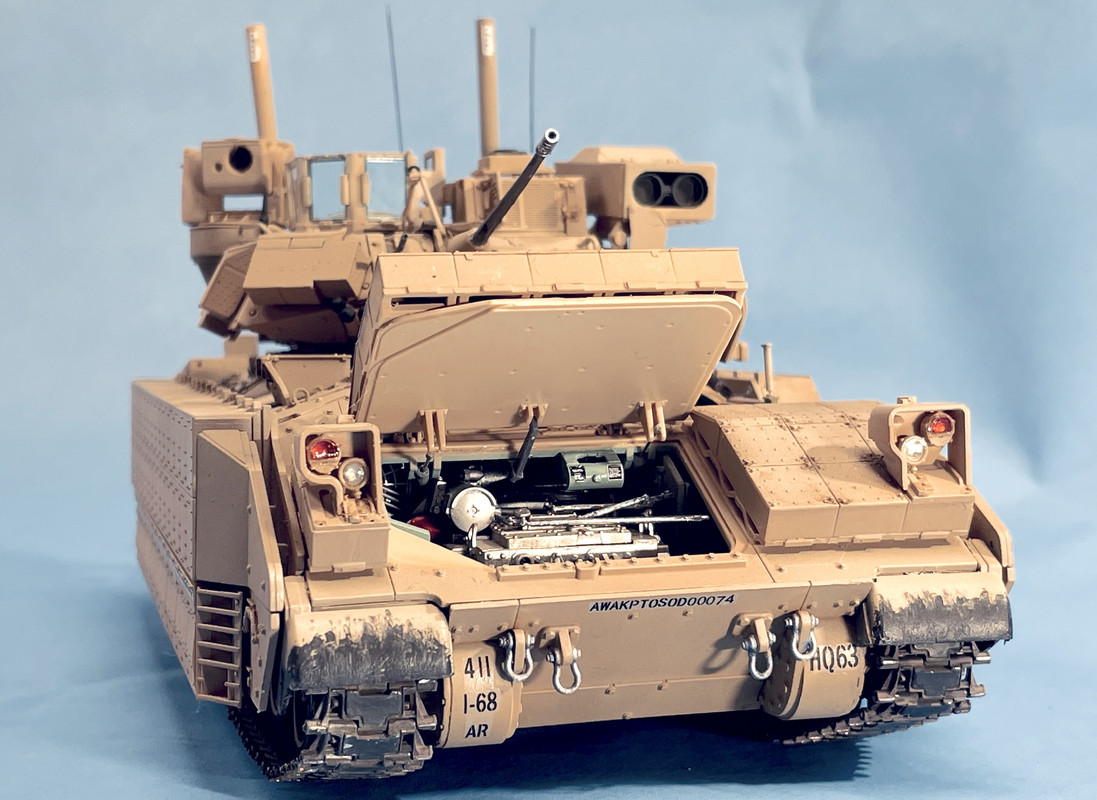
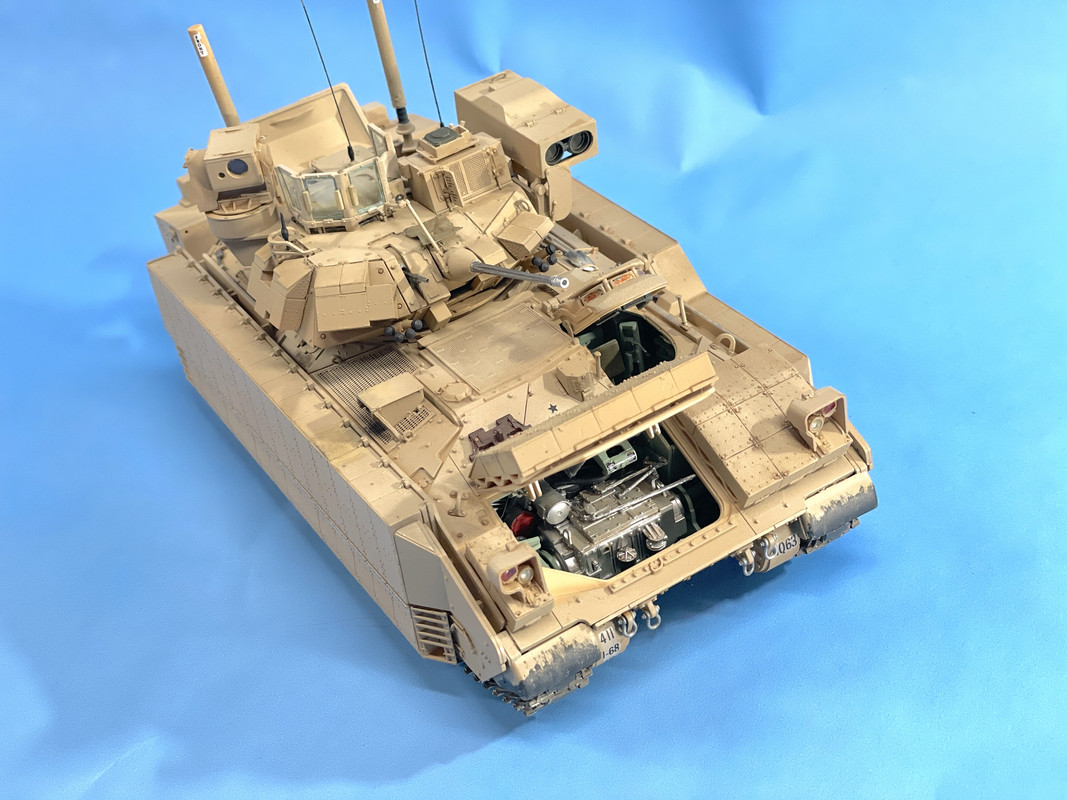
This was a complex and rewarding model. Not quite as complex as the Ryefield Model Sherman, but darn close. The Friulmodel tracks really helped. The kit tracks would have been very frustrating to me unless I glued them together. It would have been less frustrating if the "Q" parts were included, but I was able to work around that without losing much time and all's well that ends well. It was my first Meng kit and it was well engineered. The working hinges on the hood and drop gate, while scale-sized are way undersized if they're actually supposed to work. On both parts one hinge (female side) fractured in just trying to assemble them in the first place, not when I was trying to operate them. While I was disappointed in not having the full gun breach detail, you would not see any of it at all. I'm looking for some crew members for this beast. I have marty at Scale Reproductions, Inc., finding me some.
I learned a lot about Bradleys in researching this build. They're an impressive machine that keeps getting upgraded. This model is not for the faint of heart, but it's a rewarding build.