Finally, after a kit disaster and buying a new one I am back to where i was and a little bit further. Its is (hopefully) going to be a during take off model with the gear part retracted. we will see.
flappy suction whatever they are doors from the outside
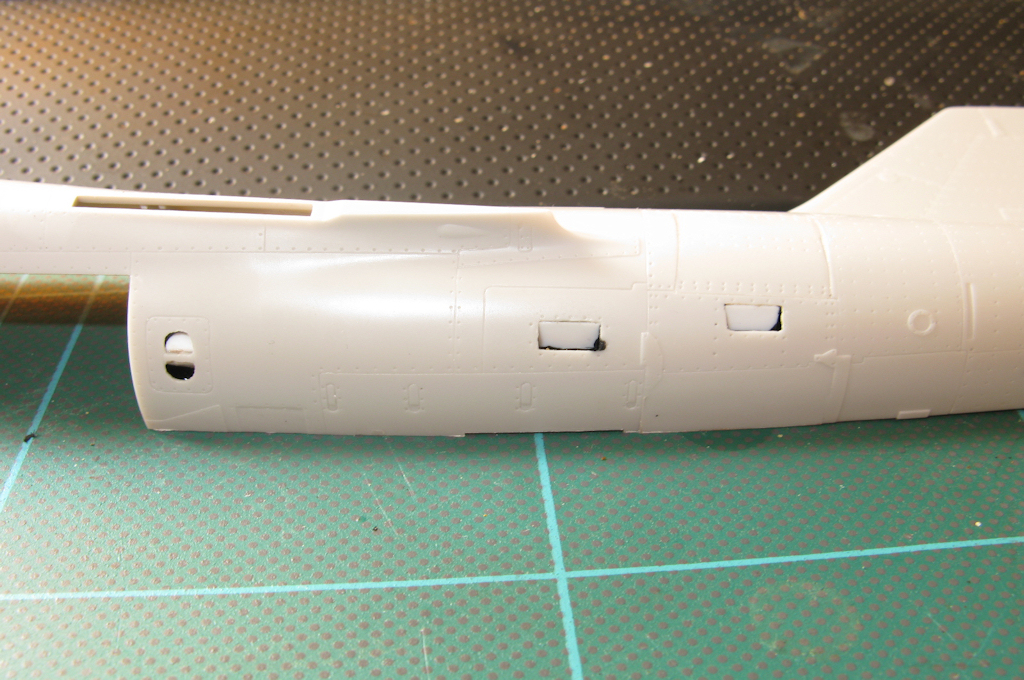
27 by omgpainful, on Flickr
and inside showing them boxed off
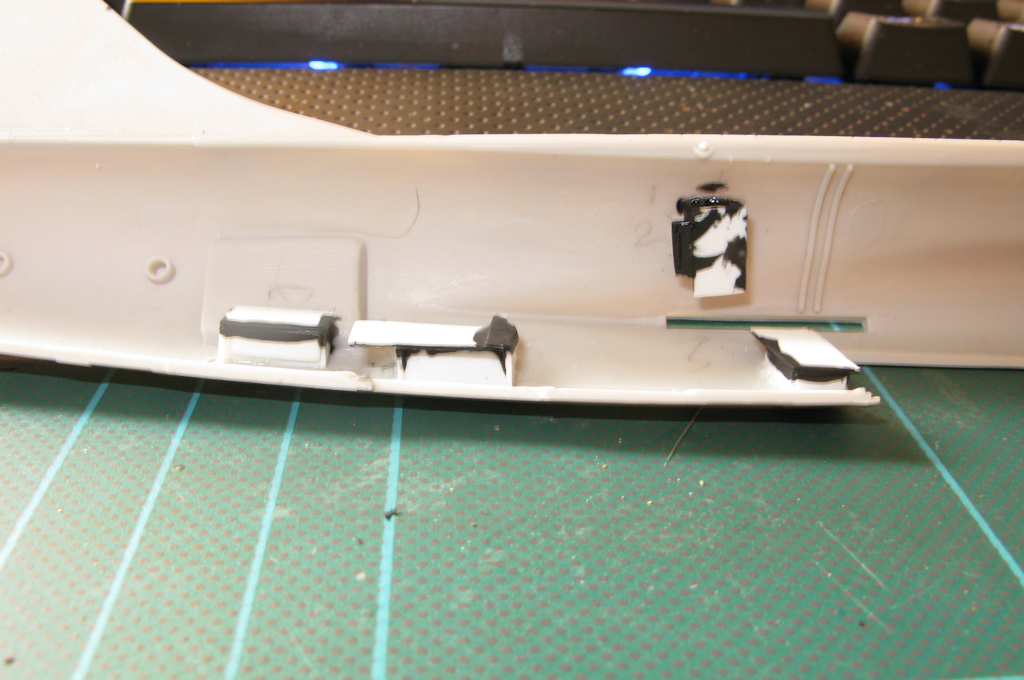
26 by omgpainful, on Flickr
Aires can
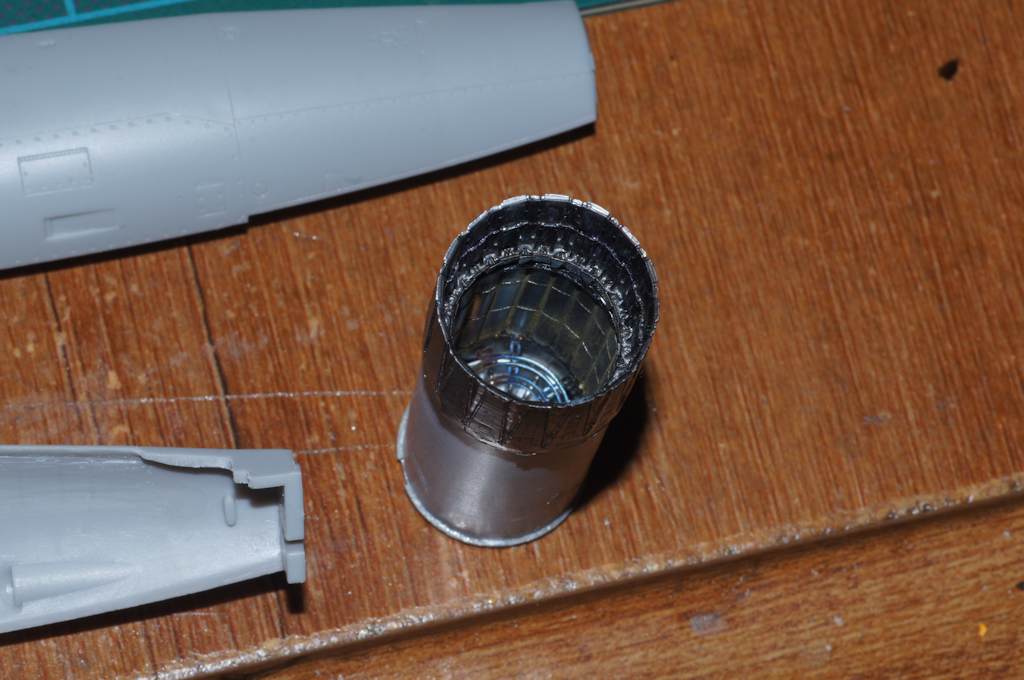
07 by omgpainful, on Flickr
and how it looks installed

36 by omgpainful, on Flickr
Aires main wheelbay sprayed with alclad and a grey wash.
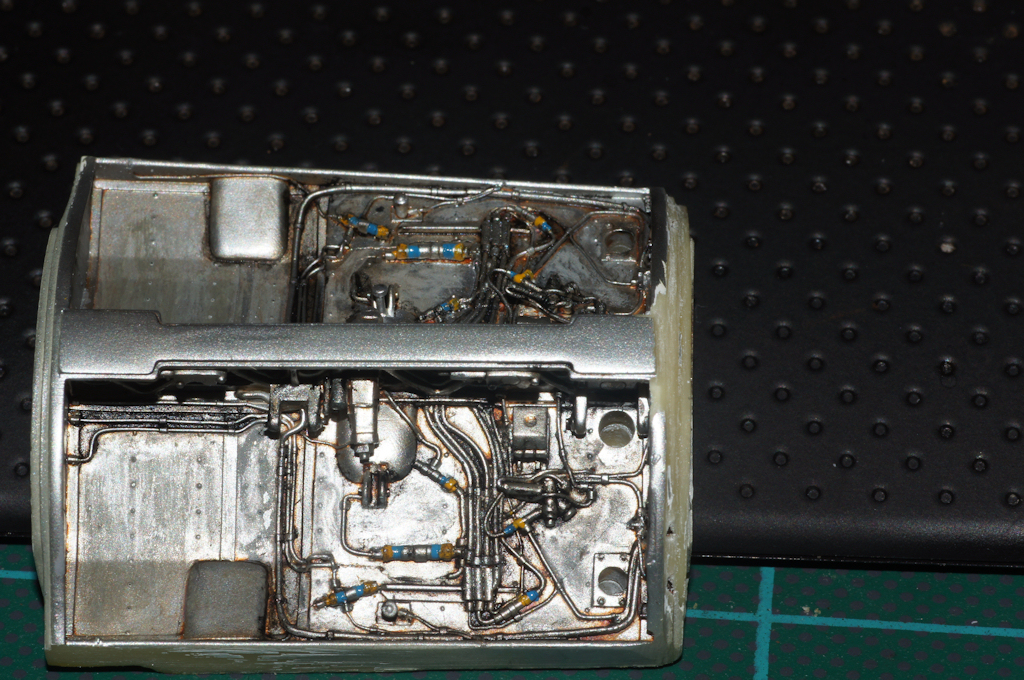
18 by omgpainful, on Flickr
front Aires bay
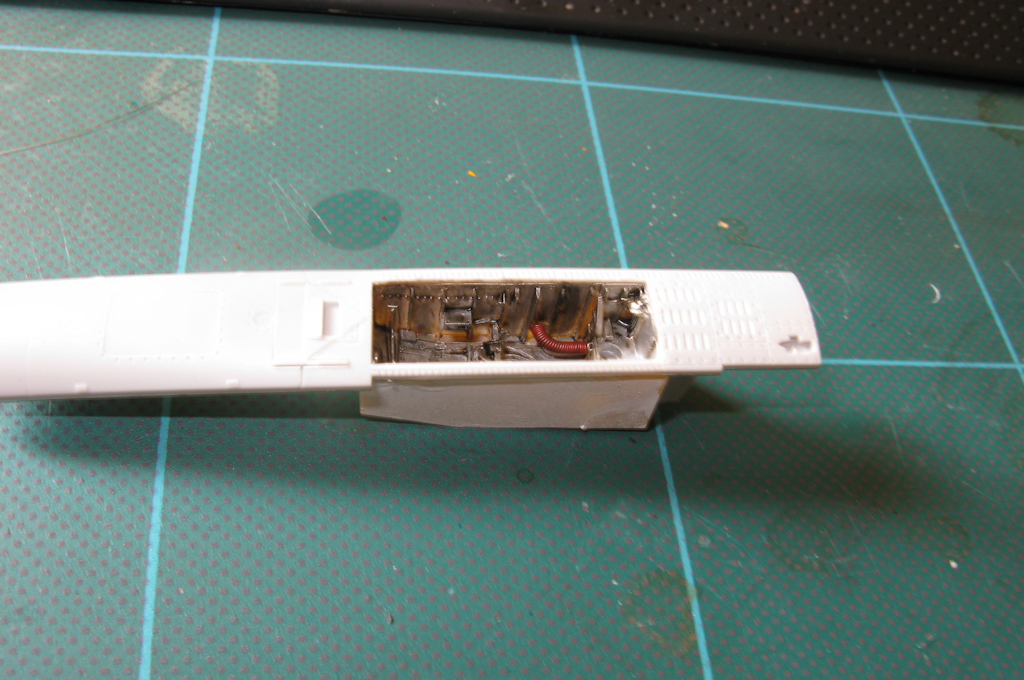
33 by omgpainful, on Flickr
Altered bulkheads andmain bay in. secured with CA and five minute epoxy
White nylon bush is for the clear acrylic rod of the stand i am doing for it.
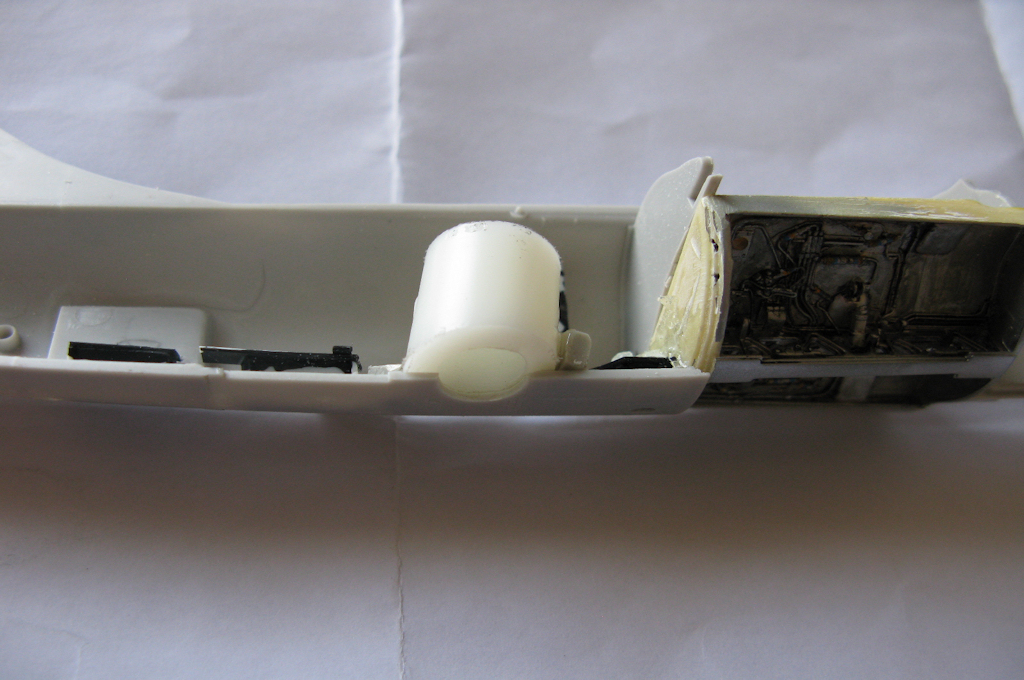
38 by omgpainful, on Flickr
pit assembled.
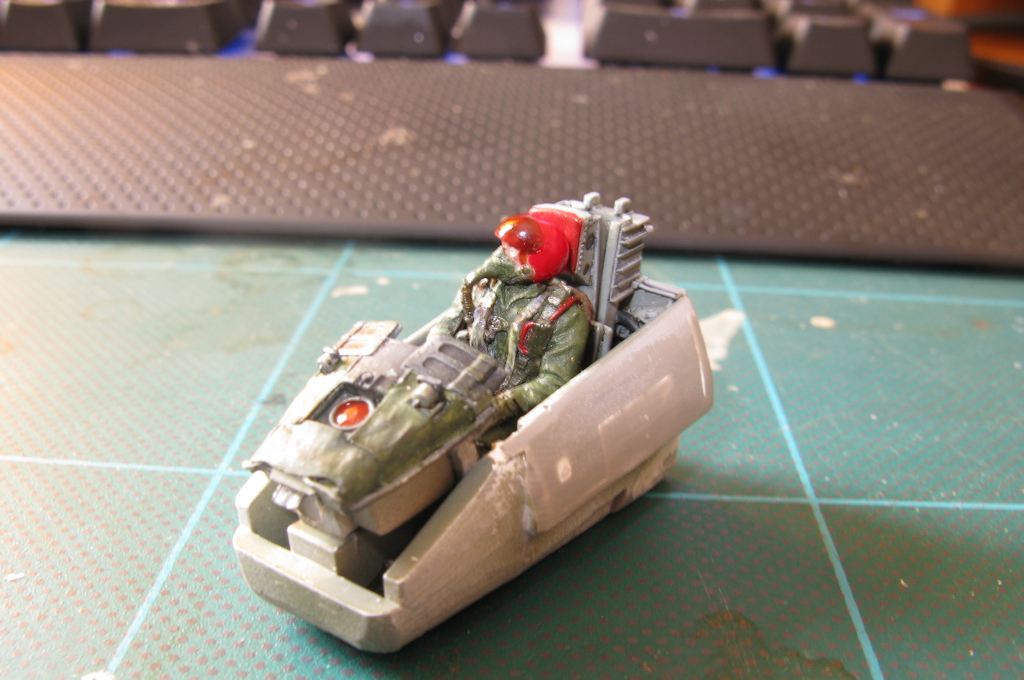
25 by omgpainful, on Flickr
quick check to see if it fits. it does thank heavens.
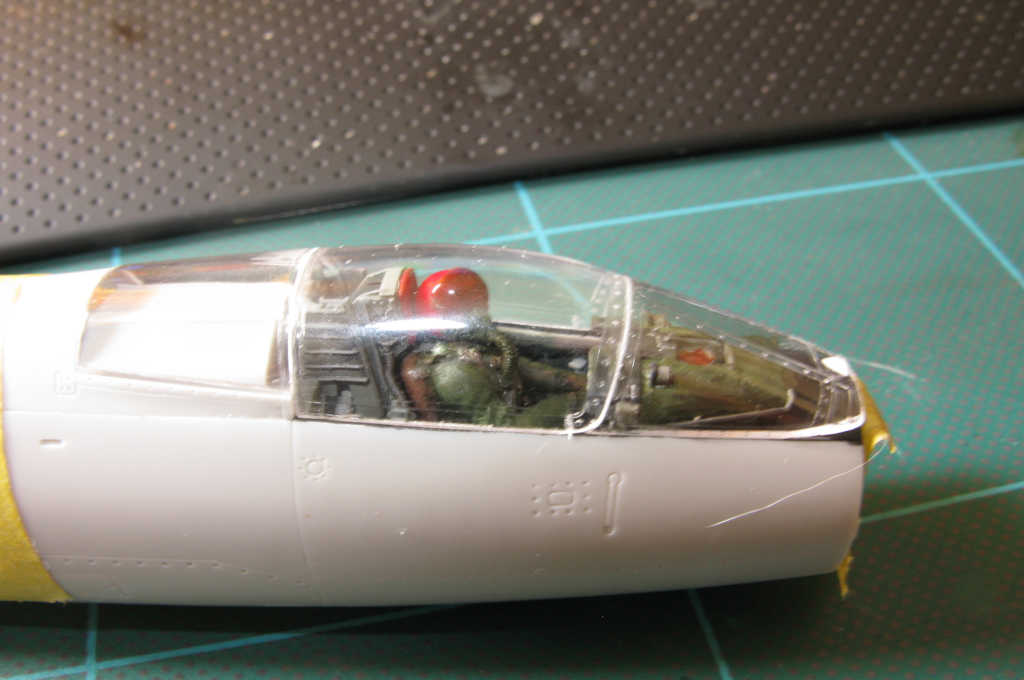
34 by omgpainful, on Flickr
resin underwing tanks with fins attached by ally tube, ill fill it with milliput tomoz.
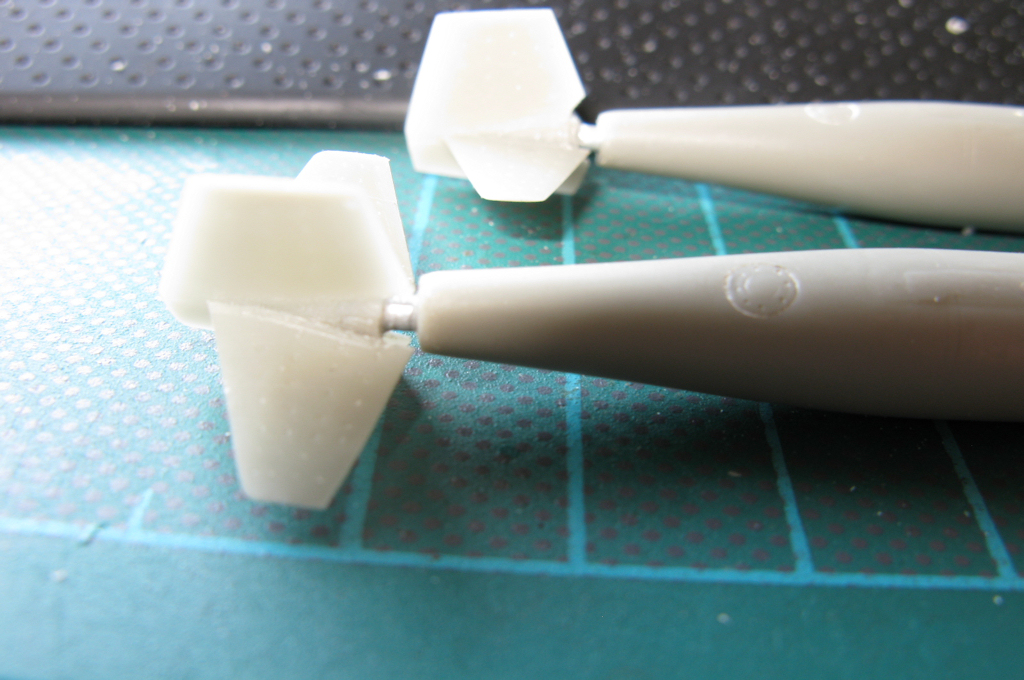
44 by omgpainful, on Flickr