Well I promised you some pics and here they are:
After looking at the pics of the gear bays and painted engines I realized two things:
- The gear bays didn't look like much without a wash so the pics are pretty much worthless.
- The engines looked like steel-colored ugly chunks of plastic as well
So I decided against posting pics of those just yet, but I will split this update into two parts instead. One of them is the WIP part (what I'm writing now) and the other one will be posted either tomorrow or on Saturday (depends on when I get a wash on the parts and everything cleaned up again). In this update I'm going to cover everything that happened before I started painting.
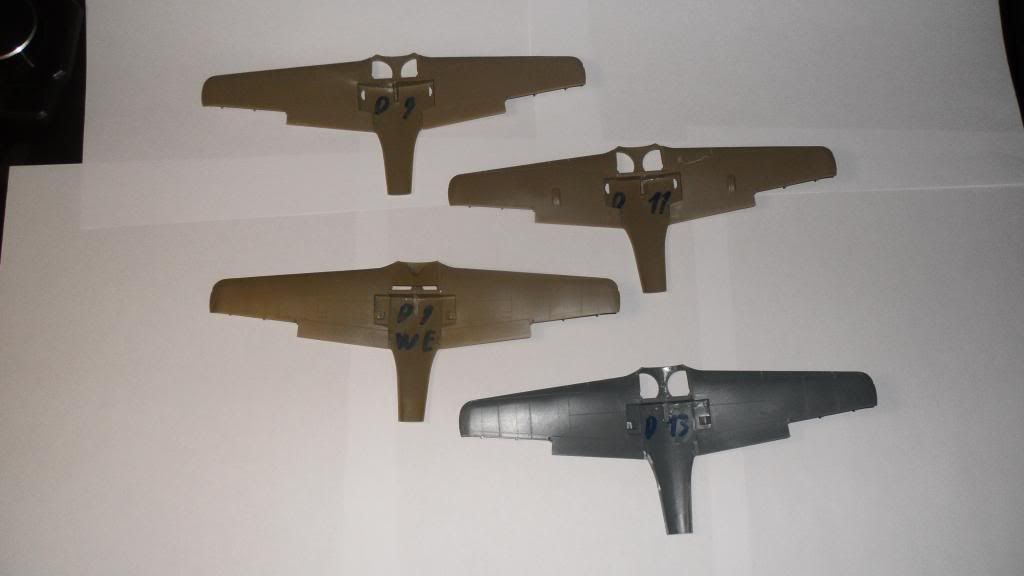
When I started to dry-fit the wing parts I noticed a huge step on the forward gear bay walls of ALL the Doras except for the D-11 (it has a different sprue for the wings because it has 4 MG 151 instead of 2). To fix this (slightly larger than 0.5mm !!!) step I glued shims made from sheet styrene to the gear bay walls. They compromised the overall fir of the wing pieces, but a little gap in the gear bays is way better than a large and obvious step:
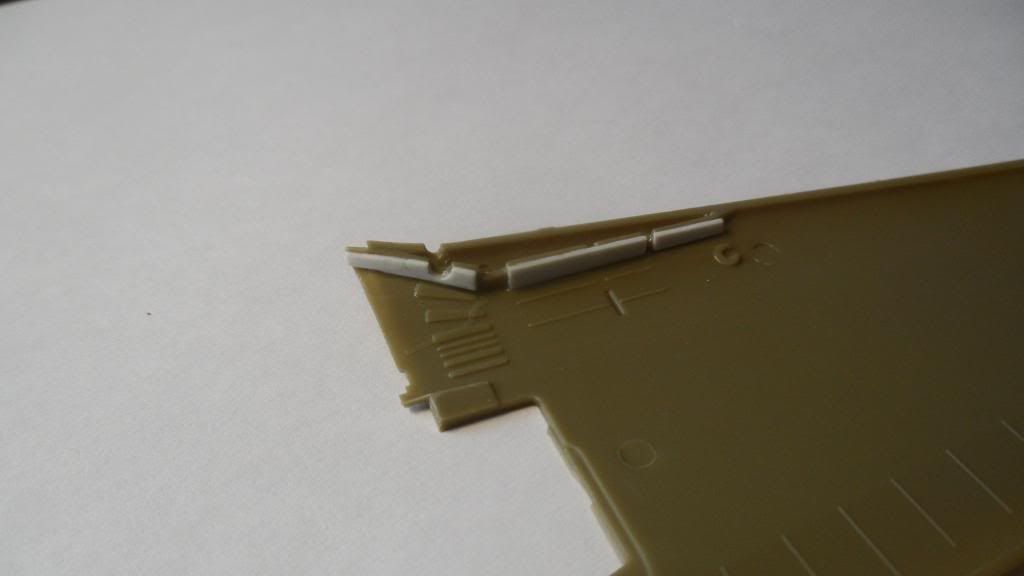
Next up was a little bit of scratch-building. The ejection chutes for the fuselage MGs on the Hasegawa kits were just slabs of plastic, so I added new ends made out of 2 pieces of C-channel styrene glued together:
Those tiny things actually took me 2 hours to make for each gear bay (so 4 hours in total) because glueing them together and then cutting them off ended in a flattened or otherwise damaged part (even with a brand new scalpel blade). I had to cut two slices of the same width, glue them together without losing or destroying them (hard to do when a small drop of glue ruins them already), then glue them to the kit parts, again without losing or destroying them. The last step was were I lost most of the parts: I had to sand them so they were kinda flush with the edges of the kit parts and looked decent on the top. I wasnt able to use a lot of glue, so most of them ended up flying off to never be seen again. I lost count of how many attempts it took me to get this to work at least kinda like intended... (sorry for the rant, but it was frustrating LOL)
Then I went ahead and cleaned up and assembled all the engine parts for the Eduard Doras:
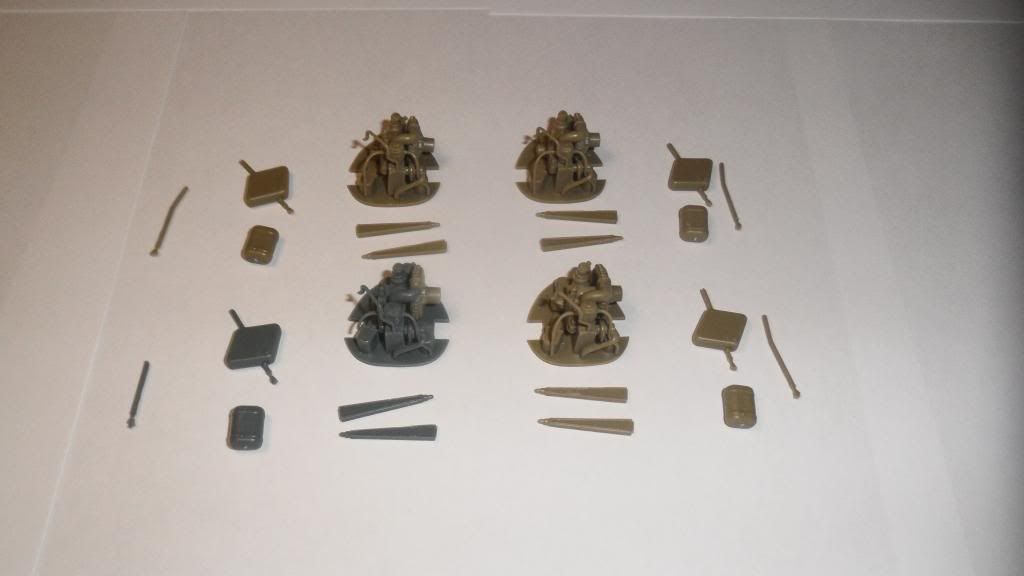
The D-13 (blue plastic) is really badly molded compared to the rest, so it gave me a bit of trouble including a short-shot pipe (that blue stick-thingie to the far left). I simply cut it off at a good spot and I will replace the missing area with plastic rod.
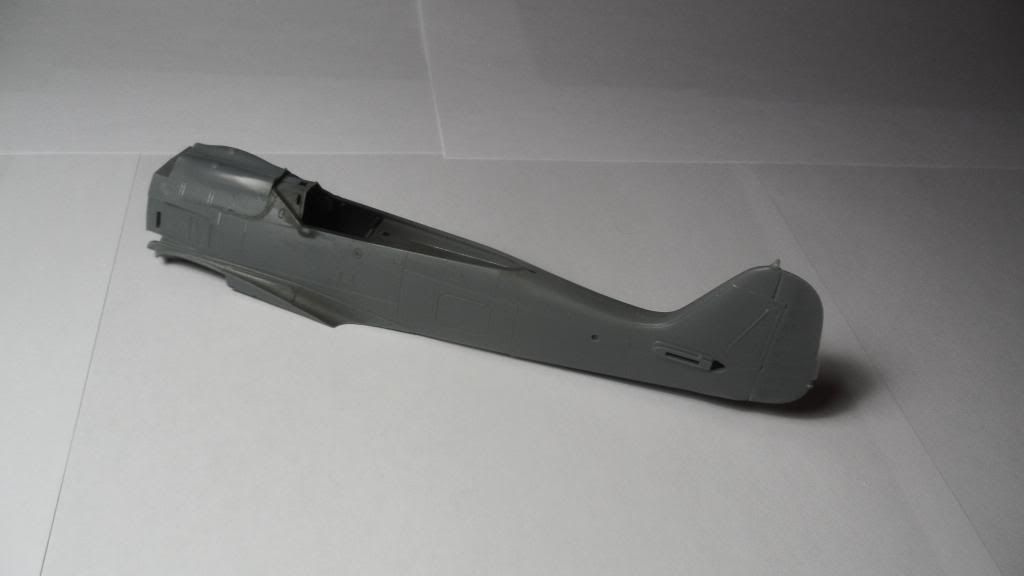
The main wing assembly was straight-forward with only some minor fit issues. A bit of sanding and dry-fitting took care of that and then it was just a matter of getting all those seams sanded down (8 wings in total, A-8/R2 wings were already assembled), let me just say I didn't fancy seeing any sanding sticks for the rest of that week... I niticed that the tan eduard plastic remains very soft for a few hours after glueing it (although I used my "coolest" glue, Mr.Cement S) making it a pain in the rear to sand. That almost made me destroy a wingtipby ripping little chunks of plastic out of it. Got it repaired without any real trouble, but that wingtip is roughly 0.3mm shorter now  You can only see the Eduard wings in this pic BTW because I was painting the Hasegawa and Tamiya gear bays at the time I took the pic and those can only be assembled after painting... You'll see them in the next update.
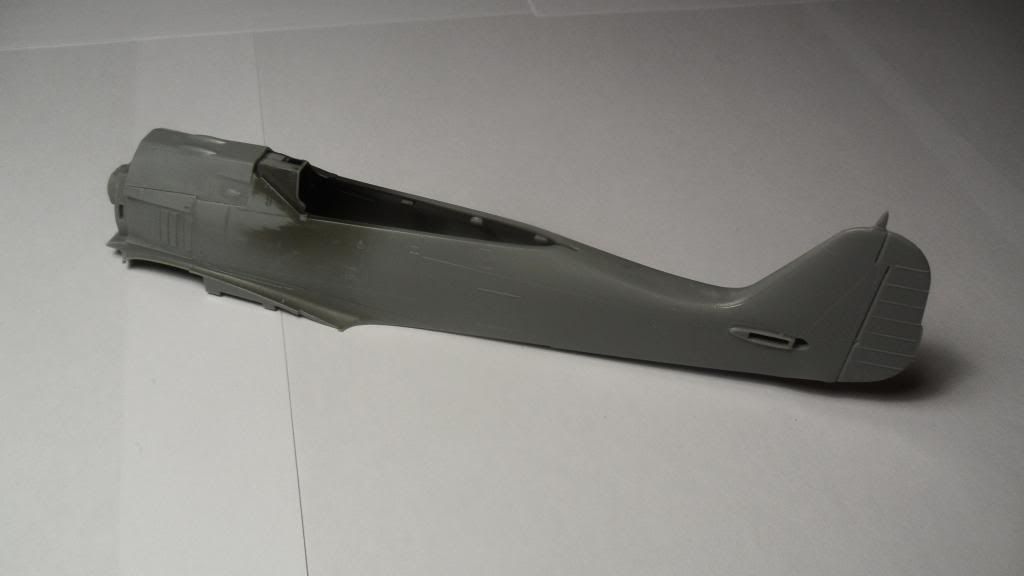
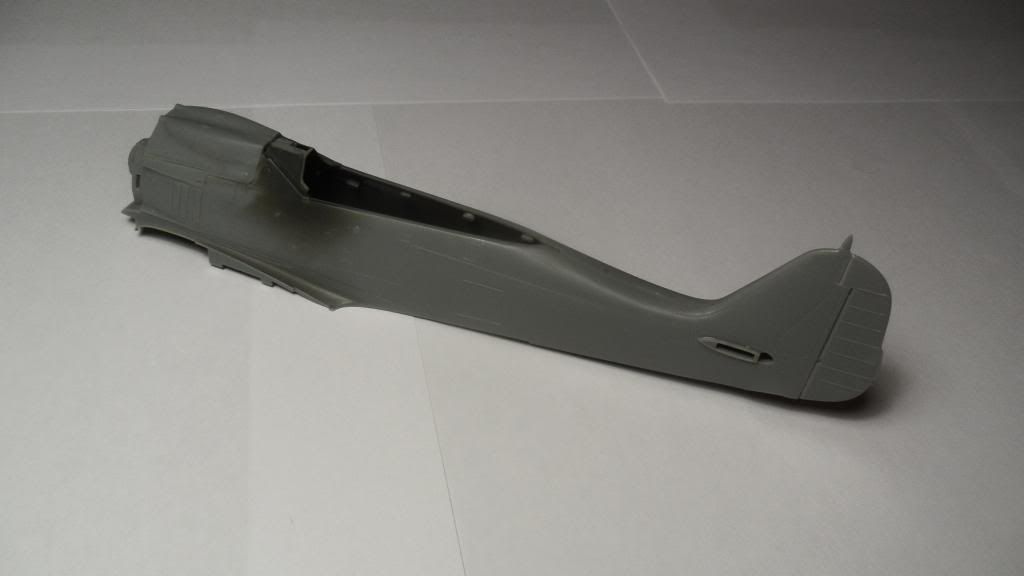
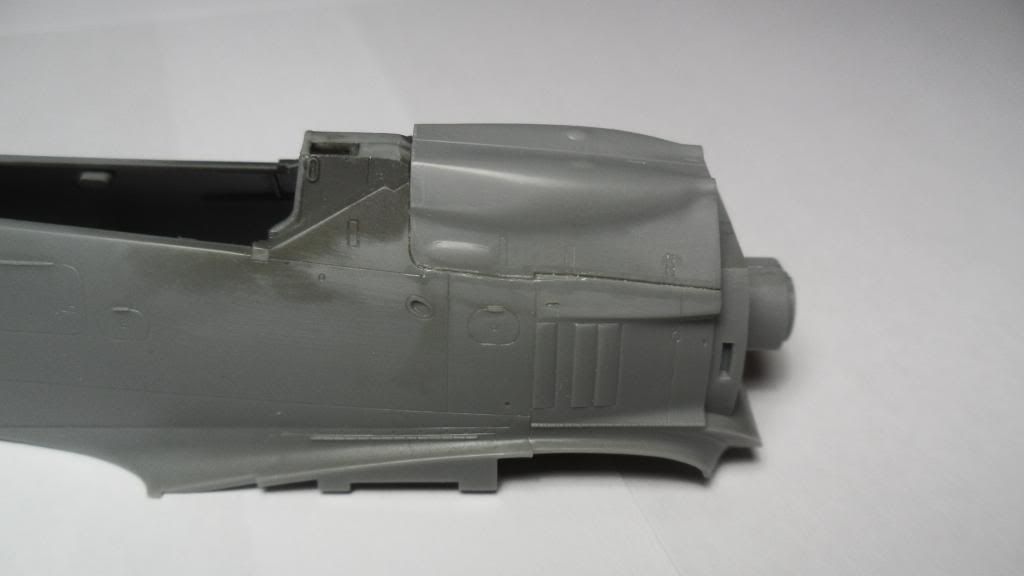
Next up were the Tamiya and Hasegawa fuselages:
The Tamiya kit actually surprised me in a bad way. I wasn't your typical Tamiya fit! I actually had to fight with the fuselage parts for quite a bit untill they finally kinda lined up (either the panel lines or the whole fselage halfes themselves were off by 0.5mm). Add the fact that the fuselage was warped and you almost can't recognize it as a Tamiya kit...
The gun cowl however simply fell into place...
The Hasegawa kits have no fit issues whatsoever and I was able to simply press-fit the fuselage halves (they stayed in place without glue) and add a bit of Mr.Cement S along the seams.
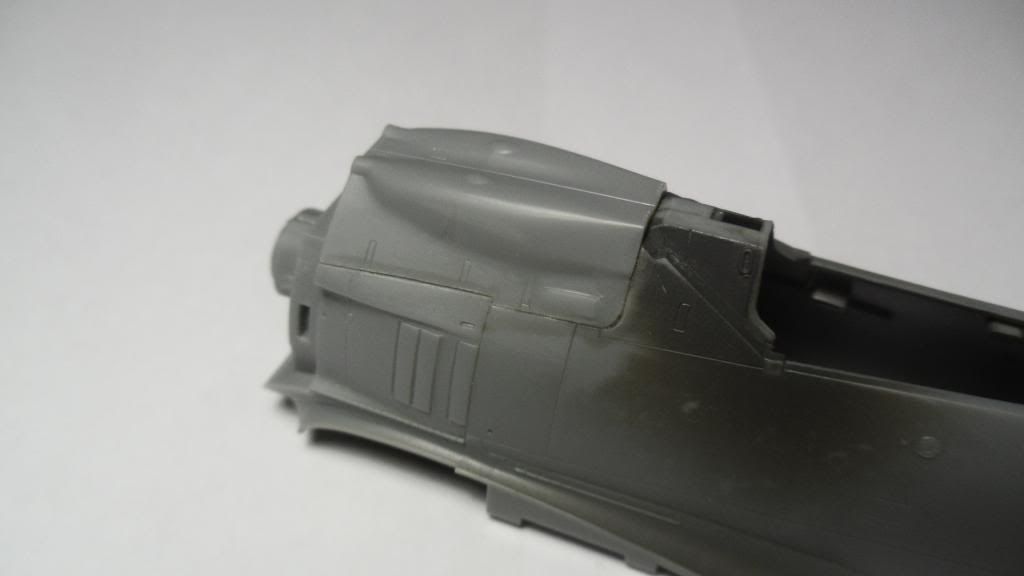
Same story with the gun cowls, but of course I had to mess them up big time. I glued the F-8 cowl onto the A-5 and the other way round. The F-8 however has additional detail on the cockpit sidewalls, so I couldn't simply leave it like that. I carefully cut them off the models and after a lot of sanding, a lot of swearing, even more sanding, a bit of glue followed by more sanding - OK, I think you get the idea... Anyway they look halfway decent now and I'm not too worried about them not fitting perfectly because the real planes showed a quite poor fit in that area too with pretty large gaps around the cowls...
A-5:
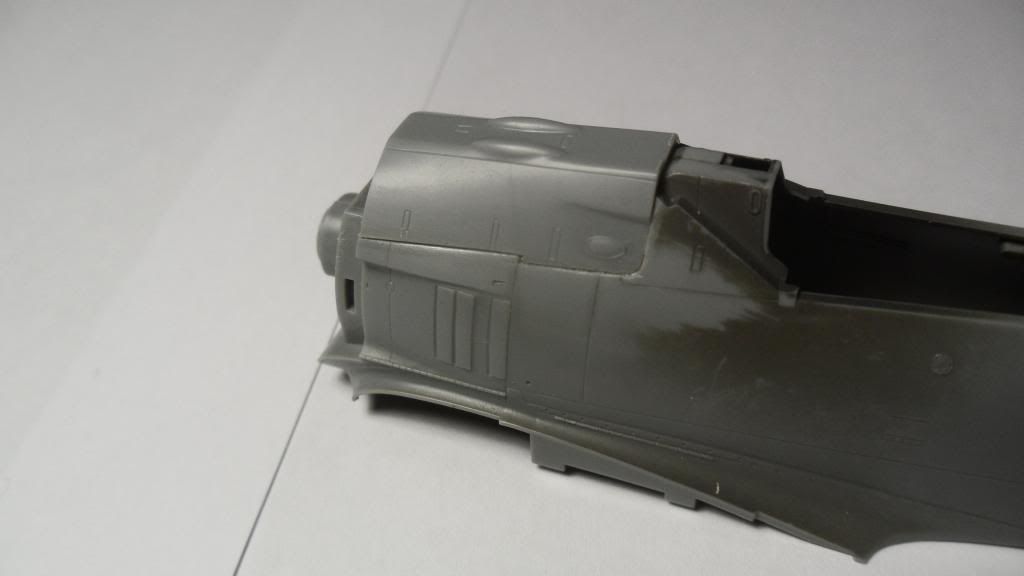
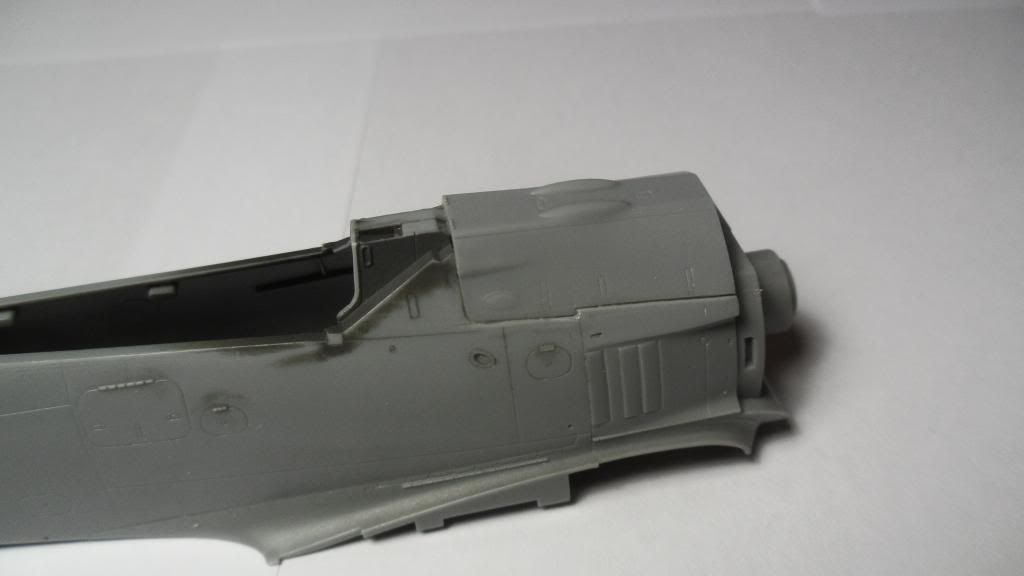
F-8:
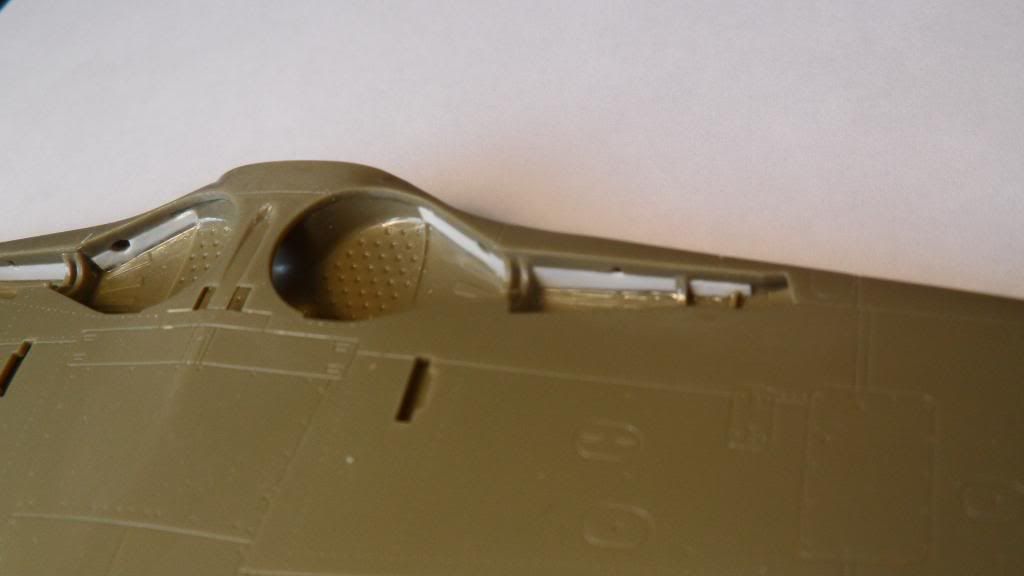
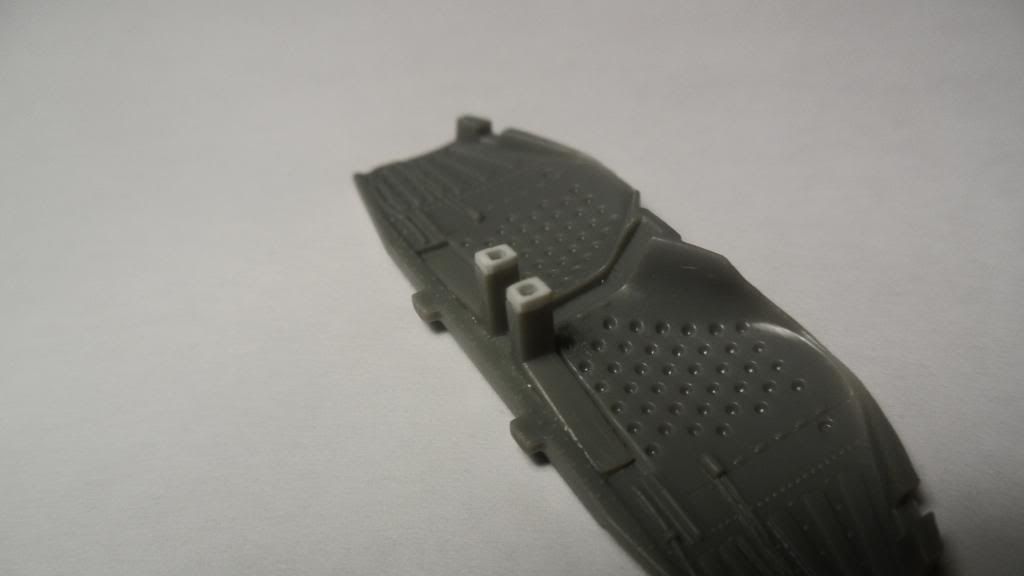
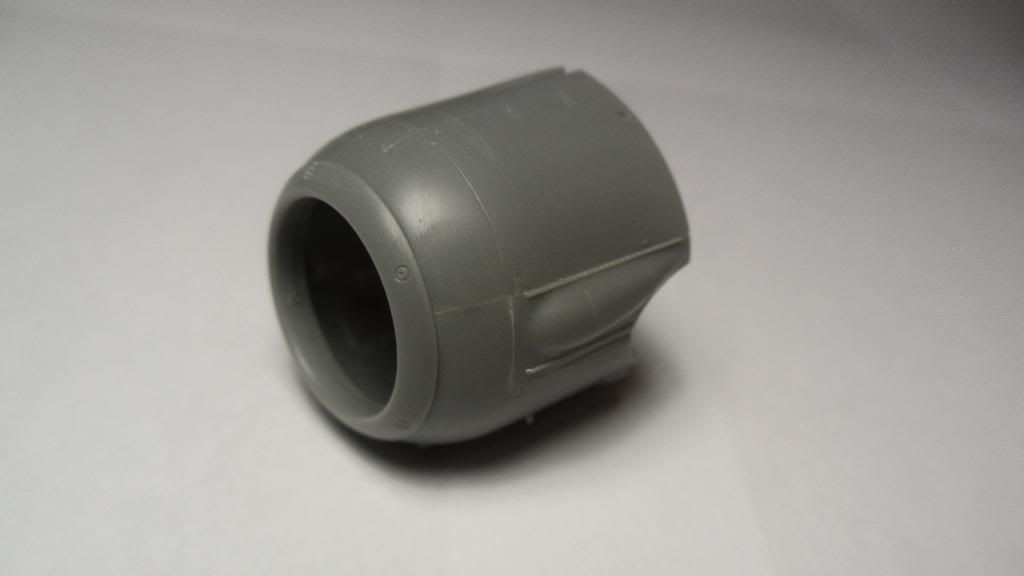
I also assembled one of the Hasegawa engine cowlings (for the F-8) and they are wonderfully engineered. Each of them consists out of 5 parts but they all fit perfectly and have a good amount of surface detail:
Well thats it for todays update, folks! I'm sorry for not showing pics of hte engines and gear bays jsut xet, but you really can't see a lot without the details being picked out (thanks to my poor skills at taking decent pics)
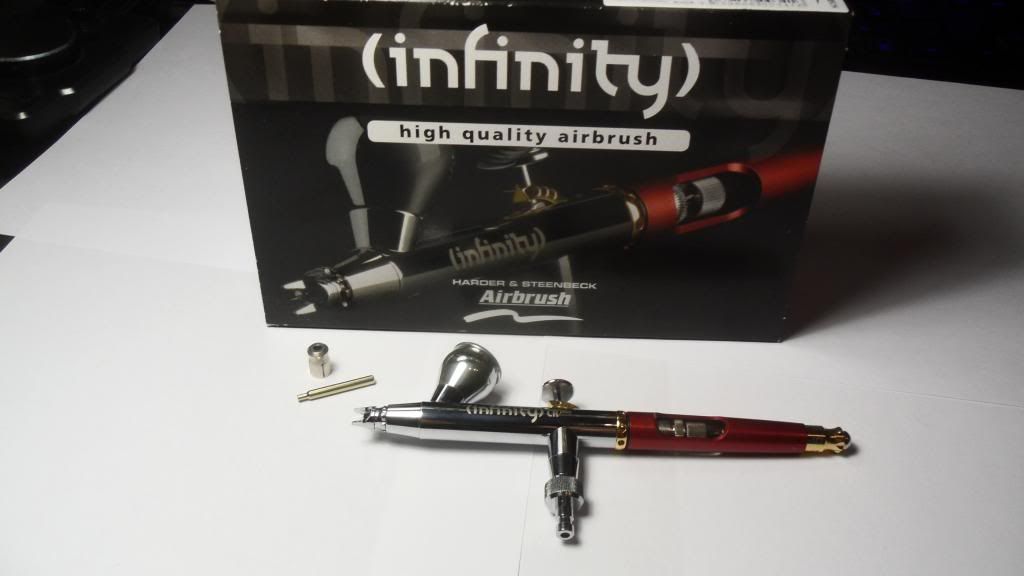
In case anyone is still reading at this point, here's the new "photo-hardware" i was talking about:

I can't believe I got this monster of a camera as a gift for no particular reason (at least I'm not aware of one). You could literally kill somewhone with that (big and heavy) sucker.... I hope My photos get better once I'm used to my new toy. Lotsa buttons and other stuff I have to figure out first...
And some more eye-candy: My secret weapon for all those crazy mottling schemes (I'm looking right at you, Yellow 10) arrived a while ago and oh my, she's gorgeous! I had no chance to use her yet, but that trigger tension adjustment works really well. I can reduce the spring load on the trigger to zero if I want to (needle won't go back if I do though) or raise it all the way to what my evolution feels like. Should help with preventing fatigue when spraying fine lines, dots and other detail stuff for longer periods of time:
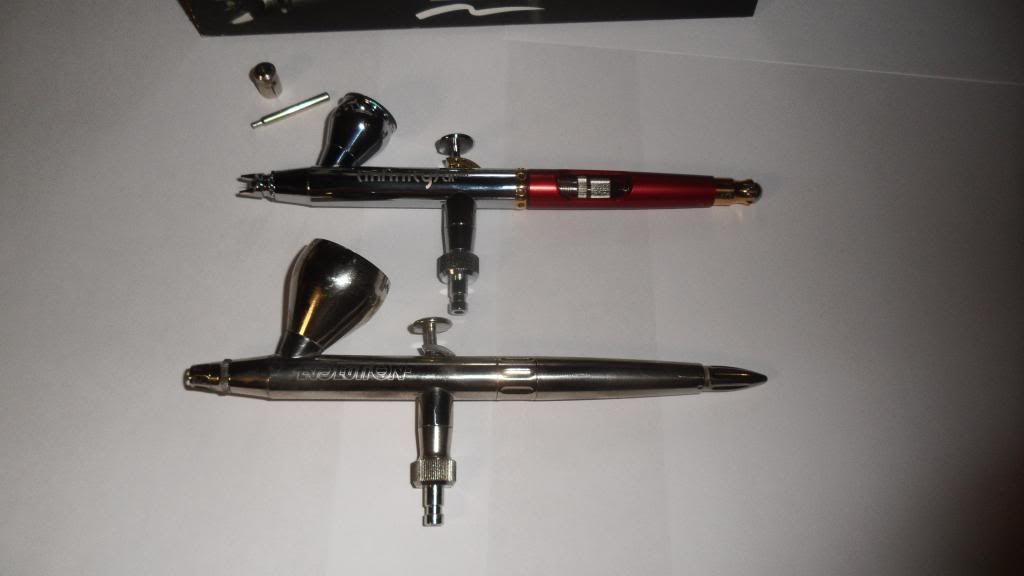
And a final pic of her next to my trusty Evolution:
I got this Infinity CR+ with a 0.15 needle (smallest one available) so I can do the really fine detail work easier and I got 0.2 and 0.4 needles with my Evolution, so I can use them for the larger stuff (either in the Evolution or in the Infinity). The CR+ means it's actually chromed and not nickel plated so I won't get those ugly looking stains like on the Evolution (figured it was worth the 10 bucks extra)...
Cheers, Clemens