Alright!! Got some work done. =]
I got the boom halves mated together and attached to the wing. I first set them up on the horizontal stabilizer/elevator. That way I was able to keep them perpendicular and prevent them from warping and twisting on the wing. Once they set, I used Tenax to attach them to the wing and followed up with a 2 part epoxy to ensure they stay put. =]
Here it is:
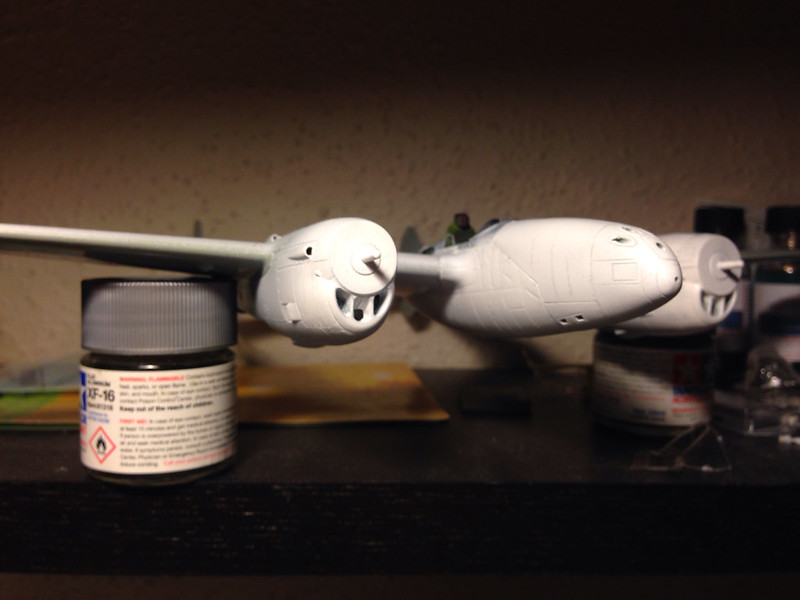 image by brittvallot, on Flickr
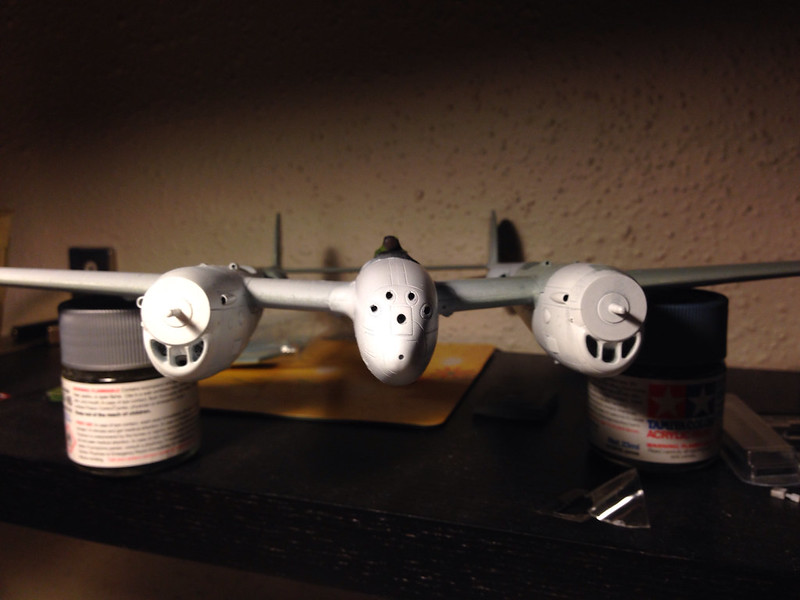 image by brittvallot, on Flickr
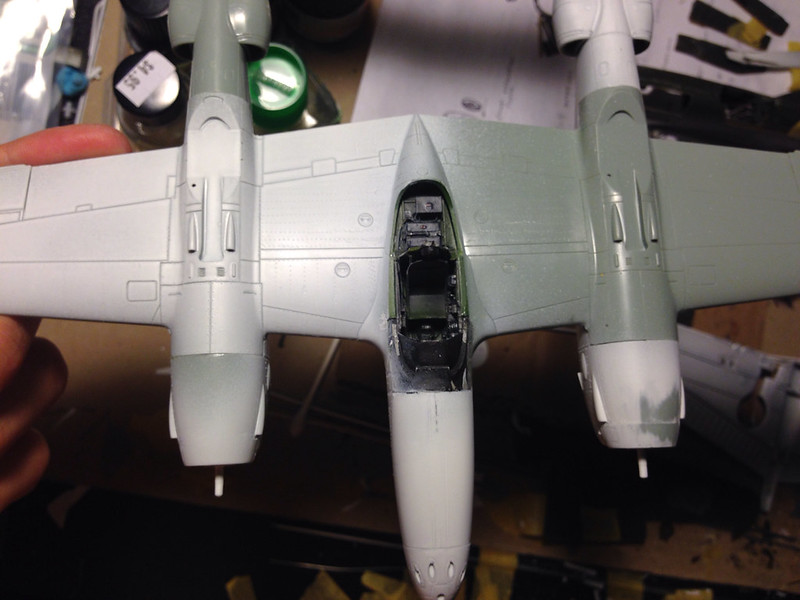 image by brittvallot, on Flickr
For the intercooler intakes, I scratched out a bulkhead to hold the housing for the intakes. I realize that there isn't a real bulkhead here and the housing doesn't extend this far up, but seeing as none of it is visible I cut it to fit the area of the nacelle to allow for more contact to make it a stronger fit.
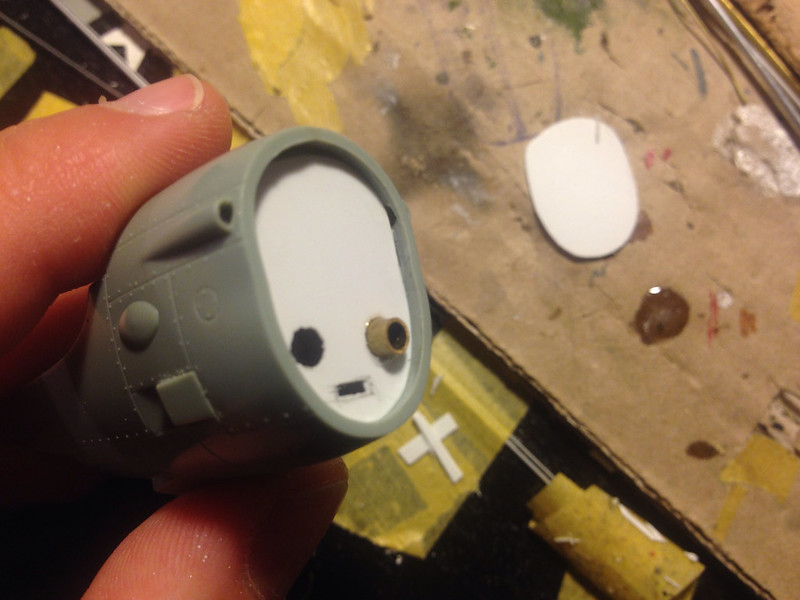 image by brittvallot, on Flickr
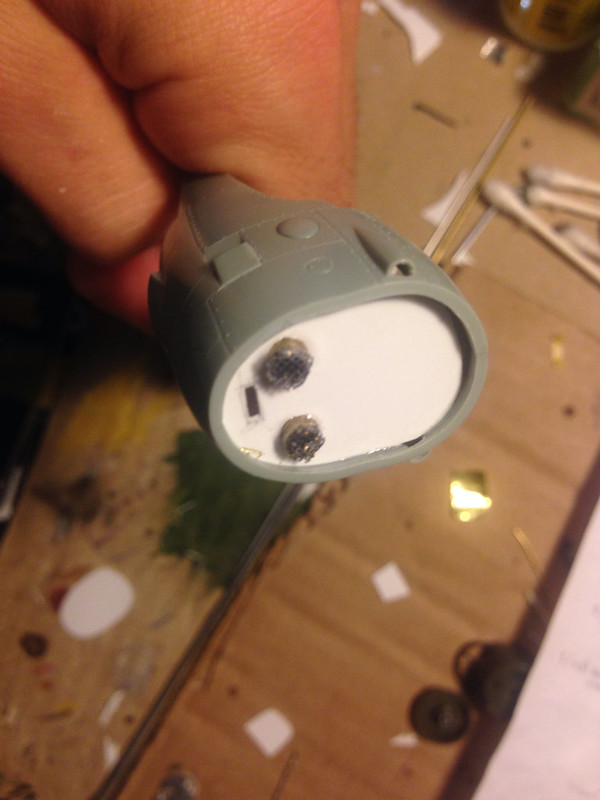 image by brittvallot, on Flickr
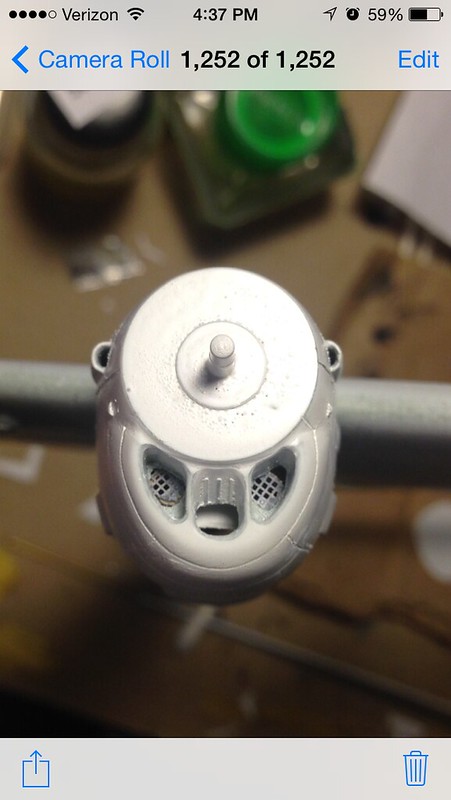 image by brittvallot, on Flickr
Here's a seam that needs fixin up:
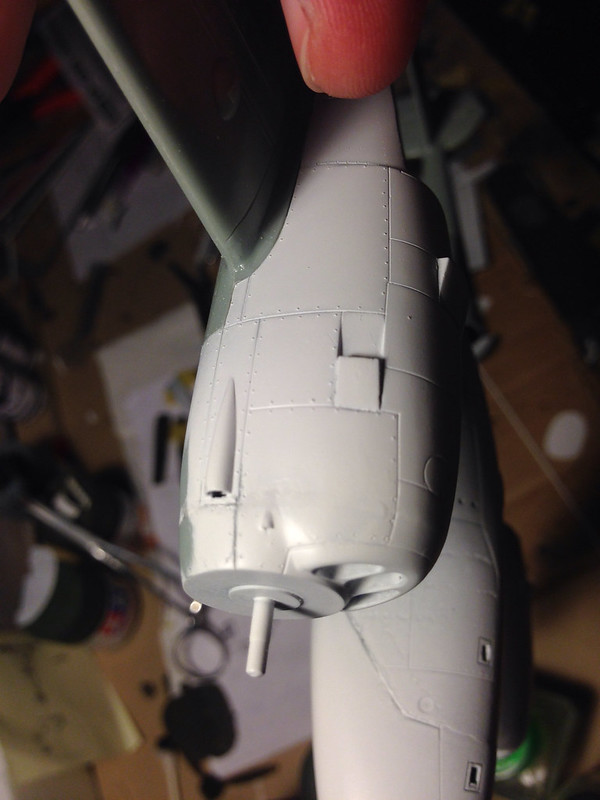 image by brittvallot, on Flickr
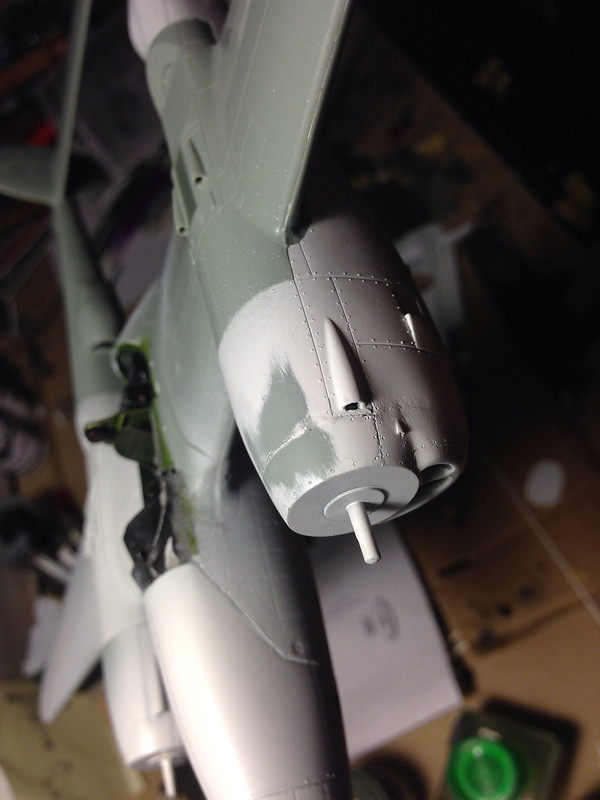 image by brittvallot, on Flickr
The panel here has been sanded and rescribed a little lower. There is also two panel lines that need to be extended to meet the front face of this engine nacelle:
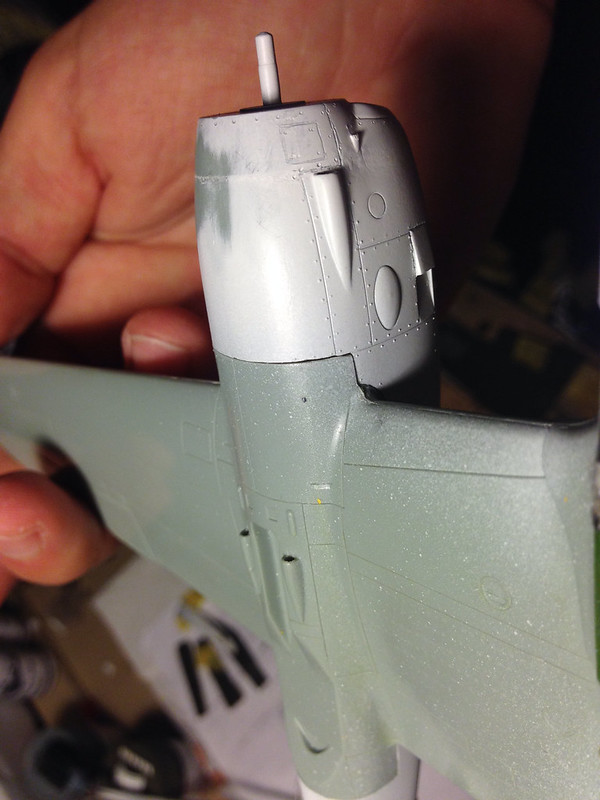 image by brittvallot, on Flickr
AM parts:
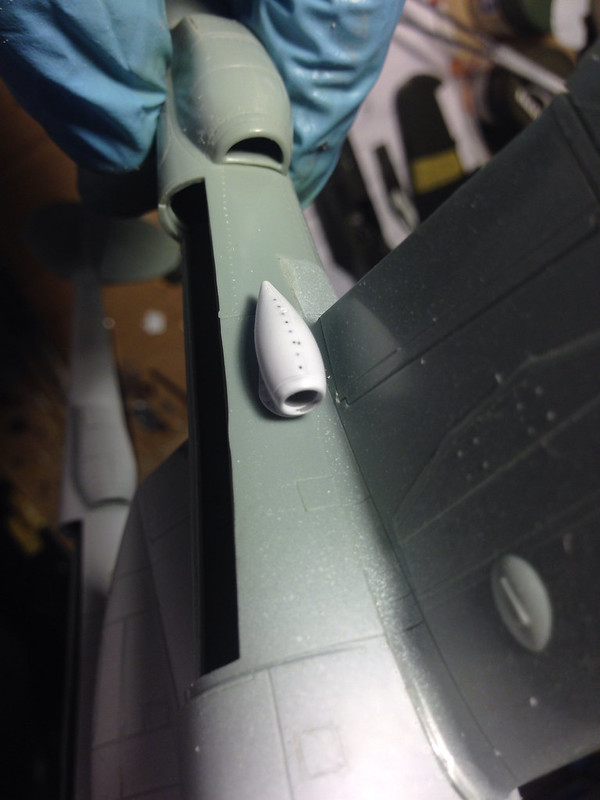 image by brittvallot, on Flickr
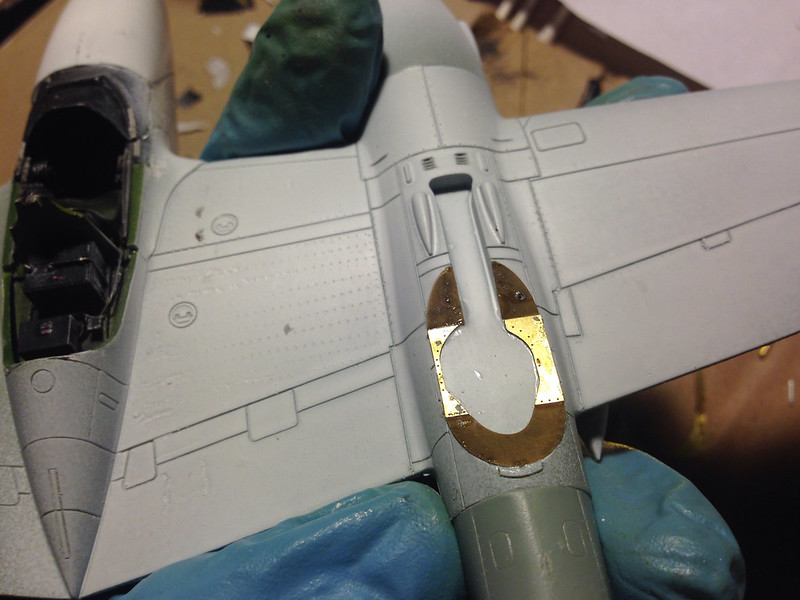 image by brittvallot, on Flickr
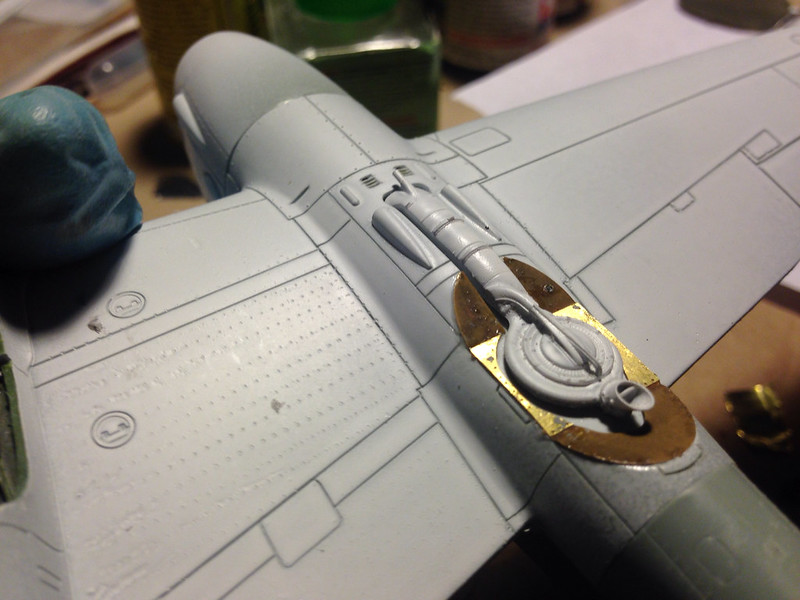 image by brittvallot, on Flickr
Happy to see these superchargers working out!
Comments, suggestions... =]