Okay. I still have to fit the fuel lines to fix up and match them to the wing surface. But for now I have just about everything done for this one...
Here's the APS-13
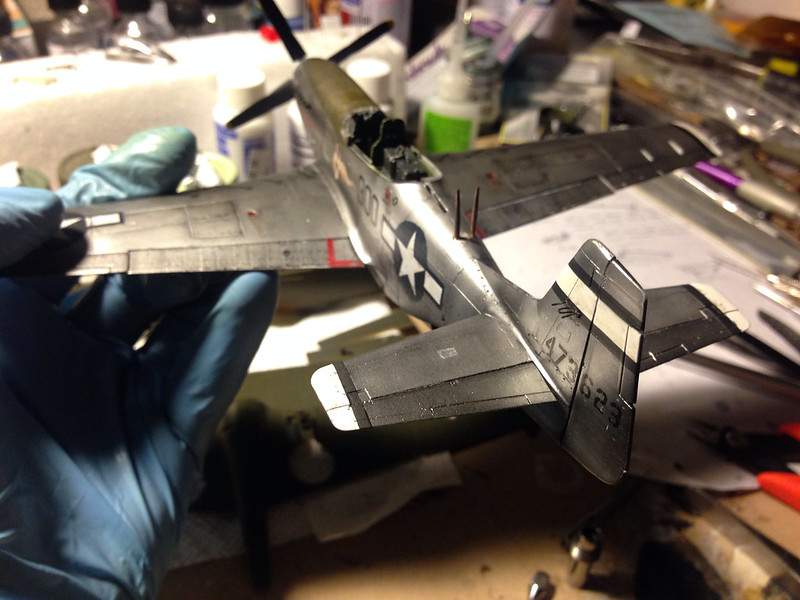
image by brittvallot, on Flickr
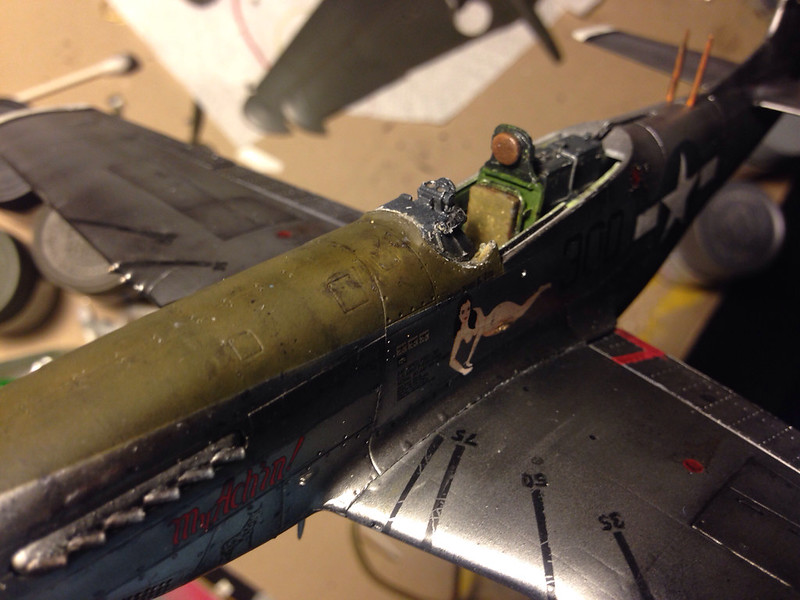
image by brittvallot, on Flickr
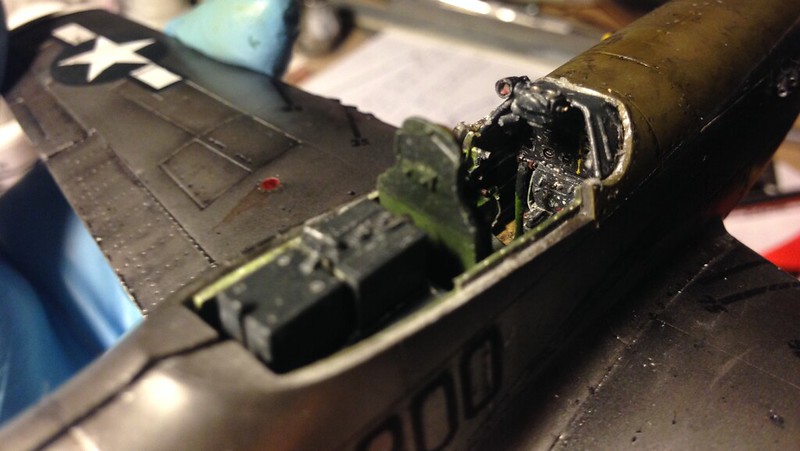
image by brittvallot, on Flickr
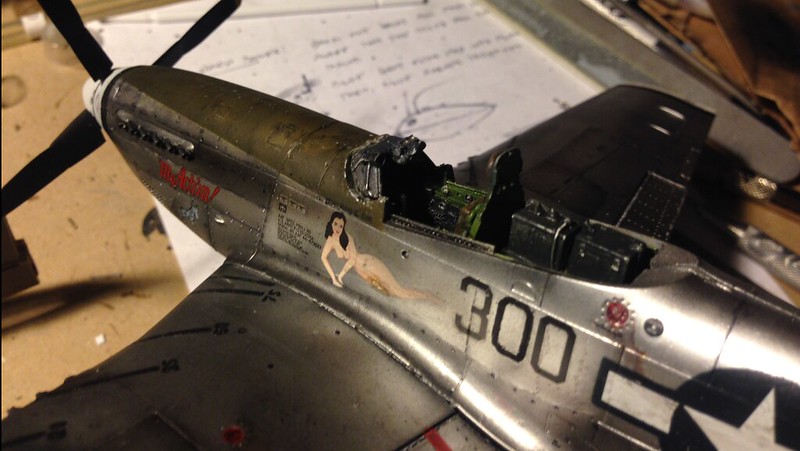
image by brittvallot, on Flickr
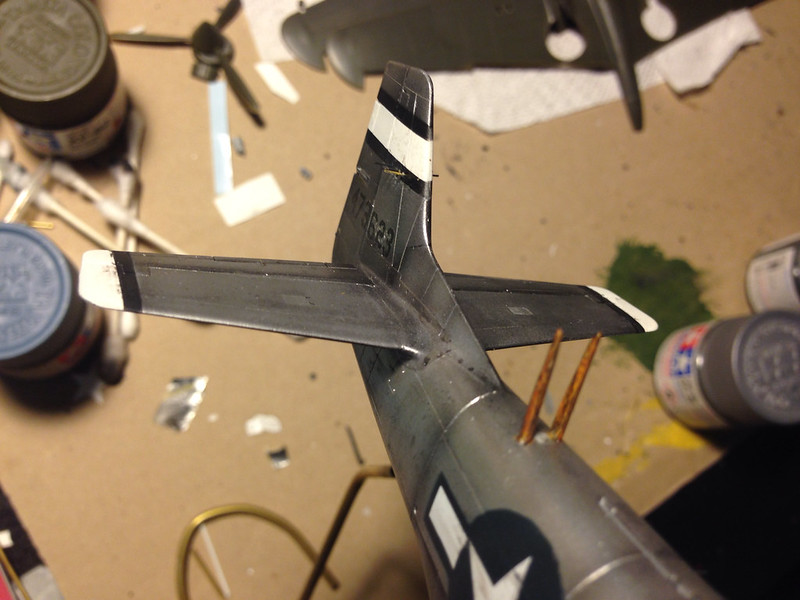
image by brittvallot, on Flickr
The antenna is made from very tiny brass rod. To solve the problem of inserting them I used a brand new exacto blade and made a very small hole straight down. The sharp tip ensures the hole's low profile. The light on the dash was made from a female end of pin that connects a fuselage. It was originally the pin part to the P-40 I'm working on. I cut it out from the cowl flaps and thought I might make it of some use. So, I filed and sanded it down into shape and I think it worked out fairly well. I'd like to have gotten the thickness down a bit more...but I think it's a good first attempt.
Radiator...
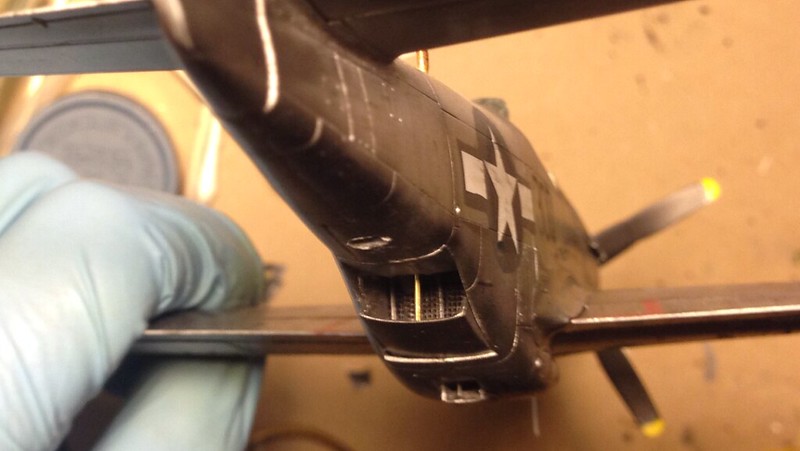
image by brittvallot, on Flickr
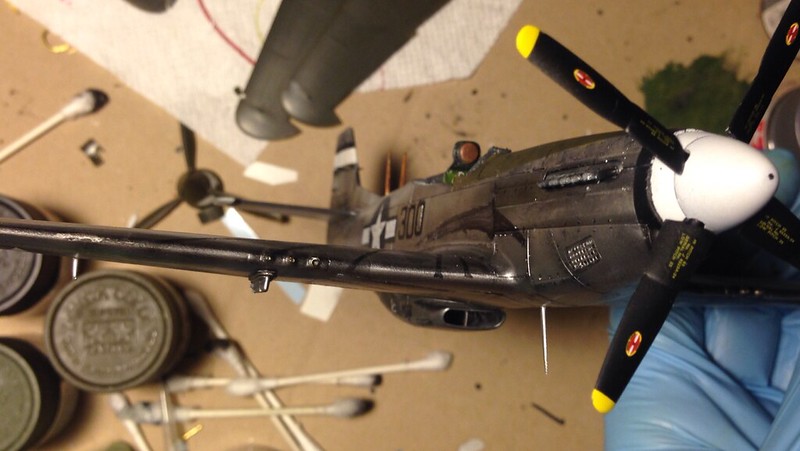
image by brittvallot, on Flickr
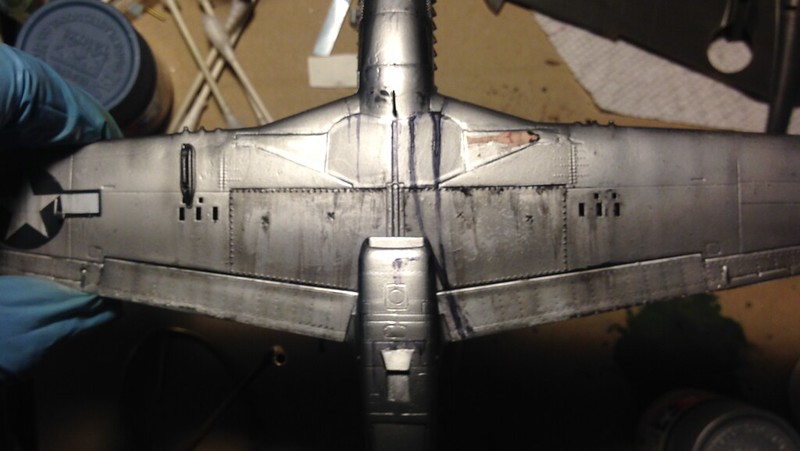
image by brittvallot, on Flickr
Didn't want to overdo the weathering here. I kept it simple and let what I'd previously done with the NMF surface to stand up on it's own.
Glass for the gun site.
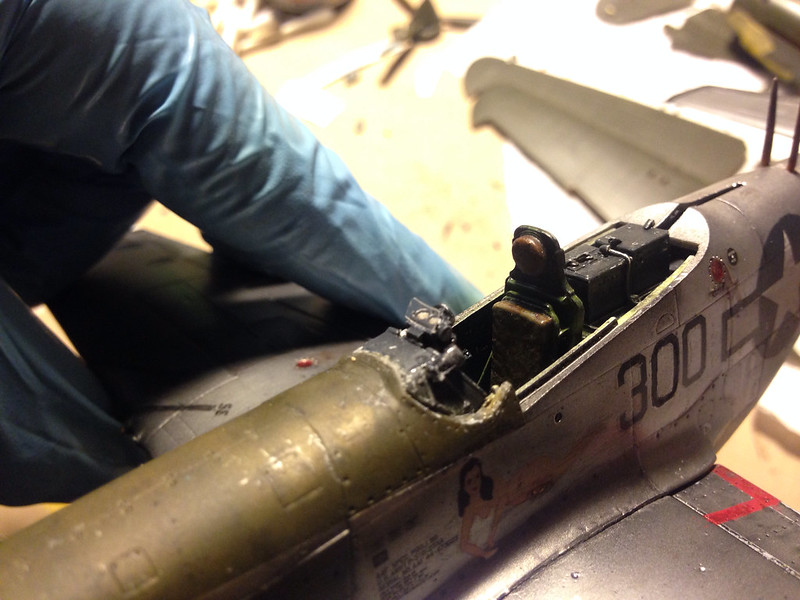
image by brittvallot, on Flickr
I haven't finished the wooden base yet. I've got a piece of oak to cut and stain, but for now I've got it on a temporary stand.
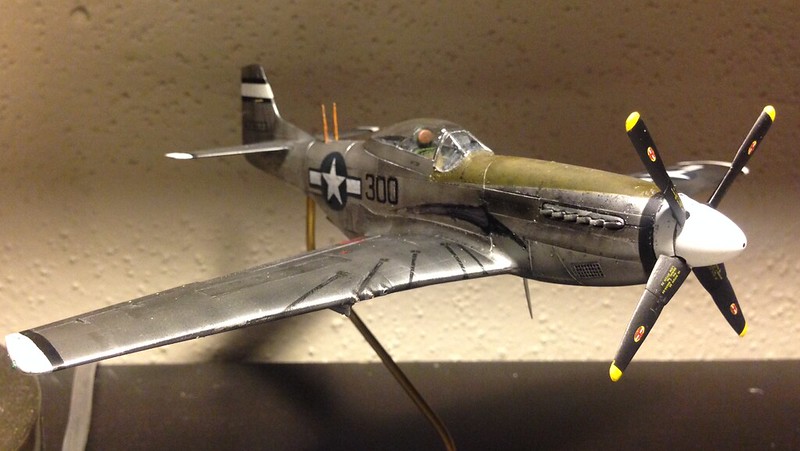
image by brittvallot, on Flickr
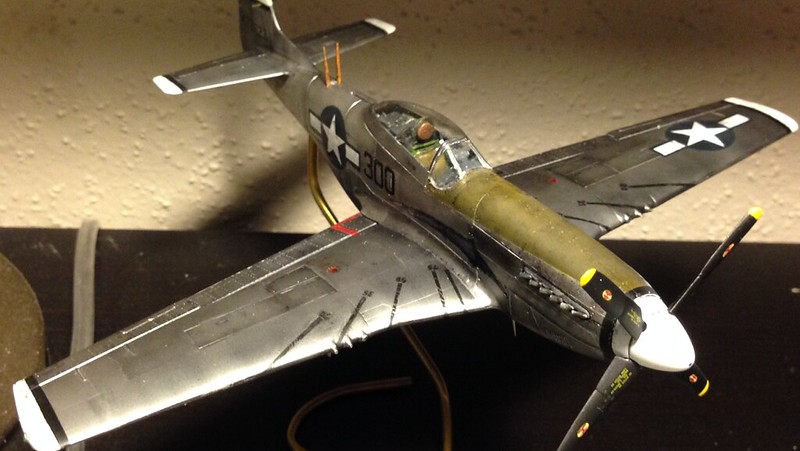
image by brittvallot, on Flickr
=]