I don't think I have posted a thread on this model - that's what happens when you are a glacier-slow builder like me and forget stuff. Anyway, I have always liked this weird 6-wheel design, so decided (many years ago) to try my hand at a Formula-1 car. Please pardon my ignorance, as I knew basically nothing about them and learned stuff along the way.
Here's the kit:
https://flic.kr/p/rcLwP4]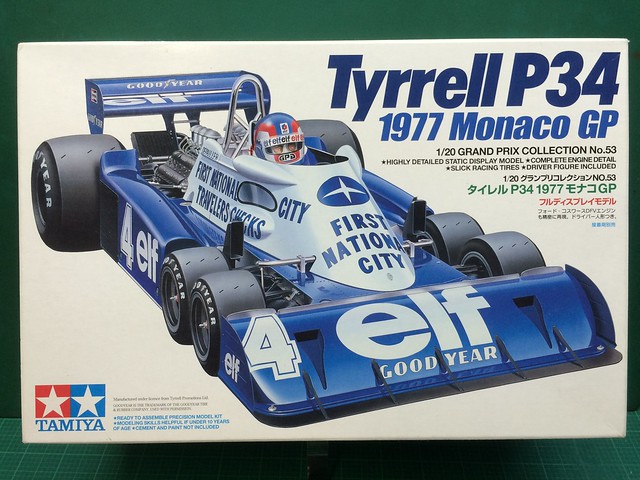 [/url]P34-Box Art by N.T. Izumi, on Flickr
I wanted to try detailing the kit as best as I could, plus make painting easier. That meant re-engineering the body to separate along areas of different color. To this end, two kits were purchased to hack apart and reassemble. The vertical sides of the monocoque where the front suspension attaches to were molded with the upper body, so they were separated and glued to the bottom plate. These parts would be all painted aluminum.
https://flic.kr/p/r7ASCn]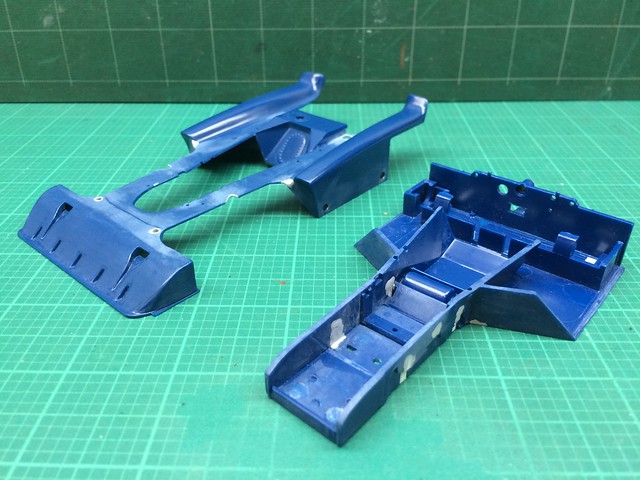 [/url]P34-002 by N.T. Izumi, on Flickr
The small side windows were provided as clear acetate sheets which were supposed to be glued into recesses on the inside of the upper cowl, but you can see into the cockpit after the kit is finished. So I glued a solid sheet of plastic into the recesses, filling them flush, and opening up the windows while leaving a small ledge to attach new windows from the outside. The windows have a rubber gasket around their perimeters, but I'll figure them out later.
https://flic.kr/p/rK5m2K]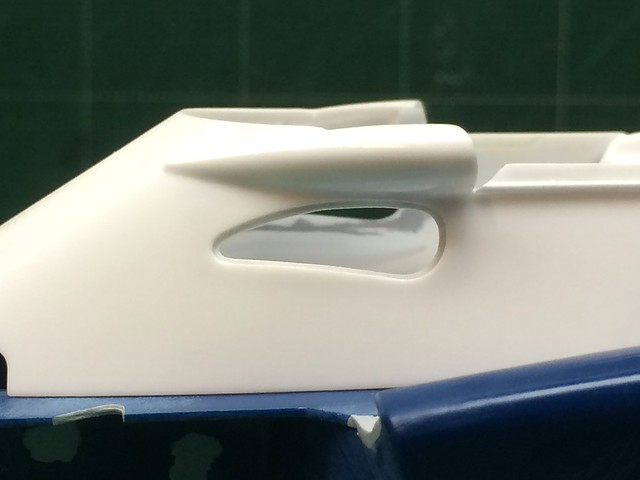 [/url]P34-005 by N.T. Izumi, on Flickr
The upper cowling aft of the driver's seat had a poorly molded rib that did not match the one molded to the forward cowling, so they were removed in their entirety and replaced with triangular strip plastic.
https://flic.kr/p/r7ARcg]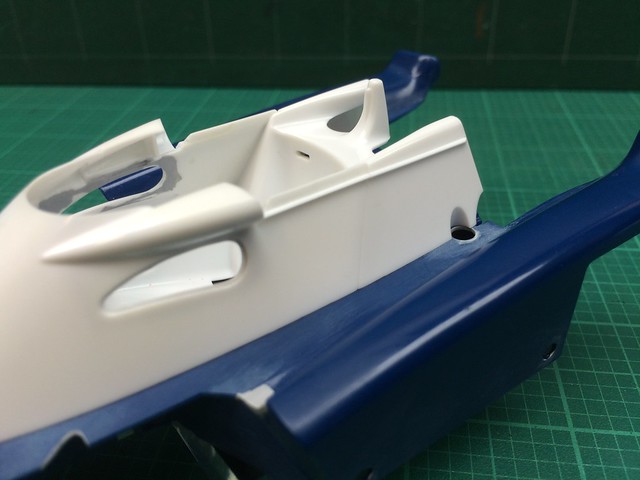 [/url]P34-004 by N.T. Izumi, on Flickr
A painful (but educational) lesson in buying a bunch of aftermarket accessories is that some (or in my case a lot) of that stuff really isn't all that helpful. Case in point the PE for the backsides of the front spoiler. I think it is made of stainless steel, which proved difficult to cut/trim and impossible to curl to accurately fit the spoiler edge contours. So out came the sheet plastic and with little fuss, the job was done.
https://flic.kr/p/s7hcwj]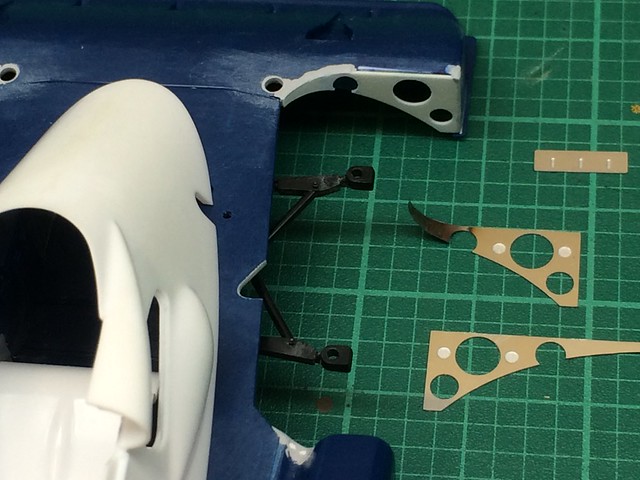 [/url]P34-006 by N.T. Izumi, on Flickr
The kit is old, so there is a battery compartment underneath that fit poorly. I tried to fill/sand the gaps, but just gave up after several tries. A sheet of 0.010 sheet plastic was used to plate over the mess.
https://flic.kr/p/s5xsF8] [/url]P34-010 by N.T. Izumi, on Flickr
https://flic.kr/p/swx9ZA]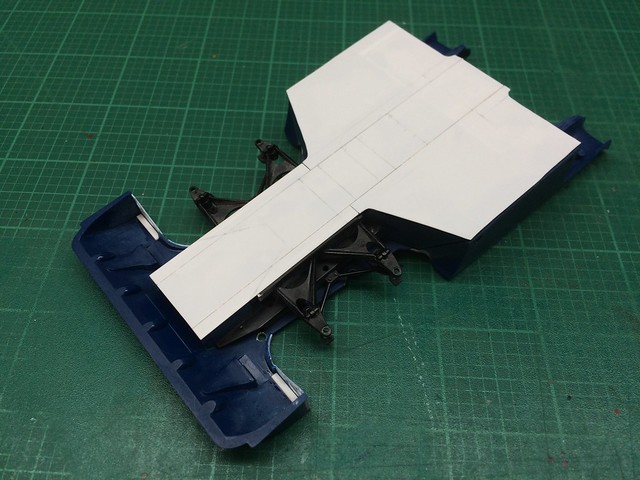 [/url]P34-012 by N.T. Izumi, on Flickr
I have posted some pics of Archer rivet decals before, and this is the project where I first used them. A reference book I have included a large photo of a wrecked P34 being hoisted off the track, which afforded a rare, clear shot of the underside. I used the photo to add the rivet pattern.
https://flic.kr/p/uwLYLN]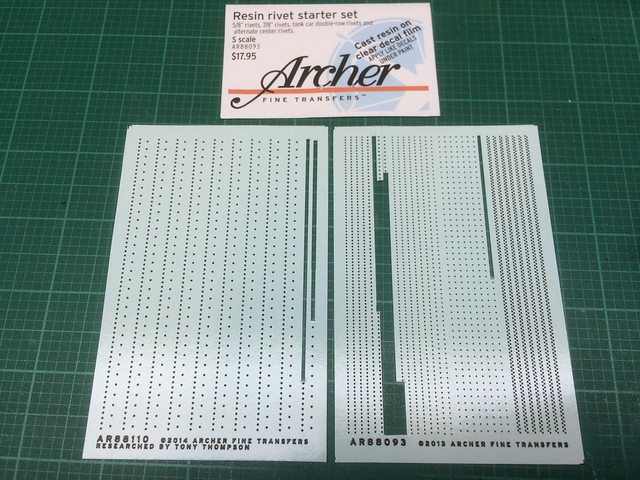 [/url]P34-037 by N.T. Izumi, on Flickr
https://flic.kr/p/vruyku]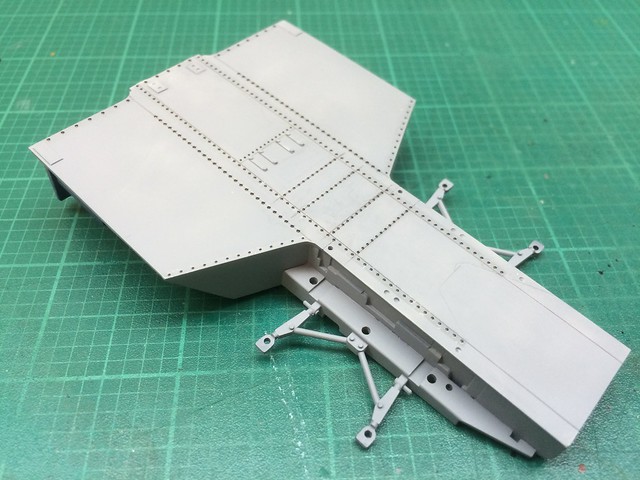 [/url]P34-038 by N.T. Izumi, on Flickr
Coat of primer, then some Alclad aluminum.
https://flic.kr/p/vjt7gb]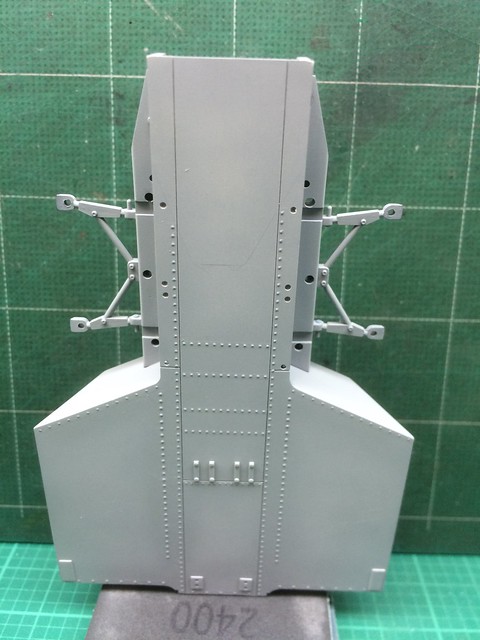 [/url]P34-039 by N.T. Izumi, on Flickr
https://flic.kr/p/vmvkiy]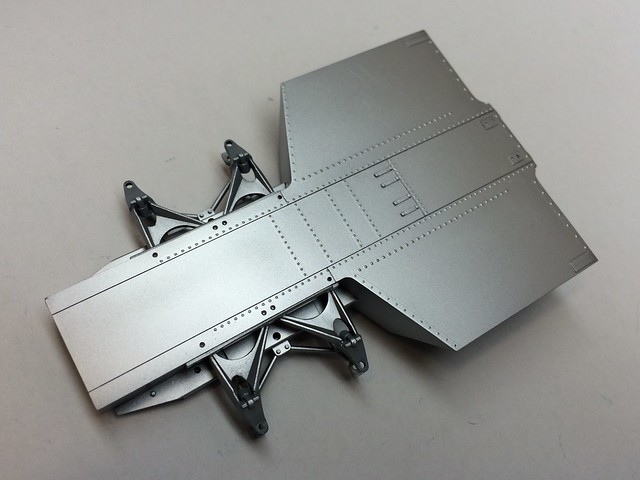 [/url]P34-064 by N.T. Izumi, on Flickr
So after much filling of ejector pin marks and such, primer was applied to the body pieces to see how things were proceeding.
https://flic.kr/p/sCDWhw]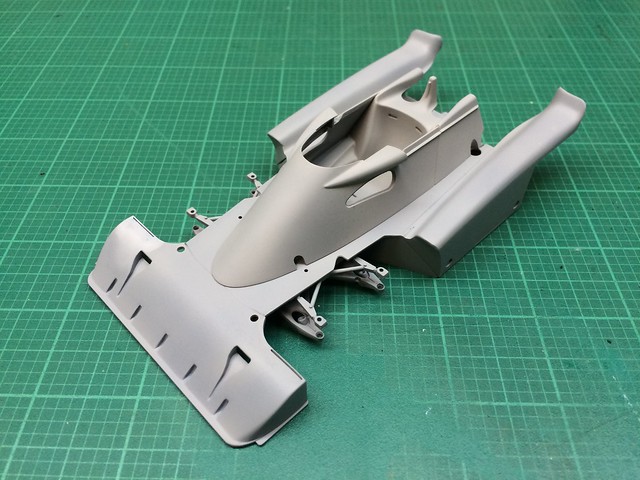 [/url]P34-013 by N.T. Izumi, on Flickr
https://flic.kr/p/smfAqL]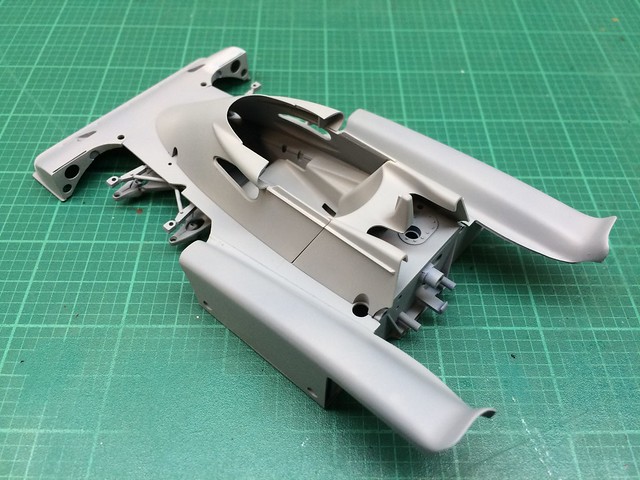 [/url]P34-014 by N.T. Izumi, on Flickr
Anyway, more later!