My progress from the midday session:
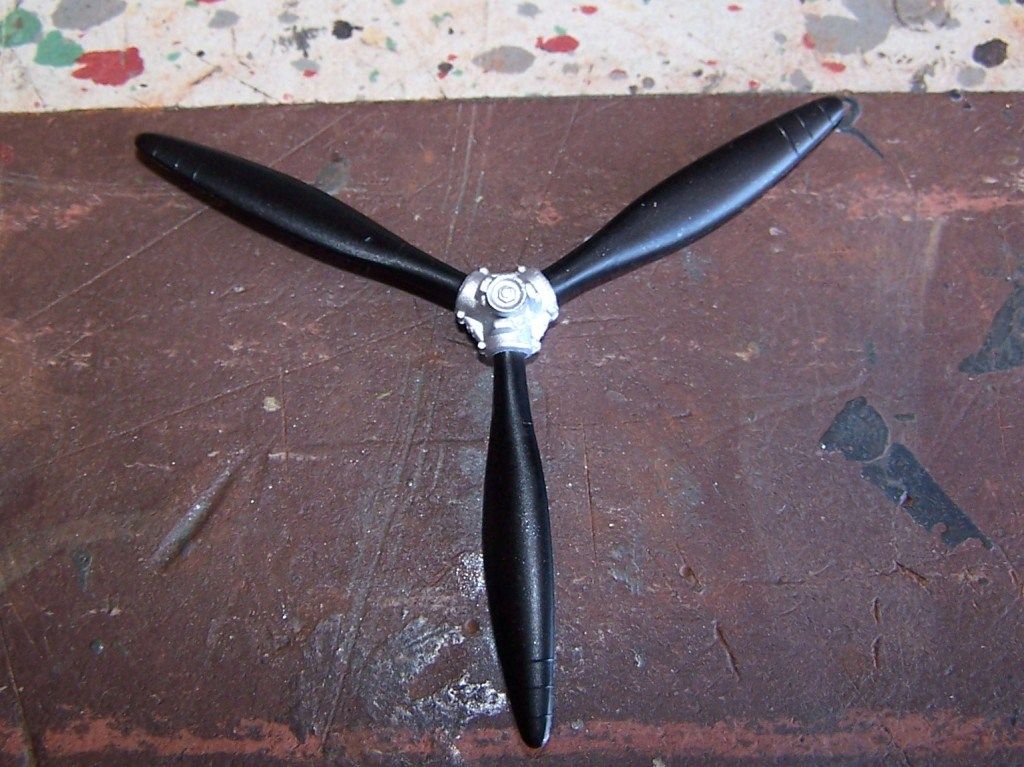
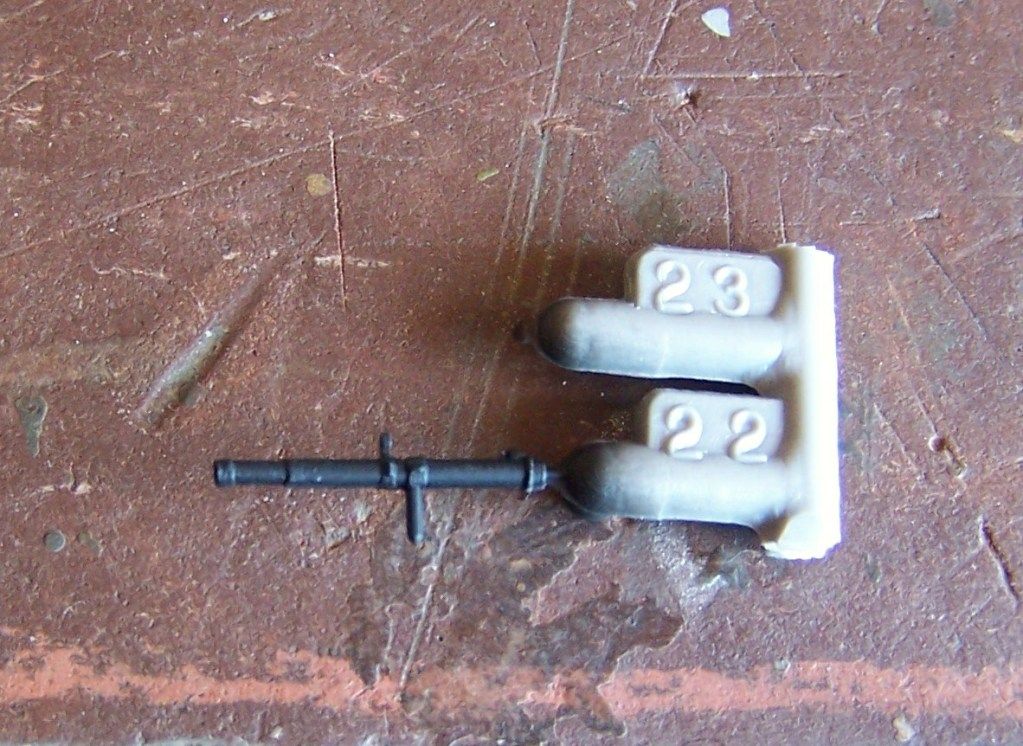
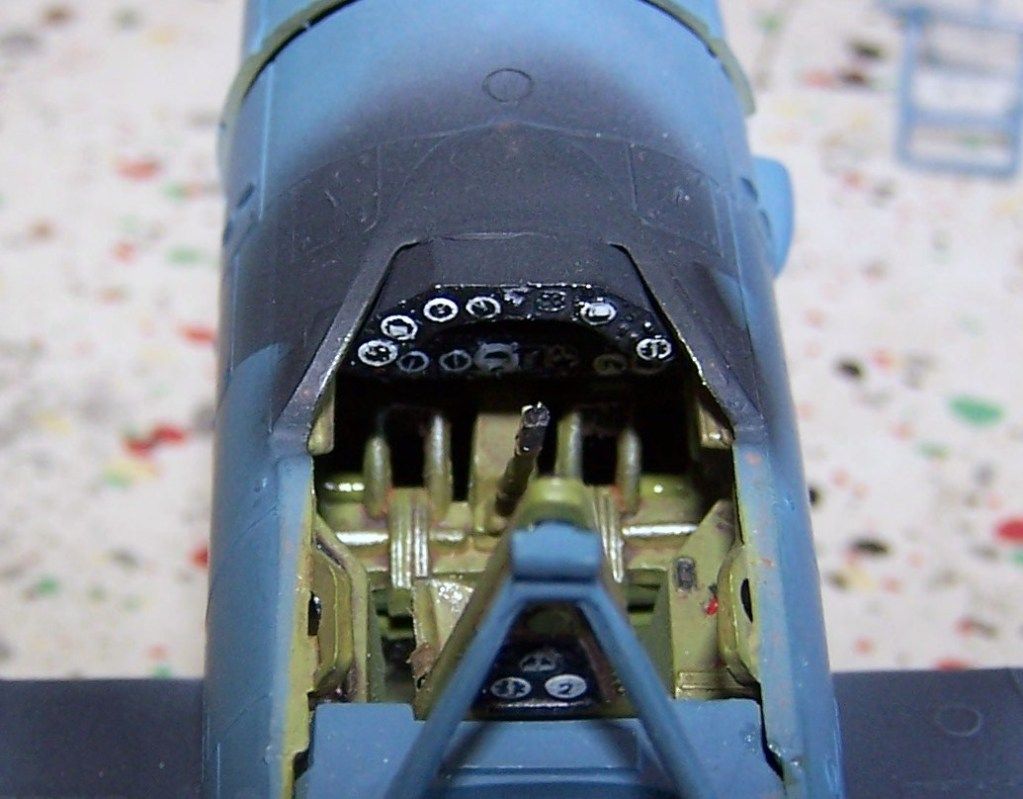
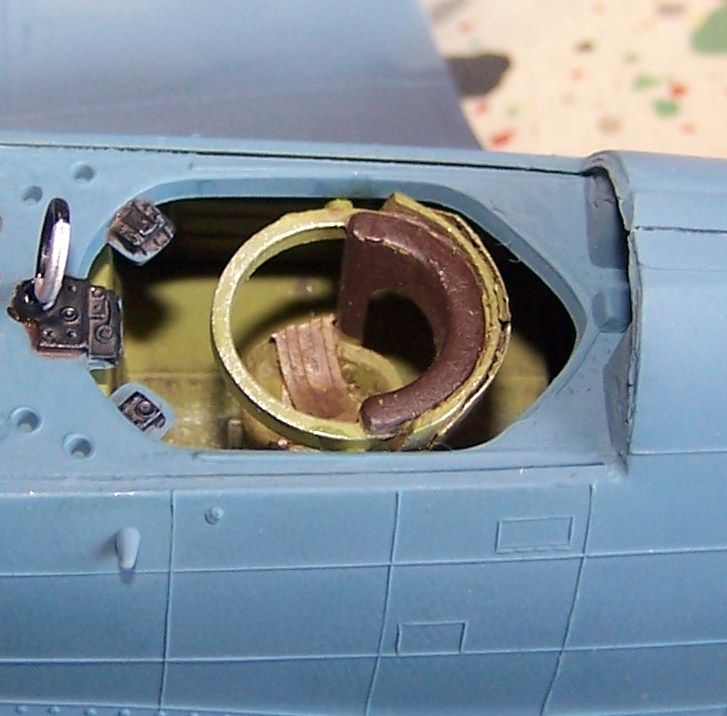
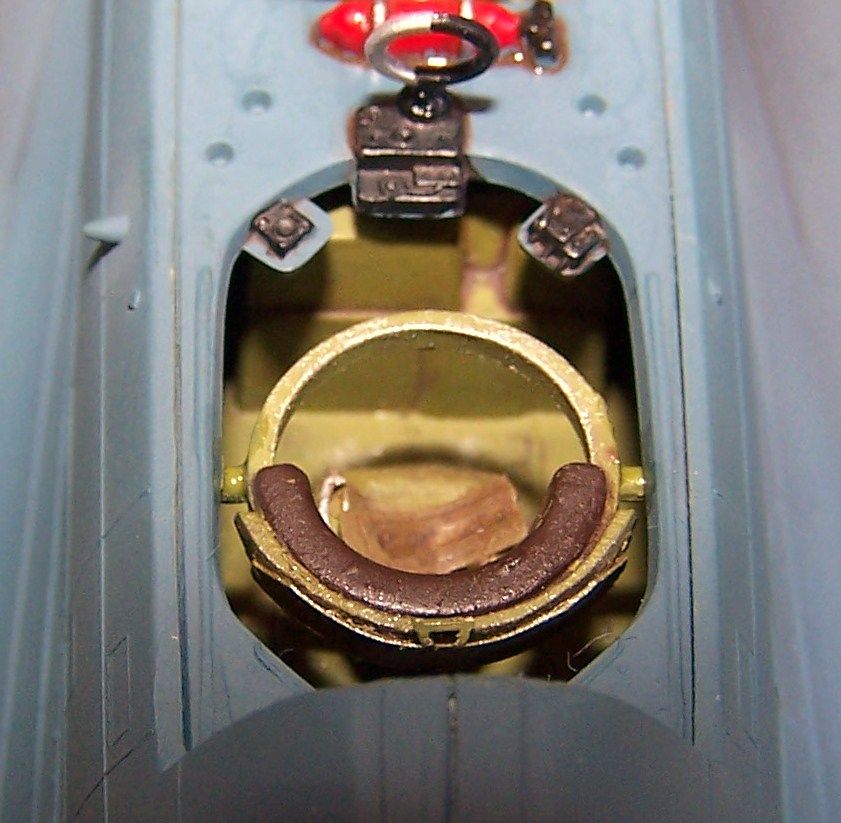
Some quick airbrushing of Black and Aluminum on the prop and a couple cockpit parts (Target scope and DF antenna)
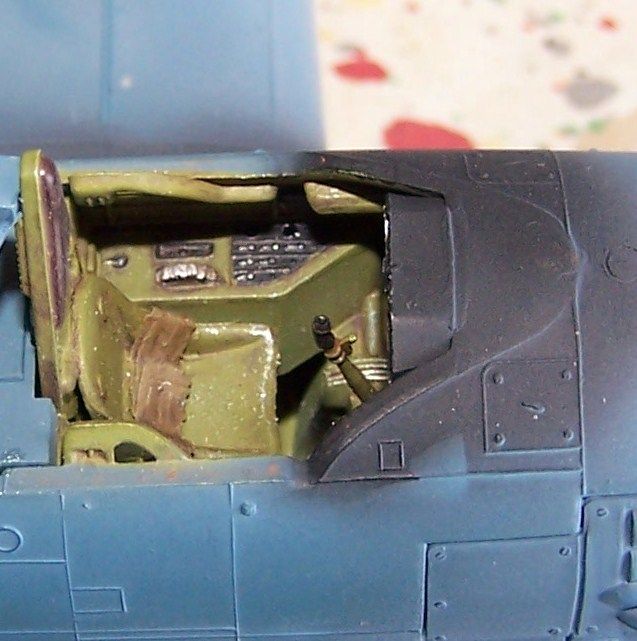
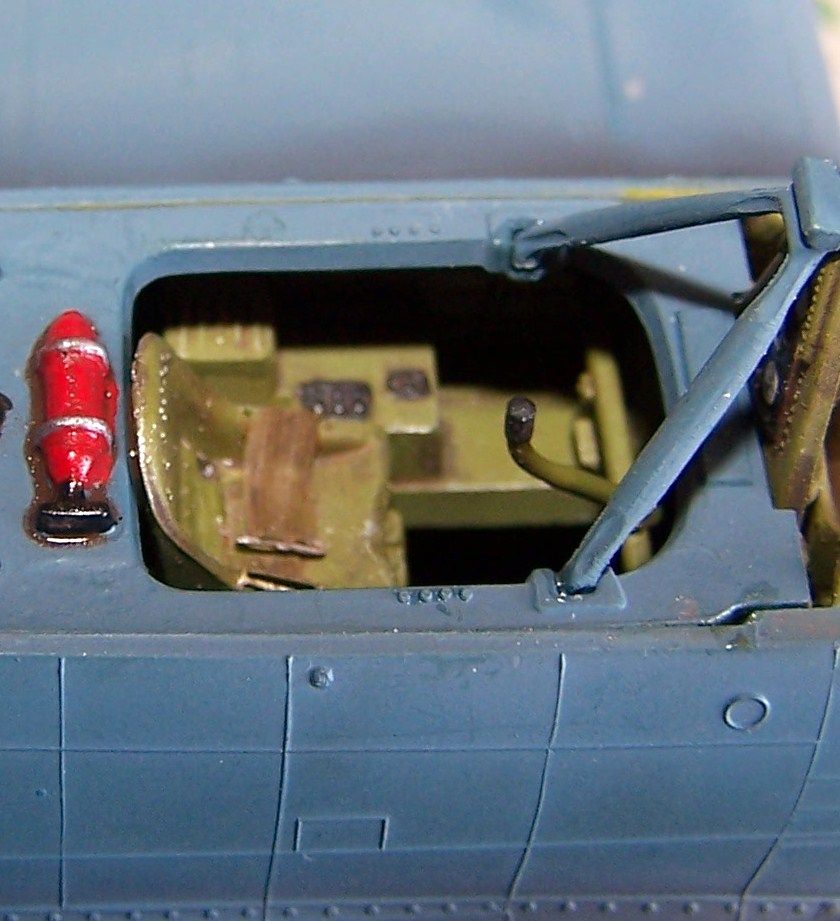
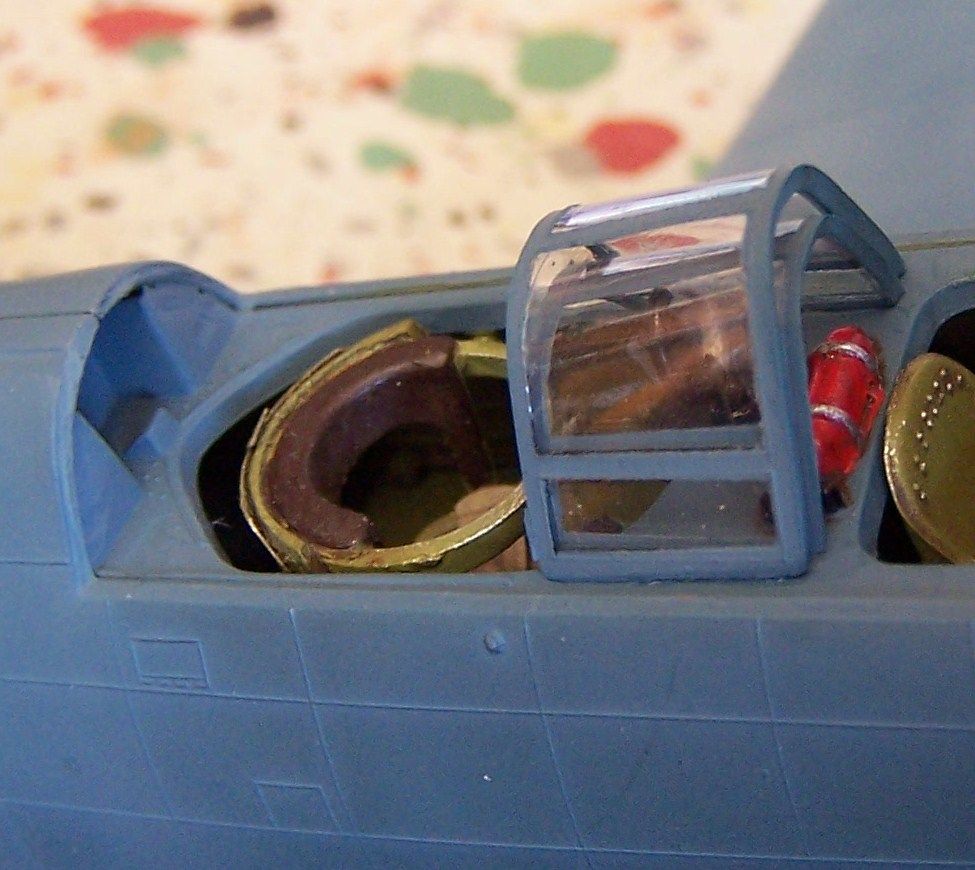
then it was time to install (bombardiers stick, cockpit rollover brace, DF antenna) and or paint (fire extinguisher, gunners cockpit deck radio gear) the last cockpit fiddly bits that I will not be able to before the canopy is glued on.
front cockpit
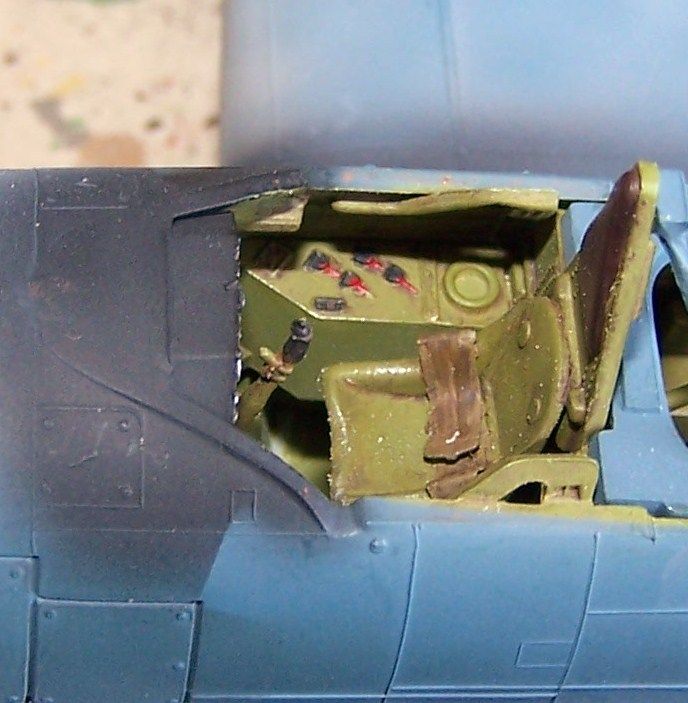
middle cockpit

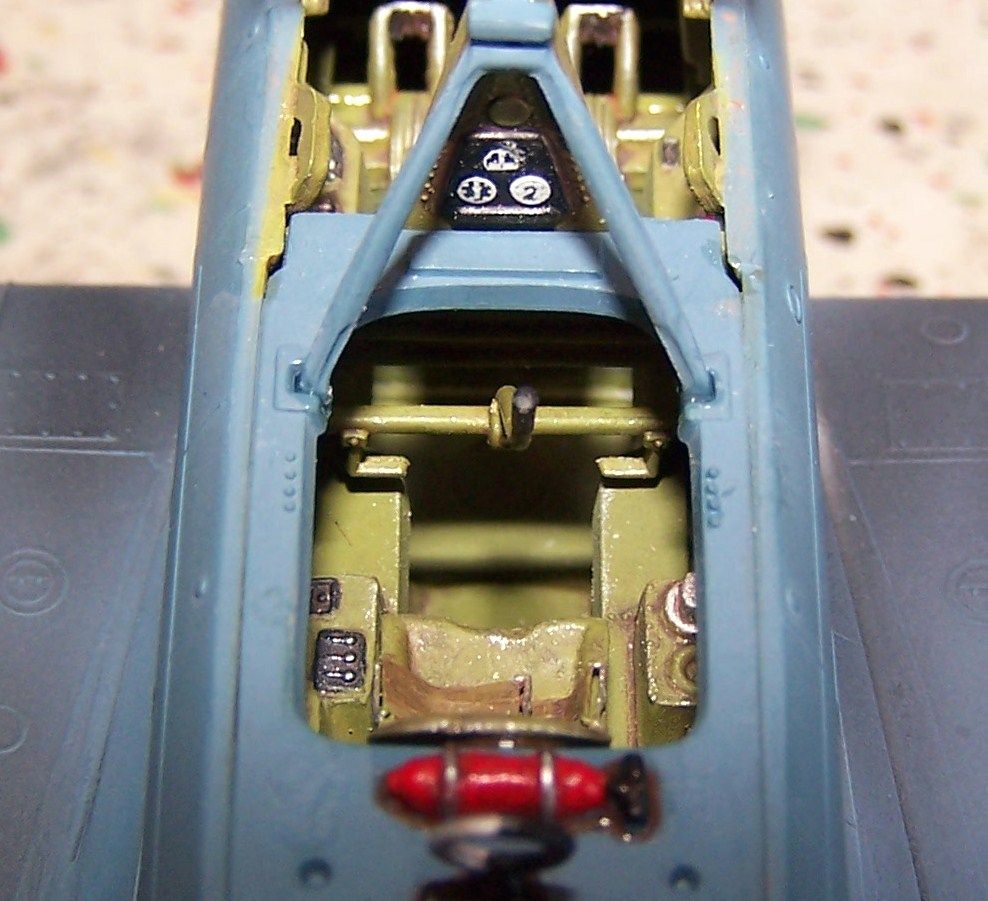
rear cockpit/gunner's station
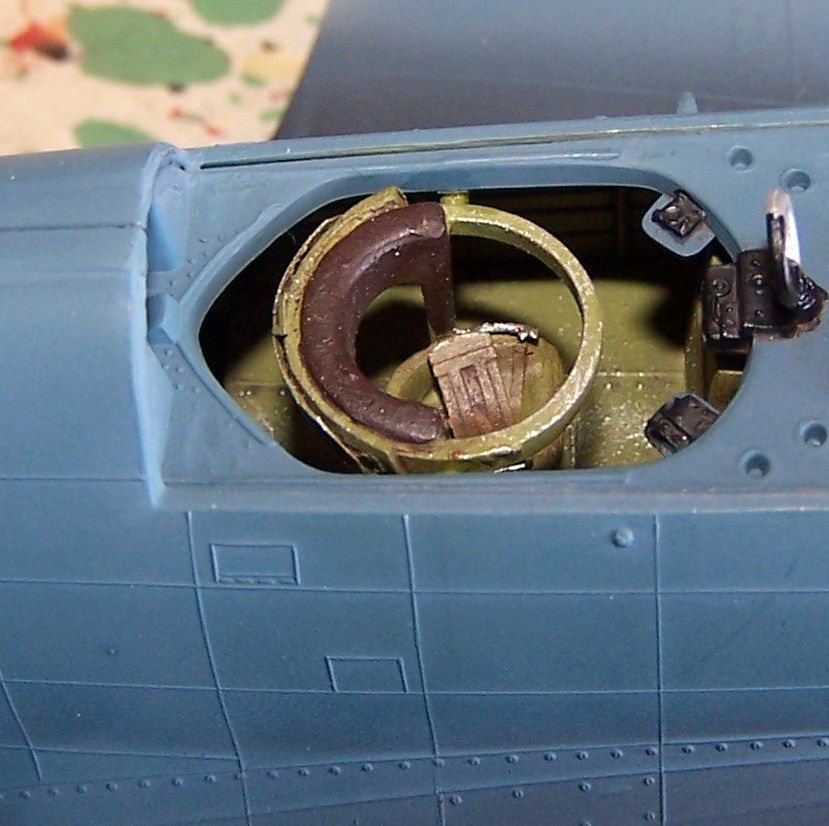
Then I installed the sliding stowed portions of the gunner's canopy
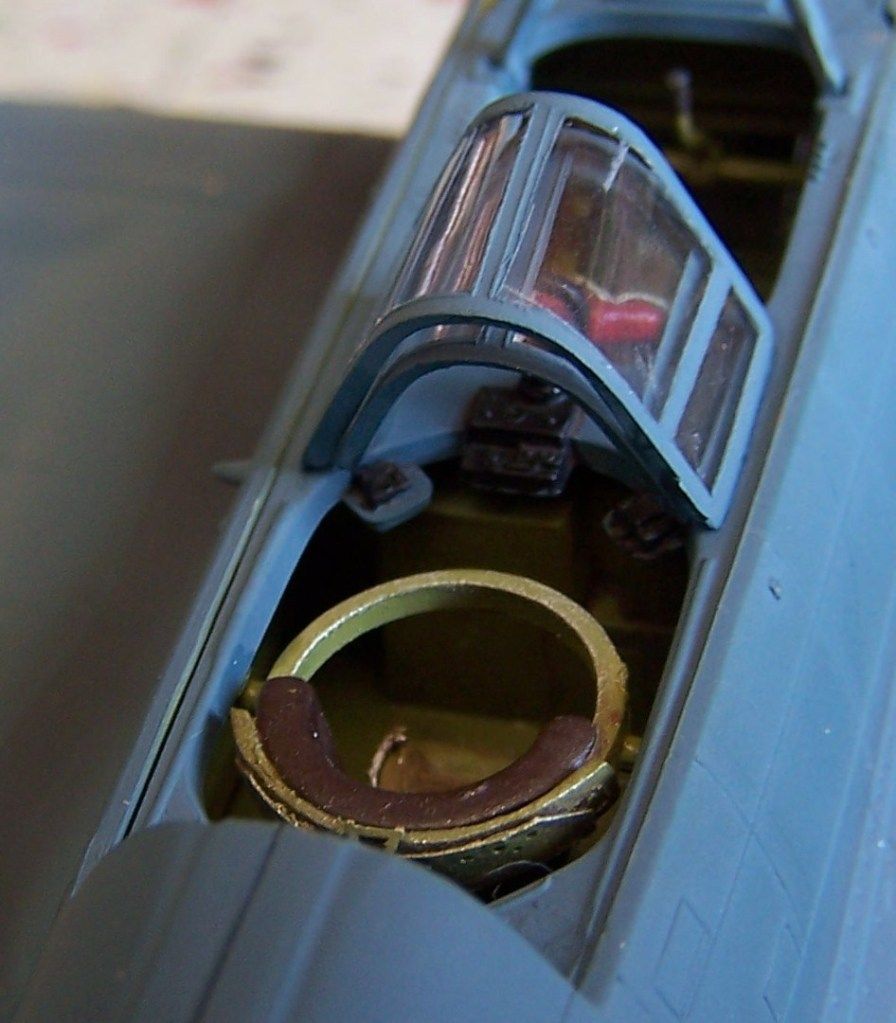
and finally the entire canopy
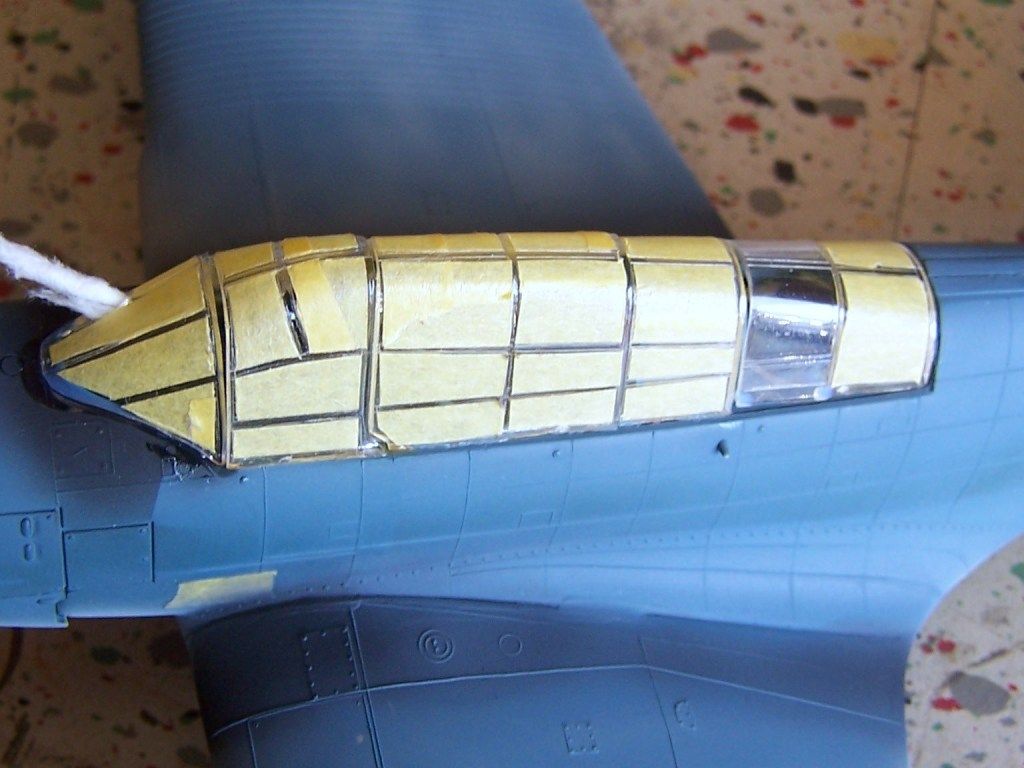
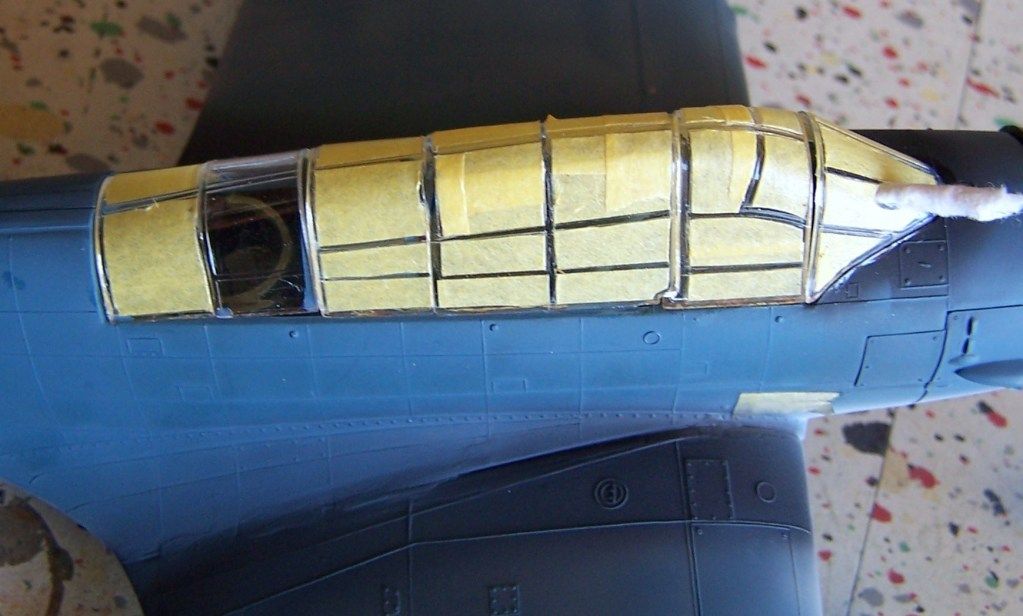
now here is my Dirty Harry paraphrase, "Ah ah, I know what you're thinking... why did he install that rear canopy unmasked?"
simple- it is my mask. Since I will have the rear portion open and it is already installed under the center, I am using the end portion as a form fitted mask and will dispose of it after painting.
F is for FIRE, That burns down the whole town!
U is for URANIUM... BOMBS!
N is for NO SURVIVORS...
- Plankton
LSM