Well. It didn't get done, but here's the WIPs I took of the E while working on it.
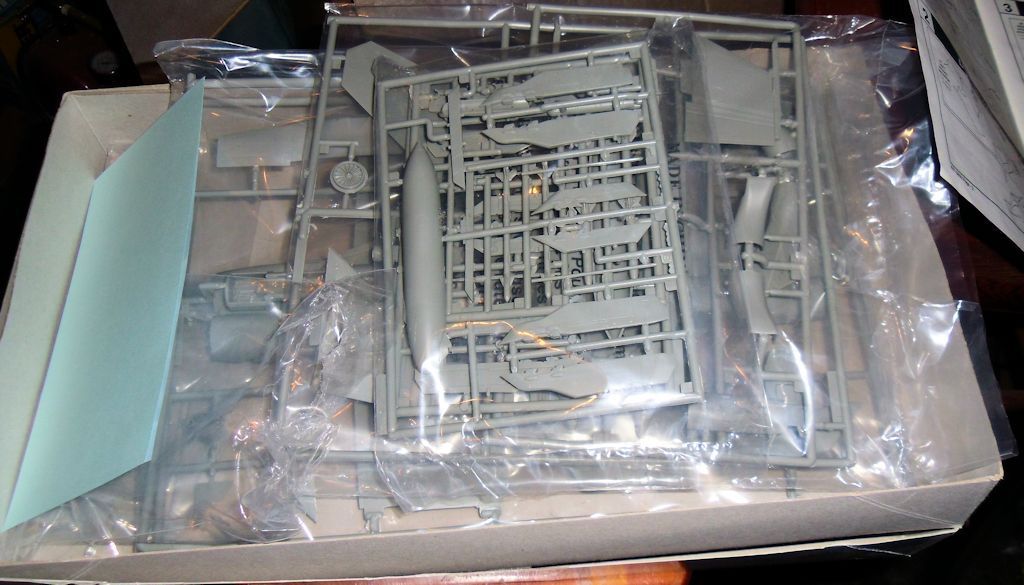
Okay, the obligatory Sprue Shot...
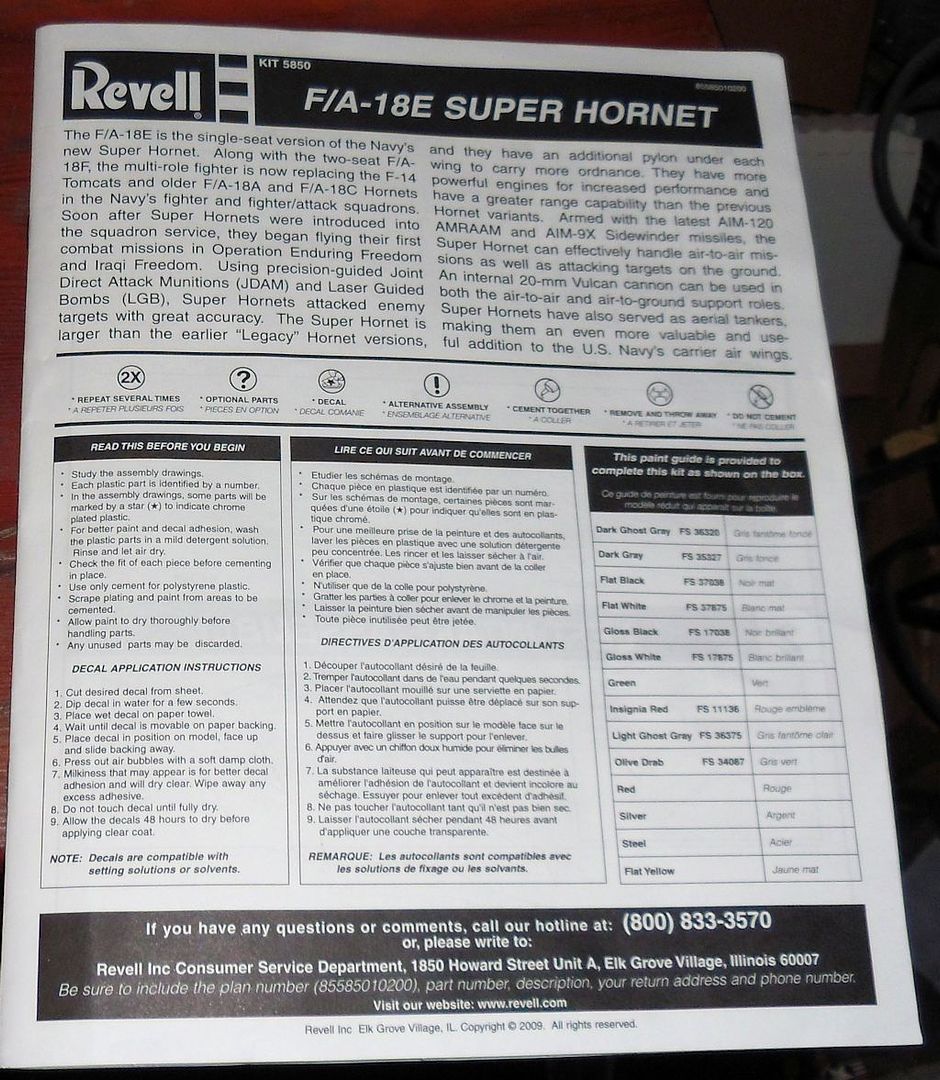
The Instructions..
The first bit of paint...
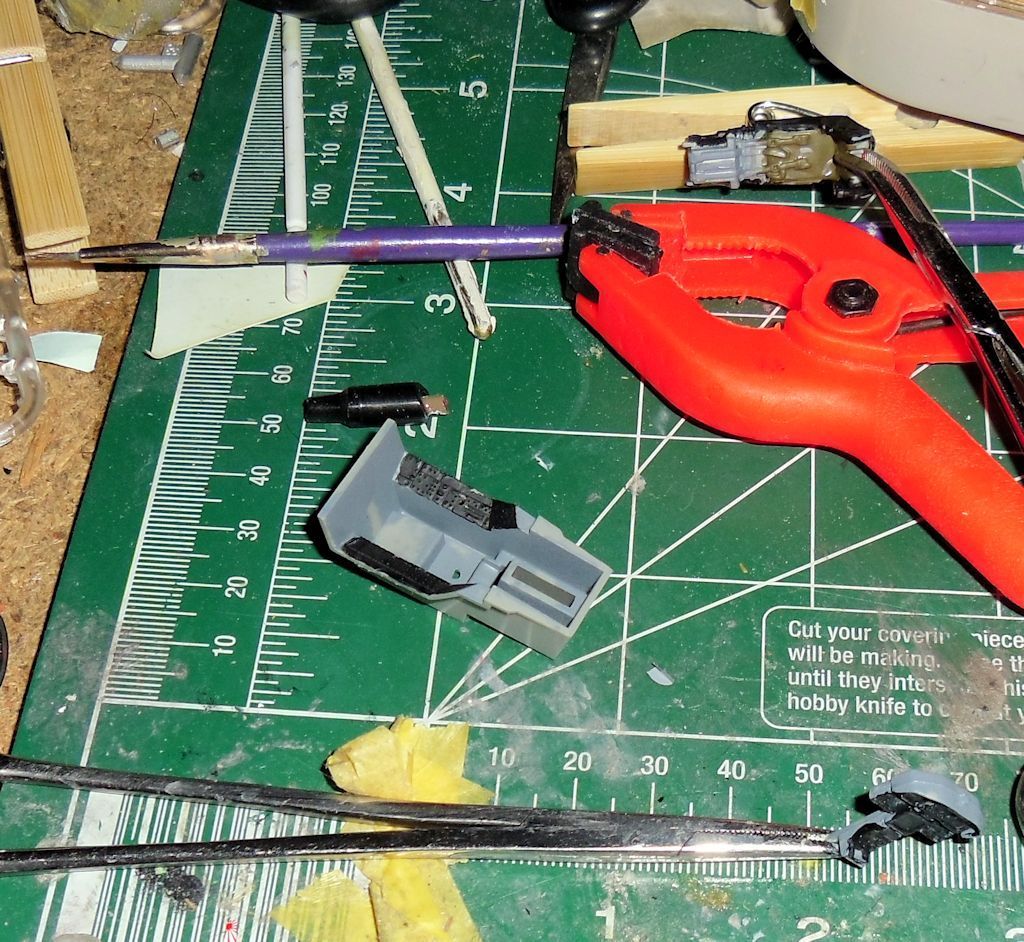
The bottom fuselage taped together while the air intakes dry...
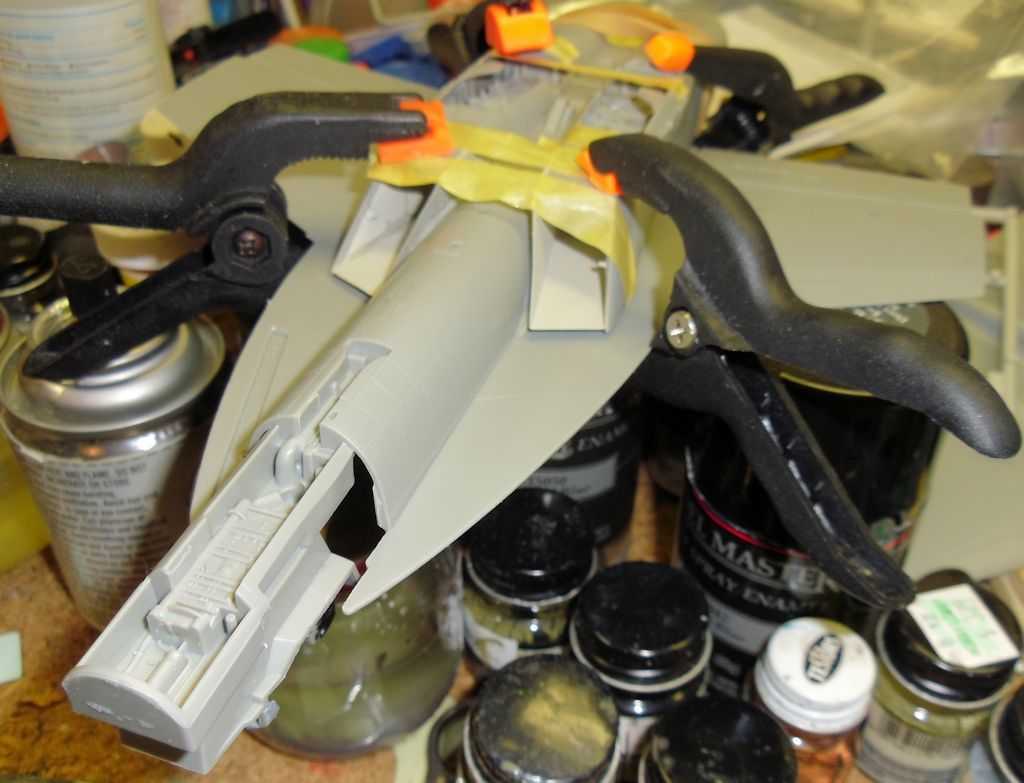
The nose section while drying...

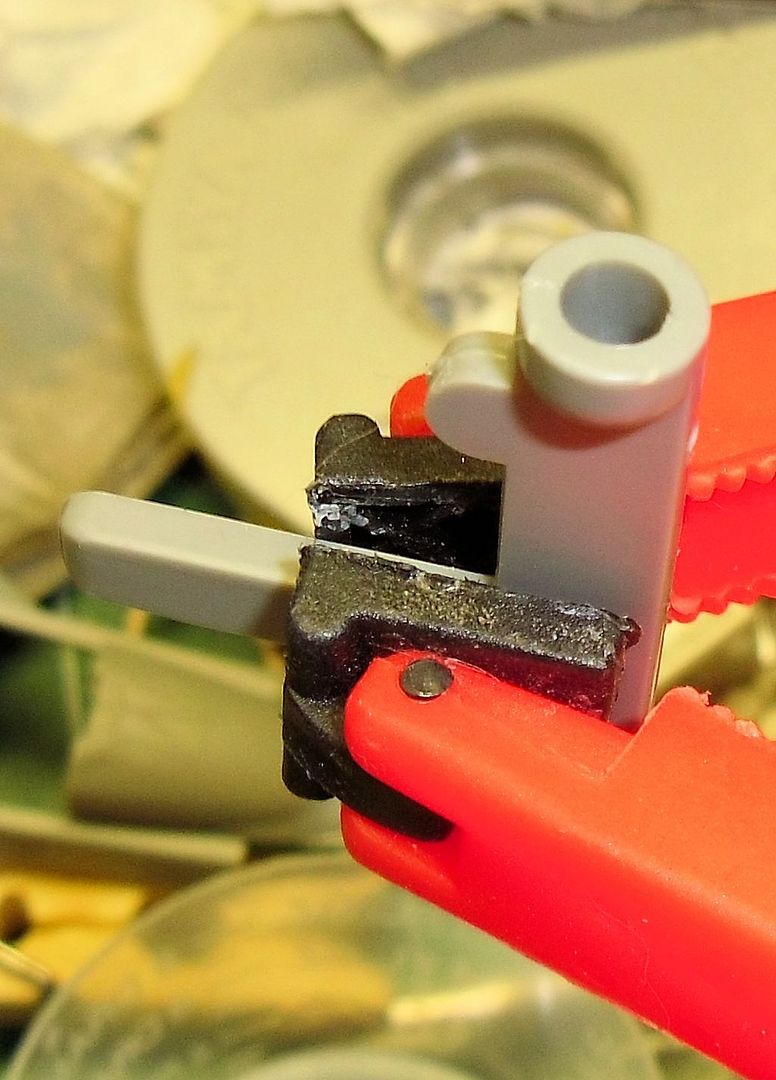
The stabilator mount tube... This is how the tail should be done. I wish Revell had done all of it's F18 variants this way.
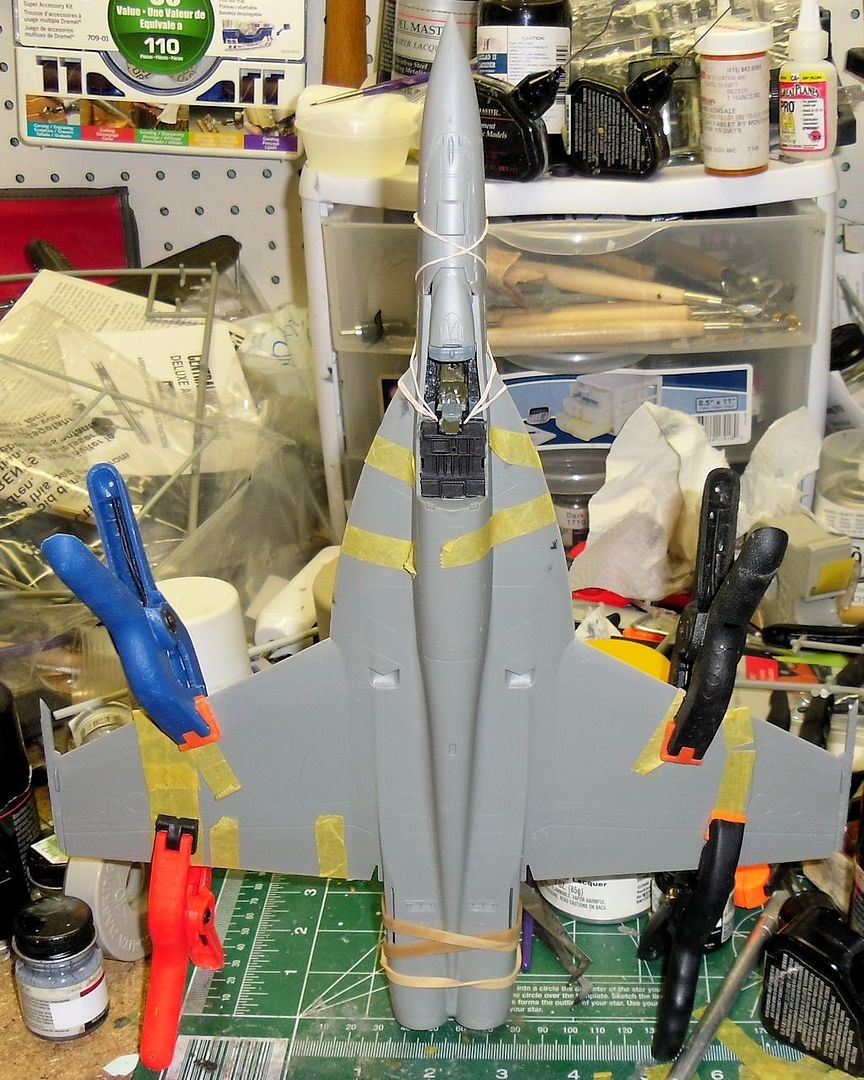
Top view of main fuselage while drying...
Bottom view of fuselage while drying...
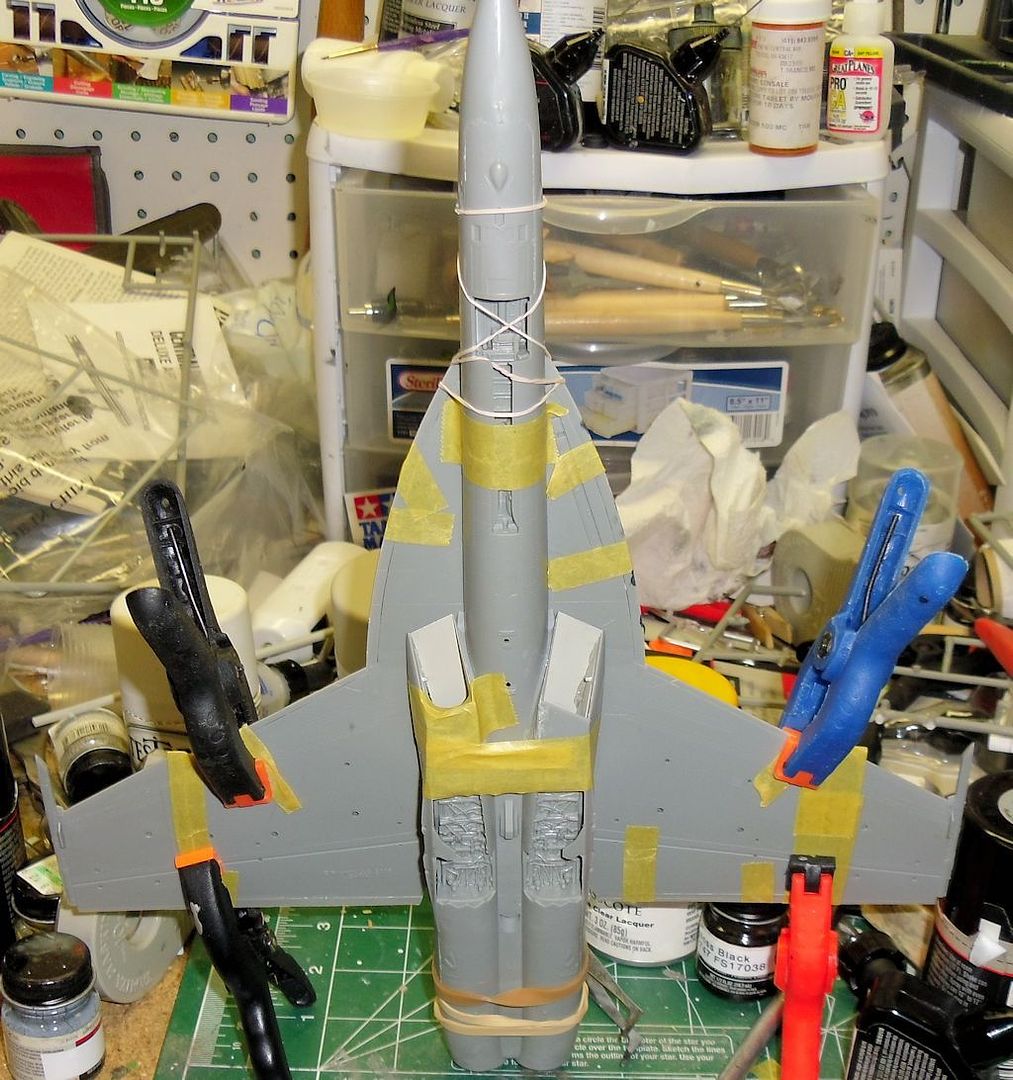
Bottom fuselage view showing the air intakes as they are on the F/A-18E variant. They strongly resemble the intakes on an F22 Raptor. The older variants have a rounded smaller intake which is mounted a bit farther aft...
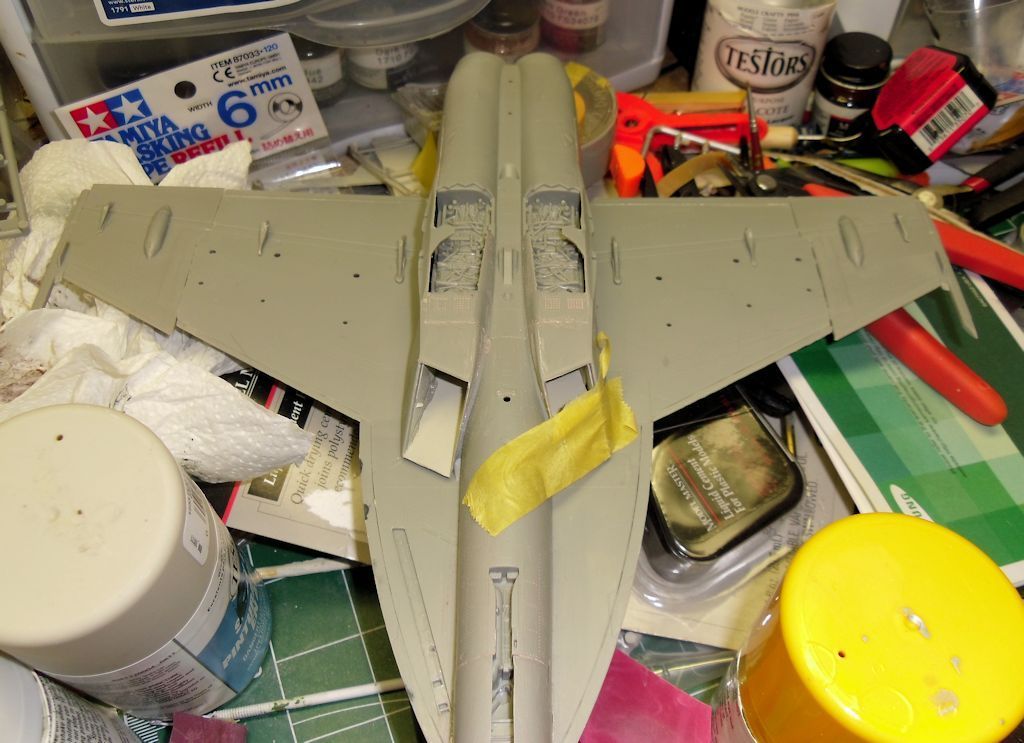
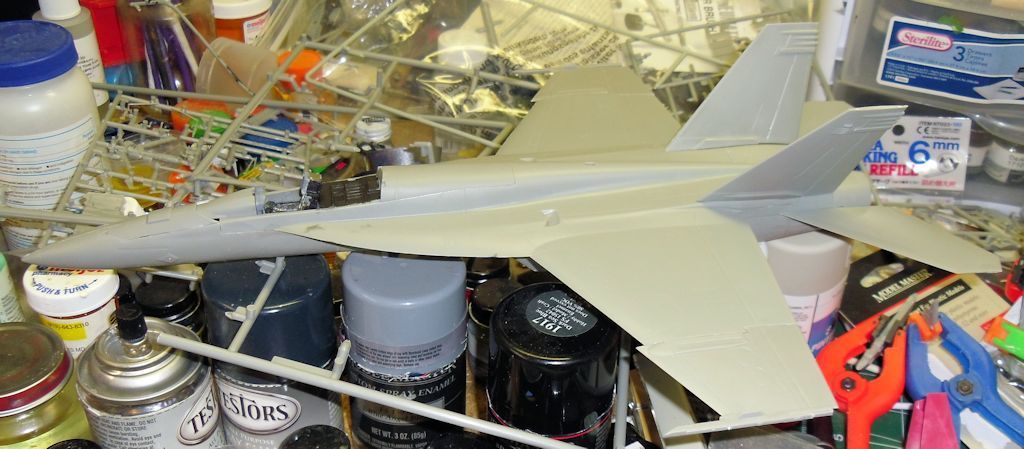
Here is a shot of the almost completed model...
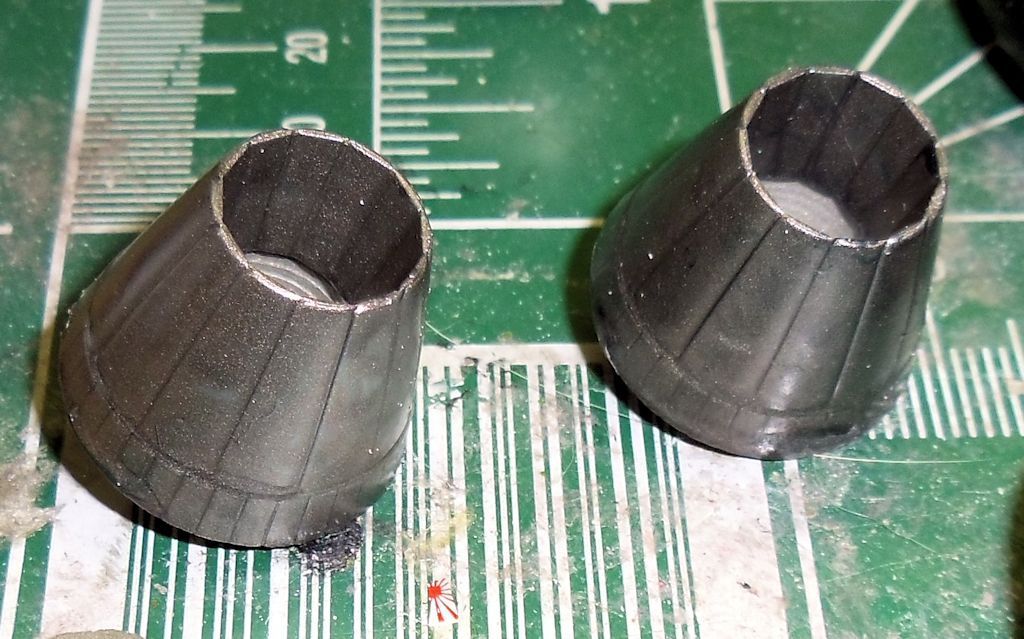
And finally, the engine cones. I didn't like the look of the pure steel called for in the instructions, so I made up a more weathered looking color from 3 parts MM Steel, 2 parts MM Gunmetal, 1 part MM Copper and 1 part MM Medium Green. It's actually a bit darker and grayer than the image makes it look...
Well, I'll probably finish her up after I get the build kits done. She was supposed to have these markings.
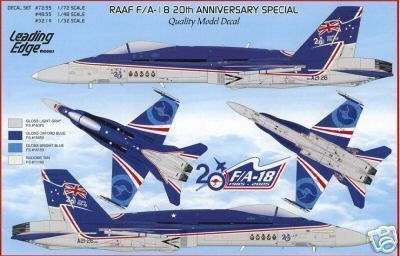
Now I just need to find a kit to go with the decals. lol
Well, that's all for now folks. More as the Corsair gets underway.
Rich
In the Hangar: 1/48 Hobby Boss F/A-18D RAAF Hornet,
On the Tarmac: F4U-1D RNZAF Corsair 1/48 Scale.