PJ: It looks like you are off to a great start on that D.VII. She seems so tiny compared to the 1/32 WWI build that I have been working on! You've done some nice work with an older kit.
Ok, here is a picture heavy update (TLDR, I have closed up and painted the fuselage, and painted and applied decals to the wings). Once the fuselage seams were filled and sanded, its painting process ran parallel to that of the wings, so I will describe them together. I painted (and documented) the wings first, so left out some of the basic pictures for the fuse were there was nothing really new to show.
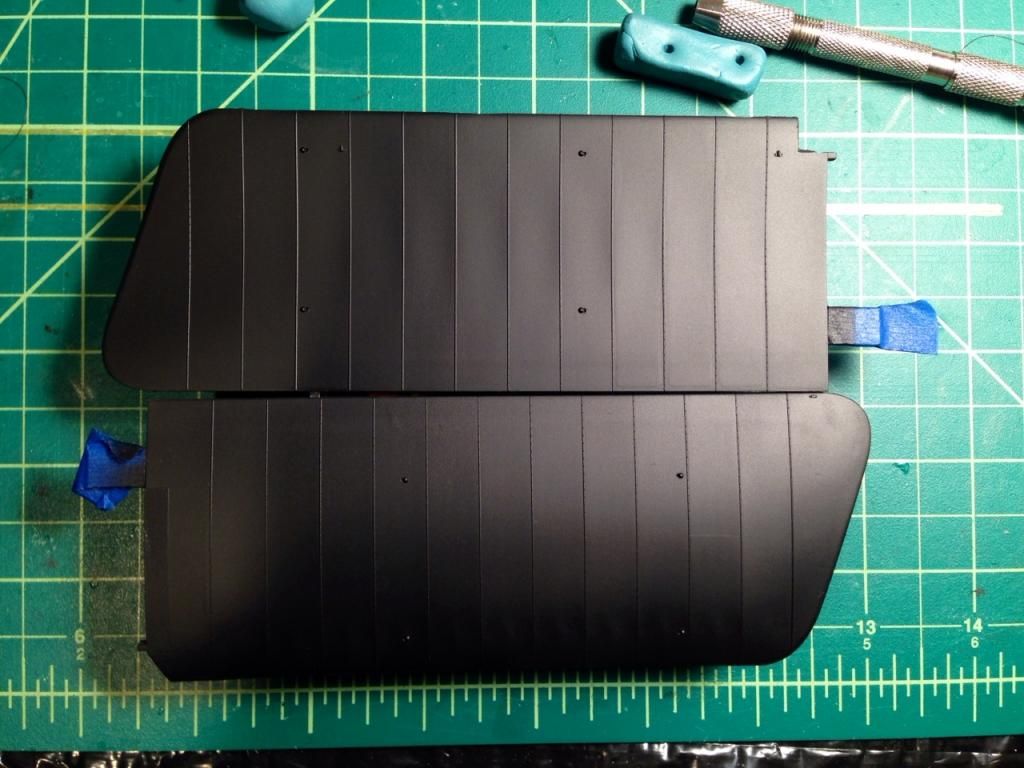
First step was a coat of primer, using Mr. Finishing Surfacer:
I followed this with a thin and uneven undercoat of color. I used XF-22, RLM Gray (the final color) and random patches of XF-55, Deck Tan (representing the underlying linen) for this step. I masked some of the internal structure on both the wings and the fuselage, however since I wanted different effects, I did this is slightly different order for the two. On the fuselage, I wanted the fabric over the ribs to be slightly darker, and on the fuselage, slightly lighter. Therefore, I masked the wing's spars prior to the undercoat, and the fuselage after it. I followed the fuselage masking with a second, darker, undercoat made from a mix of XF-22, XF-1 (Flat Black), and XF-64 (Red-Brown). Here are the results in both cases after removing the tape:
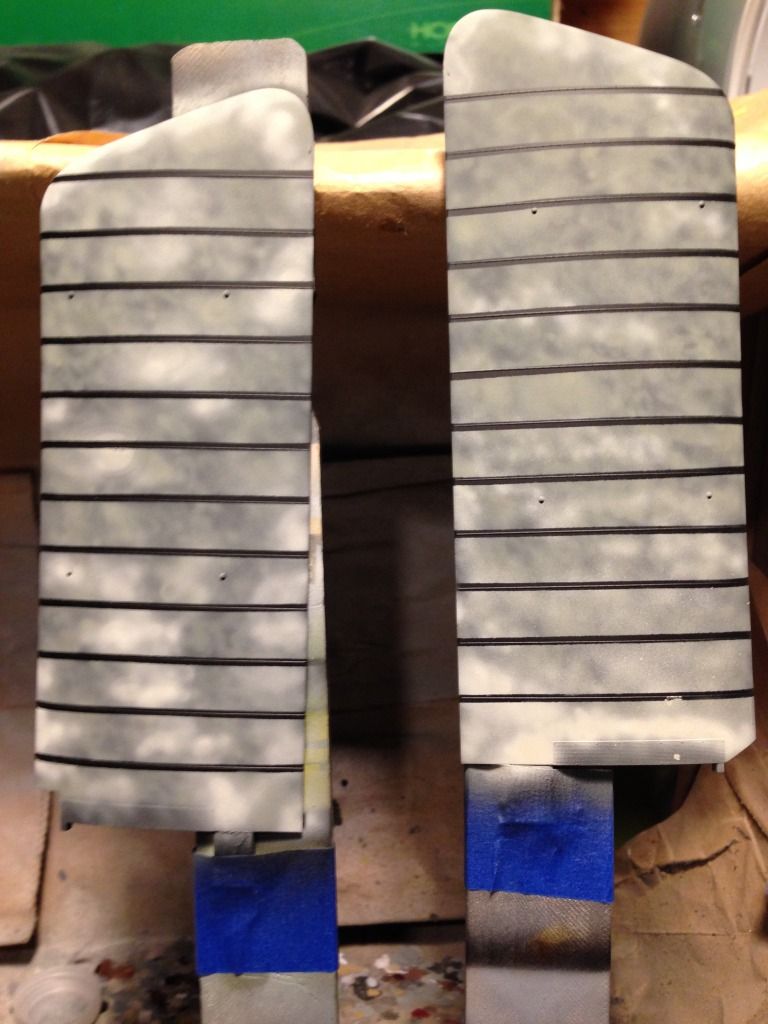
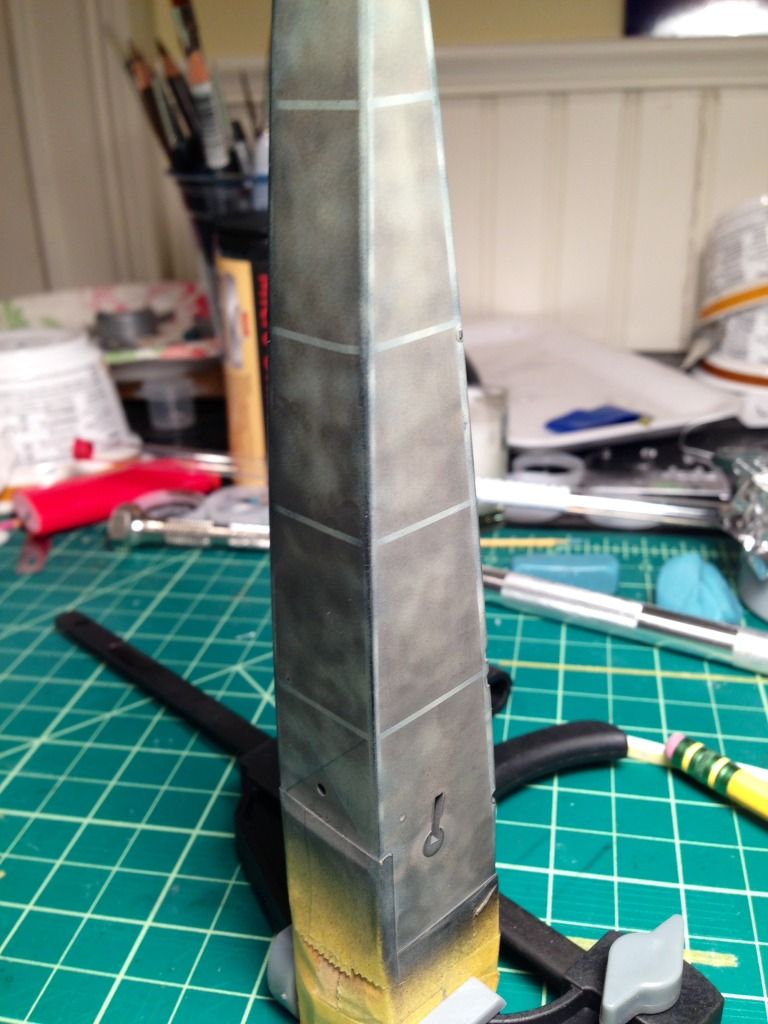
The second picture shows the crossed pencil lines I added behind the cockpit to represent the bracing wires which show through the fabric in one of the pictures included in the kits' instructions. Obviously the results after the undercoats here are very contrasty, but they get toned down significantly after the next step, when I applied a very thin (1:3) coat of the final color to tie it all together:
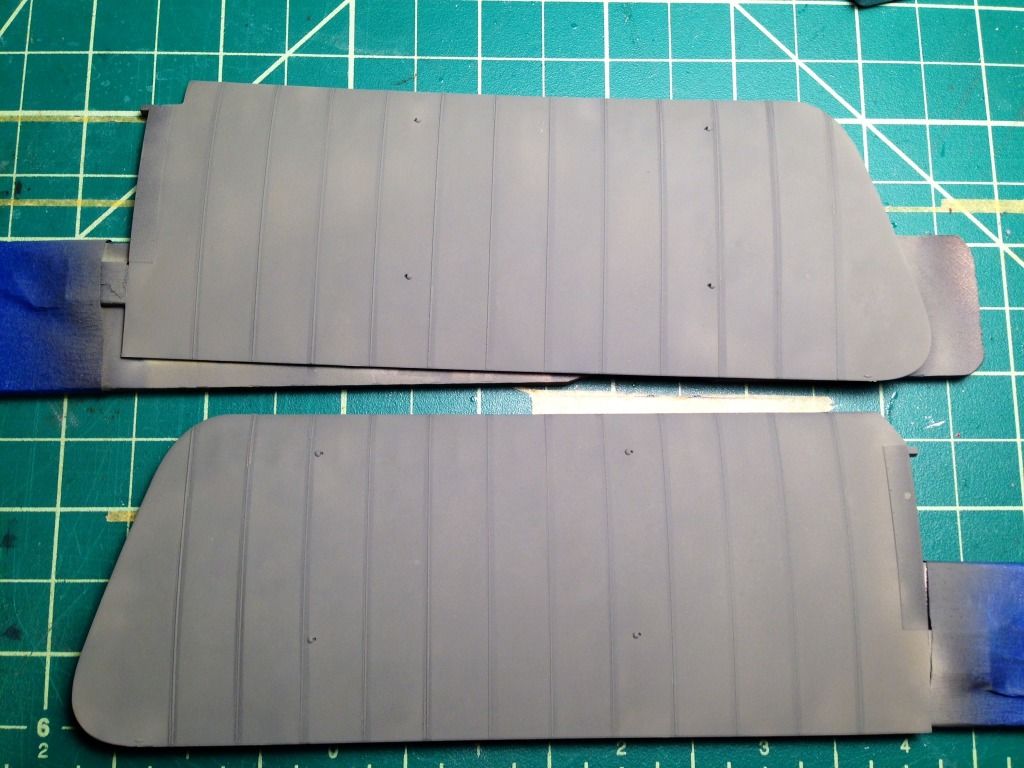
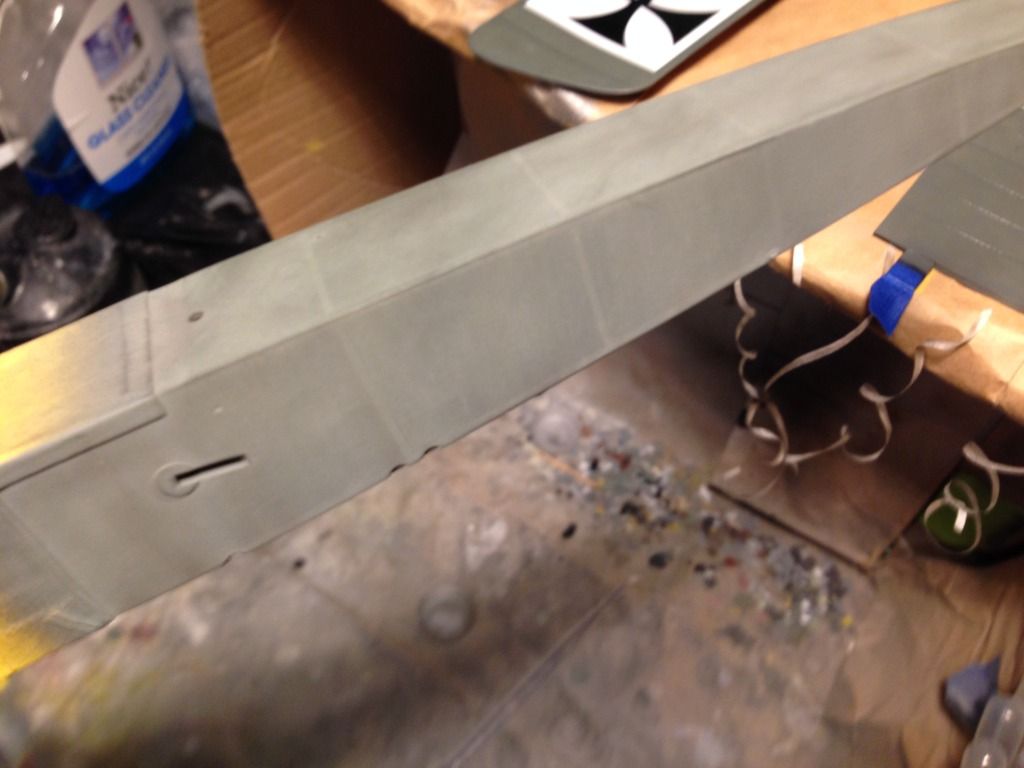
I sprayed a coat of Alclad Aqua Gloss in preparation of decals. This is as far as I got with the fuselage at this point, but the wings continue on with their iron cross decals:
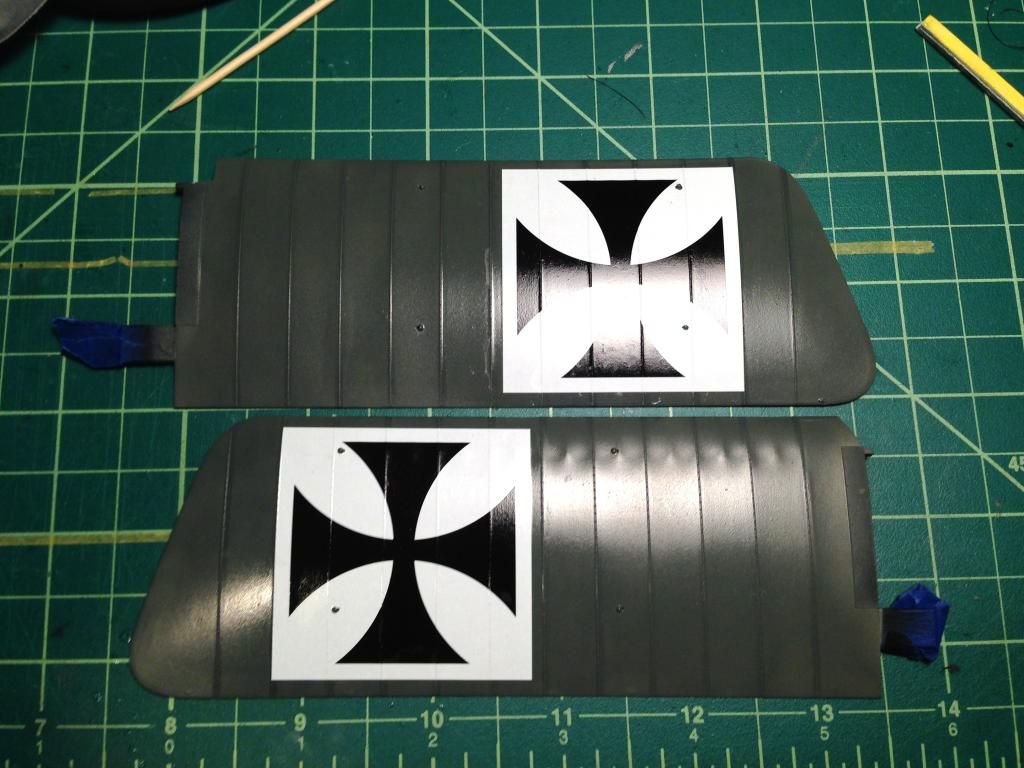
It looks like a big shift in color and luminance between this picture and the last, and while some of that is due to shooting with a camera phone under changing light, the gloss definitely accentuated the green tones, and darkened things up a bit. Continuing the process, I reapplied the tape over the wing ribs, and sprayed a thin coat of X-19, Smoke, over them. Additionally, I sprayed some very dilute XF-1, Flat Back, in a couple of spots where I wanted a stronger effect.
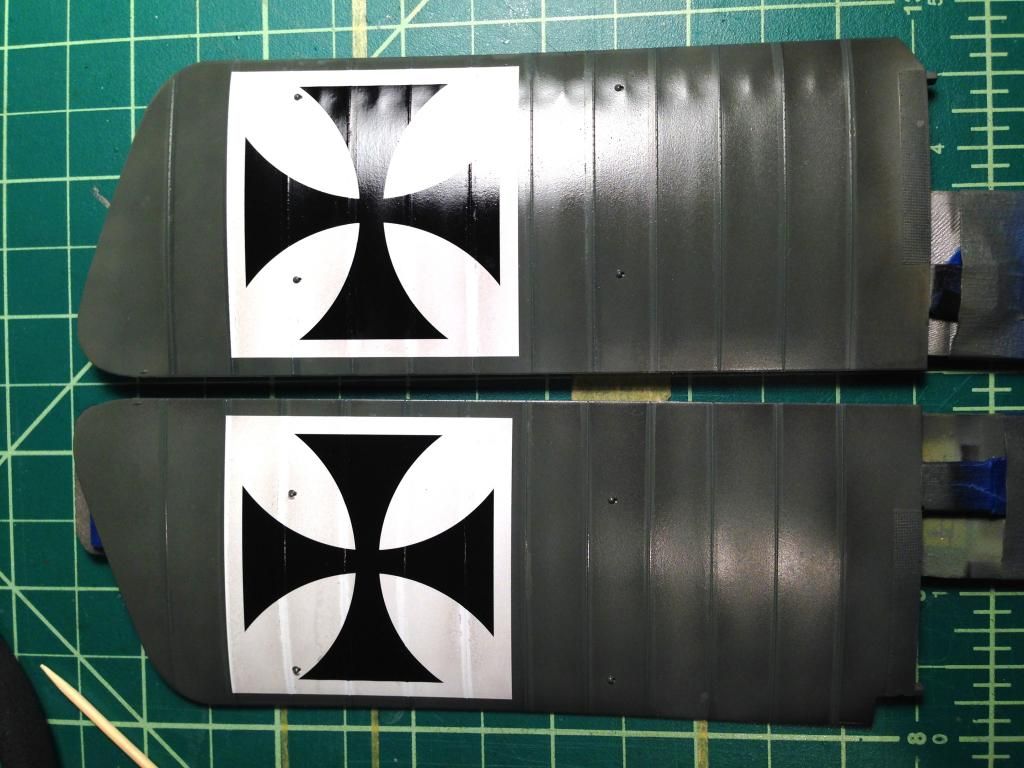
Because the Smoke is so thin (particularly when it has been that diluted), I have trouble judging the effect until I remove the tape and see the contrast versus the untreated areas. The results, in this case, are probably a little heavier than I intended, but not terribly so.
I still need to add the smaller, stencil type, decals to the wings, and will paint the metal walkways after I have finished clear coating the wings.
That catches me up. I damaged a handful of the resin valve rocker arms, so the Oberursal is on hold while I wait for replacements from Taurus. Lukasz, the owner, has been incredibly helpful to me; his customer service matches the incredibly high quality of his products. I'm a big fan.
Comments, questions, etc. are always welcome. I continue to enjoy seeing the updates people are posting in this group build... great stuff.
Blue