Ok, I finally got to do some work on the YT-1300 (not calling the Falcon, but I'll get to that in a second).
First off, Love the AAT's base, Steve, great job.
The X-Wing's psuedo-snap tite construction (and mulitcolored sprues) are Typical of Bandai kits, Raven, so expect more of it in down the road. Makes construction easy, No?
And finally, Senor. I am amazed at your Falcon, and though mine is 1/144th, it isn't coming anywhere near the amazing detail of yours.
Which leads me to the progress pics. I was slightly disappointed in the depth of the detail for this kit, so rather than attempting to correct it to match the movie Falcon (which would take for-e-ver), I decided to raid my spare parts box for added-on details.
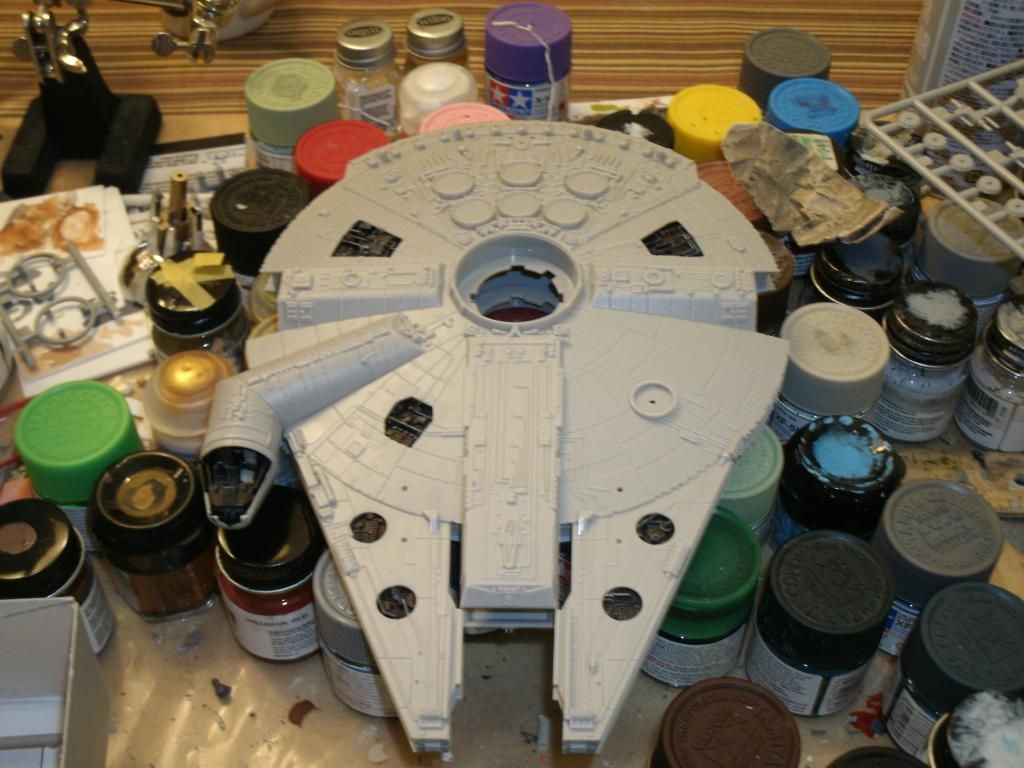
First pics are from prior to Christmas, when I couldn't resist pre-painting small parts. Nothing has been glued down yet, they're just snapped together.

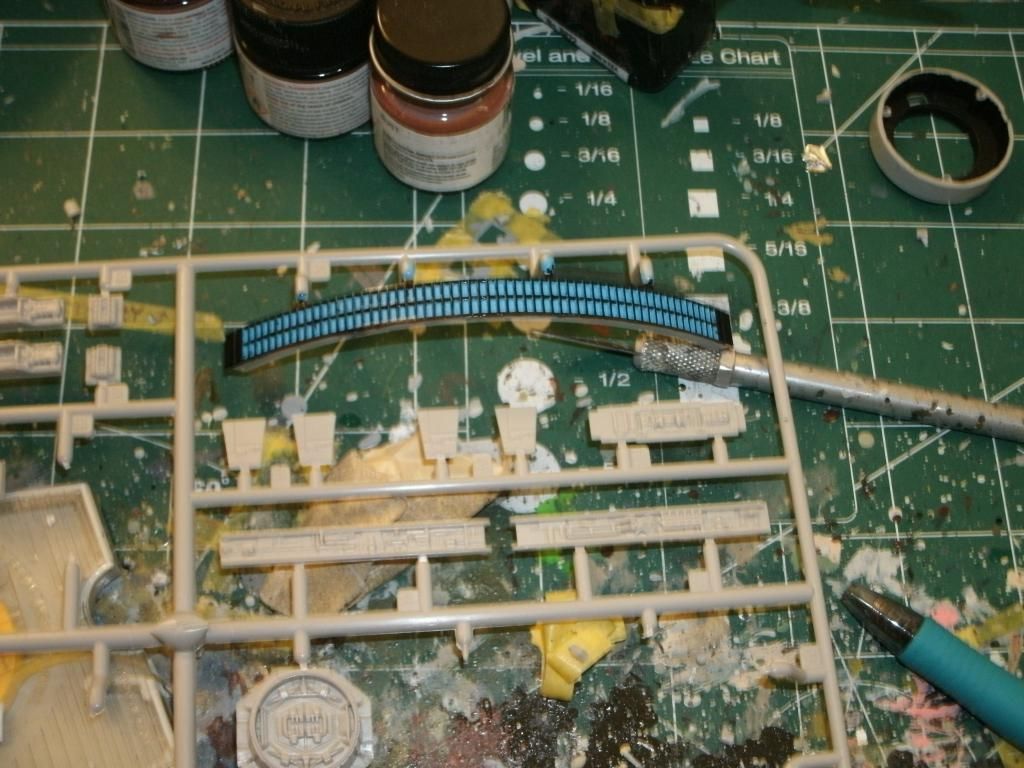
This kit didn't come with any fancy options (which odd for a $90 Finemolds kit), especially for the engine, so I painted it blue, then dry-brushed Black over it for the "glow". Cheap, but effective, since I'm not one to light up my kits (or one to order a bunch of extras online....sorry, no offense, Senor).
Now, looking at the 'bays' on the mandibles, I found that I couldn't stand the look of the upper stern-most two, so delved into my spares and constructed a couple new panels to cover the open holes.
This was the first test-fit:
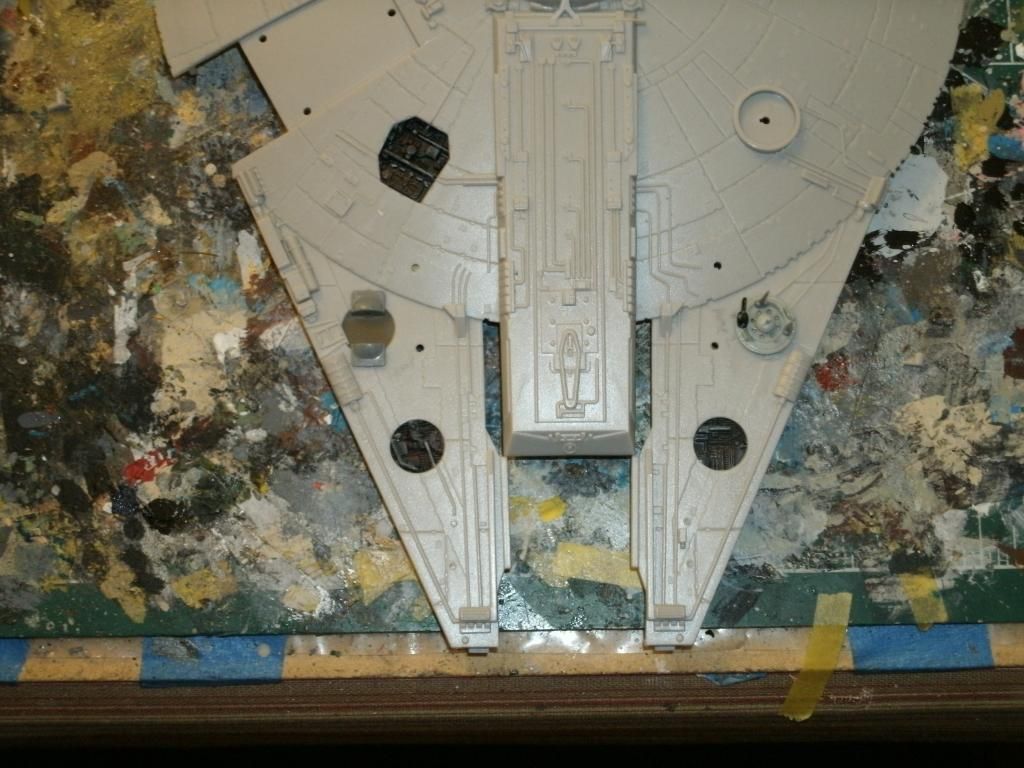
I kind of like the antenna array mounted on the port side, giving the ship more of a balanced look (with the cockpit mounted). I wasn't sure what more to add to the starboard side beyond the green filler plug.
And that's where it sat until today.
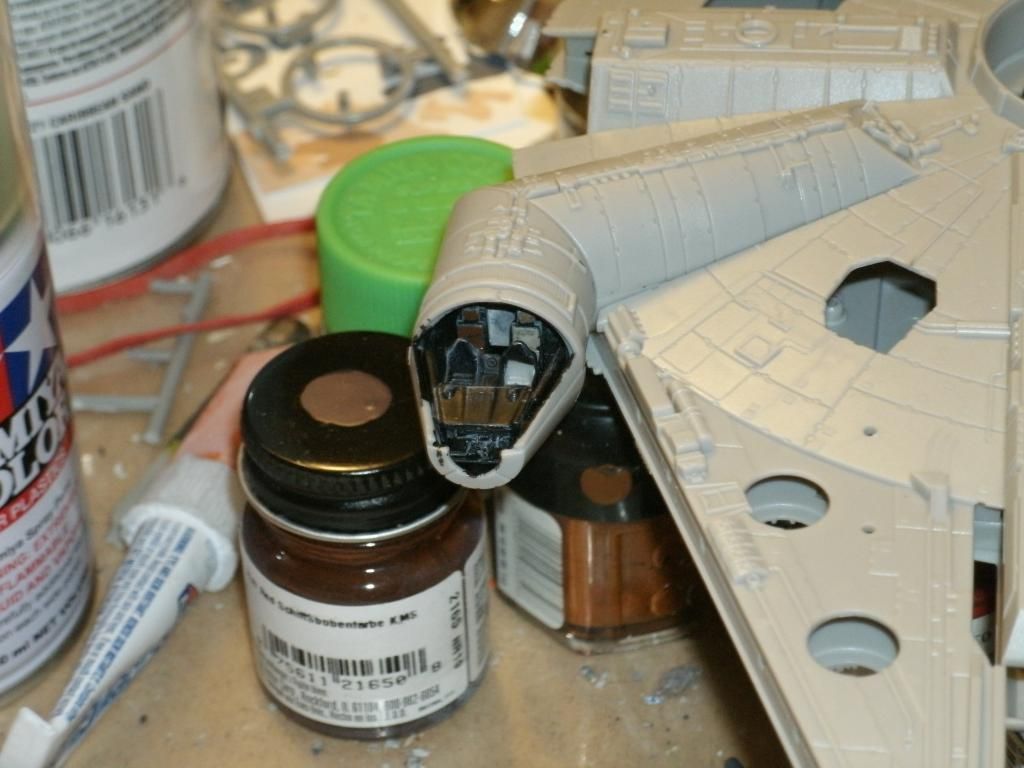
I assembled the cockpit, added a pilot (from a 1/100th scale Bandai Gundam kit), who needed half his helmet cut off, plus his feet to fit under the canopy, glued on my add-ons, and painted a first coat around the open panels, in preparation to glue them in.

my camera refuses to zoom in any further than that. I hope that's clear enough for you to see (it doesn't look that great on my monitor...sorry).
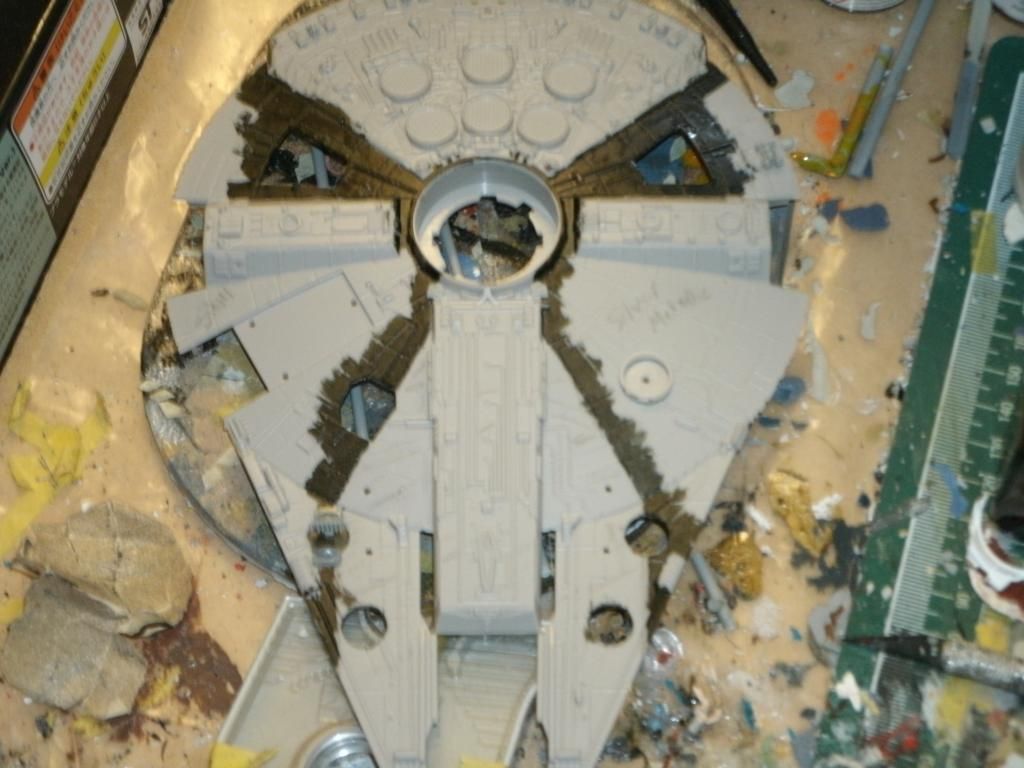

OK, so only that last one turned out. Oh, well, they're in-progess pics, so as long as you all get the basic idea, right? I'll take plenty more as I get more done on this.
I painted the hull with Metallic Grey, XF-56, which came out really dark, but it's just a base coat for future weathering and wear, so I'm ok with it. At this stage, it's hard to tell where I'm going with this, so I'll try my best to describe what's in my head. [I started painting it before I though to add my greebles to it, my bad.]
The cockpit armature will be the same Metallic Grey over all, once I get enough of a break in the weather to go outside and spray the canopies.
The upper hull will be Metallic Grey on the sides, between my nearly straight edges on the bow and stern (looks like butterfly wings.. I just noticed that...). The forward mandibles, upper bow-blocky-thing between them, and the rear engine deck will be the same color (though I am honestly not sure what color to do right now. Red is just too overdone, and grey is kind of an obvious choice....Suggestions?_)
The lower hull will be primarily Metallic Grey, with only the front tips of the mandibles, panels around the forward pair of landing legs, panels behind the midline sections (the half-hexagon sections), and a panel in the aft center section being the same, heretofore unknown color. (Again, Suggestions would be welcomed...though grey does take weathering really well...hmm...).
That's about all I've got to share with you. Sorry about the poor quality of the pictures, my camera isn't always honest about the appearance of my pictures.
Keep up the great work, everyone.
Klik