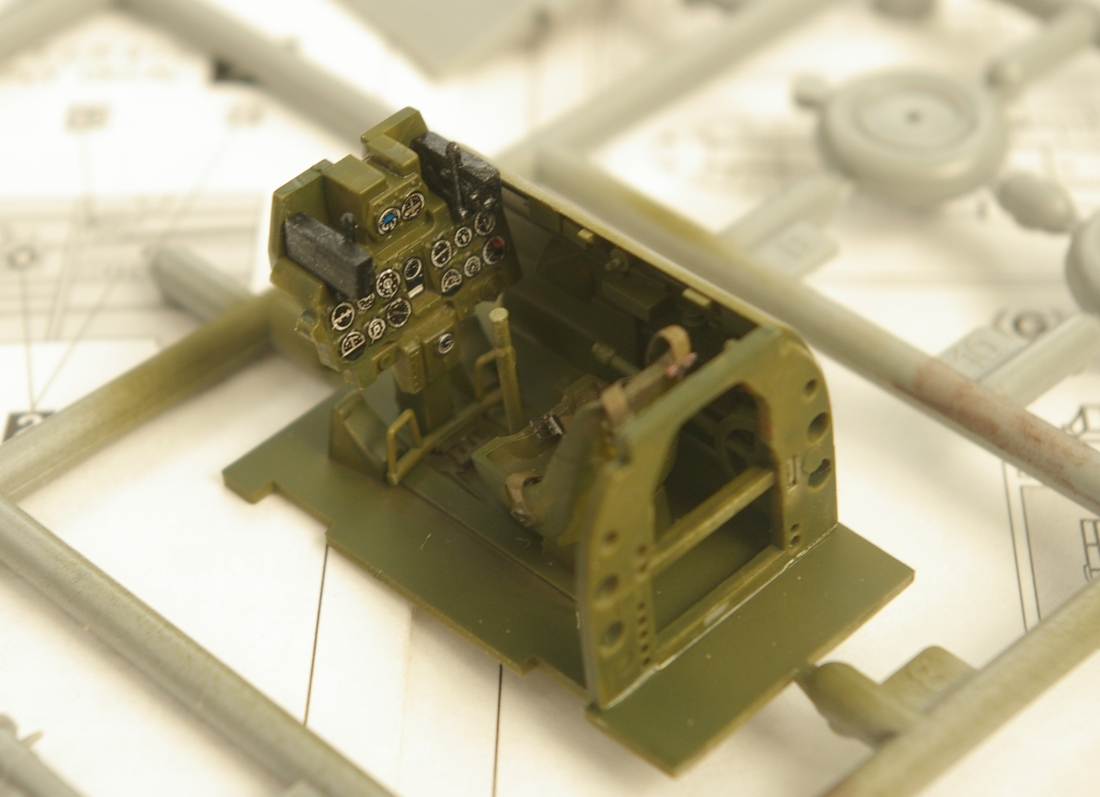
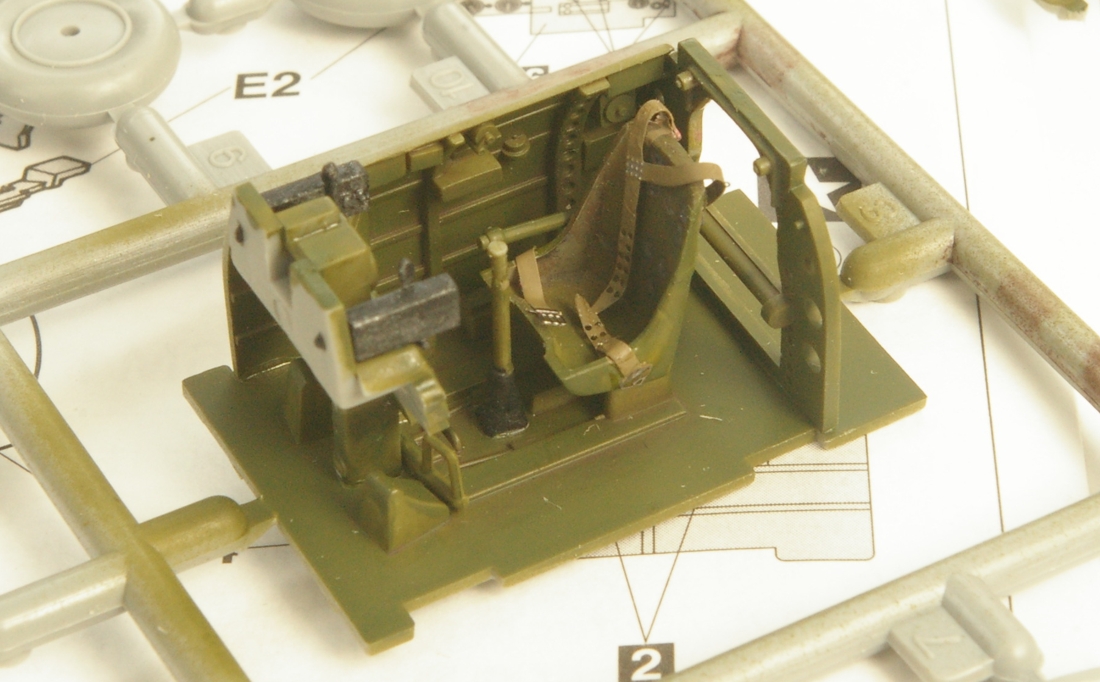
| This is the Hasegawa A6M1 1/48 kit. Squadron had it on sale in their flyer in April, so I sent for one. Had to, in order to fill out all the Zero line from the 12-shi airplane to the A6M8. It is a very nice kit, I think, super fit and lots of detail. Added some Eduard seat belts, why didn't they do something for them? You can build any version of the 2 Zusei powered prototypes from the box, and there is also a complete Sakai engine included. 2 types of oil coolers, and two marking choices. The vertical fin is very squat looking compared to an A6M2 or later type, and the horizontal stabilizer is set lower and I think at a more negative incidence. There's no cutting, it is a completely new fuselage. There is also an extra set of horizontal stabilizers in the kit, not to be used. I haven't done any real research yet to be sure that all the details are as Hasegawa says they should be, though I have references here to look at, The Eagles of Mitsubishi being my best should I be able to find it in my "library". I started the kit a week ago, and the following is where I am now. The panel has decals for instruments, I thought they were too stark so I coated them with a good layer of Tamiya Smoke, and went all around each gauge with a flat clear coat. 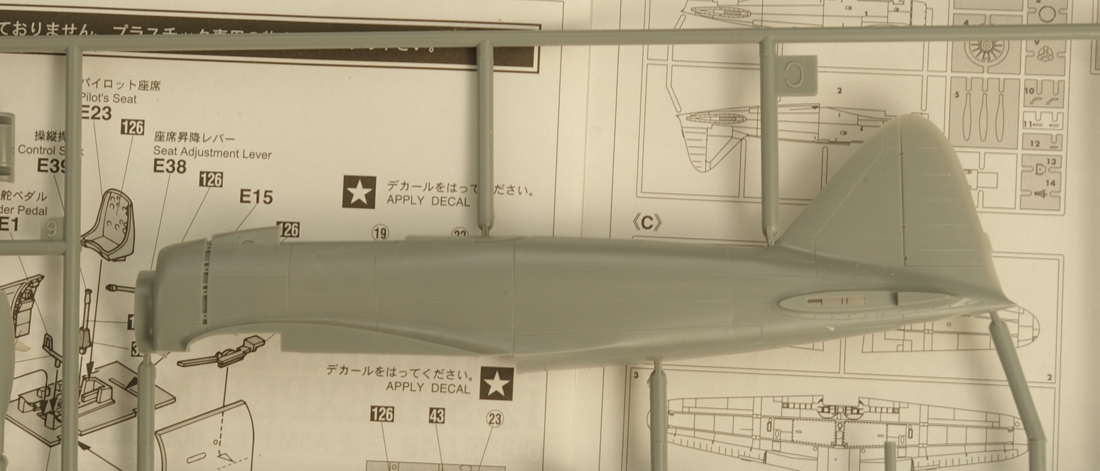

Here is the engine. I painted the cylinders and crankcase steel and gave it a dark grey wash, and detail painted the ignition ring. The exhaust collector ring has about four coats, starting with burnt metal buffing metallizer and then dry brushing with rust, flat black, and probably something else. I don't think it will be very visible once the cowl is on. 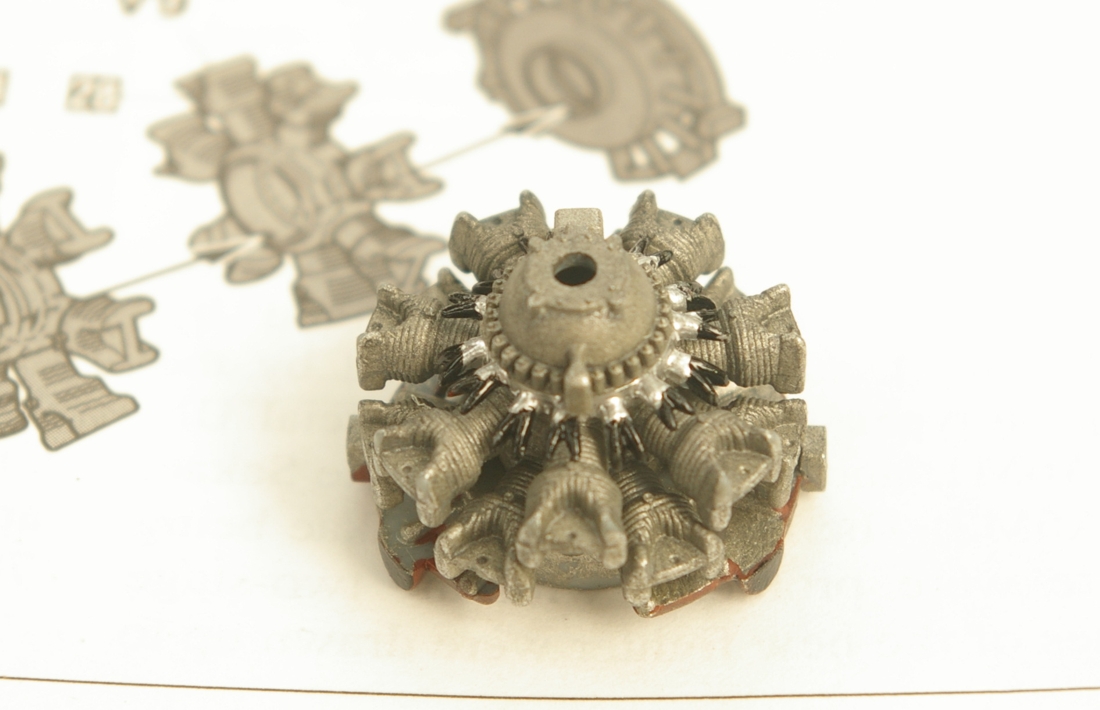
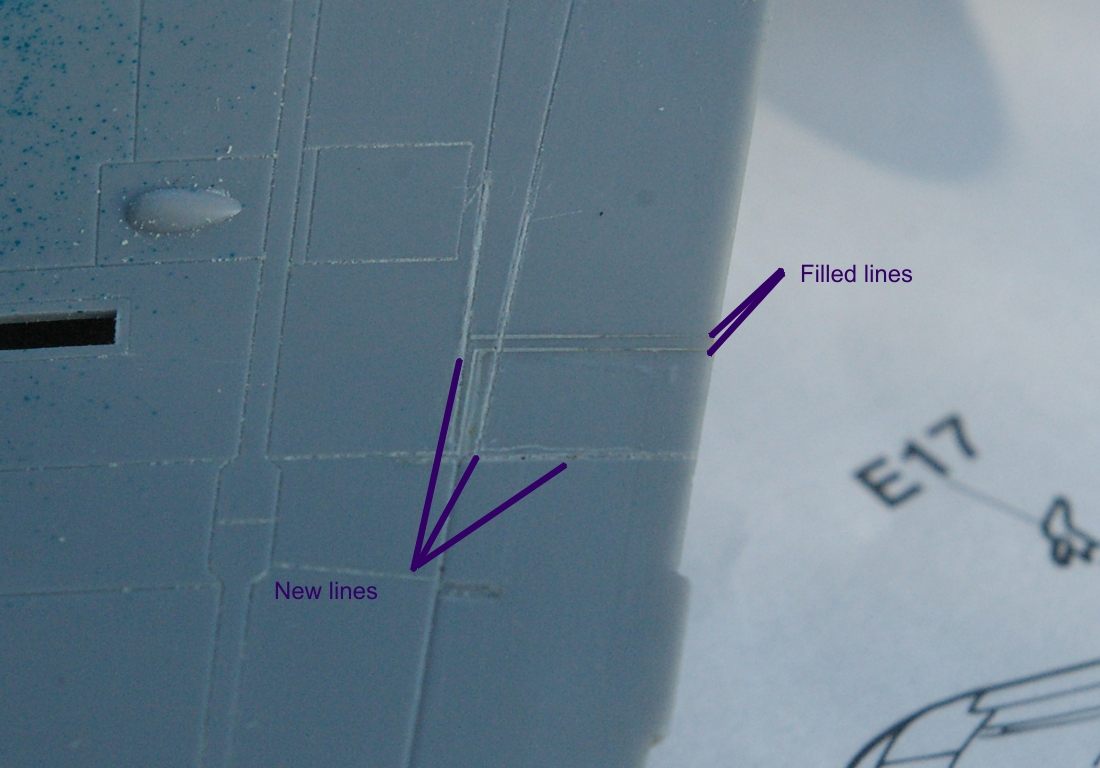
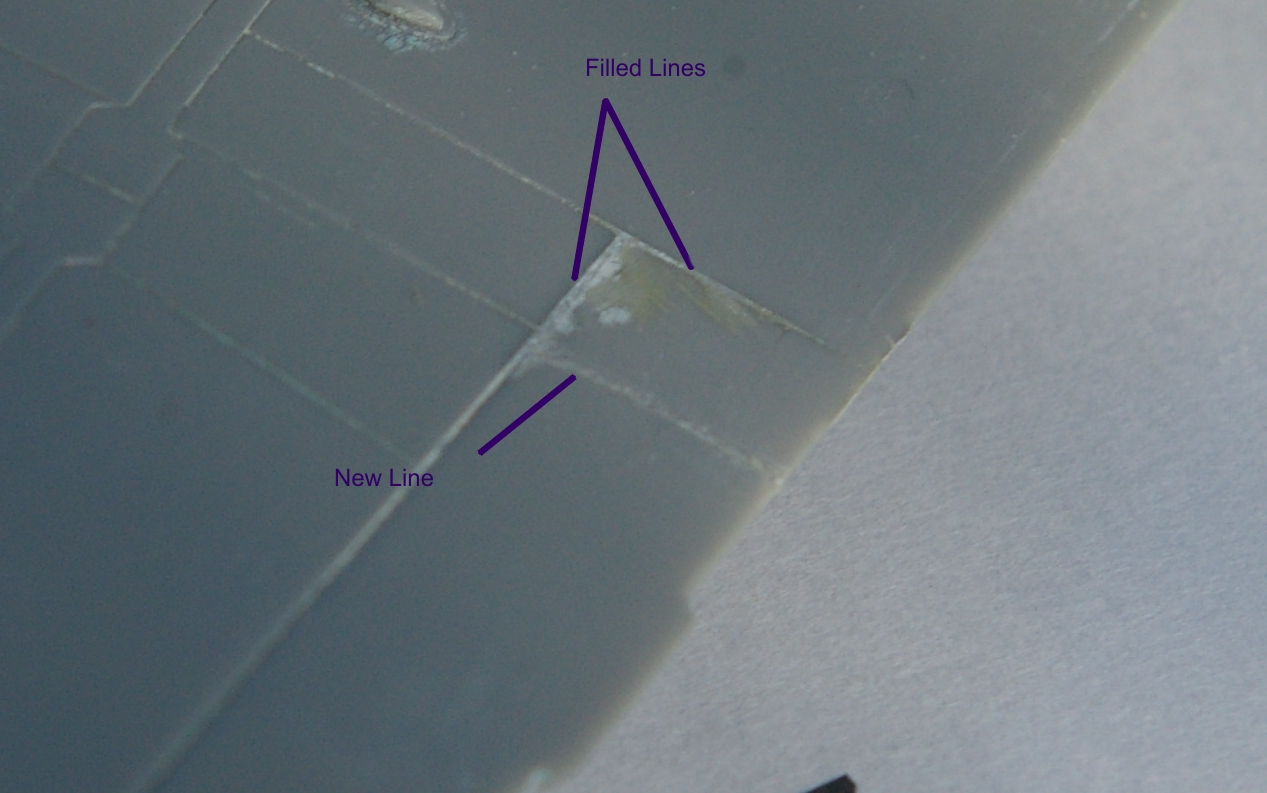
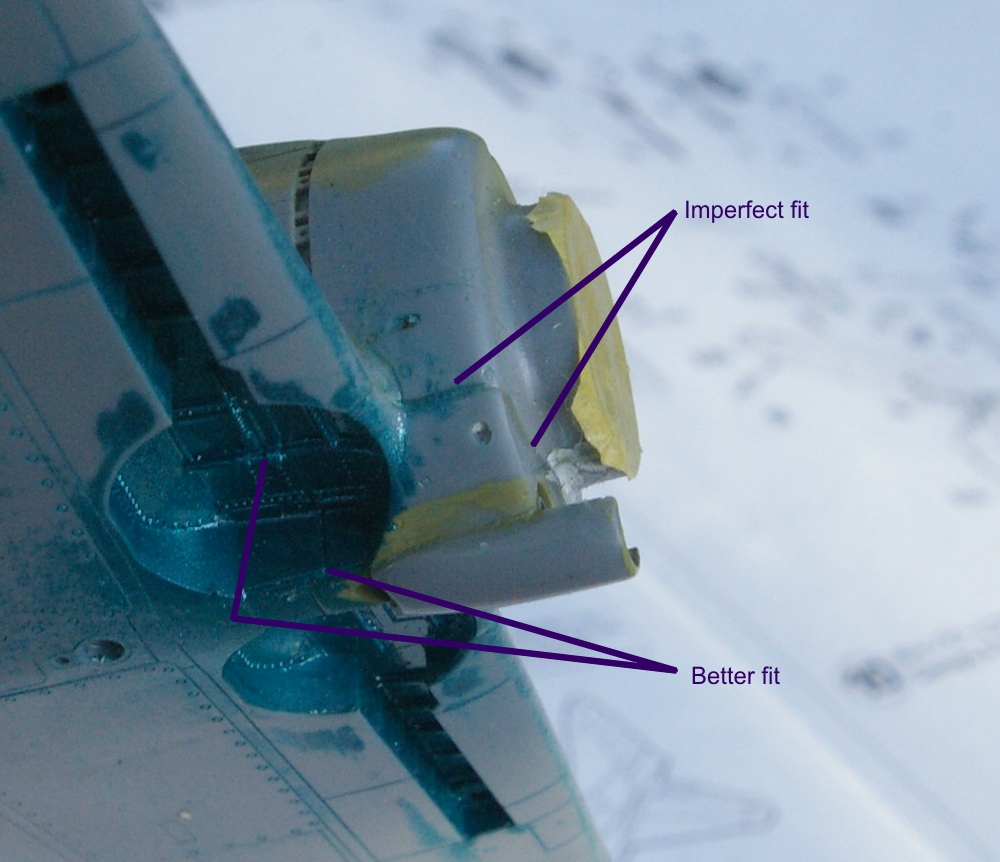
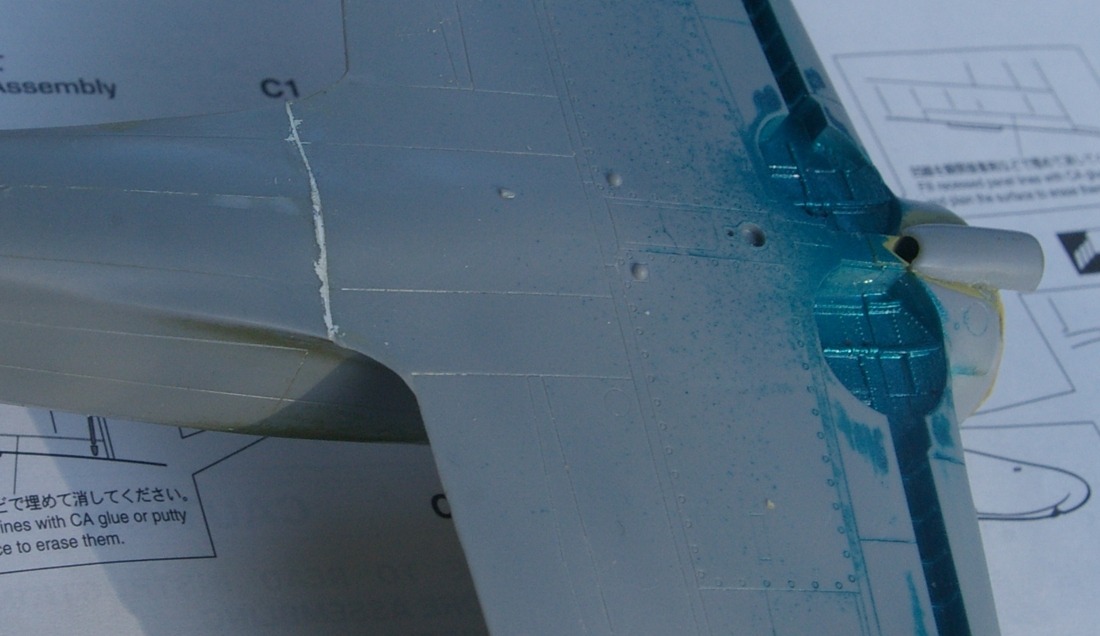
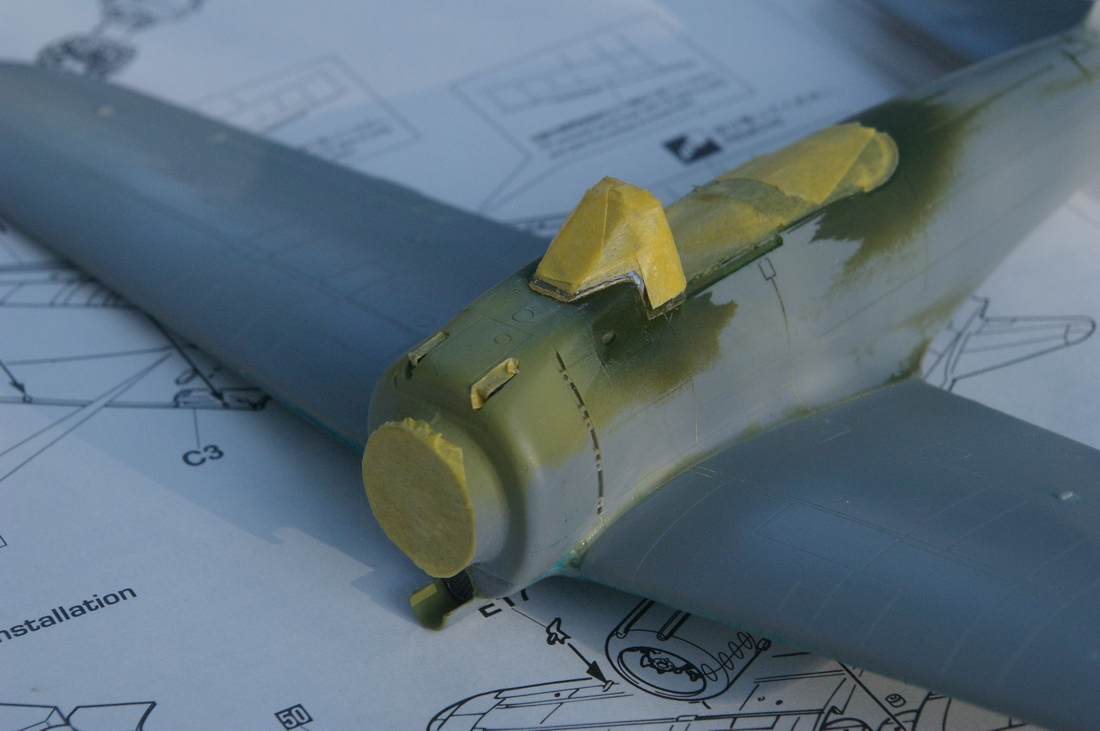
The big parts are together. It does take some careful fitting of a few parts to avoid gaps in places, the added parts are necessary to allow building of both prototypes at different points in their lives. With a little care things fit very well. I filled the spots where the aileron counterweights attach, filled and rescribed the inboard ends of the ailerons and the outboard flaps as the ailerons were longer on the A6M1 and Hasegawa used the A6M2 wings which are otherwise the same in this kit. Optional parts are for the oil cooler types, and they have to fit in the wheel wells, at the leading edge wing roots, and the front lower fuselage. I used the eyeball method to get it right and avoid a misfit in the wheel wells. It pays to fit the wing and the oil cooler parts at the same time to get the best fit, with a little filing needed at the wing trailing edge to fuselage joint. There is a lot of detail all around this area, especially in the wheel wells, which would not like any filling and sanding. There aren't any pins or ledges that establish the right location, but it's not that hard. I painted the wheel wells Aotake, and the oil cooler burnt metal, and sealed them with liquid mask. I am using colors recommended by J-Aircraft.com which concludes that the early Zero's were not Gray, but a color that is most closely matched by Aeromaster Nakajima Interior Gray Green, not gray as is most often seen. It is said this color looks gray in black and white photos. They are using color samples from the Zero that crashed at Pearl Harbor on Dec. 7, 1941, an A6M2. I guess I will take some pictures and convert them to black and white and see what it looks like. Looks a lot like a North African airplane right now, the top surfaces are painted. I'm going to have to do more filling at the stabilizer/fuselage join, it is more evident than it should be right now. The last photo is this series has the Nakajima color on the nose, with the Mitsubishi interior green further back around the cockpit. Sure hope these guys are not doing an April 1st joke on the color. The cowl is painted flat black with a touch of dark blue added. 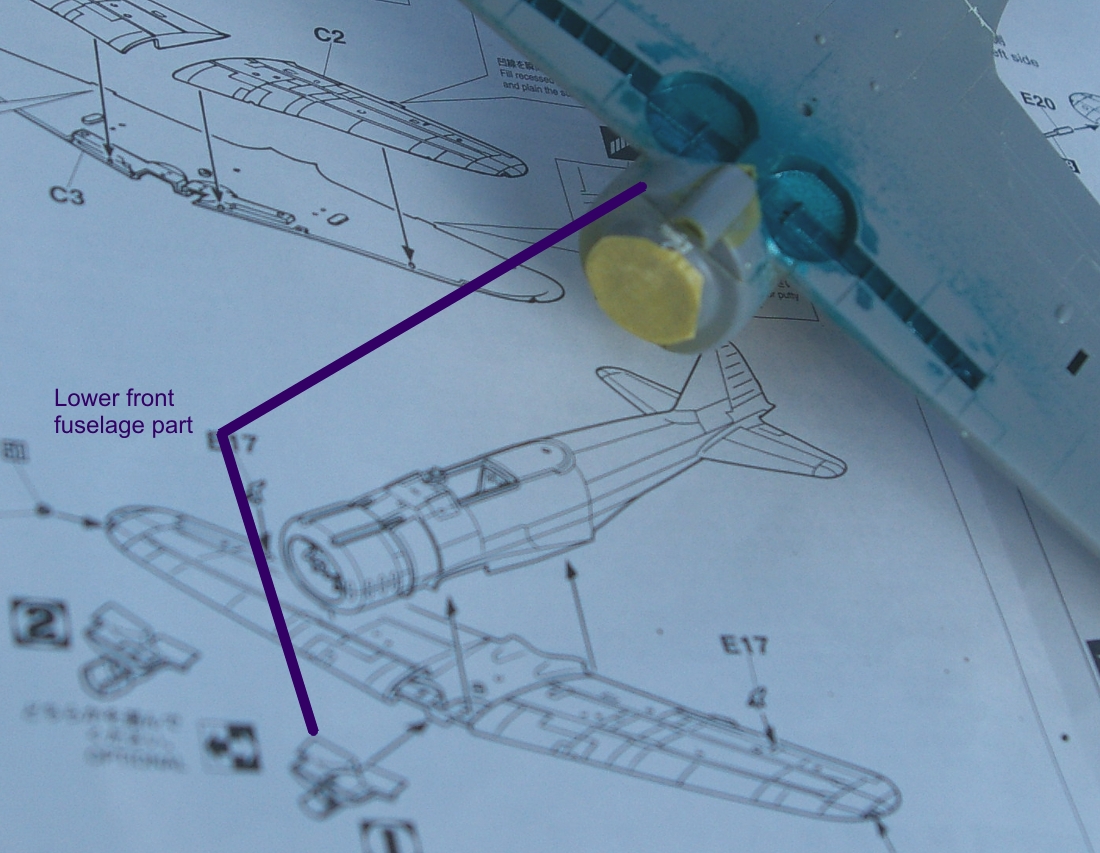

|