SEARCH FINESCALE.COM

Enter keywords or a search phrase below:

#6 Polish Artillery Tractor C7P-WIP 4/18--More Weathering Pics Page 12

43332 views
170 replies
1 rating 2 rating 3 rating 4 rating 5 rating
  • Member since
    January 2012
Posted by I make stuff on Friday, January 22, 2010 11:05 PM

Thanks, Bill, I've got the patient on the table right now.

Here are the issues I am facing:

Overview-these are basically perfect rectangles, and therefore easy to cut, between the curved ends


The next two show the rear end portion, it'sgot a separation dividing it from the middle fender section.  I am thinking about attempting to bend this and replicate the rib detail with styrene, my rationale being that the center is nice and thin, I'd rather not add these over thick styrene ends.


The next 3 show the front section, which is tougher, but I think I have a solution.  The front portion of the fender itself is just curved, no raised ribs to follow the curve.  The problem is that a portion of the front curves down to form a vertical wall on the fron tportion of the tank.  I am thinking about cutting this part off of the plastic part and using it as intended, then simply carry the metal fender, glued to the plastic wall part, to the front of the fender.  Does that even make sense?

Pics


Here's a top view to show how simple the shape is if I cut off that inner part:


Anyway, that's the plan but I will hold off until I get some input, it's kind of a one way street at this point.

Thanks

Bill

  • Member since
    April 2008
  • From: Ventura (at the beach) in California
Posted by *INDY on Saturday, January 23, 2010 12:00 AM

Yeah, that totally makes sense, Bill, and that's one way to do it, for sure.


The next 3 show the front section, which is tougher, but I think I have a solution.  The front portion of the fender itself is just curved, no raised ribs to follow the curve.  The problem is that a portion of the front curves down to form a vertical wall on the fron tportion of the tank.  I am thinking about cutting this part off of the plastic part and using it as intended, then simply carry the metal fender, glued to the plastic wall part, to the front of the fender.  Does that even make sense?

Pics

http://i365.photobucket.com/albums/oo91/citadelgrad87/DSCN6735.jpg

And that would avoid having to cut the length of the fender with that vertical as a 'flap'. If you did that you'd have to slit it where it meets the curve, then curve the front down, cut the 'flap' to fit that and solder the seem. Does that make sense?  Either way can work.

"Well...you gunna pull them pistols, or just whistle Dixie?"

  • Member since
    January 2012
Posted by I make stuff on Saturday, January 23, 2010 12:47 AM

Hi Indy.  Solder, huh?  Last soldering I did was to install a water heater, that thick copper was pretty forgiving.

Can I get a battery solder set from Radio Shack to do PE like this?  Or would I be better off with something else?  I like the idea of trying to do it all out of brass.  I can make a template by wrapping it with paper and then laying it flat.  I know just where to slit it, the beginning of the curve is marked with a rib, it won't be too bad if I can get a solder setup locally.

Thanks for the backup, Indy.

Bill

  • Member since
    April 2008
  • From: Ventura (at the beach) in California
Posted by *INDY on Saturday, January 23, 2010 4:28 AM

~Yeah Radio Snack is a great place to get a solder set up, of course everything there is geared towards circut boards, meaning solder with flux core---you want flux paste or liquid you can add right to  the joints. I don't know about the battery power, haven't heard of it's use for scratchwork. I have a butane iron that doubles as a torch(pretty handy) and I have a little plug-in iron too. I've done a handful of solder projects, so far I've made it work when I needed it, but am still a novice.

Here's a LINK for a build you should read through. He's very proficient with solder,you'll get a few pointers  .Miraculous scratchbuilder! Same kit Im on too.

For a general descriptionof how -to-solder brass for the model builder    Linky    ( lots of great how-to articles there for the modeler      http://themodelmakersresource.co.uk/articles/article012.html


"Well...you gunna pull them pistols, or just whistle Dixie?"

  • Member since
    January 2012
Posted by I make stuff on Saturday, January 23, 2010 5:59 PM

So now I have made up a template from some paper, and it seems to be the correct dimensions.  I think I will try to cut out the parts and fab up some 3d fenders!


  • Member since
    April 2005
  • From: Piscataway, NJ!
Posted by wing_nut on Saturday, January 23, 2010 9:39 PM

Nearly forgot aboutthis one.  Coming along real nice.

Marc  

  • Member since
    January 2012
Posted by I make stuff on Sunday, January 24, 2010 12:26 AM

Thank you, Wingnut, it's a slow process for me, but I like the input I get here.


Oh, nothing...I just totally fabricated replacement fenders, front ot back, out of sheet brass (well, one so far, I wanted to make sure it was OK before doing two), then I soldered the front.  That's right.

This AM, off to a large chain of retail electronics shacks, to get this:


Yep, not a soldering iron, a soldering STATION!.

Then I did this:

 Dimensional check:


Looks OK compared to the kit one, but the kit one didn't fit too well, so here it is in place:


Check that scale thickness!!


Honest question-I spent some time on this, and it's my first large scale brass scratch-solder-replacement of kit parts.  I want this to look good, and I believe I have lost objectivity.

WHat do you think?  I didn't have to destroy the kit fenders to fab this, so I could go back.  I realize the brass is still missing some detail, but that sould be easy to add with styrene or even more brass.

Comments, please.

Bill the solder guy.

  • Member since
    January 2009
  • From: Everett, WA
Posted by Schnobs on Sunday, January 24, 2010 1:38 AM

As my friend Bob would say this is FREAKIN SWEET!!!

Seriously Bill this definitely was worth doing I am very impressed.  You will never have to purchase AM PE fenders again you know how to replicate your own!  How cool is that? Yes

Fish is in the water you are committed now!  GET ER DONE!!


"There is a principle which is a bar against all information, which is proof against all arguments and which cannot fail to keep a man in everlasting ignorance. That principle is contempt prior to investigation." Herbert Spencer
  • Member since
    July 2004
  • From: Sonora Desert
Posted by stikpusher on Sunday, January 24, 2010 1:47 AM

OK, this build looks really familiar now. Did you happen to have this at the So Cal AMPS meeting a couple weeks ago for show and tell? If you did, all I can say is that it looks even more impressive in person!


F is for FIRE, That burns down the whole town!

U is for URANIUM... BOMBS!

N is for NO SURVIVORS...

       - Plankton

LSM


  • Member since
    January 2012
Posted by I make stuff on Sunday, January 24, 2010 10:37 AM

Hey, Carlos, yes, that was me!  I was hoping to meet up, now you know what I look like.  Are you going to the mini show? I hope ot have this across the line by then, but with my pace, you never know....

Thanks, Ed!  Just a little diversion that turned into another learning experience.  I guess I'm committed, I'll go start the other one.  I get some bench time today.

Bill 


  • Member since
    January 2009
  • From: Everett, WA
Posted by Schnobs on Sunday, January 24, 2010 11:10 AM

Bill,

A diversion is an hour in front of the Idiot box watching some mindless dribble.  This is well thought out scratch building using materials and methods that make most people cring.  Seriously color me red and spank me I am very impressed.  I was hoping to make a couple fenders to simulate damage on my next piece of armor with some aluminum from a pop can but you beat me to it with this and placed a very high bar in front of me.

Again Bill what a great job and well worth the effort!


"There is a principle which is a bar against all information, which is proof against all arguments and which cannot fail to keep a man in everlasting ignorance. That principle is contempt prior to investigation." Herbert Spencer
  • Member since
    July 2004
  • From: Texas
Posted by wbill76 on Sunday, January 24, 2010 11:15 AM

Definitely an improvement over the kit parts and, as you mentioned, you can add the remaining detail using strip styrene or even additional brass parts as you need. It's funny in that the soldering station you picked up is the exact same one I bought from RS when I first needed to solder! Big Smile I use a different one now with different size tips that I picked up from Micromark but still keep the RS one handy for large work as it's very very reliable. Yes

  • Member since
    October 2009
Posted by Scott MacPhee on Sunday, January 24, 2010 11:47 AM

Wow.  I've been following this build since the first post, and you're an inspiration!  Those fenders look fantastic.  A little plasticard raised detail will help them pop.

  • Member since
    April 2008
  • From: Ventura (at the beach) in California
Posted by *INDY on Sunday, January 24, 2010 12:46 PM

~Very nice Bill~ Im sure your glad you ventured it by now~ Like WildBill said  "Definitely an improvement over the kit parts and, as you mentioned, you can add the remaining detail using strip styrene or even additional brass parts as you need..... Of course there the matching of the wo sides 1st...good luck with that.   Again, the new fender is nice Buddy, great J.O.B.


"Well...you gunna pull them pistols, or just whistle Dixie?"

  • Member since
    January 2012
Posted by I make stuff on Sunday, January 24, 2010 1:29 PM

Wow, guys, THANKS, really, the critical eyes around here are my yardstick, I can't express how nice it is to get such positive feedback.  Ed, Bill, Scott, Wayne, this really REALLY made my day.

Adam, thanks for the push...again.

As for the sewcond fender, that one was EASY compared to the first one.  I should open up an assembly line.  One nice thing was that hte shape is so simple, I just flipped the template over and had the other fender at the same dimensions.

Here are some comparison shots.


There is (was) a molded ridge to give strength to the plastic joint, nore surface are, but it interfered with the metal to plastic joint, so it had to get shaved off, cot me a return roller and one of the thin styrene mounting supports, but it had to happen:

FInally, some walk around shots of them just sitting in place, for some reason, the right side one stays put, the left side won't stay in place without glue.  I didn't feel lke taping it, so it droops in the back:


Above is one last shot of the plastic ones side by side with the bionic fenders.

A question, not that I CAN bend them up like realistically damaged fenders, SHOULD I???

Thanks for all the support on this, it was scary for a minute, then my inner metalsmith seemed to come out.  I helped my dad make a 1:1 airplane in his garage, so this was sort of familiar.  I need a tiny English wheel.....

Again, thanks for all the kind words about this fender deal, I've been around here long enough, and seen what the group likes, so it really means a lot.

Bill

  • Member since
    April 2008
  • From: Ventura (at the beach) in California
Posted by *INDY on Sunday, January 24, 2010 1:46 PM

!They are beauties Bill, really--And I enjoy the look of a pristine Fender as much as the next guy

but I still say mutilate them ! But hey ---- that's me. Based on the wear inside the tractor, there should at least be a dent or ding somewhere.........

"Well...you gunna pull them pistols, or just whistle Dixie?"

  • Member since
    July 2004
  • From: Sonora Desert
Posted by stikpusher on Sunday, January 24, 2010 2:15 PM

Citadelgrad87

Hey, Carlos, yes, that was me!  I was hoping to meet up, now you know what I look like.  Are you going to the mini show? I hope ot have this across the line by then, but with my pace, you never know....

Thanks, Ed!  Just a little diversion that turned into another learning experience.  I guess I'm committed, I'll go start the other one.  I get some bench time today.

Bill 


No, unfortuantely my schedule at work is changing after Feb 6th, I will be working weekends until May, so that will be when my next meeting visit will be. At least taht will give me some time to get an armor kit finished! I do look forward to seeing this one done. Your work is really great to see firsthand.


F is for FIRE, That burns down the whole town!

U is for URANIUM... BOMBS!

N is for NO SURVIVORS...

       - Plankton

LSM


  • Member since
    January 2012
Posted by I make stuff on Sunday, January 24, 2010 3:48 PM

Well, guys, I can comfortably say I am no longer afraind of soldered PE and/or simple brass sheet fabrication. 

Thanks, Indy (Adam) for the information and the push in the right direction.  It wasn't the first time you have encouraged me to try something I thought was beyond my abilities, and I hope it's not the last.  It was nice finally talking to you today!  You can be sure I read and re-read the soldering links, and I'm still pretty shaky, but the jopints are strong, I bent them up (see below) and they held up.  This old tractor is now much much better than OOB, and I appreciate your help.

Edmund, you are far too kind, my friend.  I have seen you grow immensely over the past year, such praise from you is treasured.

Enough awards ceremony speeches, this thing isn't even primed yet.  WHen we last left off, the plain metal fabrication was done, but we lacked detail and I wasns't sure whether to damage them.  Adam hit me with the unassailable logic that if I didn't bend them up a bit, then when there was paint on, they might as well just be plastic, the main reason to do them of metal is that it can be damaged like metal. 

So without further delay, here are some shots:


A close up of the minor wear and tear

WIth the cab in place


THere are some gaps, the cab is just sitting on there for now


 Thte rear


Top showing damage


WE now return you to your regularly scheduled plastic modeling.

Bill

  • Member since
    February 2009
  • From: mass,USA
Posted by scratchmod on Sunday, January 24, 2010 5:09 PM

WOW Stick out tongue that little sucker looks too nice. Man is there a lot of nice detailing on such a TINY little model. The PE  (brass) fenders are fantastico. This just gets better and better, keep those pics coming Bill.


Rob

www.scratchmod.com

  • Member since
    July 2006
  • From: San Francisco Bay Area
Posted by bufflehead on Sunday, January 24, 2010 8:55 PM

citadel, I haven't been frequenting the forums that much so I missed this thread!  I love the subject of your WIP, the C7P being a very interesting early war vehicle!  I've got a couple of different versions in the stash and am eager to see how your's turns out!  GREAT work so far with the fender and grill improvements and also with the interior work! 

Ernest

Last Armor Build - 1/35 Dragon M-26A1, 1/35 Emhar Mk.IV Female


Last Aircraft Builds - Hobby Boss 1/72 F4F Wildcat & FW-190A8


  • Member since
    July 2004
  • From: Texas
Posted by wbill76 on Sunday, January 24, 2010 9:52 PM

You've definitely hit a home run with these now that you've banged them up...they looked great from a fabrication standpoint and I hoped you wouldn't get too enamored with them that you were going to leave them in pristine condition. Stick out tongue Sharp work all around and the damage looks just right IMHO to go with the tough towing duty this would've been subjected to by the Germans. Yes

  • Member since
    October 2007
  • From: N.H.
Posted by panzerguy on Sunday, January 24, 2010 11:22 PM

 Bill what a great build you've got going on just top notch! The time and effort is paying off big time. Well done on the fendersYes.

"Happiness is a belt fed weapon"

  • Member since
    January 2012
Posted by I make stuff on Monday, January 25, 2010 5:51 PM

Man-O-Man!  Nice comments from all sides on this one, that makes the effort worth it.  Adam, Ed, Bill, bufflehead, scratchmod, panzerguy, a rogue's gallery of talent!

Thanks for the posuitive feedback, this place is a great place to improve.  A reminder, Adam thoughtfully posted some great how-to solder links, like any new skill, it's a bit scary atr first, but with top notch resources like the step by steps Adam posted, it's do-able.  I encourage anyone who is thinking about trying this to pore over the links and dive in.

thanks again, guys!

Bill  

  • Member since
    April 2008
  • From: Ventura (at the beach) in California
Posted by *INDY on Monday, January 25, 2010 7:09 PM

Thanks for firing back with that Bill--I feel appreciated now!


"Well...you gunna pull them pistols, or just whistle Dixie?"

  • Member since
    January 2012
Posted by I make stuff on Monday, January 25, 2010 7:12 PM

Any time, Adam!

Uh, your cat seems peeved, though.

  • Member since
    December 2008
  • From: Las Vegas, Nevada
Posted by model maniac 96 on Monday, January 25, 2010 10:52 PM

LOL!!!!!! Nice build though! I really like the fenders and the engine!


      Thanks, Jim

"Veni, Vidi, Vici" Julius Caesar: I came, I saw, I conquered.
  • Member since
    April 2008
  • From: Ventura (at the beach) in California
Posted by *INDY on Monday, February 1, 2010 7:51 AM

Man ~ ! Is this a cool build! No update in an entire week, however.......not cool.   Come on Bill....you we're at the bench yesterday...anything happen? Anything good ? 

 Camera + Idea + Censored + Automobile = update    =   Stick out tongueBig SmileYesNoGeekedSurpriseBow Down...ect...ect


"Well...you gunna pull them pistols, or just whistle Dixie?"

  • Member since
    January 2012
Posted by I make stuff on Monday, February 1, 2010 1:25 PM

Hi Indy,


OK, you have shamed me into posting a progress report.  Nothing as glamorous as the fenders I hewed out of the very living rock....uh, wait, I mean that I folded out of sheet brass and bent a bit.

Against my nature, i bring you a words only update, no photos.  I took a few, mind you, but last night got away from me and I didn't get a chance, here we go  

This was a non "sexy" progress week. 

My former experience with black “magic” tracks has led me in a quest away from those freakishly difficult items which are really the only part of the hobby I do not like.  I read the tutorials, they made sense to me, and I followed them to the letter, twice.  Both times I had a disaster, separations, weird kinks in the track runs, too short, too long, cursing, sweating, it was not cool.  At all.  Then I did it again.  And it was nasty AGAIN. 


First I fled to model kastens, after seeing our own WBill use them with such success.  These were far better than the type whose name shall not be spoken, but were still super fragile.


Enter Fruils.  Pure, pot metal karmic perfection.  METAL!  Held together with METAL!!  I grabbed a set for my IS3, they are HUGE, heavy, appear to sag realistically, they are tough, it’s everything I ever dreamed of.  BTW, I only assembled the IS3s, I haven’t even started on that model yet, let alone weathered the tracks.


(To those kind souls who will chime in that I could get another whole kit for the price of Fruils, those who know me know I am a frugal shopper, I got  both a KV-1/and a KV-2 last week, delivered, for $40.00, I am a cheap boy.  But if I have to use magic tracks, I am out of this hobby, it is truly that bad for me.  It’s as simple as that.  I am not kidding)    


So naturally, when the rubber band tracks on this tractor appeared as featureless as, well, rubber bands, I did some homework and determined that this tractor has Vickers tank running gear.  Fruil makes Vickers/T26 tracks, so I grabbed some.


Let me start with the relative difference between an IS3 and this tractor thing.  Look at this thing in my hands in this thread.  It is TINY.  How did it not occur to me that the fruils would be TINY?  They replace the rubber band tracks, those would seem to indicate to any rational person that the tracks are small.
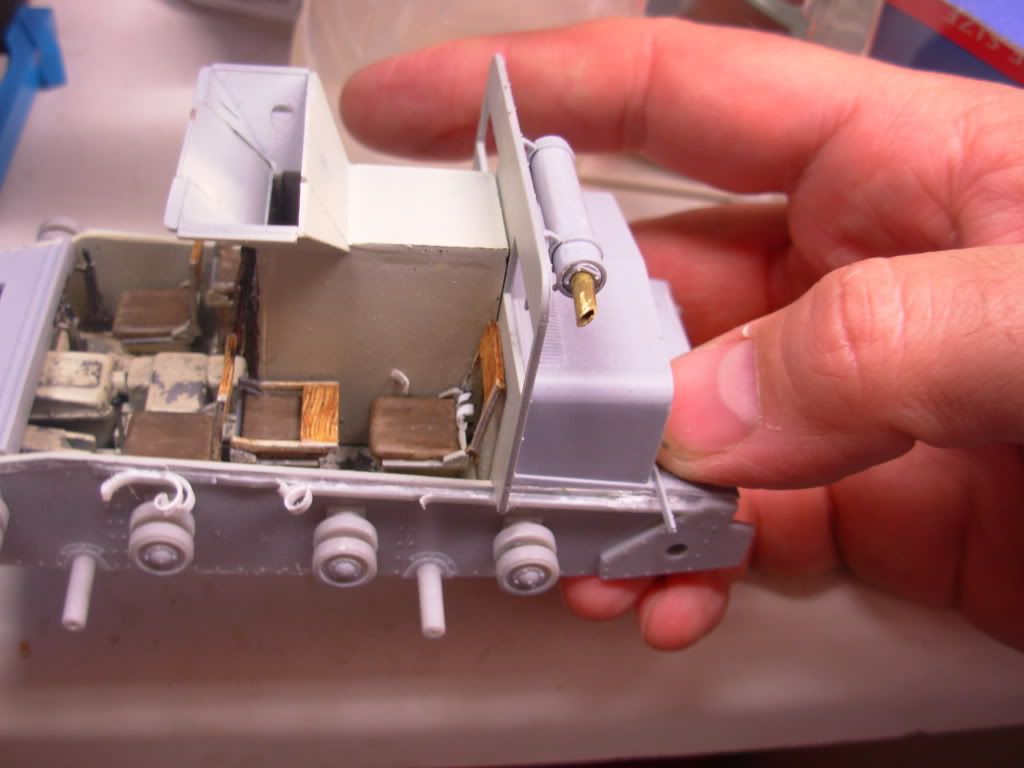
 

So I guess a direct effect of the tiny tracks is the fact that I had to DRILL OUT every single pin hole.  Not most, not a lot, but all.  For the IS3, I chased maybe 6 holes, and did so by simply punching through with a bit.  On these jeweler grade delicate tracks, I had to drill the holes because if they weren’t drilled, the bit would rip the channel open and it would go into the discard pile.


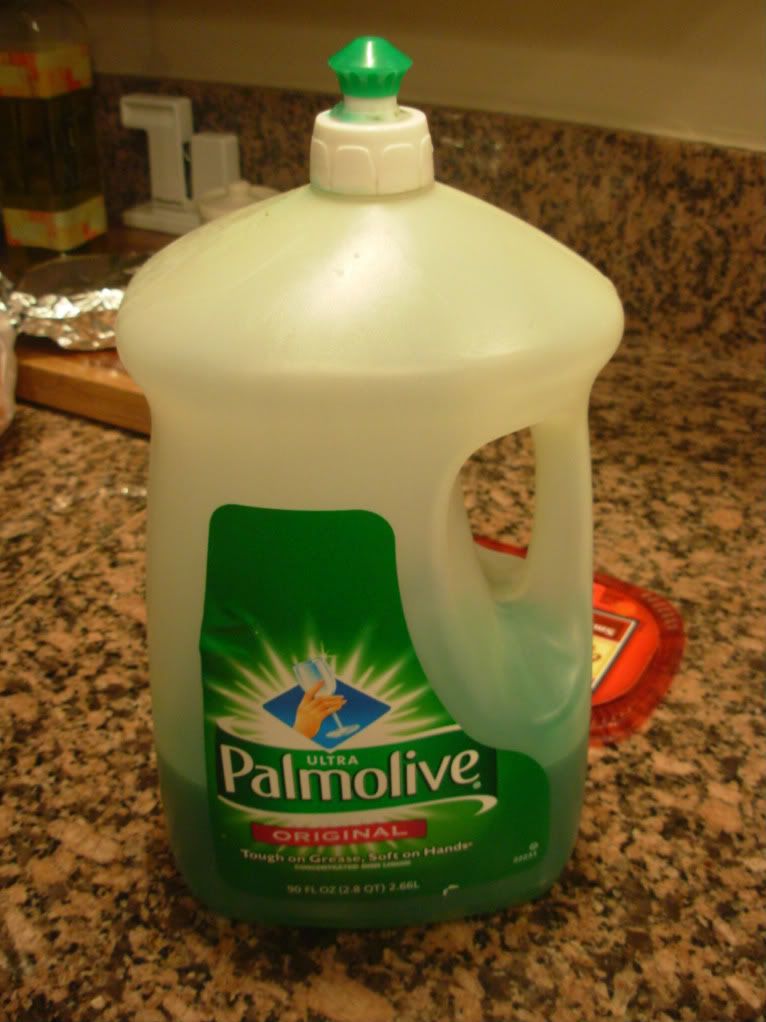
4 days of 1-3 hour sessions with my Optivisor and my thinnest drill bit, first one whole track run, then the next, I though it would never end, but it finally did Friday night.  Saturday morning, I started my patented “substitute .020 brass wire instead of the stainless wire because someone told me is worked better” routine.  It took forever, but, working between family obligations, I got two track runs done by Sunday evening.  Then I washed them down with some dish soap,
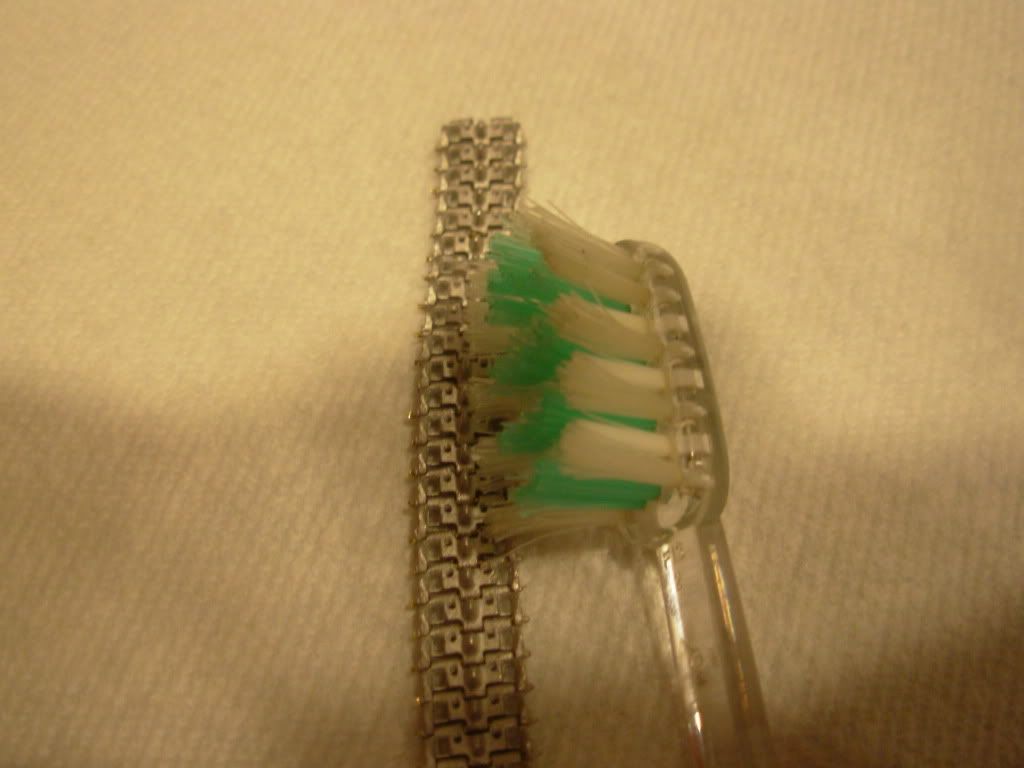
and scrubbed them with e toothbrush
then I tossed them in a tub with some heated white vinegar, and let them sit for two hours. 
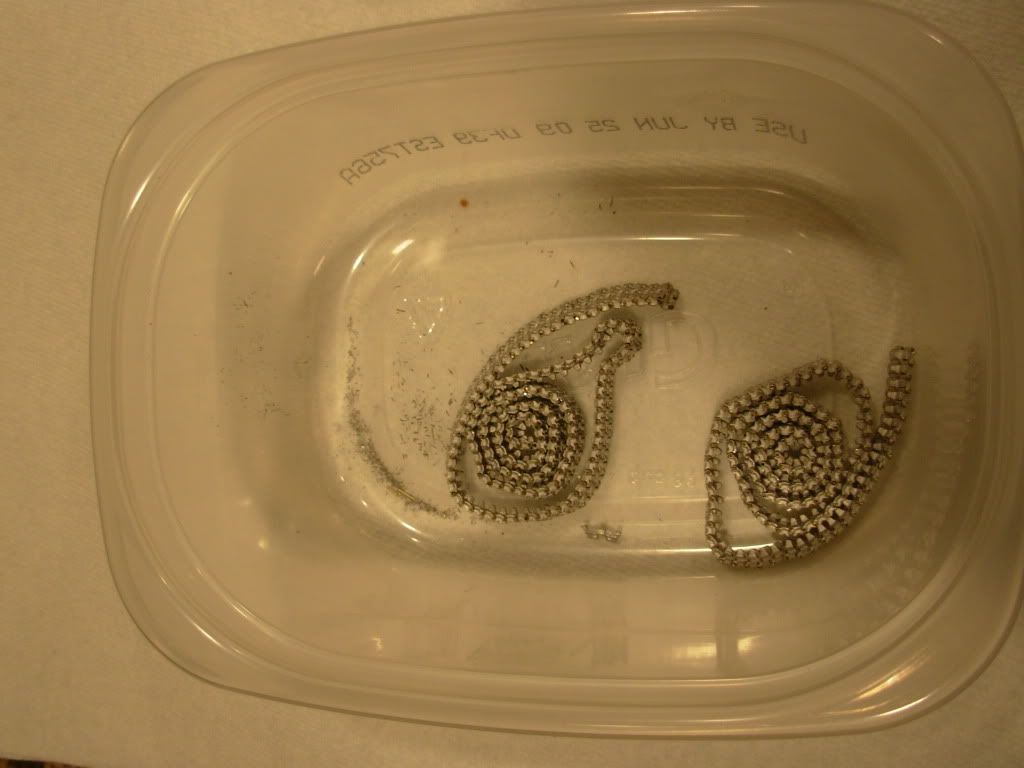
 I was going to Blacken it them, but by then it was 2300 on a school night, so I had to hit the bunk.


My plan is a single 10 minute or so application, followed by touch up with a brush to get the substance into any nooks and crannies that I miss with the first go around.  I understand that two applications approaches black, which I think will look too dark.


Thanks for checking on me, Indy.                    


  • Member since
    April 2008
  • From: Ventura (at the beach) in California
Posted by *INDY on Monday, February 1, 2010 11:47 PM

OK Buddy, as long as you're having fun  Sad

That's quite a story there Bill. Well writen.      I like Magic tracks.    There ,...I said it.       Truth is on those tiny tracked vehickys there's no easy way, besides the rubberband(heaven forbid!)

I think pictures might have been bettter than you think, but I'll take your word. Hope you get some good , solid benchtime...maybe even before the weekend!

"Well...you gunna pull them pistols, or just whistle Dixie?"

  • Member since
    January 2012
Posted by I make stuff on Tuesday, February 2, 2010 2:01 AM

Hi Adam!

Oh, Im having a blast, I love this hobby, just not the tracks part of it.  I tend to exaggerate difficulties, but I am most definately enjoying myself.  I love that Russian  figure, I sent one to Edmund about 6 mo ago.  Yours came out amazing!

I don't mind that you like magic tracks, some of my best friends like magic tracks.  I just can't get them to stay assembled long enough to get them on. 

I took some pictures, Indy, but I saw your post as a command performance, and I hadn't uploaded them yet.   I will go back and upload them and weave them into my story.  I will get some bench time this week, this one is getting close to paint.  I need to pick your brain about something, and a few hull details, and then I get to paint it!  Shooting for this weekend for paint, I hope.

Thanks, Adam.

Bill   

JOIN OUR COMMUNITY!

Our community is FREE to join. To participate you must either login or register for an account.

SEARCH FORUMS
FREE NEWSLETTER
By signing up you may also receive reader surveys and occasional special offers. We do not sell, rent or trade our email lists. View our Privacy Policy.